How to Weld a Differential Housing Safely
Welding a differential housing can ruin the housing if you rush the job. The metal can crack, warp, or fail later under load if you use poor prep or the wrong filler. This guide shows you how to clean, preheat, weld, cool, inspect, and drive with a welded differential housing with fewer problems.
What’s in This Article
- Before You Begin: Prepare the Differential Housing
- What You’ll Need to Weld a Differential Housing
- Step-by-Step Process for Welding a Differential Housing
- Essential Welding Techniques for Nodular Iron
- Post-Weld Care for Durability
- Adapting to Daily Driving With a Welded Differential
- Common Challenges and Solutions for Welded Differentials
- Welded Differentials vs. Limited-Slip Differentials
- How to Stay Safe While Welding
- Frequently Asked Questions
Estimated total time: Plan for 4 to 8 hours, not counting sealant cure time, oil refill checks, or later road testing.
Quick Answer
To weld a differential housing, clean the metal, protect sensitive parts, preheat the nodular iron, and weld with a filler that suits the housing material. Use steady heat, avoid fast cooling, inspect the weld, replace the gasket, and refill the housing with the right oil. For street use, a welded differential can increase tire wear and make handling less predictable.
Key Takeaways
- Clean metal gives your weld a better chance of holding under load.
- Preheating nodular iron helps reduce cracking from sudden heat shock.
- Nickel rods often work better than mild steel rods on cast or nodular iron housings.
- Slow cooling helps control stress after the weld cools down.
- A welded differential suits track or drift use better than normal street driving.
Before You Begin: Prepare the Differential Housing
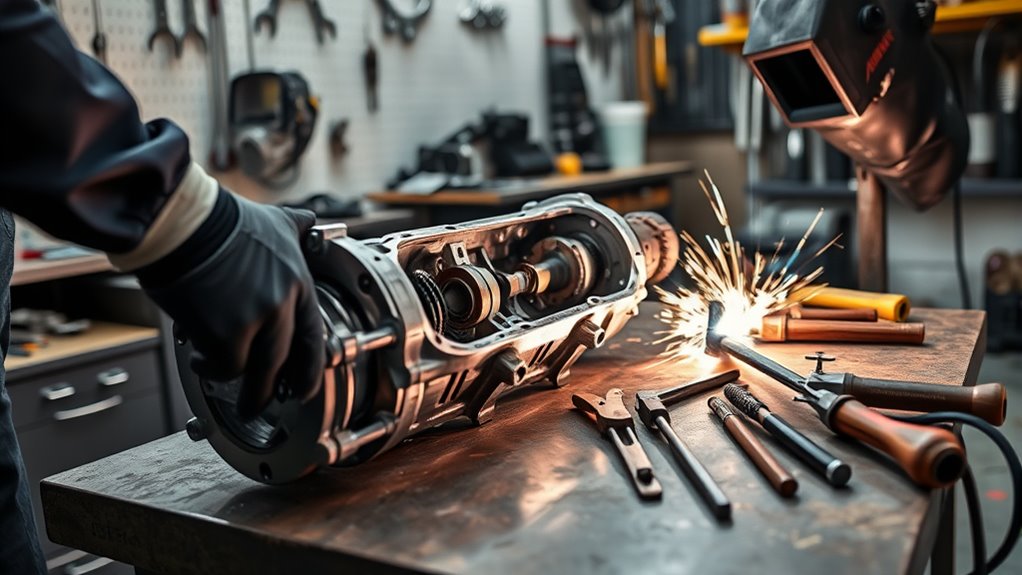
Start by thoroughly cleaning the differential housing with brake cleaner or another safe degreaser. Grease, oil, paint, and dirt can weaken the weld and create fumes. Make sure the metal surface stays clean before you strike an arc.
Remove loose rust, scale, and paint from the weld area with a grinder, wire wheel, or abrasive pad. Clean edges help the filler bond better during the welding process. You can also review this guide on how to remove mill scale before welding similar metal surfaces.
Cover sensitive areas with masking tape, welding blankets, or heat shields. Protect seals, bearings, wiring, brake parts, and painted surfaces from heat, sparks, and grinding dust.
Protect nearby parts before you weld, because heat and sparks can damage seals, wires, paint, and bearings.
Preheat the nodular iron housing with a torch before welding. Heat a wide area, not only the weld line, so the housing warms more evenly. This step helps reduce thermal shock.
A tight fit between components matters. Good alignment reduces gaps, weak spots, and poor fusion. Before you weld the housing, confirm your welder settings on scrap metal with similar thickness.
What You’ll Need to Weld a Differential Housing
Gather your tools before you start. Stopping midway to find basic supplies can cause uneven heat and poor workflow.
- Welder: Use a stick welder, MIG welder, or TIG welder that suits the housing material and thickness.
- Filler material: Use nickel rods or another filler that matches cast or nodular iron work.
- Cleaning tools: Use brake cleaner, wire wheels, grinders, and clean rags.
- Heating tools: Use a torch for preheating and a welding blanket for slow cooling.
- Holding tools: Use clamps, stands, and supports to keep the housing stable.
- Safety gear: Use a welding helmet, gloves, jacket, respirator when needed, and eye protection.
- Service supplies: Use a new cover gasket, sealant if required, and the correct gear oil.
Warning: Do not weld near fuel, brake cleaner residue, or sealed parts that can trap pressure or fumes.
Products Worth Considering

【4-in-1 Multifunctionality & Superior Welding Performance】The BESTMIG MIG145 supports dual voltage of 110/220V and combines Gas/Gasless MIG,Stick and Lift TIG in one unit.Compatible with solid steel wire and stainless steel wire from .030"~0.03" diameter (MIG welding,“GMAW”), with .030"~.040" flux-cored wire and with .030"~.040" Silicon. Offering a 30% increase in work efficiency compared to traditional MIG welders.Featuring a smooth arc, excellent penetration, and minimal spatter, easily handles stainless steel, carbon steel, and mild steel up to 3mm (2/5") thick, meeting diverse welding needs.

Premium quality replacement MIG gun stinger torch, 100Amp, 8-foot (2.5m) cable. This is for 1 Complete Replacement Mig welding gun for Clarke 180EN, 130EN Mig Welders and Clarke P/N WE23000054.

Used on Eastwood MIG 140 - MIG 175 - MIG 180 Welder
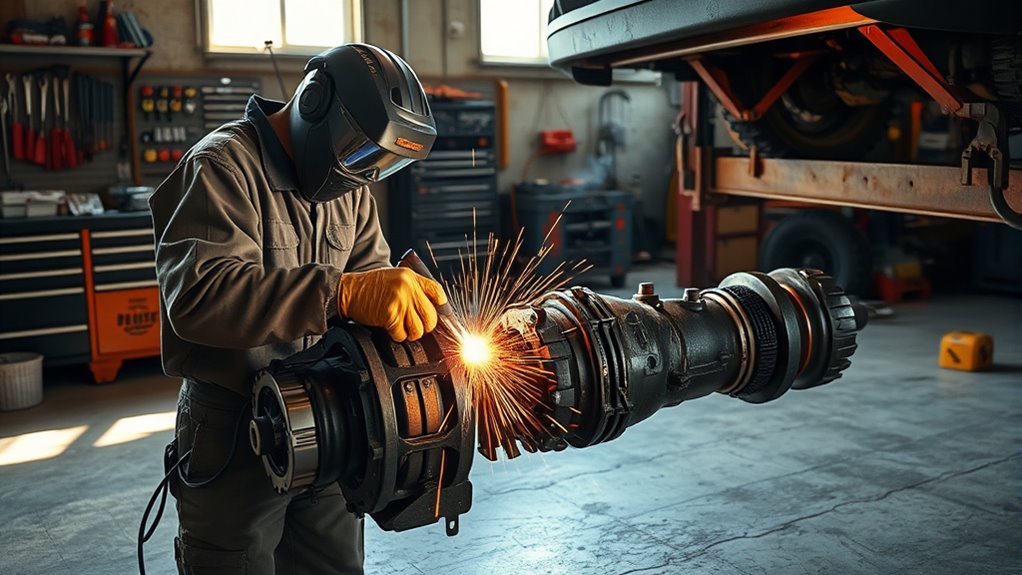
Step-by-Step Process for Welding a Differential Housing
Use a clear order so you can control heat and reduce mistakes. These steps cover general housing repair or reinforcement, not internal spider gear welding.
- Remove or expose the housing. Take off parts that block access, and support the axle or housing securely.
- Drain the oil. Empty the differential oil and keep flammable fluids away from the work area.
- Clean the weld area. Remove grease, paint, rust, and scale from the weld zone and nearby metal.
- Check fit and alignment. Clamp parts in place so the joint stays tight during heat cycles.
- Preheat the housing. Warm a broad area with a torch to reduce sudden heat shock.
- Test your settings. Run a bead on scrap metal before welding the housing.
- Weld in short, controlled passes. Use steady travel speed and avoid dumping too much heat into one spot.
- Peen lightly if needed. Tap the hot bead gently with a small hammer if your welding method calls for stress relief.
- Cool it slowly. Wrap the housing in a welding blanket or use another slow-cooling method.
- Inspect and service the housing. Check for cracks, clean debris, install a new gasket, and refill with oil.
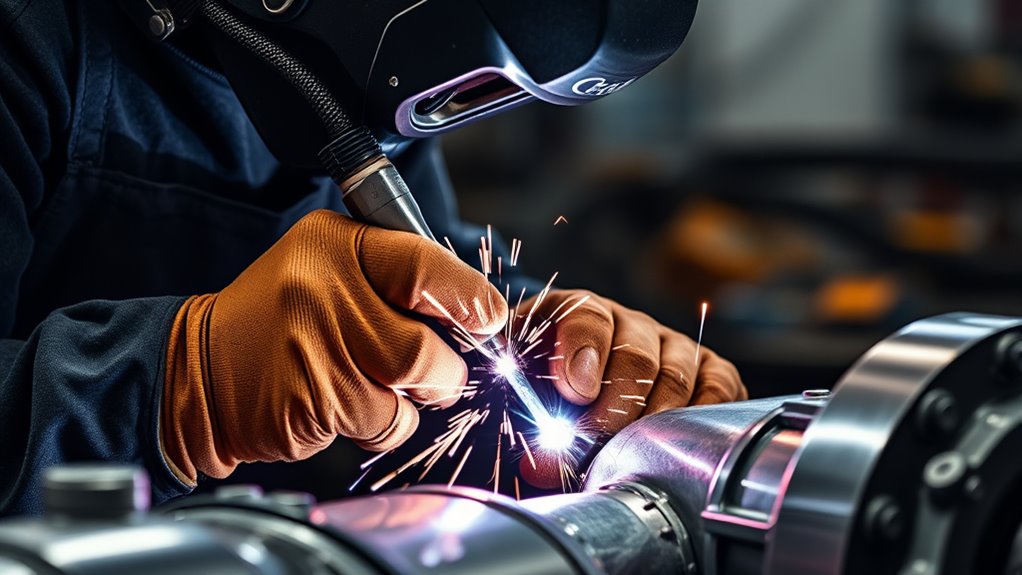
Essential Welding Techniques for Nodular Iron
Welding nodular iron can challenge you because the material can crack when heat moves through it too fast. The right prep, filler, and cooling method can improve your weld quality.
Follow the preheating requirement by warming the differential housing with a torch before welding. Heat a broad area around the weld, not just the exact joint. This reduces shock from sudden temperature change.
Choose nickel rods for stick welding when you need better compatibility with cast or nodular iron. Nickel filler can handle the base metal better than many mild steel rods.
Apply heat evenly and avoid long welds in one pass. Short passes help you control stress and reduce warping. Move at a steady pace so the weld penetrates without burning too hot.
Do not treat every differential housing the same. Some housings use cast iron, some use nodular iron, and some use steel sections. Match your process to the exact material before you weld.
Understanding flux core welding can also help you compare process limits, but choose your method based on the housing material.
Pro tip: If you can’t identify the housing material, ask a qualified welder before choosing filler metal.
Products Worth Considering

Premium Specification: Package includes 10 Pcs ENiFe-CI welding electrodes, size 1/8" diameter × 14" length, ready for immediate industrial and maintenance use.

Specification Includes:15pcs ENiFe-CI Cast Iron Welding Electrode Rods, 12'' length, 3/32'' diameter, ready for industrial and maintenance welding applications.

Material: The package includes ENiFe-CI 7pcs 12 * 3/32'' Welding Electrode Rods
Post-Weld Care for Durability
After you weld the differential housing, use proper post-weld care to protect durability and performance. Poor cleanup or fast cooling can undo good weld work.
Clean the differential to remove slag, grinding dust, and debris. Check the welded area with good light before you reseal the housing.
Apply a fresh cover gasket or the correct sealant, then fill the housing with new oil. Use the oil type your vehicle or differential setup requires.
Use a welding blanket or header wrap to slow the cooling process. Slow cooling helps reduce thermal stress and may improve weld integrity.
Inspect the welded area for signs of cracking, leaks, or wear after the first drive and during later service. Keep notes on the welding process and your maintenance actions so you can track changes over time.
Wear proper protective clothing during welding, grinding, and cleanup. Sparks and hot debris can still injure you after the arc stops.
Adapting to Daily Driving With a Welded Differential
A welded differential changes how the rear wheels behave. Both wheels try to turn at the same speed, so the vehicle can hop, scrub tires, or push during tight turns.
| Driving Conditions | Tips for Adapting |
|---|---|
| Tight corners | Shift weight smoothly |
| Wet conditions | Use extra caution |
| Low-speed maneuvers | Expect tire scrub and wheel hop |
| High-speed driving | Use smooth throttle control |
Learn the welded diff’s behavior in a safe area before you rely on it in traffic. You need better throttle control and earlier steering input during turns. You should also expect faster tire wear on normal roads.
Understanding welding challenges related to different materials can help you make safer modification choices.
Common Challenges and Solutions for Welded Differentials
Driving with a welded differential can improve traction in some performance settings, but it also creates trade-offs. Focus on these common issues before and after the weld.
- Material cracking: Preheat nodular iron to reduce sudden heat shock.
- Poor filler choice: Use nickel rods or a filler that suits the housing material.
- Dirty weld area: Clean the housing fully so grease, rust, and paint don’t weaken the weld.
- Weak fit-up: Clamp parts tightly to reduce gaps and poor fusion.
- Fast cooling: Use slow cooling methods, such as welding blankets or heated sand, to manage stress.
- Street handling problems: Drive carefully and check local rules before using a welded differential on public roads.
Inadequate welding can cause early failure. Inspect the weld often, and stop driving if you see cracks, leaks, harsh noises, or unstable handling.
Some rods, such as E6010 welding rods, can help on dirty or rusty steel surfaces, but they may not suit nodular iron housing work. Match the rod to the base metal before you weld.
Welded Differentials vs. Limited-Slip Differentials
Welded differentials and limited-slip differentials (LSDs) serve different driving needs. A welded diff locks both wheels together, which can help in drifting, off-road use, or some track setups.
That permanent lock can also increase tire wear and create less predictable handling on the street. You may notice tire scrub, wheel hop, or pushing during tight turns.
An LSD allows some differential wheel speed during cornering. This can improve handling, reduce tire scrub, and give you better everyday drivability. Understanding material thickness and properties also matters when you choose the right welding process for a differential job.
| Option | Best For | Main Drawback |
|---|---|---|
| Welded differential | Drift, track, and low-cost traction setups | Harsh street behavior and faster tire wear |
| Limited-slip differential | Daily driving, performance street use, and mixed conditions | Higher cost and more parts to service |
Choose a welded diff if you want simple locked traction for a specific use. Choose an LSD if you need a better balance of performance, control, and daily drivability.
How to Stay Safe While Welding
Welding creates heat, sparks, ultraviolet light, fumes, and fire risk. Good safety habits protect you and the vehicle while you work.
Safe welding starts before you strike an arc, so protect yourself, clear the area, and control fire risk.
- Wear proper personal protective equipment (PPE), including gloves, a welding helmet with the right shade lens, and long-sleeved clothing.
- Work in a well-ventilated space so fumes do not build up around you.
- Keep a fire extinguisher close and remove flammable items from the work area.
- Use respiratory protection when coatings, oils, or metals may release harmful fumes.
- Inspect your welding leads, ground clamp, torch, rods, and machine before you start.
- Check grinders and discs before grinding, just as you would before using an angle grinder safely.
You can review this related safety guide on how to inspect grinder and disc before grinding or cutting.
Common Mistakes to Avoid
Most differential housing weld problems start with rushed prep. Avoid shortcuts that add heat stress, contamination, or poor fit-up.
- Do not weld over oil, grease, paint, or rust.
- Do not skip preheating on cast or nodular iron housings.
- Do not use a random rod without checking material compatibility.
- Do not cool the weld quickly with water or compressed air.
- Do not drive hard before you inspect the weld and check for leaks.
Frequently Asked Questions
Can You Weld a Differential Housing?
Yes, you can weld a differential housing if you use the right process for the housing material. Clean the area, preheat the housing when needed, and use a compatible filler for a stronger bond.
What’s the Hardest Thing to Weld?
Nodular iron can be hard to weld because it can crack when heat changes too fast. You need clean metal, controlled preheat, the right filler, and slow cooling to improve the joint.
What Is the Golden Rule in Welding?
The golden rule in welding is to clean and fit the joint correctly before you weld. Clean metal, tight fit-up, proper filler, and controlled heat give you a stronger weld.
Is It Illegal to Have a Welded Diff?
A welded diff may not break the law by itself, but local road rules, inspection laws, and insurance terms can vary. Check your local rules before you drive a welded differential on public roads.
Can You Daily Drive a Welded Differential?
You can daily drive one, but it may feel harsh in tight turns and wet conditions. Expect more tire wear, more noise, and less smooth handling than an open or limited-slip differential.
Safety Disclaimer: This article is for informational purposes only and does not replace professional mechanical or welding advice. Ask a qualified welder or mechanic before welding structural, drivetrain, or safety-related vehicle parts.
Conclusion
A strong differential housing weld starts with clean metal, proper preheat, compatible filler, and slow cooling. Take your time with prep, because small mistakes can lead to cracks, leaks, or poor handling later. After welding, inspect the housing, replace the gasket, refill the oil, and test the vehicle with care. If you plan to drive on public roads, check your local rules and think hard about whether a welded differential fits your use.


