Getting the right stick welding amperage for metal thickness can be tricky — run too cold, and your rod sticks or the weld just sits on top; go too hot, and you’ll blow through the metal or lose control of the puddle. Every electrode, whether it’s 6011, 6013, or 7018, reacts differently depending on your metal thickness, joint prep, and arc control. It’s one of the most common challenges welders face, especially when switching between light-gauge sheet and thicker plate.
The right amperage isn’t just about getting a smooth bead — it directly affects penetration, weld strength, and overall structural integrity. Once you understand how to balance heat and rod size, your welds start to look cleaner and perform better. In this guide, I’ll break down exactly how to choose the right amperage for different metals so you can weld with confidence and consistency.
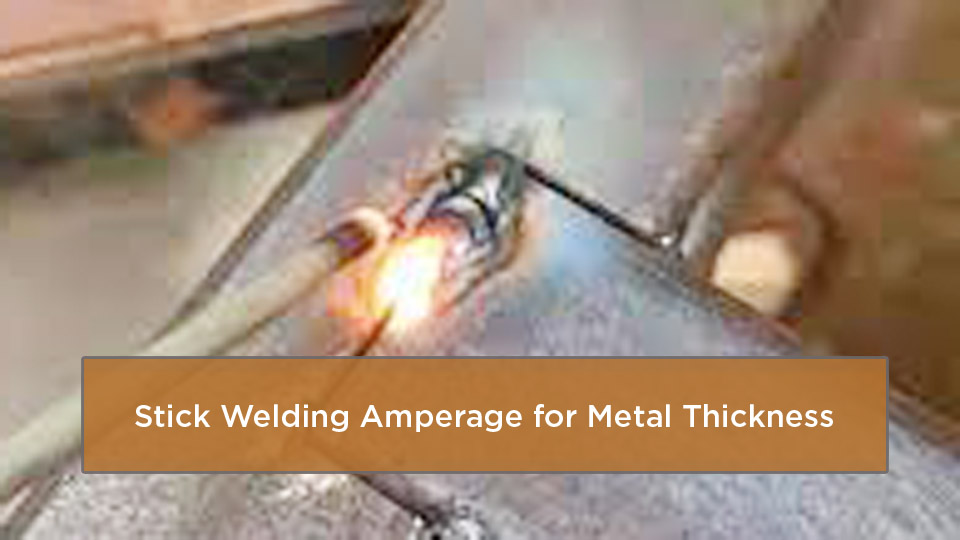
Image by tktk
What Is Stick Welding and Why Amperage Matters
Stick welding, or shielded metal arc welding, uses a consumable electrode coated in flux to create an arc that melts your base metal and filler. The amperage controls the arc’s intensity—think of it as the heat dial. For thinner metals, low amps prevent blow-through; for thicker ones, higher amps ensure deep penetration.
In my early days, I once cranked amps too high on quarter-inch plate with a 1/8-inch rod, and it warped the whole piece. Lesson learned: match amps to thickness for material compatibility and efficiency. This keeps your welds strong, reduces slag cleanup, and saves rods. Semantic ties like electrode polarity and joint prep play in too, but amperage is the heartbeat.
Choosing the Right Electrode for Your Metal Thickness
Selecting the electrode starts with your metal’s thickness. Rule of thumb: for thin materials, choose a rod diameter no larger than the base metal; on thicker joints and fillets, larger diameters are common—always follow the manufacturer’s chart and your joint design. For mild steel up to 1/8 inch thick, go with 3/32-inch rods; for 1/4 inch and up, 1/8-inch or 5/32-inch works well.
Common rods like E6010 or E6011 dig deep for dirty or rusty metals, ideal for outdoor repairs. Polarity note: E6010 is a DCEP (DC+) rod; E6011 runs on AC or DCEP. E7018 is smoother for clean structural work and is low hydrogen; it prefers DCEP, and many brands also run on AC (look for “7018AC”). I’ve switched to E6013 for lighter fab on thinner sheets—less spatter, easier for beginners.
Practical know-how: store low-hydrogen rods in a dry oven; damp ones stick and pop. For varying thicknesses, test on scrap: if the puddle spreads too wide, drop to a smaller rod. This ensures filler compatibility and follows US codes like AWS D1.1 for integrity.
| Electrode Type | Best For | Typical Thickness Range | Pros | Cons |
|---|---|---|---|---|
| E6010/E6011 | Dirty/rusty steel, deep penetration | 1/8″ to 1/2″ | Cuts through contaminants, all positions | More spatter, harder arc control |
| E6013 | General purpose, thin to medium | Up to 1/4″ | Smooth bead, easy for beginners | Shallow penetration on thick metal |
| E7018 | Structural, low hydrogen | 1/4″ and thicker | Strong welds, less cracking | Sensitive to moisture; prefers DC+ (many variants run on AC) |
| E7024 | Flat/horizontal fillets, fast fill | Medium to thick | High deposition rate | Limited positions, not for vertical |
This table helps quick-scan for your setup—adapt based on your machine’s output.
How to Set Amperage Based on Metal Thickness
Setting amperage ties directly to rod size and metal gauge. Start with the rod’s recommended range from the box, then tweak for thickness. A rough guide: 1 amp per .001 inch of rod diameter, so a 1/8-inch (0.125″) rod baselines at 125 amps. For thin metal under 1/8 inch, drop 10–20 amps to avoid burn-through; thicker pieces need the upper end for fusion.
For 1/16-inch sheet, use a 3/32-inch rod and start around 50–70 amps (total workable range ~40–80 A depending on the rod)—whip the arc quick to control heat. On 1/4-inch plate, 1/8-inch rod at 100–140 amps gives good puddle flow. I’ve found vertical welds need ~10% less to fight gravity.
Step-by-step: Clamp scrap matching your project. Strike an arc, listen for a steady “bacon sizzle”—too harsh means lower amps, sticking means raise them. Prep joints clean, bevel thick ones for multi-pass. Polarity: DCEP (DC+) generally gives deeper penetration; DCEN reduces heat at the workpiece. Always match polarity to the specific rod’s datasheet.
Personal tip: On a farm repair with rusty angle iron about 3/16 inch thick, I started at 110 amps with E6011, adjusted to 105 after seeing undercut—better bead every time.
Amperage Settings for Thin Metal
Thin metal, say 1/16 to 1/8 inch, demands finesse in stick welding. High amps here lead to warping or holes; low ones cause poor fusion. Use small-diameter rods like 3/32 inch at roughly 40–80 amps (start near 50–70 A for many E6013s), depending on type.
Why it works: Lower current melts the rod without overwhelming the base, preserving integrity. For sheet metal trailers or auto panels, E6013 shines—moderate penetration, less heat input.
Common mistake: Rushing the arc on thin stuff. I did that on a toolbox side, burned right through. Fix: Shorten arc length, steady travel speed, and preheat if chilly. Prep by tack welding edges, and use clamps to minimize distortion. Safety note: Thin pieces heat fast, so watch for flying spatter—full PPE always.
In practice, for 14-gauge (about 1/16 inch), set ~70 amps with E6013; test for a flat bead without holes. This keeps costs down, no filler waste.
Handling Amperage for Medium Thickness Metal
Medium thickness—1/8 to 1/4 inch—balances penetration and speed. Aim for 90–150 amps with 1/8-inch rods. E7018 excels here for structural fab, offering strong, low-spatter welds.
How it works: This range fuses layers without excess heat, ideal for frames or brackets. On a shop bench building a workbench leg from 3/16-inch steel, 120 amps with E7018 gave perfect upright beads.
Mistakes to avoid: Over-amperage causes undercut; under leads to lumpy slag traps. Tip: For fillet welds, middle of the amp range; vertical up, dial back slightly. Joint prep: Clean to bare metal, slight bevel for better access. Multi-pass on edges builds strength per codes.
Pro insight: If your machine maxes at 160 amps, stick to this for hobby rigs—portable units handle it fine.
Tackling Thick Metal with Higher Amperage
For over 1/4-inch thick, like heavy plate or beams, ramp up to 150–250 amps with 5/32-inch rods. Deep penetration rods like E6010 ensure fusion through layers.
When to use: Structural jobs or repairs on machinery. Higher amps mean faster deposition but watch heat input to avoid cracking—interpass cooling helps.
Welding a 1/2-inch trailer hitch extension, I used 180 amps on E7018 multi-pass; bevel the V-groove first, weave for fill. Common error: Ignoring preheat on thick cold steel—leads to hydrogen cracks. Fix: Warm to around 100°F (or as required by the procedure/material), use low-hydrogen rods.
Settings suggestion: Start high in range for root pass, lower for caps. Safety: Thicker metal means more slag—chip carefully, wear gloves. This setup aligns with shop practices for durable, code-compliant results.
Common Mistakes with Amperage and Fixes
One big goof: Ignoring rod size for thickness, leading to sticking or blow-through. Fix: Always match—smaller rod for thin, larger for thick.
Another: Wrong polarity—E6010 requires DCEP (DC+) for the right bite; E6011 runs on AC or DCEP. A mismatch causes an unstable arc.
Over-amperage spawns spatter and porosity; dial back, clean joints. Under-amperage? Weak fusion—raise amps, improve angle (10–15 degrees drag).
Tip: Practice on scrap tunes your ear to the arc sound. Machine settings: Clean connections, stable power source. For hobbyists, apps or charts guide baselines.
Safety Considerations in Stick Welding
Safety first—wrong amperage amps up risks like electric shock or burns. High amps mean hotter arcs, more UV flash—wear auto-darkening helmets, leather gloves, jackets.
Prep area: Clear flammables, ventilate fumes. Ground properly to avoid shocks. For thick metal high amps, ensure machine duty cycle—overheat leads to fires.
Personal story: On a windy site, I upped amps for wind but forgot extra ventilation—fumes built up. Now, I use fans, respirators. Follow OSHA: Inspect cables, no wet conditions. This keeps you welding, not healing.
Step-by-Step Guide to a Basic Stick Weld
Ready to weld? Step 1: Select rod and amps per thickness—say 1/8-inch metal, 1/8-inch E6013 at ~100 amps.
Step 2: Prep: Clean metal, clamp joint, bevel if thick.
Step 3: Set machine—polarity, amps; strike arc by scratching.
Step 4: Drag rod at 10–15 degrees, steady speed for even bead.
Step 5: Chip slag, inspect—repeat passes if needed.
For thin: Quick whips; thick: Weave. Test always.
Pros and Cons of Stick Welding for Different Thicknesses
Pros for thin: Portable, no gas; cons: Hard control, burn risk.
Medium: Versatile, strong; cons: Slag cleanup.
Thick: Deep penetration, cost-effective; cons: Slower, multi-pass.
Overall, stick shines for field work, but MIG edges for speed on thin.
Conclusion
Mastering stick welding amperage for metal thickness boils down to matching rod, amps, and prep for solid, safe welds. You’re now equipped to avoid pitfalls, choose wisely, and produce pro-level results—whether hobby or pro. Key takeaway: Test on scrap, listen to the arc, prioritize safety. Keep a notebook of your settings; it’ll sharpen your skills faster than any chart.
FAQs
What Amperage for 1/4 Inch Steel Stick Welding?
For 1/4-inch mild steel, use 1/8-inch rod like E7018 at 110–140 amps. Start mid-range, adjust for penetration—higher for root, lower for fill to avoid defects.
Can I Stick Weld Thin Metal Without Burning Through?
Yes, with low amps (about 50–70 A is a safe start for 1/16-inch with 3/32-inch E6013), small rods, and fast travel. Practice on scrap; E6013 helps control heat for clean fusion.
Best Rod for Thick Metal Stick Welding?
E7018 (low-hydrogen) is a go-to for heavy structural welds. For open-root work on thick sections, many welders use cellulosic rods like E6010 or E7010 for deep penetration on the root, then switch to E7018 for fill and cap. Expect 150+ amps with 5/32-inch rods and plan on multi-pass with beveling.
How Does Polarity Affect Amperage in Stick Welding?
Polarity doesn’t change the number on the dial, but it changes how that heat is delivered. DCEP (DC+) concentrates more heat at the work for greater penetration; DCEN reduces penetration. Match rod to polarity: E6010 is DCEP-only; E6011 runs on AC or DCEP; rutile and low-hydrogen types (e.g., E6013, E7014, E7018) often prefer DCEP, and many E7018s are also formulated to run on AC (look for “7018AC”).
Common Amperage Mistakes for Beginners?
Newbies often set too high, burning thin metal—fix by dropping 10–20 amps and testing. Always verify with bead appearance: flat and fused is right.