Cold weather makes auto body welding tougher because panels lose heat fast, which can cause poor fusion, incomplete penetration, cracking, and warping. You should clear away snow and moisture, preheat the panel to at least 50°F, and shield the work area with tarps or windbreaks. Use low-hydrogen wire or electrodes, keep a short arc, and run stringer beads with steady travel speed. Let the weld cool slowly under insulation, and you’ll pick up a few more control tips next.
Why Cold Weather Makes Auto Body Welding Harder
Cold weather makes auto body welding harder because it speeds up heat loss, and that rapid cooling can leave you with poor fusion, incomplete penetration, and a greater risk of cracking.
Cold weather speeds heat loss, causing poor fusion, shallow penetration, and a higher risk of cracking.
When metal drops below 50°F, you lose thermal stability, and you’re more likely to create joints that don’t fully bond. Cold weather also increases metal brittleness, so the panel can fracture instead of flexing under weld stress.
On thin auto body panels, fast cooling can distort edges, pull seams out of alignment, and warp surfaces if you don’t control heat input. It can also raise hydrogen absorption, which pushes cold cracking risk higher, especially with high-hydrogen electrodes.
Moreover, welding galvanized steel in cold conditions can exacerbate zinc contamination issues, making it crucial to ensure thorough removal of the zinc coating before proceeding.
If you slow travel too much, you may overcool the puddle; if you move too fast, you’ll starve the joint of penetration. You need consistent, controlled heat to make strong, durable welds.
Prep Auto Body Panels for Cold-Weather Welding
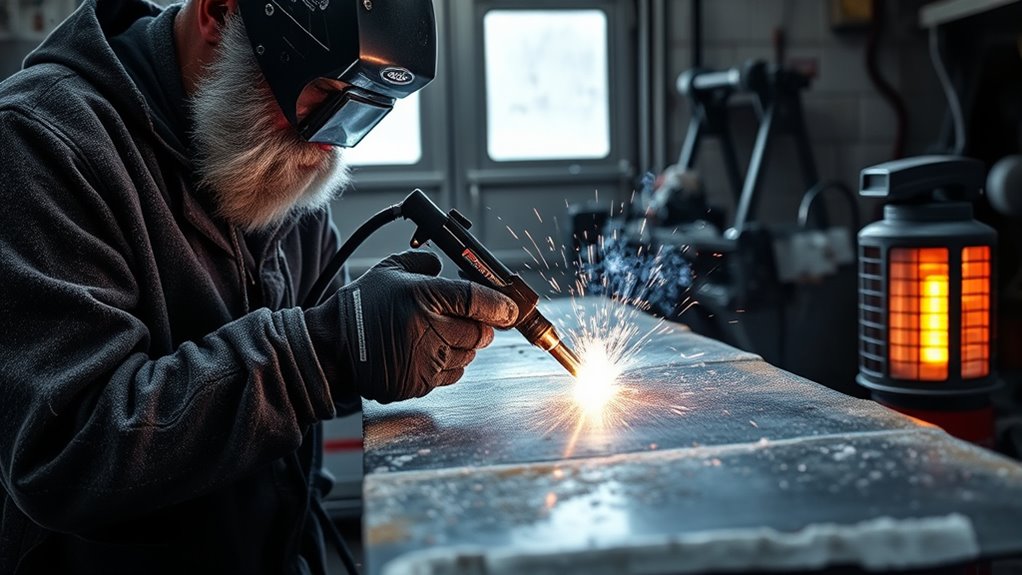
Before you strike an arc, warm the auto body panels to at least 50°F with a hand torch so the metal takes heat more evenly and the weld can penetrate properly. This preheating step lowers crack risk and gives you cleaner fusion in thin sheet metal.
Aim the torch across the repair zone, not just one spot, and bring the whole panel to a consistent temperature. If you’re working outside, shield the area with a pop-up tent or insulated tarps so cold drafts don’t steal heat from the steel.
Check ambient temperature before you start, and clear snow, moisture, and ice from the workspace. Cold exposure can drop panel temperature fast and hurt weld quality, so prepare the environment before you clamp in.
When you control the heat from the start, you protect the panel’s ductility, reduce brittleness, and keep your repair precise, durable, and free from needless distortion. Additionally, proper metal preparation is crucial to enhance weld quality and ensure a strong bond.
Keep Panel Temperature Steady While You Weld
Once you’ve brought the panel up to at least 50°F, keep that heat from drifting during the weld. A hand torch or electric heating blanket helps you hold the panel steady, so the cooling rate doesn’t spike and crack the metal. Block drafts with a pop-up tent or windbreaks; free the work from cold air that steals heat.
| Control | Use | Result |
|---|---|---|
| Heat source | Torch or blanket | Steady panel temperature |
| Shielding | Tent or windbreak | Less heat loss |
| Monitoring | Temp crayons | Even heating |
Check the weld zone often, and mark the metal with temperature-indicating crayons so you can verify the heat you’re keeping. After you finish, wrap the area with insulating blankets to slow cooling and reduce thermal shock. That tighter control protects weld integrity and keeps your panel aligned, strong, and ready for the next stage. Additionally, ensuring effective ventilation is crucial to minimize inhalation of any harmful fumes generated during the welding process.
Products Worth Considering

✅【Fire-Resistant Carbon Felt Construction】The Matace welding blanket is made from 5mm thick carbon felt and has been tested in accordance with ASTM D6413 standards. Its dense, heavy-duty structure is designed to help manage sparks, hot slag, and radiant heat during welding and high-temperature work.

Extreme Heat Resistance (3000°F+) – Carbon Fiber Welding Blanket Made of high-density carbon felt welding blanket, our fireproof welding blanket certified to ASTM D6413 and UL94-V0, withstands extreme temperatures over 3000°F — Outperforms standard fiberglass welding blankets (1000°F limit)Much more effective at stopping spatter than fiberglass offerings, and doesn't shed glass fibers!

✅【Fire-Resistant Carbon Felt Construction】The Matace welding blanket is made from 5mm thick carbon felt and has been tested in accordance with ASTM D6413 standards. Its dense, heavy-duty structure is designed to help manage sparks, hot slag, and radiant heat during welding and high-temperature work.
Use Cold-Weather Welding Settings That Hold Heat
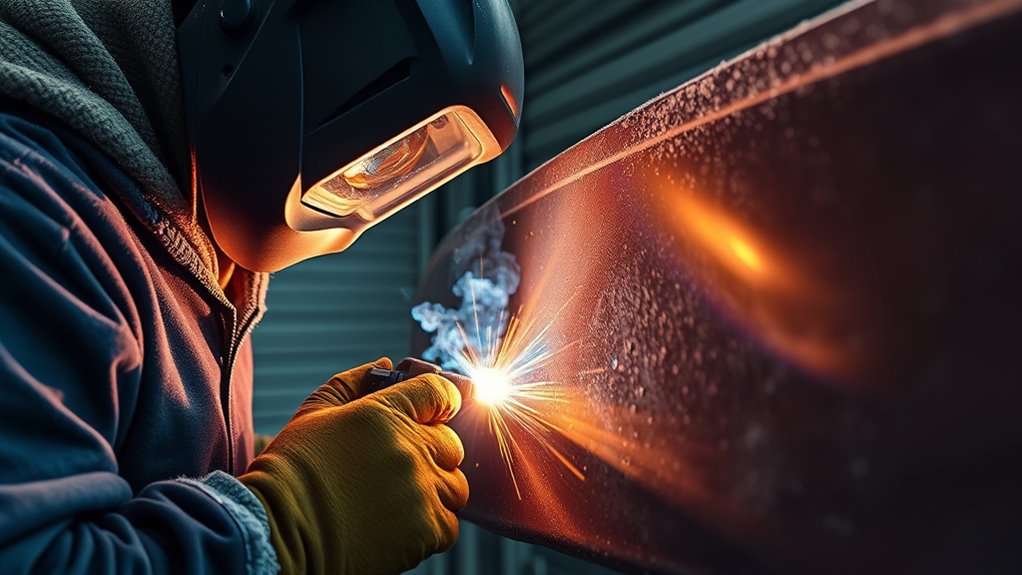
Set your welder for cold conditions by choosing low-hydrogen electrodes like E7018, then slowing your travel speed to keep heat input steady and protect against cracking. You can reduce the risk by holding the panel near 50°F before you strike an arc. That warmer baseline improves ductility and lets the weld pool tie in cleanly.
- Use stringer beads to concentrate heat.
- Keep your arc short and consistent.
- Watch ambient temperature before each pass.
- Add insulated tarps or a heater if needed.
- Maintain steady amperage, not bursts.
When you move too fast, the joint cools hard and fusion suffers. When you weave wide, you spread heat and lose control. Remember that maximum fillet weld size is determined by the thickness of the thinner plate, which is crucial for maintaining joint integrity in cold conditions.
Stay deliberate, keep the torch moving at a measured pace, and let the metal respond. In cold weather, your settings should work with the steel, not fight it.
Prevent Warping, Cracking, and Moisture Issues
Cold-weather settings help you control heat, but you still need to protect the panel from warping, cracking, and moisture-related defects. To do that, preheat auto body panels to at least 50°F before you strike an arc.
Use a torch or electric heating blanket to warm the full sheet evenly; that limits uneven expansion and keeps the panel flat. Choose low-hydrogen electrodes like E7018, because they cut hydrogen pickup and help prevent cold cracking in the weld zone.
After welding, let the panel cool slowly under insulating blankets so thermal shock doesn’t split the joint or pull the metal out of shape.
You also need to watch humidity and surface moisture closely. Damp air, condensation, and wet metal all raise defect risk. Keep the work area dry, wipe the panel clean, and verify temperature before welding. Mastering key welding parameters ensures a strong and consistent weld.
When you control heat, moisture, and cooling, you protect your work and keep your repair solid.
Frequently Asked Questions
How Cold Is Too Cold for Welding?
Below 32°F, you’re pushing it; under 20°F, you should stop. You’ll get poor penetration, brittle joints, and cracking risk. Preheat steel near 100°F, and match Filler Metals carefully to keep your welds sound.
Is It Better to TIG or MIG Weld Body Panels?
Mig’s usually better for body panels: you’ll weld faster, control heat well, and reduce distortion. TIG gives finer control for intricate joints, but it’s slower. Choose the Welding Techniques that match your skill and repair.
How to Weld in Cold Weather?
Preheat panels, shield drafts, and raise amperage slightly; you’ll weld cleaner in cold weather. Follow Safety Precautions: keep electrodes dry, use windbreaks, and slow travel speed so you control heat, penetration, and distortion.
What Is the Golden Rule in Welding?
The golden rule in welding is to keep your base metal at least 50°F before you strike an arc; that’s one of the essential Welding Techniques, because you’ll reduce brittleness, cracking, and distortion.
Conclusion
Cold weather can make auto body welding feel like trying to strike a match in the wind, but you can still get clean, strong results. If you prep panels properly, keep temperatures steady, and dial in settings that preserve heat, you’ll reduce warping, cracking, and moisture problems. Stay disciplined with fit-up and shielding, and you’ll build reliable welds even when the shop’s cold. Control the conditions, and you control the outcome.


