
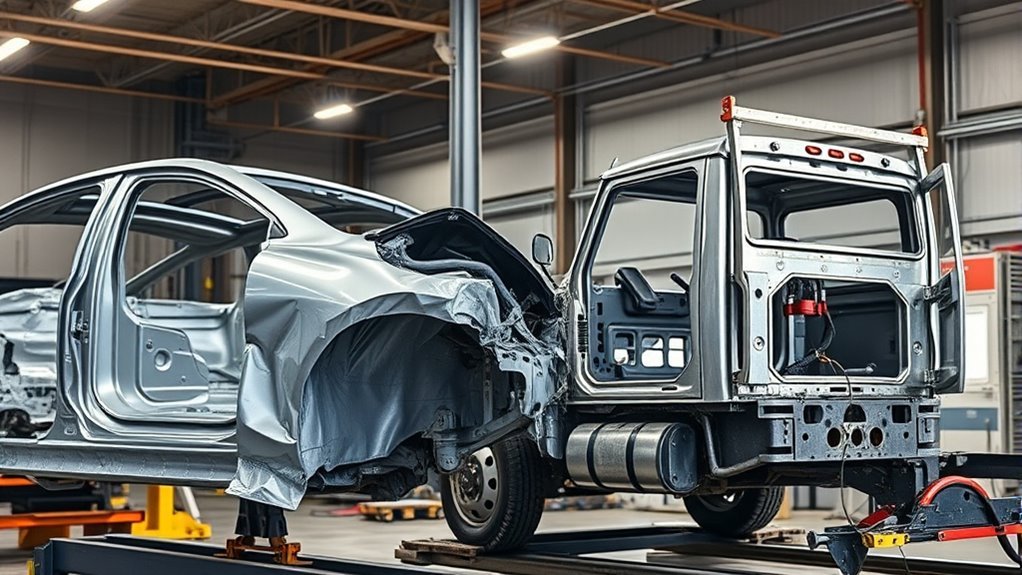
If you’re comparing unibody vs. body-on-frame welding repairs, the main difference is how the vehicle carries driving and crash loads. A unibody vehicle uses its rails, floor, rockers, pillars, and body panels as one integrated structure. A body-on-frame vehicle has a separate frame under the body. Both designs require exact measurements, current OEM repair information, approved joining methods, corrosion protection, and complete post-repair checks.
Quick Answer
Unibody welding repairs are usually more sensitive to measurement, cut location, and heat because the body shell forms the main safety structure. Body-on-frame repairs can be more isolated when only a separate rail, crossmember, or bracket is damaged. Neither design should be welded without the exact OEM procedure for that vehicle.
Key Takeaways
- Unibody rails, pillars, floors, rockers, and crumple zones work together as one load-carrying structure.
- A separate frame can make localized body-on-frame damage easier to access, but severe twist, corrosion, or mount damage can still require major replacement work.
- The OEM procedure decides whether a part may be straightened, sectioned, welded, bonded, riveted, brazed, or replaced.
- The exact year, make, model, body style, material, and production configuration must be confirmed before work begins.
- Modern repairs may require electrical isolation, hybrid or EV high-voltage disable procedures, diagnostic scans, wheel alignment, ADAS calibration, SRS checks, and documented final measurements.
At a Glance
| Vehicle Structure | Unibody: the body shell and structural members form one assembly. Body-on-frame: the body mounts to a separate frame. |
| Typical Repair Focus | Unibody: rails, aprons, rockers, floors, pillars, and panel junctions. Body-on-frame: rails, crossmembers, brackets, body mounts, outriggers, and suspension mounts. |
| Measurement Needs | Both require factory dimensions. Unibody damage often requires more datum points because movement can spread through the integrated shell. |
| Joining Methods | May include MIG/MAG welding, resistance spot welding, MIG brazing, weld bonding, structural adhesive, rivets, approved fasteners, or complete part replacement. |
| Biggest Risk | Using an unapproved cut, straightening method, heat source, weld process, or attachment method that changes the designed load path or weakens the material. |
Warning: Structural welding is safety-critical professional work. Do not treat rails, pillars, rocker reinforcements, crush zones, suspension mounts, body mounts, or restraint-system areas as casual DIY repairs. Use a trained structural technician, current vehicle-specific repair information, calibrated equipment, proper PPE, fire protection, measurement records, and all required post-repair inspections.
The Structural Difference Between Unibody and Body-on-Frame
A unibody vehicle does not have a conventional separate frame under the passenger compartment. Its floor, rails, rockers, roof rails, pillars, aprons, and other welded parts share the load. Damage to one area can change door openings, suspension geometry, sensor mounting locations, and the way crash energy moves through nearby parts.
A body-on-frame vehicle has a body or cab mounted to a separate frame. This can let a technician inspect and measure the frame independently from the body. However, the frame can still contain engineered crush sections, boxed high-strength rails, hydroformed parts, suspension mounts, and areas where straightening, sectioning, or heat is restricted.
Note: “Unibody frame” is a common phrase, but a unibody vehicle technically uses an integrated body structure rather than a separate conventional frame.
Construction type is only the starting point. The repair plan must also account for the exact damaged part, material strength, vehicle options, access, corrosion, prior repairs, attachment method, and the vehicle maker’s current instructions.
How Unibody Welding Repairs Work
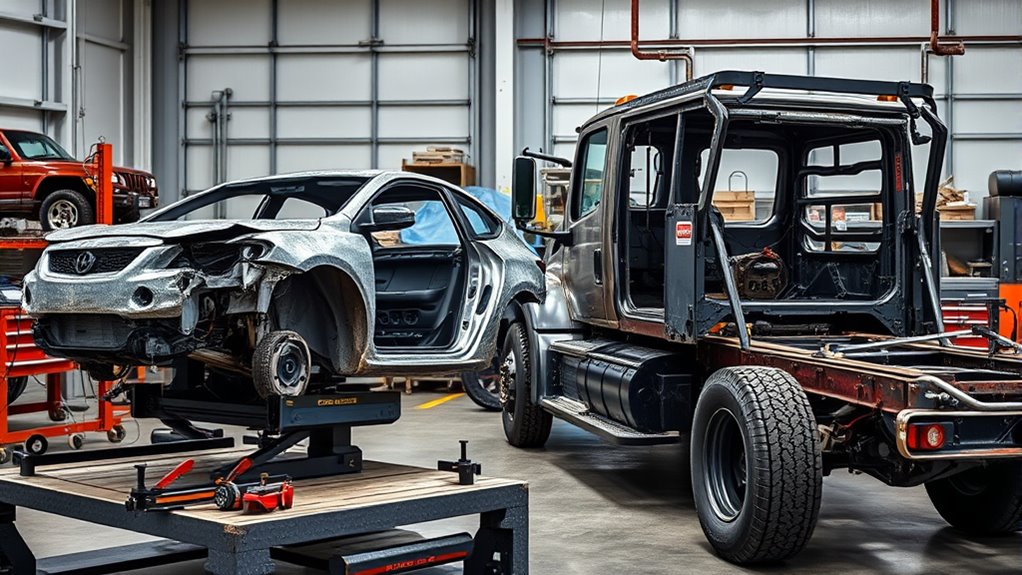
Unibody repairs begin with a complete damage analysis. The technician looks for bends, tears, kinks, crushed sections, broken attachment points, and movement beyond the visible impact area. The shop should also check panel gaps, door openings, glass openings, suspension mounts, steering mounts, and sensor mounting areas.
Next, the vehicle is measured against factory dimensions. Computerized, laser, or mechanical measuring equipment can track datum points, rail positions, suspension locations, body openings, and welded junctions before, during, and after straightening.
The technician then identifies the material and retrieves the exact repair procedure. Depending on the vehicle, the approved attachment method may include:
- MIG/MAG plug, slot, stitch, or seam welds
- Squeeze-type resistance spot welds
- MIG brazing
- Weld bonding with structural adhesive
- Rivets, flow-form screws, or other approved fasteners
- Complete replacement at factory seams
The repair information may specify the cut location, joint design, weld count, weld spacing, adhesive, fasteners, corrosion products, equipment settings, and areas where heat or sectioning is prohibited.
A sound unibody repair is not simply a neat bead. It is a measured and documented repair that restores the specified attachment method and designed load path.
Heat must be controlled carefully. Modern body structures may contain several grades of steel, and the repairability of each part depends on its strength, location, damage, and OEM instructions. Excessive heat can change material properties, enlarge the heat-affected zone, distort nearby panels, or damage adhesives and coatings.
After joining, the technician restores the specified primers, seam sealer, undercoating, foam, and cavity protection. The completed repair should be supported by final measurements, diagnostic results, alignment records, calibration documentation, and any weld-quality checks required by the procedure or repair program.
How Body-on-Frame Welding Repairs Work
On a body-on-frame vehicle, the body and frame are separate assemblies. Localized damage to an accessible crossmember, bracket, outrigger, body mount, or approved frame section may be easier to isolate than damage spread through a unibody shell.
That does not make every frame repair simple. A ladder or boxed frame can be diamonded, twisted, shortened, kinked, cracked, rust-thinned, or moved at the suspension and steering mounts. Cab, bed, bumper, hitch, and body-mount alignment may also change.
Some vehicle makers provide service frame sections or complete replacement frames. Others sharply restrict sectioning, heating, straightening, or welding in specific locations. The presence of thick steel does not give a technician permission to choose a weld type or joint design independently.
Frame Damage Assessment
Frame damage assessment requires more than a visual inspection. The technician should identify the exact vehicle configuration and compare the frame with factory dimensions before pulling, cutting, or welding.
- Inspect both rails, crossmembers, brackets, outriggers, body mounts, hitch mounts, and bumper mounts.
- Look for diamonding, side sway, sag, twist, buckling, cracks, torn holes, rust, and previous repairs.
- Measure steering, suspension, drivetrain, cab, bed, and body mounting points.
- Inspect brake lines, fuel lines, wiring, exhaust parts, batteries, and other components near the damaged area.
- Confirm whether the part may be straightened, sectioned, replaced, or must remain unwelded.
If a rail is severely kinked, torn, heat-damaged, corroded, or damaged in a prohibited repair zone, replacing an approved section or the complete frame may be safer than welding a patch over weakened metal.
Welding Frame Sections
A replacement section should not be fitted until the frame has been restored to the required dimensions. Welding while the frame is still twisted, short, or out of square can lock the error into the vehicle.
The vehicle maker may specify the joint location, overlap or butt-joint design, sleeve, reinforcement, hole size, weld length, plug-weld pattern, wire, shielding gas, and corrosion treatment. Some procedures prohibit continuous welding, reinforcement plates, fish plates, drilling, heating, or sectioning outside a defined area.
MIG/MAG welding is used in many approved steel repairs, but TIG, stick, flux-core, or any other process should not be substituted simply because the shop owns the equipment. Likewise, a generic fillet-weld calculation does not replace the joint and weld dimensions in the repair manual.
Where the procedure requires it, the technician should confirm equipment setup with practice welds made on matching material and inspect or test those welds before joining the vehicle. The completed repair must have the required fusion, size, placement, profile, and number of welds.
Post-Repair Alignment
After the structure cools, the shop must verify that straightening and weld shrinkage have not moved the vehicle out of specification. On a body-on-frame vehicle, the frame, suspension points, body mounts, and body position may need separate checks.
- Recheck frame and body dimensions after pulling and welding.
- Measure suspension and steering mounting locations.
- Verify camber, caster, toe, thrust angle, and steering-wheel center where applicable.
- Inspect cab, bed, body, door, hood, bumper, and hitch alignment.
- Confirm brake-line, fuel-line, wiring, exhaust, and driveline clearance.
- Road test for pull, vibration, noise, steering offset, or unusual tire scrub.
Correct alignment protects handling, tire wear, towing stability, panel fit, sensor aiming, and long-term durability. A vehicle can look straight while still carrying a hidden twist or shifted mounting point.
Why OEM Repair Procedures Matter
The central rule of structural collision repair is to use the current vehicle-specific OEM procedure. General welding knowledge cannot identify every material, cut location, adhesive, weld count, fastener, calibration trigger, or one-time-use part on a modern vehicle.
I-CAR’s OEM information resources help repairers locate body repair manuals, technical bulletins, position statements, calibration information, and other vehicle-maker instructions. Research should begin with the exact year, make, model, body style, drivetrain, and damaged part.
The OEM information may tell the shop:
- Whether a part may be repaired, straightened, sectioned, or must be replaced
- Where a cut may be placed and where sectioning is prohibited
- Whether heat may be used during straightening
- Which welding, brazing, bonding, riveting, or fastening method is approved
- Which weld locations, quantities, spacing, and dimensions are required
- Which adhesives, sealers, foams, coatings, and fasteners must be used
- Which parts and fasteners are one-time-use
- Which electrical, restraint, steering, or ADAS procedures are required after repair
Similar-looking vehicles can have different body materials and procedures, even within the same model family. A procedure from another model year, cab style, wheelbase, trim level, or powertrain should not be assumed to apply.
Pro Tip: Ask the repair shop to list the OEM procedure used and provide before-and-after measurements, scan reports, alignment results, calibration records, and photos taken before closed panels or trim hide the repair.
Repair-or-Replace Decision Workflow
A professional repair plan should follow a defined sequence instead of beginning with a preferred welding process.
- Identify the vehicle: Verify the VIN, model year, body style, wheelbase, drivetrain, powertrain, and relevant build options.
- Retrieve current information: Obtain the vehicle-specific body repair manual, technical bulletins, position statements, material maps, and calibration instructions.
- Measure the complete structure: Record visible and hidden movement before straightening or disassembly changes the evidence.
- Identify the material: Confirm whether the damaged part is mild steel, HSS, UHSS, press-hardened steel, aluminum, composite, or a mixed-material assembly.
- Classify the damage: Distinguish smooth bends from kinks, tears, cracks, crush damage, heat damage, corrosion, and moved mounting points.
- Check repairability: Determine whether straightening, sectioning, partial replacement, factory-seam replacement, or complete assembly replacement is allowed.
- Select the approved attachment method: Follow the required weld, braze, adhesive, rivet, fastener, or combined procedure.
- Protect the vehicle: Complete electrical isolation, high-voltage disable, SRS precautions, component removal, fire protection, and access preparation.
- Verify the repair: Inspect attachment quality, restore corrosion protection, remeasure, scan, align, calibrate, road test, and document the result.
The I-CAR OEM Partial Part Replacement Search can help identify whether a vehicle maker publishes sectioning or partial-replacement information. It does not replace the full vehicle-specific procedure.
Why Welding Matters in Structural Repairs
Structural welding restores more than appearance. Correctly placed welds and other attachments reconnect the parts that carry normal driving loads and manage crash energy.
In a unibody vehicle, rails, rockers, pillars, floors, aprons, and crossmembers work as a connected system. Missing, misplaced, undersized, contaminated, or overheated welds may change load transfer, panel stiffness, suspension geometry, and occupant-compartment protection.
In body-on-frame construction, repairs can carry suspension impacts, towing loads, payload stress, engine or drivetrain forces, and continuous road vibration. A weld can fail even when the bead looks smooth if it lacks fusion, is placed outside the permitted area, joins rust-thinned metal, or is part of an unapproved joint design.
MIG/MAG welding, resistance spot welding, MIG brazing, weld bonding, riveting, and structural adhesive can all be correct in the right location. Understanding general automotive sheet-metal welding processes is useful, but vehicle-specific repair information remains the final authority for structural work.
How Frame Damage Gets Straightened
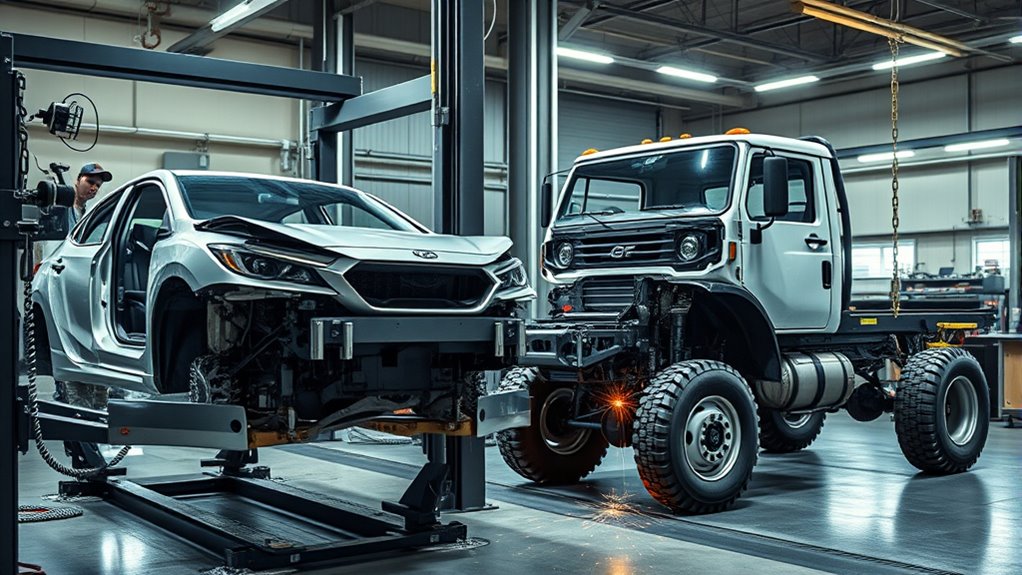
Frame straightening begins with measurement and anchoring. The technician determines how far the structure moved, where the impact energy traveled, and which points can be used for controlled pulls without causing more damage.
On a body-on-frame vehicle, the separate frame can often be anchored and measured independently. On a unibody vehicle, the shop may need to monitor multiple points through the rails, floor, rockers, pillars, aprons, roof structure, and suspension mounting areas.
Pulls are made in stages, with measurements taken throughout the process. The technician may need to reverse the sequence of collision damage rather than pulling only at the most visibly bent point.
Heat must not be used unless the vehicle maker permits it for that exact part and material. Cold straightening may also be prohibited on some high-strength components. Straightening rules are based on material properties and vehicle design, not only the thickness of the metal.
Assessing Bent Frame Rails
Before straightening, the technician must determine whether the rail has a smooth bend, kink, twist, crush, tear, crack, shortened section, damaged hole, corrosion, or prior heat exposure.
- Compare rail and mounting-point positions with factory dimensions.
- Identify the beginning and end of the damaged area.
- Check crush initiators and engineered deformation zones.
- Inspect nearby suspension, steering, bumper, hitch, drivetrain, and body mounts.
- Determine the rail’s material and whether straightening is allowed.
- Confirm whether a service section or complete replacement assembly is available.
A smooth bend in a repairable material may respond to controlled pulling. A kink, tear, crack, severe crush, heat-damaged area, or prohibited high-strength section may require replacement instead.
Pulling a Frame Back into Specification
Once the damage is mapped, the shop anchors the vehicle and applies controlled force in the required direction. Measuring during the pull helps prevent overcorrection and reveals movement in nearby areas.
Body-on-frame pulling may be more direct when damage is confined to the separate frame. A similar impact on a unibody vehicle may move a rail, apron, rocker, floor, strut tower, pillar, and door opening together.
After each major pull, the technician should release force and recheck the structure. Measurements taken only while hydraulic pressure is applied can hide springback.
Proper straightening restores mounting-point location, panel fit, suspension geometry, and designed load paths. Poor straightening can leave tire wear, steering pull, wind noise, water leaks, uneven gaps, driveline vibration, or unstable handling.
Which Unibody Sections Can Be Repaired
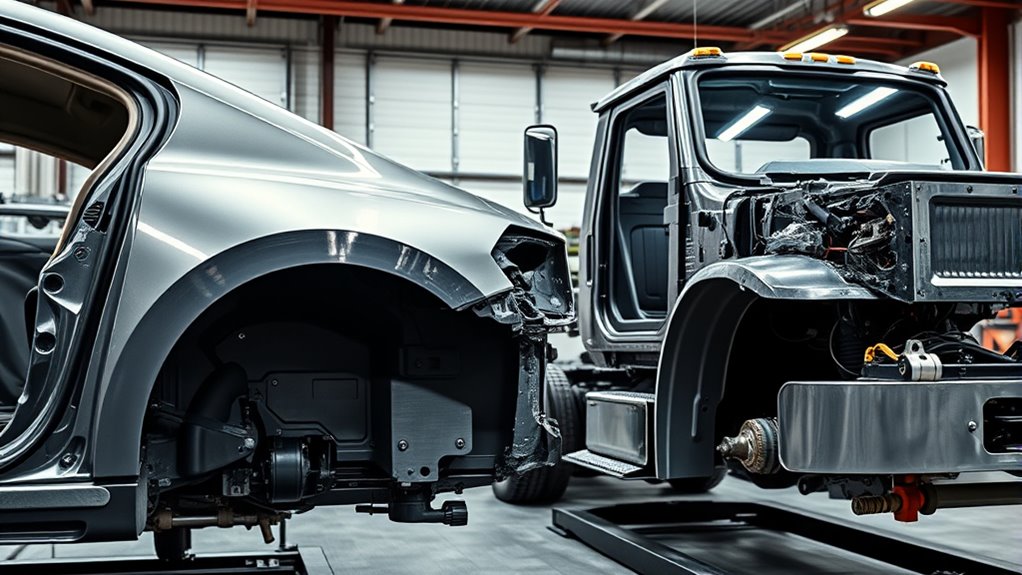
Some unibody parts can be repaired or sectioned, but only when the vehicle maker permits the operation. There is no universal list that applies to every vehicle.
Depending on the procedure, serviceable areas may include frame extensions, crush boxes, rear body panels, tail extensions, aprons, outer rockers, quarter-panel structures, or specific rail sections. Reinforcements and press-hardened parts often have tighter restrictions than exterior panels.
- Frame extensions or crush boxes may be replaced when an approved service procedure exists.
- Rear body panels and tail extensions may be replaceable at factory seams or stated cut locations.
- Rail, rocker, apron, and pillar sections may be cut only where the repair information permits.
- Reinforcements may require complete replacement rather than sectioning.
- Welded junctions require the specified preparation, attachment method, seam sealing, and cavity protection.
Clean metal and close fit-up are necessary, but they are not enough. Structural repair also depends on the approved cut, joint design, overlap, weld spacing, adhesive use, fasteners, access, and corrosion-restoration sequence.
Materials That Change the Repair Plan
Modern vehicles may combine mild steel, several grades of high-strength steel, press-hardened steel, aluminum, composites, structural adhesives, and mechanical fasteners. Different materials may appear in adjacent layers of the same joint.
Mild steel may allow more conventional straightening and welding, but only within the repair procedure. High-strength and ultra-high-strength steels can have stricter heat, straightening, and sectioning limits. Aluminum requires separate tools, dust control, and contamination prevention. Mixed-material joints may require adhesives, rivets, isolation coatings, and exact surface preparation.
The terms HSS and UHSS do not provide a complete repair instruction by themselves. The technician must identify the material strength, part location, original attachment, damage type, and vehicle-maker restrictions. I-CAR’s steel repairability guidance directs repairers to current OEM information for the specific material and part.
When Welding or Straightening May Be Prohibited
Replacement may be required when the damaged area cannot be restored without changing its material properties, shape, attachment, or designed crash behavior.
Possible no-repair conditions include:
- A cut or sectioning location not approved by the vehicle maker
- A kinked, torn, cracked, or severely crushed non-repairable structural part
- Heat damage or previous unapproved heating
- Corrosion that has reduced the usable metal thickness
- A damaged press-hardened or ultra-high-strength reinforcement that cannot be straightened
- A suspension, steering, seat-belt, airbag, or body mounting area outside repair limits
- A frame or rail for which the OEM specifies complete replacement
- An inaccessible joint that cannot receive the required welds, adhesive, fasteners, or corrosion protection
Do not cover cracks, rust, torn holes, or crushed metal with reinforcement plates unless a vehicle-specific procedure expressly requires that design. Adding metal can create a new stiffness change and move stress into an unintended location.
Pre-Weld Vehicle and EV Safety Checks
Before welding, the shop must protect the technician, the vehicle, and anyone who may later work around the repaired area. The required shutdown sequence varies by vehicle.
- Follow the OEM procedure for disconnecting and reconnecting the 12-volt system.
- For a hybrid or EV, locate and follow the exact high-voltage disable procedure and required waiting period.
- Verify the state of the high-voltage system using the tools and method specified by the vehicle maker.
- Identify high-voltage cables, battery enclosures, charging components, inverters, and electric drive units near the repair.
- Review SRS procedures for airbags, pretensioners, rollover sensors, impact sensors, and pyrotechnic battery disconnects.
- Remove or protect modules, cameras, radar units, sensors, wiring, grounds, and electronic parts near the weld.
- Place the welding work clamp as close to the weld as the approved repair setup allows, keeping the current path away from bearings, modules, wiring, and electronic systems.
- Inspect both sides of the work area for carpet, trim, foam, seam sealer, cavity wax, fuel lines, brake lines, hoses, sound insulation, and other hidden flammables.
- Keep suitable fire-extinguishing equipment available and inspect the area during and after welding.
The I-CAR OEM Hybrid and Electric Vehicle Disable Search helps technicians locate vehicle-specific high-voltage information. It is a research aid, not a substitute for the complete OEM procedure and required high-voltage training.
Warning: Disconnecting the 12-volt battery does not by itself make a hybrid or EV safe to weld. High-voltage energy, retained electrical charge, automatic contactor behavior, pyrotechnic devices, and damaged battery components require vehicle-specific isolation procedures and trained personnel.
Tools Used for Welding Repairs
Structural repairs require more than a welding machine. The necessary equipment depends on the vehicle’s construction, material, damage, and approved repair method.
A professional setup may include:
- Access to current OEM repair information and position statements
- A frame bench or approved anchoring and pulling system
- Computerized, laser, or mechanical measuring equipment
- MIG/MAG welding equipment with the specified wire and shielding gas
- A squeeze-type resistance spot welder where required
- MIG brazing equipment where specified
- Rivet, flow-form screw, or approved fastening tools
- Structural-adhesive dispensing, surface-preparation, and curing equipment
- Clamps, fixtures, jigs, tram gauges, and alignment tools
- Scan tools, battery-support equipment, and ADAS calibration equipment
- Seam sealer, cavity wax, primers, coatings, foam, and other approved corrosion products
- Welding PPE, ventilation, screens, fire blankets, and extinguishing equipment
Equipment capability matters. A welder must provide the current, squeeze force, pulse control, access, and repeatability required for the specified attachment. Owning a welder does not prove that it is suitable for every modern structural joint.
Products Worth Considering
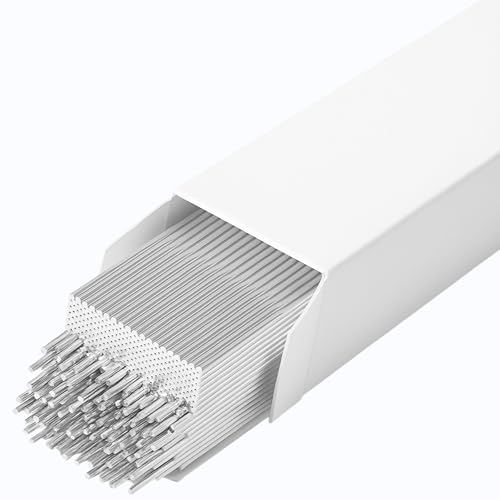
Made in Canada to meet AWS A5.10 ER5356 standards

Automotive Bodywork and Rust Repair

Perfect for construction, home decoration, industry machinery equipment, crafting models, furniture frames, art installations, or repair supports. Use in robotics, shelving, garden structures, or automotive. Its compact size and lightweight is applicable to a diverse range of projects.
Welding Equipment Essentials
The welding setup must match the material and procedure. Thin unibody sheet metal may require controlled heat and repeatable weld placement. A body-on-frame rail may be thicker, but its joint design and repair zone can be more restrictive.
Before welding, the technician should verify:
- The approved process and transfer mode
- Wire alloy and diameter
- Shielding-gas type and flow
- Electrode tips, arm reach, and squeeze force for resistance welding
- Joint fit, overlap, hole dimensions, weld length, and weld spacing
- Surface preparation and coating removal
- Adhesive type, bead location, open time, and curing requirements
- Practice-weld or destructive-test requirements
- Access for corrosion protection after joining
Do not replace a required spot weld with a plug weld, a required brazed joint with fusion welding, or a bonded-and-riveted joint with welds unless the vehicle maker provides an approved alternative.
Products Worth Considering

Heavy-Duty HSS Spot Weld Cutter : Made from premium High-Speed Steel (HSS) with cutting edge hardness up to 63–66 HRC, this spot weld cutter delivers exceptional durability, sharpness, and strong penetration power for fast and efficient metal cutting

Durable HSS Construction: Our spot weld cutter set is made of HSS for better durability and wear resistance. The double-sided blades ensure long-term use and consistent performance, making it the ideal tool of choice for metal cutting

Separates Spot Welded Panels.
Precision Measuring Tools
Precision measuring tools turn a visual repair into a verifiable structural repair. Computerized systems, lasers, tram gauges, dedicated fixtures, and frame benches help identify movement before the first pull or cut.
Measurements should be taken before straightening, after major pulls, during replacement-part fit-up, and after welding. Heat and weld shrinkage can move a structure that measured correctly before joining.
Good documentation may include:
- Initial and final structural measurement reports
- Suspension and steering mounting-point measurements
- Wheel-alignment printouts
- Weld settings and test-weld records where required
- Pre-repair and post-repair scan reports
- Calibration results
- Repair-stage photographs
These records help show that the vehicle was restored to the stated dimensions and procedures rather than merely made to look straight.
Safety Risks of Poor Weld Repairs
Poor structural repairs can weaken load paths, change stiffness, accelerate corrosion, and reduce the performance of related safety systems. Appearance alone cannot show whether a rail, pillar, frame, or welded junction has been restored correctly.
Judge a structural repair by its OEM-procedure compliance, measurements, attachment quality, corrosion protection, scans, calibrations, and final inspections—not by the visible bead alone.
- Weak or misplaced welds may crack, fatigue, or separate under load.
- Excess heat may alter a heat-sensitive structural material or distort adjacent parts.
- An unapproved cut may interrupt a designed crash-load path.
- An unnecessary reinforcement may create a harmful stiffness change.
- Missing primer, seam sealer, coating, or cavity wax can allow hidden corrosion.
- Damaged wiring or modules can create faults that are not shown by a warning light.
- Skipped calibration can leave a camera, radar, steering, or blind-spot system outside its required setup.
- Welding near hidden foam, sealer, trim, fuel, or electrical components can cause fire or toxic fumes.
OSHA’s welding, cutting, and brazing requirements address fire prevention, eye and face protection, ventilation, screens, equipment handling, and safe work areas. Vehicle-specific hazards require additional OEM procedures and technician training.
Why Unibody Repairs Require Precision
Unibody repair requires close control because the body and structure are integrated. A change in a rail, rocker, pillar, apron, floor, roof rail, or suspension area can affect nearby dimensions and load paths.
The technician must map the damage, restore the structure in the proper sequence, fit replacement parts accurately, use the approved attachment method, and recheck the vehicle after joining. Small dimensional errors can affect panel gaps, glass fit, weather sealing, suspension geometry, steering, tire wear, sensor mounting, and calibration.
Precision also applies to weld placement. More welds are not automatically better. Extra welds, long continuous beads, reinforcement plates, or excessive heat can make an area stiffer than designed or damage adjacent materials.
When Body-on-Frame Repairs May Be More Direct
Body-on-frame repairs may be more direct when damage is limited to an accessible, separately measurable frame component and the vehicle maker provides an approved repair or service section.
- The body can sometimes be measured separately from the frame.
- An exposed crossmember, bracket, outrigger, or service section may offer better access.
- A complete frame may be available when localized repair is prohibited or impractical.
- Body mounts can help isolate whether movement is in the frame, body, or both.
However, construction type does not guarantee a cheaper or easier repair. Boxed rails, severe twist, hidden corrosion, damaged suspension mounts, crushed engineered zones, unavailable service parts, and cab or bed alignment problems can make a body-on-frame repair extensive.
When sectioning is permitted, accurate layout, controlled cutting, and close fit-up remain essential. General precision metal-cutting methods can explain tool behavior, but the OEM procedure must determine the cut location and permitted equipment.
Post-Repair Checks After Structural Welding
A structural repair is not complete when the weld cools. The vehicle should be checked structurally, mechanically, electronically, and cosmetically before delivery.
- Structural measurement: Confirm all required frame or unibody points are within the stated tolerance.
- Attachment inspection: Check weld placement, quantity, size, fusion, profile, porosity, cracks, burn-through, fasteners, and adhesive squeeze-out where applicable.
- Corrosion protection: Restore the specified primer, seam sealer, undercoating, cavity wax, foam, coatings, and drain openings.
- Mechanical inspection: Verify suspension, steering, body mounts, drivetrain clearance, brake lines, fuel lines, wiring, and exhaust components.
- Wheel alignment: Check the required alignment angles, thrust line, ride height, and steering-wheel center.
- Diagnostic scan: Complete pre-repair and post-repair scanning when required by the vehicle maker or repair plan.
- ADAS and system calibration: Perform calibrations, initializations, aiming, or relearns triggered by the repair.
- SRS verification: Complete required restraint-system inspections, replacements, scans, and initializations.
- Leak and fit checks: Inspect doors, glass, seams, drains, weather seals, and repaired joints for water or wind leaks.
- Road test: Check warning lights, pull, steering response, vibration, noise, braking, and other required functions.
The I-CAR OEM Calibration Requirements Search can help identify systems and events that may trigger calibration. The exact vehicle-maker procedure remains mandatory because requirements can differ by year, model, trim, equipment, and repaired part.
How to Choose a Structural Repair Shop
Choose a shop that can explain how it researches and documents unibody and body-on-frame structural repairs. Certification logos are useful, but equipment, current repair information, technician capability, and documented procedures matter more than a general claim that the shop “does frame work.”
A qualified structural repair shop should be able to show which OEM procedure applies, how the vehicle was measured, which attachment method was used, and how the completed repair was verified.
Ask these questions before approving the repair:
- Will you verify the repair procedure for my exact VIN, year, model, body style, and damaged part?
- Do you have access to current OEM repair manuals and position statements?
- Do you use a computerized, laser, or approved mechanical measuring system?
- Will I receive before-and-after structural measurements?
- How will you identify the material and determine whether it can be straightened or sectioned?
- Which welding, brazing, bonding, riveting, or fastening method does the procedure require?
- How will you protect electrical, SRS, hybrid, or high-voltage systems?
- How will corrosion protection be restored inside closed sections?
- Will you perform and document the required scans, alignment, and ADAS calibrations?
- Are the technicians trained for the material and equipment used on this repair?
- Will you provide repair-stage photos and a written warranty?
A competent shop should answer clearly and avoid promising a welding method before it has researched the vehicle. It should also maintain appropriate welding protective clothing, ventilation, eye protection, vehicle shielding, and fire-prevention equipment.
Frequently Asked Questions
Which is more expensive to repair: body-on-frame or unibody?
Neither construction type is always more expensive. Cost depends on the damaged part, material, labor access, required equipment, part availability, corrosion, sectioning permission, scans, calibrations, and the amount of straightening or replacement work. An isolated frame bracket may be simpler than a unibody rail repair, while a twisted or corroded frame can cost more than many unibody repairs.
What are the disadvantages of unibody construction after a collision?
Because the body shell is the main structure, impact damage can affect several connected areas at once. Repairs may require more measuring points, controlled sectioning, exact weld placement, careful heat control, and checks of suspension or sensor mounting locations. The repair difficulty still depends on the exact vehicle and damage.
What are the advantages of body-on-frame construction?
Body-on-frame construction can support heavy towing, payload, and rugged-use designs. During collision repair, a separate frame can sometimes be inspected, measured, or replaced independently from the body. However, severe twist, boxed-rail damage, corrosion, or moved suspension mounts can still require extensive structural work.
Do unibody cars have pinch welds?
Yes. Many unibody vehicles have pinch-welded seams along areas such as the rockers, floor, wheel openings, and lower body structure. Some pinch welds also serve as designated lifting points. They should be inspected after collision damage or improper lifting because crushed or torn seams can affect panel fit, corrosion protection, and structural joints.
Can a bent unibody structure be straightened?
Sometimes. Straightening may be allowed when the material and damage remain within the vehicle maker’s limits. Kinked, torn, cracked, heat-damaged, press-hardened, or other restricted sections may require replacement. The shop should identify the material and measure the structure before, during, and after the repair.
Is MIG welding always correct for structural auto repair?
No. MIG/MAG welding is common, but some repairs require resistance spot welding, MIG brazing, structural adhesive, rivets, weld bonding, special fasteners, or complete part replacement. The correct method must come from the procedure for the exact vehicle and part.
Can a body-on-frame rail be welded?
Only when the vehicle maker permits welding at that location and provides an approved procedure or repair method. Some rails allow specific service-section repairs, while others restrict welding, heating, drilling, reinforcement, or sectioning. Rust, cracks, kinks, and previous repairs can also make replacement the safer choice.
Is disconnecting the 12-volt battery enough before welding an EV?
No. A hybrid or EV may retain high-voltage energy even when the 12-volt battery is disconnected. A trained technician must follow the exact OEM high-voltage disable procedure, observe the stated wait time, verify the system as required, and address nearby high-voltage components, batteries, cables, modules, and pyrotechnic devices.
Does every structural repair require ADAS calibration?
Not every repair triggers every calibration. Requirements depend on the vehicle, installed systems, damaged area, parts removed, wheel alignment, sensor mounting locations, diagnostic trouble codes, and OEM instructions. The shop should research and document the calibration events for the exact vehicle.
Conclusion
The difference between unibody and body-on-frame repair begins with how each vehicle carries force. A unibody depends on an integrated shell, so cuts, pulls, welds, adhesives, and measurements can affect several connected parts. A body-on-frame vehicle has a separate frame, which may make isolated damage easier to access, but its rails, mounts, crossmembers, and crush sections still require exact repair decisions.
Neither design should be repaired by choosing a welding process from metal thickness alone. The safe approach is to identify the exact vehicle, retrieve current OEM information, measure the complete structure, confirm the material, determine whether repair or replacement is permitted, protect electrical and high-voltage systems, use the approved attachment method, restore corrosion protection, and document all final checks.
Choose a shop that can show its repair procedure, measurements, technician training, scans, alignment results, calibrations, and repair-stage documentation. Those records provide far more evidence of a sound structural repair than a smooth-looking weld bead.
Sources
- I-CAR OEM Information — access points for vehicle-maker repair manuals, position statements, technical information, and collision-repair resources.
- I-CAR OEM Partial Part Replacement Search — vehicle-maker information on sectioning and partial replacement at approved locations or factory seams.
- I-CAR Steel Repairability — material-specific repairability guidance and the need to follow current vehicle-specific procedures.
- I-CAR OEM Hybrid and Electric Vehicle Disable Search — resources for locating vehicle-specific high-voltage components and disable procedures.
- I-CAR OEM Calibration Requirements Search — ADAS equipment, scan-tool, aiming, initialization, and calibration considerations.
- OSHA 29 CFR 1910.252 — welding and cutting requirements covering fire prevention, eye and face protection, ventilation, and safe work practices.




