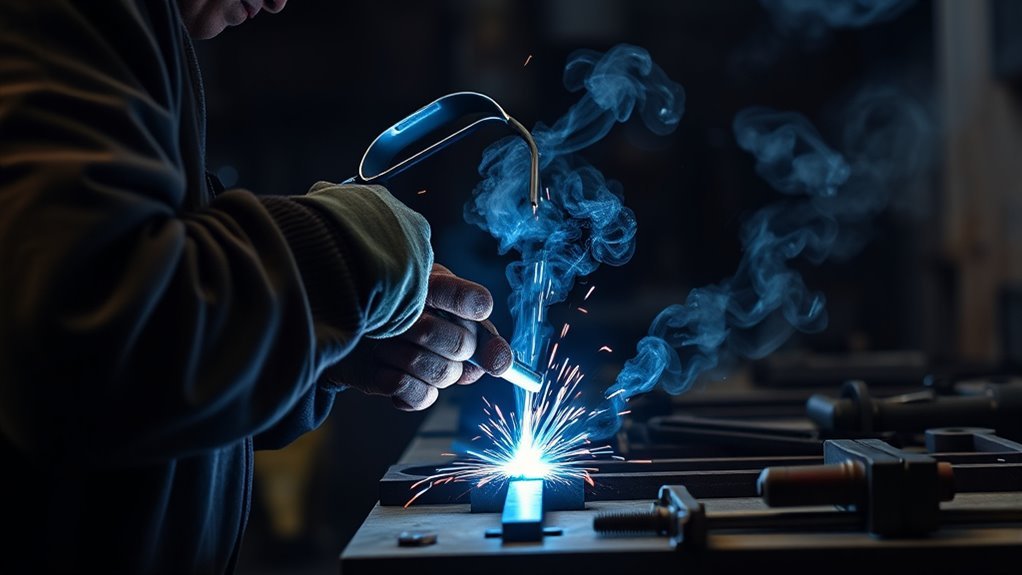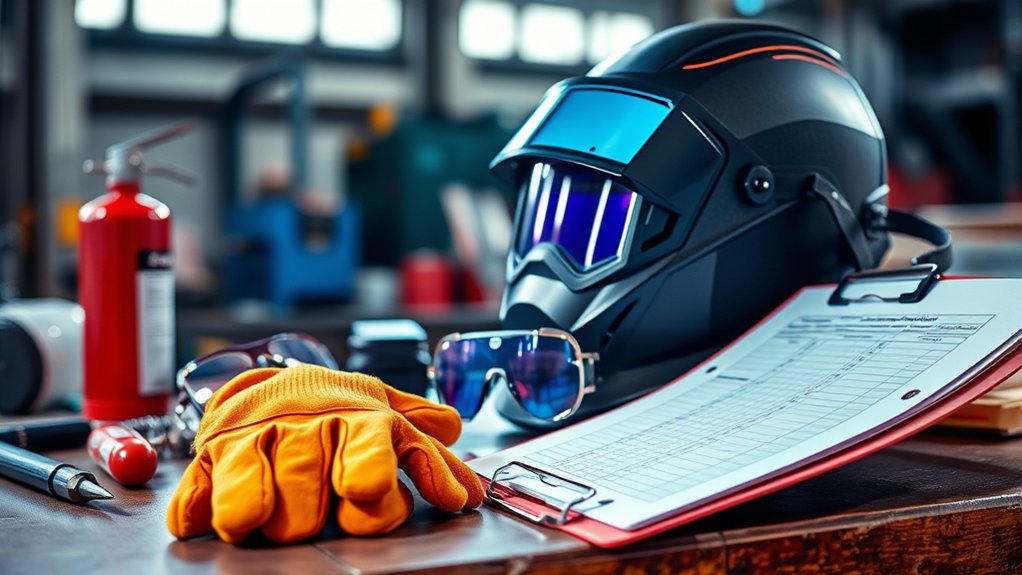
Before you start welding, slow down long enough to prove the job is safe. A good welding safety checklist helps you inspect your machine, PPE, work area, ventilation, fire controls, electrical connections, materials, and emergency plan before you strike an arc. It does not replace your employer’s hot-work permit, OSHA rules, local codes, or the manufacturer’s manual, but it gives you a clear pre-start routine that catches common hazards.
Quick Answer
Before welding, check your PPE, machine, cables, work clamp, gas hoses, ventilation, fire protection, nearby combustibles, SDS information, and emergency access. Clear or shield combustibles, confirm the correct lens shade and respirator needs, verify safe electrical connections, and stop if fumes, fuel vapors, damaged equipment, or fire hazards remain uncontrolled.
Key Takeaways
- Inspect PPE first: helmet, filter shade, safety glasses, gloves, flame-resistant clothing, boots, hearing protection, and any required respirator.
- Check the welder, cables, work clamp, electrode holder or gun, gas hose, regulator, and cylinder before use.
- Move combustibles at least 35 feet away when possible, or shield them with fire-resistant covers or metal guards.
- Use ventilation or local exhaust that controls fumes at the source, especially indoors, in small spaces, or on coated metals.
- Review Safety Data Sheets (SDS), formerly MSDS, for filler metal, flux, coatings, cleaners, and any hazardous material involved in the job.
At a Glance
| Time Required | 5 to 15 minutes before each welding job |
| Difficulty | Beginner-friendly, but confined spaces, tanks, fuel systems, or unknown coatings require qualified supervision |
| Tools Needed | PPE, welding machine manual, fire extinguisher, fire blanket or shields, fume extractor when needed, multimeter or tester when qualified, SDS access, communication device |
| Cost | Usually $0 if safety gear and fire protection are already in place; extra cost may apply for fume extraction, replacement PPE, or repairs |
Warning: Do not weld if you smell fuel or solvent vapors, see damaged electrical insulation, cannot control fumes, lack the correct PPE, cannot remove or shield combustibles, or do not know what coating or material you are heating. Stop and get qualified help before continuing.
Why a Welding Safety Checklist Is Essential
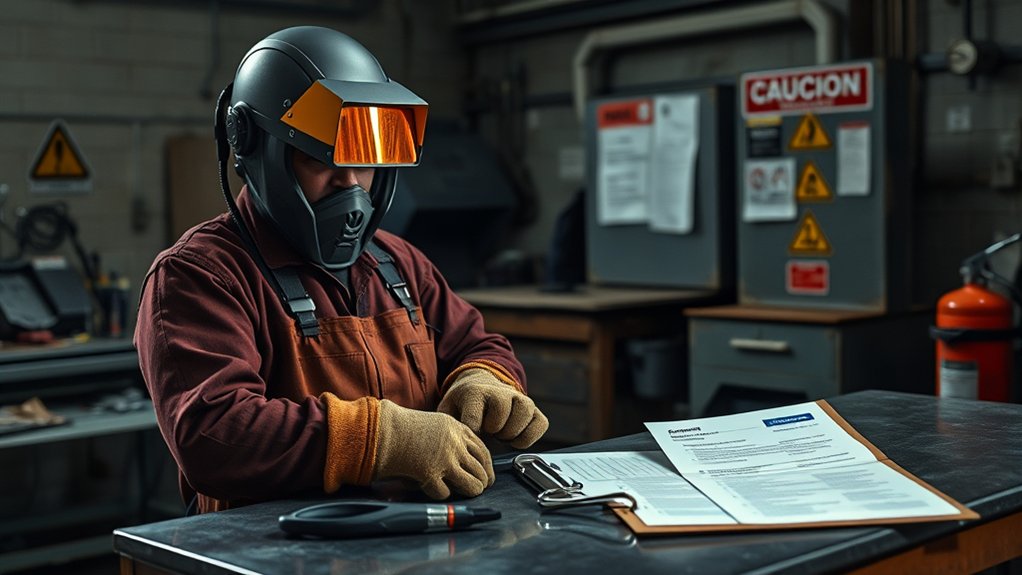
A welding safety checklist is your first line of defense against burns, eye injuries, electric shock, fire, explosion, and fume exposure. Welding creates heat, sparks, ultraviolet radiation, metal fumes, and electrical hazards, so you need a repeatable way to check the job before work begins.
The checklist also helps you work with OSHA-aligned safety habits. OSHA’s welding, cutting, and brazing standard covers fire prevention, ventilation, eye protection, confined spaces, and hot-work precautions. Your workplace may also require a written hot-work permit before welding outside a designated welding area.
For the best results, treat the checklist as a go/no-go decision. If one item fails, fix it before you weld. Do not rely on luck, habit, or “just one quick tack” when fire, fumes, or electrical risk is still present.
Pre-Welding Safety Checklist
Use this quick checklist before each job. It works for MIG, TIG, stick, flux-core, and oxy-fuel cutting or heating, but you should always follow the instructions for your specific process and machine.
- Confirm training and authorization: Make sure you are trained for the process and have any required hot-work permit.
- Read the job plan: Know the base metal, filler metal, joint location, coating, nearby hazards, and finish requirements.
- Inspect PPE: Check your helmet, lens shade, safety glasses, gloves, clothing, boots, hearing protection, and respirator needs.
- Inspect equipment: Look over the welder, leads, gun or electrode holder, work clamp, gas hose, regulator, and cylinder.
- Clear the area: Remove clutter, dry leaves, rags, cardboard, sawdust, solvents, aerosol cans, and other combustibles.
- Control fire risk: Move combustibles at least 35 feet away where practical, or shield them with fire-resistant covers or metal guards.
- Check ventilation: Use local exhaust or fume extraction when fumes cannot be controlled by natural ventilation.
- Review SDS information: Check hazards for filler metal, flux, coatings, degreasers, paints, and cleaning chemicals.
- Verify electrical safety: Keep leads dry, intact, correctly sized, and routed away from walkways.
- Prepare for emergencies: Confirm fire extinguishers, exits, alarms, communication devices, and first aid are ready.
Pro Tip: Take a photo of your cleared work area and fire protection before starting a longer weld. It gives you a quick reference if conditions change during the job.
Understanding Your Welding Equipment
Safe welding starts with knowing the exact machine and process you are using. A small 120-volt MIG unit, a TIG machine with high-frequency start, a stick welder, and an oxy-fuel setup all have different checks. Read the owner’s manual before use, especially if you are setting amperage, polarity, shielding gas, duty cycle, or wire feed for the first time.
For MIG setup details, a guide such as proper wire and gas selection can help with process basics, but the final safety authority is your machine manual, workplace procedure, and the job conditions in front of you.
Products Worth Considering
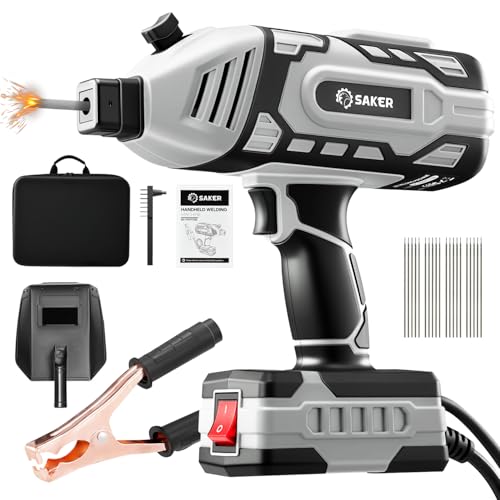
PORTABLE WELDER WITH ADVANCED IGBT INVERTER TECHNOLOGY: Saker 110V portable welder features advanced IGBT inverter technology, providing high no-load voltage and enhanced arc stability. This unit helps maintain consistent current output for improved welding performance and easier arc starting. The current adjustment function assists in achieving cleaner welds with reduced spatter, suitable for materials including carbon steel and iron.

Step-by-step procedures written from a complete teardown and rebuild, giving you the confidence to tackle repairs at any skill level.
Key Equipment Features
Before welding, identify the power switch, output controls, polarity settings, work clamp connection, gas inlet, fan vents, overload indicator, and emergency shut-off method. Make sure covers are in place and the machine is not packed with grinding dust, metal shavings, or debris.
Check your process setup:
- MIG / flux-core: Confirm drive roll size, wire type, liner condition, gun connection, contact tip, nozzle, and shielding gas if used.
- TIG: Check torch parts, tungsten condition, cup, collet, gas flow, foot pedal or torch switch, and ground connection.
- Stick: Inspect electrode holder, stinger insulation, electrode type, amperage range, and cable condition.
- Oxy-fuel: Check regulators, flashback arrestors, hoses, torch valves, cylinder storage, and leak testing procedures.
Maintenance Procedures Overview
Regular maintenance keeps small defects from becoming dangerous failures. Before each use, look for cracked insulation, loose cable lugs, clogged vents, damaged plugs, leaking gas fittings, worn torch parts, kinked hoses, and unstable carts. Keep records for repairs, inspections, and replaced parts if you weld in a shop or workplace setting.
Do not bypass guards, overload protection, cooling fans, or safety switches. If the machine trips a breaker repeatedly, smells hot, arcs erratically, or shocks you, stop and tag it out for qualified inspection.
Safety Device Checks
Check every safety device before the job. Make sure the work clamp bites onto clean, bare metal or a proper work return point, not paint, rust, or a loose fixture. Confirm gas cylinders are upright, capped when moved, secured from falling, and kept away from sparks and heat. For oxygen cylinder handling and storage details, review oxygen cylinder storage requirements.
Test torch valves, flowmeters, and regulators according to the manufacturer’s instructions. If you suspect a gas leak, do not use a flame to check it. Use the approved leak-check method for your workplace and shut the cylinder valve if the leak cannot be corrected.
How to Inspect Your PPE for Maximum Safety
Your personal protective equipment should match the welding process, amperage, material, position, and environment. OSHA requires suitable eye and face protection when workers are exposed to flying particles, molten metal, chemical hazards, or harmful light radiation, and filter lenses must have shade numbers appropriate for the work being performed. You can verify minimum shade guidance in OSHA’s eye and face protection standard.
- Welding helmet: Check the shell, headgear, cover lens, filter lens, and shade setting. Auto-darkening helmets should switch correctly and have charged batteries if required.
- Safety glasses: Wear safety glasses under the helmet. Use side protection when grinding, chipping, wire brushing, or working near flying particles.
- Gloves: Inspect for holes, oil, torn seams, wet leather, or burned fingertips. Use TIG gloves for dexterity only when heat exposure allows it.
- Clothing: Wear flame-resistant clothing or welding leathers. Avoid synthetic fabrics that can melt onto skin.
- Boots: Use leather boots that cover the foot and ankle. Keep pant legs over boot tops so sparks cannot fall inside.
- Respiratory protection: Use the required respirator only when you are trained, fit-tested where required, and the cartridge or filter matches the hazard.
- Hearing protection: Wear earplugs or earmuffs when grinding, air carbon arc gouging, hammering, or welding in noisy areas.
For more PPE detail, see this related guide on protective clothing needed in arc welding.
Note: Do not wear oily gloves, oily sleeves, frayed cuffs, or open pockets while welding. Sparks and spatter can ignite contaminated clothing or collect in folds.
Products Worth Considering

[SUPERIOR QUALITY] Made of 100% cotton 6.5 oz FR material. Lightweight, soft, breathable and skin friendly.

Long lasting quality

𝐏𝐫𝐨𝐟𝐞𝐬𝐬𝐢𝐨𝐧𝐚𝐥-𝐆𝐫𝐚𝐝𝐞 𝐋𝐞𝐧𝐬 𝐂𝐨𝐚𝐭𝐢𝐧𝐠: Compared to standard safety glasses, our premium coating delivers superior performance: impact-resistant, scratch-resistant, and acid/alkali-resistant on the outside, with an advanced anti-fog treatment on the inside to maintain clear vision in changing temperature and humidity conditions. Durable and easy to clean – simply rinse with water and wipe dry.
How to Spot Hazards in Your Work Area
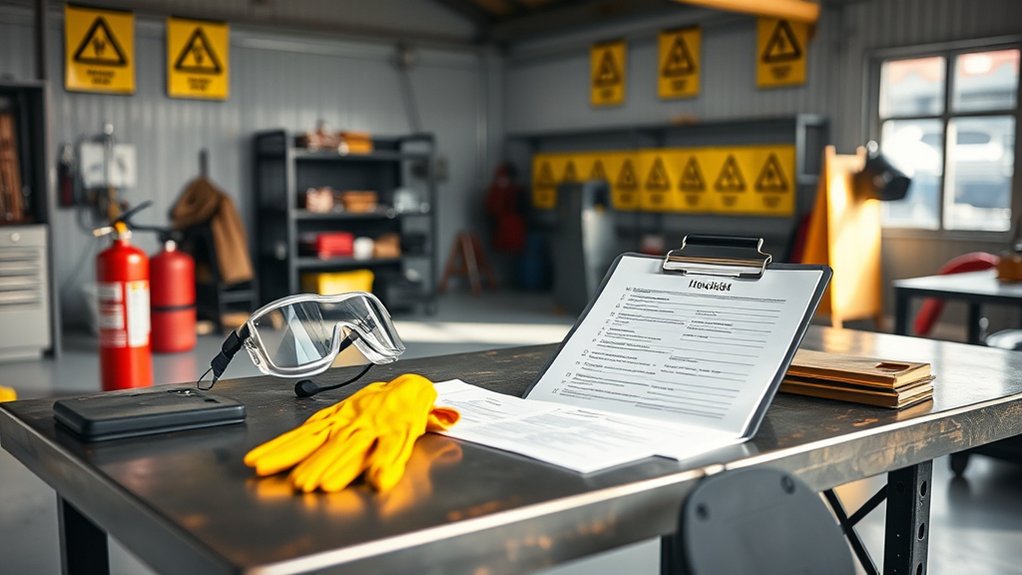
Walk the area before you set up. Look above, below, behind, and on the opposite side of the metal you plan to weld. Sparks can travel farther than expected, and heat can conduct through metal walls, pipes, panels, brackets, or partitions.
Check for these hazards:
- Combustibles: Paper, cardboard, wood, cloth, foam, plastic, leaves, dust, paint residue, insulation, and trash.
- Flammable liquids and vapors: Solvents, fuel, aerosol cans, brake cleaner, paint thinner, degreasers, and open containers.
- Explosive or unknown atmospheres: Tanks, drums, containers, vehicle fuel systems, or enclosed spaces that may hold vapors.
- Trip hazards: Leads, hoses, extension cords, clamps, scrap metal, and tools in walkways.
- Weather and water: Rain, wet floors, puddles, damp gloves, and outdoor wind that can affect shielding gas.
- Nearby workers: People who need eye protection from arc flash or shielding from sparks and fumes.
If the part was used to store fuel, oil, solvent, or chemicals, do not weld it until it has been cleaned, isolated, vented, and approved by a qualified person. OSHA warns that used drums, tanks, barrels, and similar containers must be cleaned thoroughly before hot work, and pipe connections should be disconnected or blanked where needed.
Ensuring Workspace Ventilation
Ventilation is not just about comfort. It controls welding fumes, gases, and dust before they enter your breathing zone. CDC/NIOSH notes that welding fumes are made of metals and can include manganese; exposure can vary with wire, rod, flux, base metal, and confined-space conditions. Review current NIOSH guidance on welding fumes and manganese when building shop procedures.
Proper Airflow Maintenance
Use natural ventilation only when it is enough for the job and the space. A large open shop with good air movement is different from a small garage, low-ceiling room, enclosed booth, tank, crawlspace, or partitioned area. OSHA requires mechanical ventilation in certain spaces, including rooms under specific size or ceiling-height conditions and areas where partitions or barriers restrict cross ventilation.
Before welding, ask:
- Will fumes rise into your helmet or breathing zone?
- Will fans blow fumes toward another worker?
- Are you welding galvanized, painted, plated, stainless, lead-coated, cadmium-coated, or unknown metal?
- Is the work in a confined space or an area with poor crossflow?
- Do you need local exhaust, a fume extractor, air monitoring, or respiratory protection?
Fume Extraction Systems
A fume extractor works best when the hood or nozzle is close enough to capture fumes at the source without disturbing shielding gas. Keep filters clean, check airflow, and position the extractor so fumes move away from your breathing zone. Do not use oxygen for ventilation.
Use extra caution with stainless steel, galvanized metal, cadmium, lead, fluorides, beryllium, mercury-coated materials, and painted or plated surfaces. Some of these materials require local exhaust ventilation, airline respirators, exposure assessment, or other controls depending on the setting and material.
How to Ensure Fire Safety in Your Welding Area
Fire prevention is one of the most important parts of any welding safety checklist. Sparks, slag, and conducted heat can ignite materials that are not directly under the arc.
- Move combustibles: Relocate combustible materials at least 35 feet from the work area where practical.
- Shield what cannot move: Use fire-resistant blankets, welding curtains, sheet metal, or approved guards.
- Check openings: Cover floor cracks, wall holes, door gaps, and grates where sparks can fall into hidden spaces.
- Watch the opposite side: If heat can transfer through metal to combustibles on the other side, assign a fire watch there too.
- Keep extinguishers ready: Use the correct extinguisher type for the materials nearby and keep access clear.
- Assign fire watch when needed: A trained fire watch should stay alert during the job and continue checking for smoldering fire after welding stops.
A safe welding area is not just clear at the arc. It is clear above, below, behind, and on the far side of anything that can conduct heat.
If you are welding in a workplace, confirm who can authorize hot work and who is responsible for the fire watch. Do not weld in unauthorized areas, near explosive atmospheres, near large quantities of exposed combustibles, or in a sprinklered building when sprinkler protection is impaired.
How to Check Electrical Connections Safely
Electrical problems can cause shock, burns, unstable arcs, equipment damage, and fires. Before you weld, inspect the full current path: power supply, plug, extension cord if used, machine, leads, electrode holder or gun, work clamp, and workpiece.
Inspect Wiring Insulation Integrity
Look for cracked insulation, exposed copper, crushed leads, taped-over damage, loose lugs, overheated plugs, melted connectors, and wet cable jackets. Replace damaged leads instead of hiding defects with tape. Keep welding cables away from sharp edges, hot metal, oil, water, forklift traffic, and walkways.
Verify Work Clamp Connections Securely
Attach the work clamp to clean, bare metal close to the weld when possible. Poor contact through paint, rust, mill scale, or loose fixtures can cause arc instability and overheating. For more troubleshooting help, see this guide to arc welding machine problems and solutions.
Do not confuse the work return clamp with the building grounding system. If you are unsure about grounding, circuit capacity, generator setup, extension cord sizing, or breaker trips, stop and ask a qualified electrician or supervisor.
Check Circuit Breaker Functionality
Confirm the welder is connected to a circuit that matches the machine’s rating and plug type. Do not defeat breakers, change plug ends without proper authorization, or run high-amperage machines through undersized cords. If the breaker trips, the cable heats up, or the machine behaves erratically, treat that as a safety warning, not an inconvenience.
Review Safety Data Sheets Before Welding
Before welding, review Safety Data Sheets (SDS), formerly called MSDS, for hazardous products used in the job. OSHA explains that SDSs use a consistent 16-section format and communicate chemical properties, health hazards, protective measures, and handling precautions. See OSHA’s Hazard Communication Standard: Safety Data Sheets brief for the current format.
Focus on these SDS sections before welding:
- Hazard identification: Flammability, toxicity, carcinogenicity, respiratory hazards, and reactive chemicals.
- Composition: Metals, fluxes, coatings, solvents, and additives that may produce harmful fumes.
- Fire-fighting measures: Extinguisher type and special fire hazards.
- Handling and storage: Safe storage, ventilation, and incompatibilities.
- Exposure controls / PPE: Ventilation, gloves, respirators, and eye or face protection.
- Stability and reactivity: Heat-sensitive or incompatible materials.
Be especially cautious with chlorinated brake cleaners or degreasers, painted metal, galvanized steel, stainless steel, lead-based coatings, cadmium, fluorides, and unknown coatings. Do not weld on a material if you cannot identify the coating or control the fumes.
Confirming Emergency Preparedness
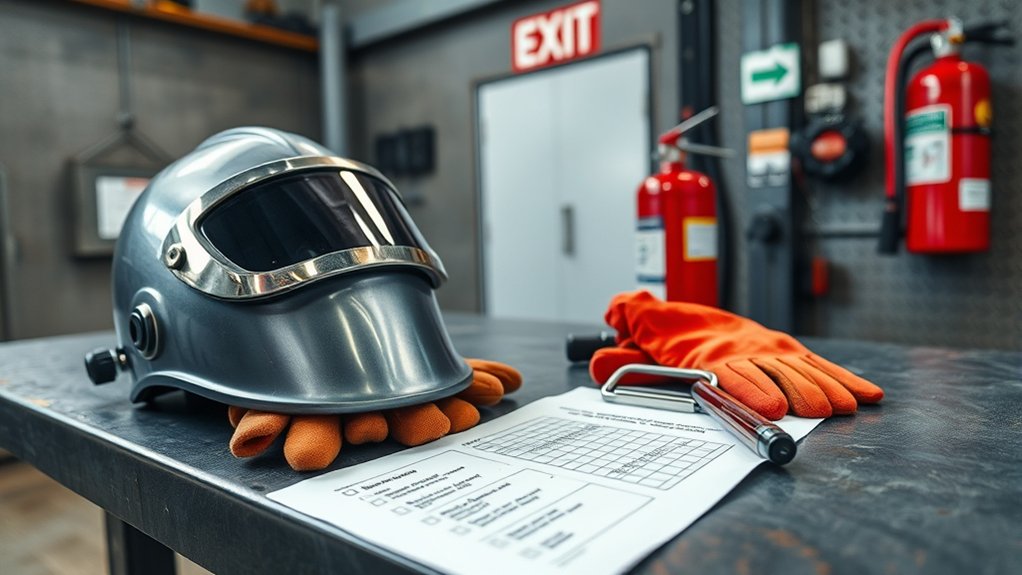
Emergency preparedness should be confirmed before the arc starts, not after something goes wrong. Make sure everyone involved knows how to stop the work, shut off power, close gas cylinders, sound an alarm, and call for help.
Check these items:
- Fire extinguishers are visible, charged, and suitable for the hazards nearby.
- Fire exits are unlocked and not blocked by leads, carts, cylinders, or scrap.
- A phone, radio, or other communication device is available.
- First-aid supplies are accessible.
- Someone knows where the main electrical disconnect and gas shutoff are located.
- A fire watch is assigned when sparks, heat transfer, or nearby combustibles create risk.
- Workers nearby are shielded from arc flash, sparks, and fumes.
After welding, do not walk away immediately. Shut down the machine, close gas valves, coil leads safely, mark hot metal if others may touch it, and recheck the area for smoke, odor, or smoldering material.
Establishing a Communication Plan With Coworkers
Clear communication prevents mistakes in noisy, busy welding areas. Before starting, agree on who is welding, who is watching for fire, who is keeping other workers out of the arc-flash zone, and who can stop the job.
Use simple signals when grinders, fans, compressors, or other machines make speech hard to hear. In a workplace, review the hot-work permit, job hazard analysis, lockout/tagout needs, confined-space plan, and emergency contacts before the first weld. Encourage anyone on the crew to speak up if they see smoke, smell vapors, notice damaged gear, or feel symptoms from fumes.
Post-Weld Shutdown Check
The job is not finished when the bead is done. Many welding fires start after the welder leaves because sparks settle into cracks, insulation, dust, or hidden cavities.
- Turn off the welder and gas supply according to the machine procedure.
- Remove electrodes from holders when the work pauses for a substantial time.
- Place the electrode holder or torch where it cannot contact metal accidentally.
- Mark hot workpieces or guard them so others do not touch them.
- Inspect the floor, walls, opposite side of the work, and nearby openings.
- Keep the fire watch in place when required, including the post-work check period.
- Store cylinders, cables, PPE, and tools safely after the area is cool.
Frequently Asked Questions
What should be checked before starting a welding operation?
Check your PPE, welding machine, cables, work clamp, gas hoses, regulator, cylinder security, fire extinguisher, nearby combustibles, ventilation, SDS information, electrical supply, lighting, trip hazards, and emergency plan. Stop if any safety control is missing or damaged.
What PPE do I need before welding?
You usually need a welding helmet with the correct shade, safety glasses under the helmet, welding gloves, flame-resistant clothing, leather boots, and hearing protection when noise is high. Some jobs also require a respirator, face shield for grinding, leather sleeves, apron, or neck protection.
How far should flammable materials be from welding?
Move combustibles at least 35 feet away when practical. If they cannot be moved, protect them with flame-resistant covers, welding curtains, metal guards, or other approved shielding. Also check the opposite side of walls, panels, pipes, and floors for hidden fire risk.
Do I need ventilation for every welding job?
You need enough ventilation to keep fumes and gases out of your breathing zone and below exposure limits. Natural ventilation may be enough for some open areas, but small rooms, low ceilings, partitions, coated metals, stainless steel, galvanized metal, or confined spaces may require local exhaust, fume extraction, air monitoring, or respiratory protection.
What do I need to know before I start welding?
Know your welding process, machine settings, material type, coating hazards, filler metal, shielding gas, PPE requirements, fire controls, ventilation plan, and emergency steps. If you are not trained for the process or cannot identify the material, do not start until a qualified person reviews the job.
Why can welding be dangerous long term?
Long-term risk can come from repeated exposure to welding fumes, ultraviolet radiation, noise, heat stress, awkward posture, and poor respiratory protection. Fume risk depends on the base metal, filler, flux, coating, ventilation, and exposure time, so control fumes at the source and follow the SDS and workplace exposure-control plan.
Conclusion
A welding safety checklist is a simple habit that prevents serious problems. Before you strike the arc, confirm that your PPE fits the job, your equipment is sound, combustibles are moved or shielded, fumes are controlled, electrical connections are safe, SDS hazards are understood, and emergency help is ready. If one item fails, fix it first. Safe welding starts before the first spark.
Sources
- OSHA 29 CFR 1910.252, Welding, Cutting, and Brazing General Requirements — fire prevention, hot-work precautions, ventilation, eye protection, confined spaces, and used-container warnings.
- OSHA 29 CFR 1910.133, Eye and Face Protection — eye and face PPE requirements and welding filter shade guidance.
- OSHA Hazard Communication Standard: Safety Data Sheets — SDS format, hazard communication, protective measures, and handling information.
- OSHA 29 CFR 1910.1200, Hazard Communication — employee training, labels, and SDS access for hazardous chemicals.
- CDC/NIOSH Welding Fumes and Manganese — health effects, manganese exposure, and confined-space fume concerns.