When it’s time to “adjust the inventory,” a plasma cutter lets you move metal efficiently without overspending or overcomplicating. You’ll make fast, clean cuts on steel, aluminum, and stainless, prototype accurate one-offs, and trim or repair parts on the fly—while minding consumable costs and safe practices. With pilot arc for grate and tube, beveling for fit-up, and smart nesting to stretch sheets, you streamline workflow. But the real payoff starts once you set your process.
Fast, Clean Cuts on Steel, Aluminum, and Stainless
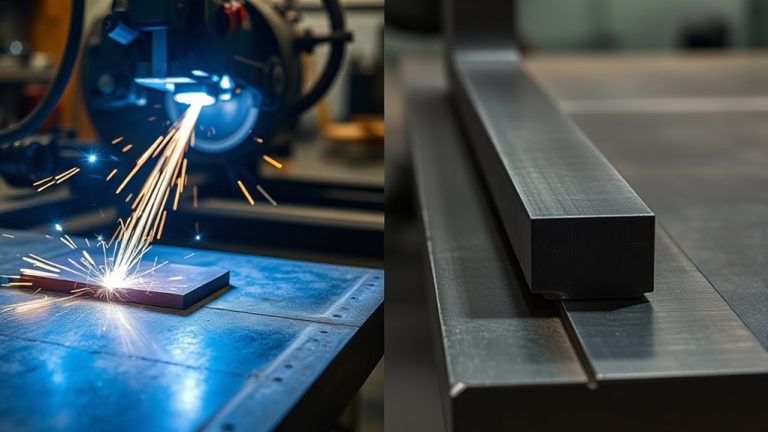
Sometimes the fastest way to a clean edge is a plasma cutter set up right. You’ll move at over 100 inches per minute on steel, aluminum, and stainless, so plan your layout, clamp your work, check ground, and verify amperage before you pull the trigger.
Plasma efficiency comes from controlling thermal dynamics: use the correct nozzle, standoff, and travel speed to keep the arc focused and slag minimal. With arc temperatures near 25,000°C, you don’t need preheat—just a steady hand and consistent motion.
Run clean, dry air to protect consumables and hold edge quality. Moisture or oil in the line costs you tips and time. Cut plates, tubes, angles, beams, and grating with one tool, reducing spend on multiple saws or shears.
Keep cords clear, wear proper PPE, and manage sparks and hot drops. Make straight cuts with a guide; for curves, set a smooth arc. Inspect edges, deburr quickly, and you’re onto the next piece.
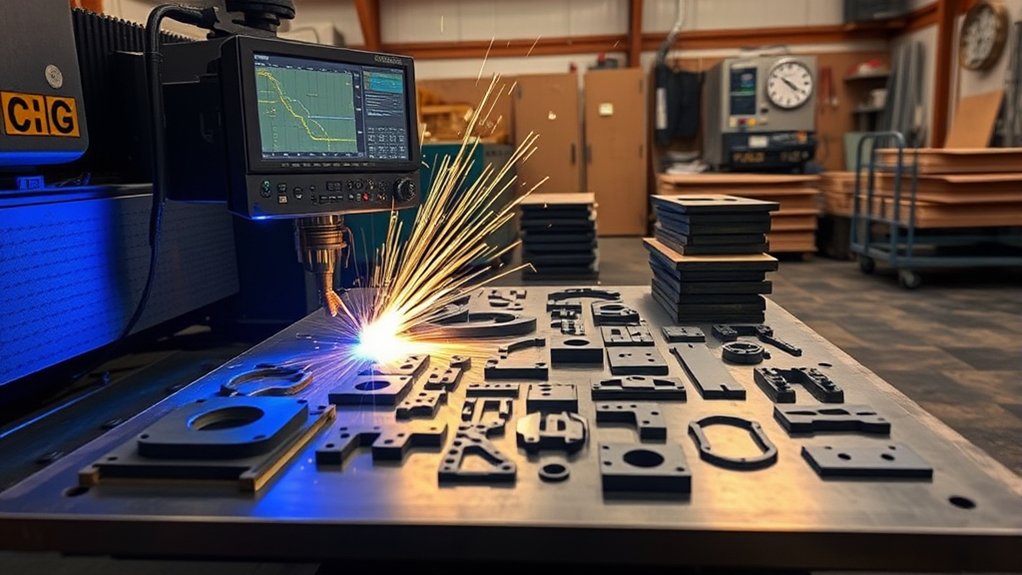
Prototyping and Custom One-Off Parts
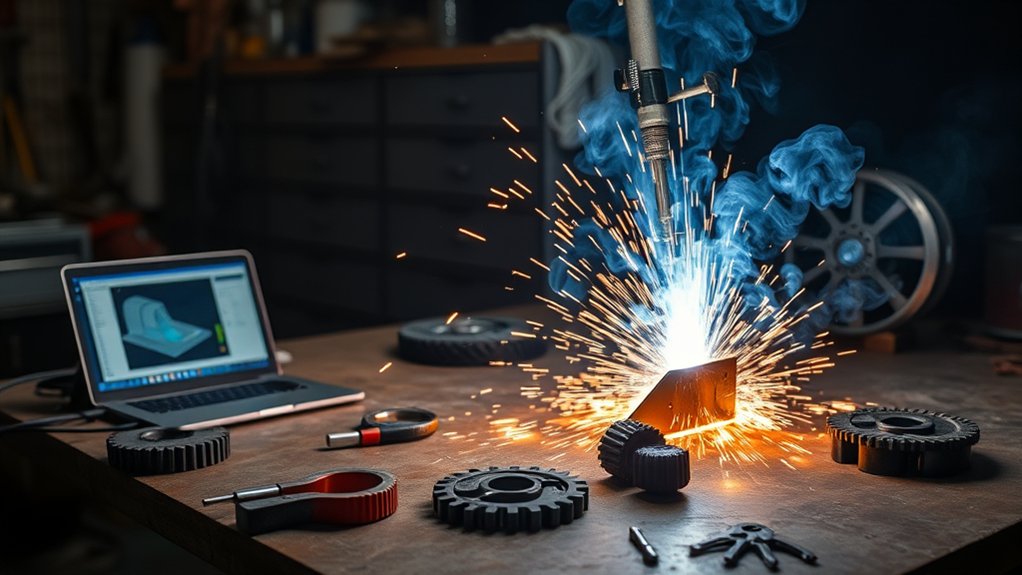
When you’re turning ideas into metal fast, a plasma cutter lets you move from CAD to part in hours, not weeks. You import DXF files, nest parts to minimize scrap, and run controlled test cuts. That workflow powers rapid prototyping and tight design iteration without waiting on outside vendors.
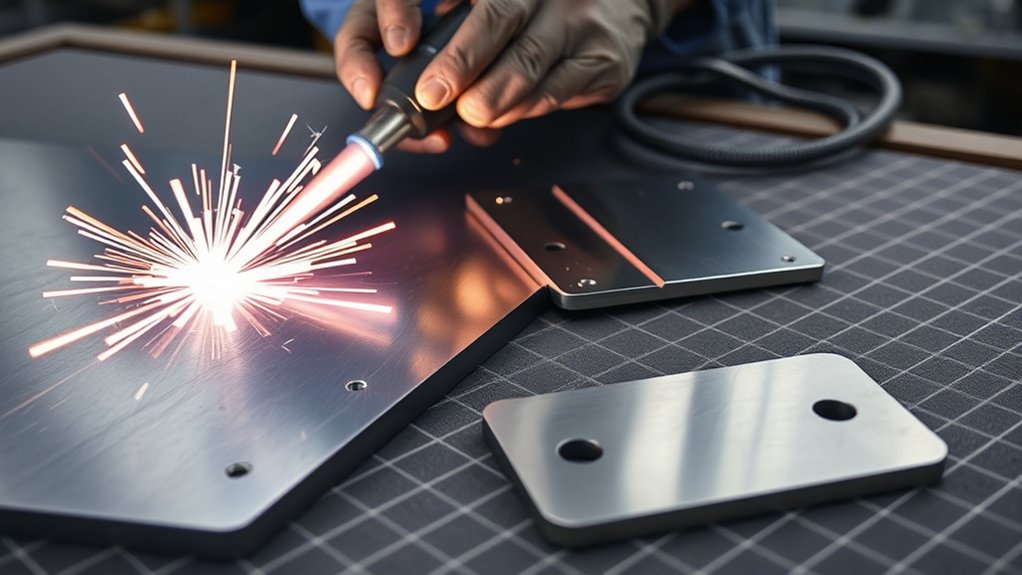
You’ll cut steel or aluminum, verify fit, tweak holes or tabs, and recut immediately—precision without the bottleneck.
- Calibrate kerf, pierce delay, and feed rate on coupons before burning full parts to control tolerance and edge quality.
- Use tab-and-slot features for self-jigging prototypes; update CAD and re-export DXF to refine geometry quickly.
- Track consumable wear, gas settings, and cut time to manage per-part cost on one-off runs.
- Maintain safety: dry, clean air; grounded work clamp; proper PPE; fume extraction and clear cable paths.
Complex geometries that once required machining are now practical. You validate function fast, keep changes in-house, and protect budget while iterating confidently.
Brackets, Mounts, and Automotive Fabrication
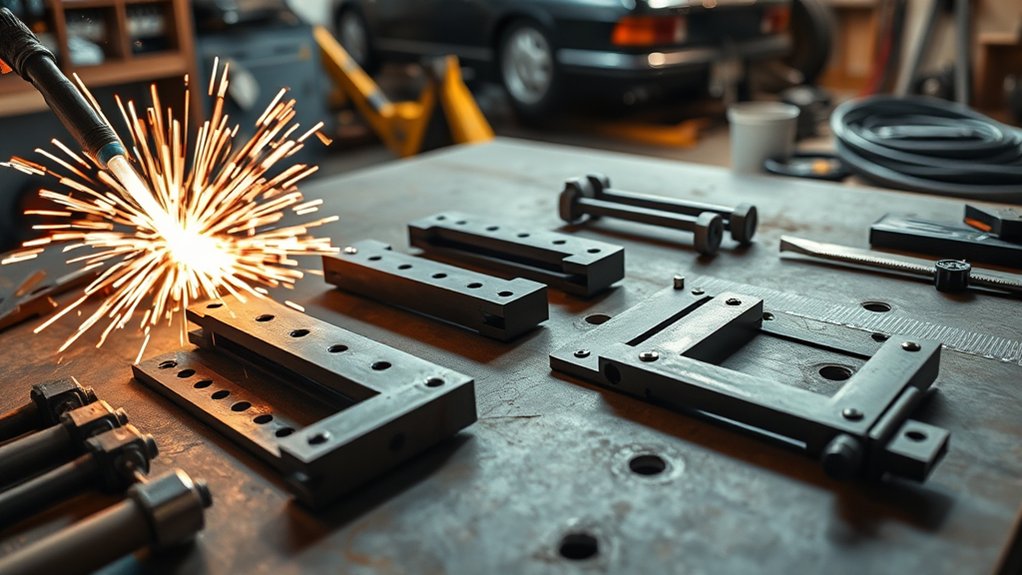
Although brackets and mounts seem simple, you’ll save time and money by plasma-cutting them to exact dimensions and repeating them on demand.
Start by modeling bracket designs and mount configurations in CAD, then nest parts to minimize scrap. With cutting speeds over 100 ipm, you’ll slash lead times and keep projects moving—ideal for chassis tabs, radiator mounts, alternator brackets, and exhaust hangers.
Select material to match the load: mild steel for structural brackets, aluminum where weight matters. Use a CNC plasma table for precise, repeatable cuts and slotted holes that allow adjustment during installation.
Deburr edges, verify bolt patterns, and test-fit before final welding.
Prioritize safety: wear eye, hand, and respiratory protection; keep a clean, grounded table; and control sparks around fuel lines and interiors.
For performance mods, plasma-cut gussets and reinforcement plates to stiffen suspension pickups, or create complex contours for custom exhaust flanges—accurate cuts improve fit, reduce rework, and protect your budget.
Signs, Lettering, and Decorative Metalwork
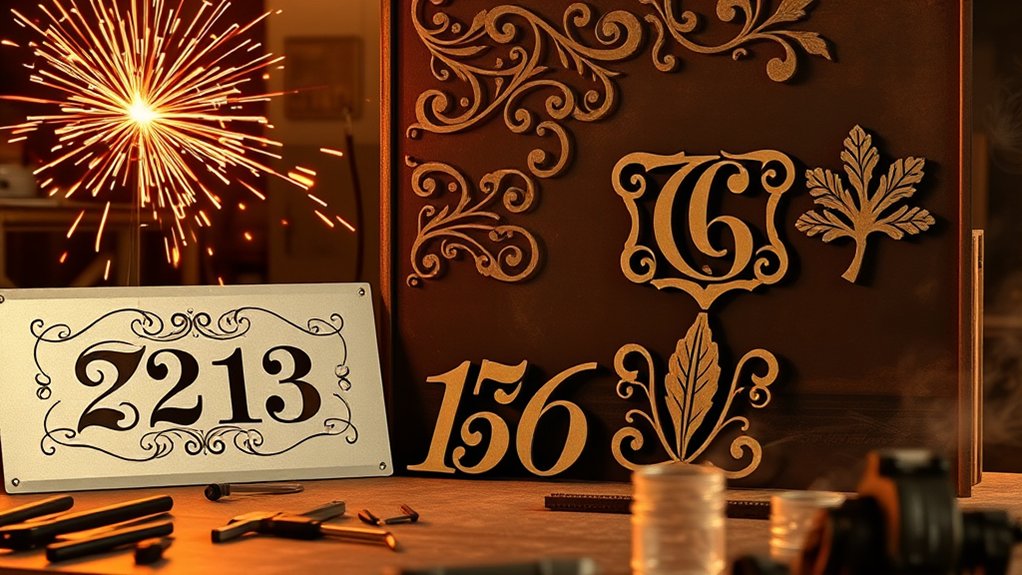
After fabricating brackets and mounts, put the same precision to work on signs, lettering, and decorative metalwork. With custom sign making, you’ll turn sheet steel, aluminum, or stainless into branded panels, house numbers, and directional signs with crisp, artistic lettering.
Put your precision to work on custom signs, lettering, and decorative metalwork with crisp, artistic results.
Plan the layout, set kerf compensation, and test on scrap to dial pierce delay and amperage. For layered designs, nest parts to minimize waste, then mix finishes—blued steel backers, powder-coated faces, or patina accents—to make elements pop.
- Choose material by location: aluminum for corrosion resistance, steel for budget strength, stainless for premium outdoor use.
- Use CNC for repeatability; verify font thickness so small serifs don’t burn away during artistic lettering.
- Deburr, then seal edges with clear coat or powder to prevent rust and fingerprints.
- Wear proper PPE, manage sparks, and clamp work to avoid tip-ups on intricate cuts.
Scale efficiently—from small décor to large storefront signage—by batching parts and standardizing fixtures.
Repair, Trim, and Modification of Existing Parts
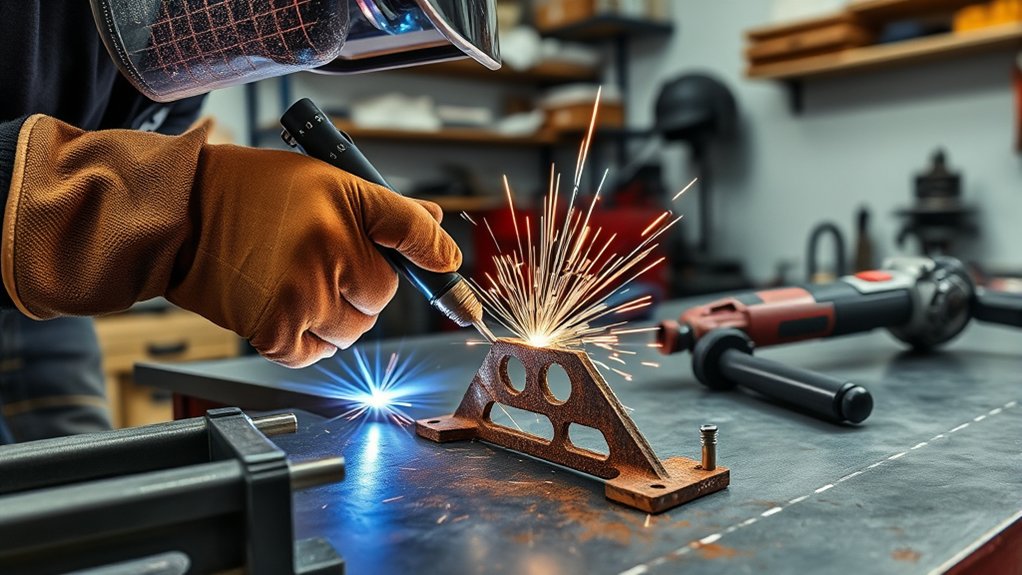
When parts don’t fit or fail, you can make on-the-spot repairs by cutting out damage and beveling edges for stronger welds while keeping heat input low to prevent warping.
For precision trimming, mark your cut line, clamp securely, check clearance for cables and hoses, then make a clean pass to remove only what’s needed—saving time and material.
For custom part mods, use templates or guides to shape openings or tabs to spec, and wear proper PPE, maintain dry air supply, and verify thickness and amperage before you cut.
On-The-Spot Repairs
Because downtime costs money, a plasma cutter lets you tackle on-the-spot repairs by cutting out damaged sections, trimming excess material, and reshaping parts with speed and accuracy.
You keep emergency repairs moving and boost maintenance efficiency by isolating the fault, removing only what’s compromised, and prepping clean edges for welding or patching. In automotive and machinery work, that precision keeps equipment running without waiting on new parts or complex setups.
- Identify the defect, mark cut lines, verify clearance for torch, and secure the work.
- Make controlled cuts to remove damage; dress edges; test-fit repair plates before welding.
- Trim interfering tabs, flanges, or brackets to restore alignment and function.
- Create quick custom slots or gussets to strengthen or adapt frames.
Wear PPE, manage sparks, and confirm grounding to protect components and crew.
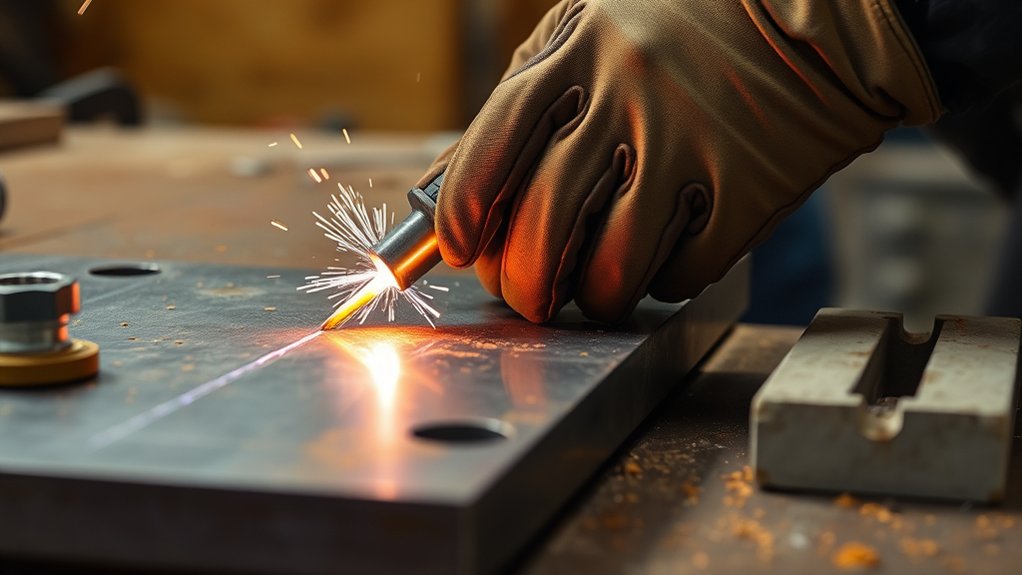
Precision Trimming
Precision trimming turns your plasma cutter into a cost-saving fit-up tool: you adjust torch height for a consistent kerf, trace marked lines, and shave only what’s necessary to make parts mate cleanly.
You’ll correct misaligned flanges, shorten tabs, or relieve corners without grinding away time and money. Use kerf-compensation software for repeatable offsets, then test-fit and take another light pass instead of committing to a deep cut.
Control heat and warpage: clamp, stagger cuts, and let parts cool. Keep consumables fresh—tips, electrodes, and shields—to hold a narrow arc; that’s tool maintenance that pays back in accuracy.
Follow strict safety practices: PPE, dry leads, proper ventilation, and clean work returns. You can even thin sections strategically to reduce weight while preserving strength.
Custom Part Mods
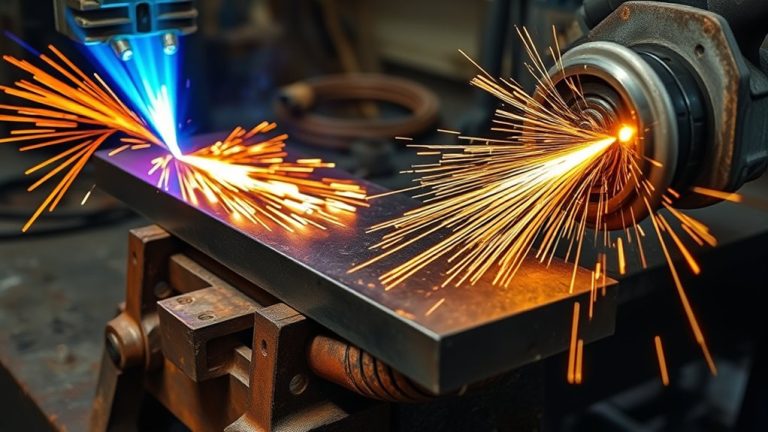
Although it’s easy to reach for a grinder, you’ll save time and money by using a plasma cutter to repair, trim, and modify existing parts with control. You’ll cut out defective sections fast, square up edges for tight fits, and drop in new material without wrestling slow methods.
For automotive mods, quickly create custom brackets or mounts that match your custom designs and innovative applications.
- Map the cut: scribe lines, clamp securely, confirm clearance for leads and sparks.
- Set amperage for thickness, choose the right tip, and test on scrap for kerf and speed.
- Remove damage cleanly, bevel replacement edges, and tack, weld, then re-check alignment.
- Deburr with light passes, confirm hole sizes, and dry-fit before final assembly.
Wear PPE, manage sparks, and keep consumables fresh for consistent results.
Nesting for Material Yield and Short Lead Times
Nesting is your lever for squeezing maximum value from every sheet while keeping jobs moving fast. You arrange parts to maximize material optimization, reduce scrap, and cut fewer sheets per job. Dial in nesting strategies that place common edges together, rotate parts to fit tight gaps, and cluster similar thicknesses. The payoff is shorter lead times and lower raw material spend, especially on repeat runs.
Start with accurate part geometry and kerf compensation, then use advanced nesting software to auto-generate layouts and flag conflicts. Validate pierce clearances, lead-in/lead-out space, and torch path direction to avoid collisions and heat buildup.
Group parts by priority so rush items ride the next sheet without stopping the workflow. Before cutting, verify remnant tagging so leftovers are trackable for future jobs. Keep consumables fresh and air clean to maintain cut quality that matches your nest.
Document setups, capture yields, and adjust rules to continuously improve throughput and profitability.
Beveling, Gouging, and Marking for Prep and Fit-Up
You use the plasma cutter to prep clean bevels—up to 45 degrees—for stronger joints and faster fit-up, while automatic height control keeps angles consistent.
You gouge out bad welds or excess material quickly and safely, cutting rework time and labor costs.
You also mark reference lines directly on the plate, tightening setup accuracy and reducing layout waste.
Clean Bevel Prep
When precision and budget matter, plasma cutters give you a fast, controlled way to prep edges for welding by beveling, gouging, and marking in one workflow.
You’ll dial in bevel angles with simple amperage and travel-speed tweaks, apply proven bevel techniques, and keep costs down by minimizing grinding and rework.
Use plasma marking to lay out cut paths before you bevel, then make light corrective gouges to remove defects that would trap slag or porosity.
- Set amperage and speed to reach the target bevel depth without overheating edges.
- Use automatic height control to hold a consistent land and angle across warped plate.
- Mark joints first to standardize fit-up, then bevel along the line.
- Wear PPE, manage sparks, clamp material securely, and verify angles with gauges.
Fast Gouging and Marks
After dialing in clean bevel prep, shift to fast gouging and marking to keep fit-up on schedule and costs in check. Use gouging techniques to strip defective welds, open cracks, or create grooves and channels at depths traditional tools struggle to reach.
Set amperage for the material, choose a shielded gouging tip, and keep a shallow torch angle to control width and heat input. Feather edges for clean rewelds and minimize rework.
For layout, switch to low-amperage plasma marking. You’ll get quick scribe lines with high marking accuracy, ideal for outlining cuts, hole centers, and reference points. Marking reduces layout time and improves assembly fit-up.
Manage hazards: wear full PPE, direct sparks away from hoses and cables, control fumes, and verify cool-down before handling.
Cutting Plate, Tube, and Grating With Pilot Arc Systems
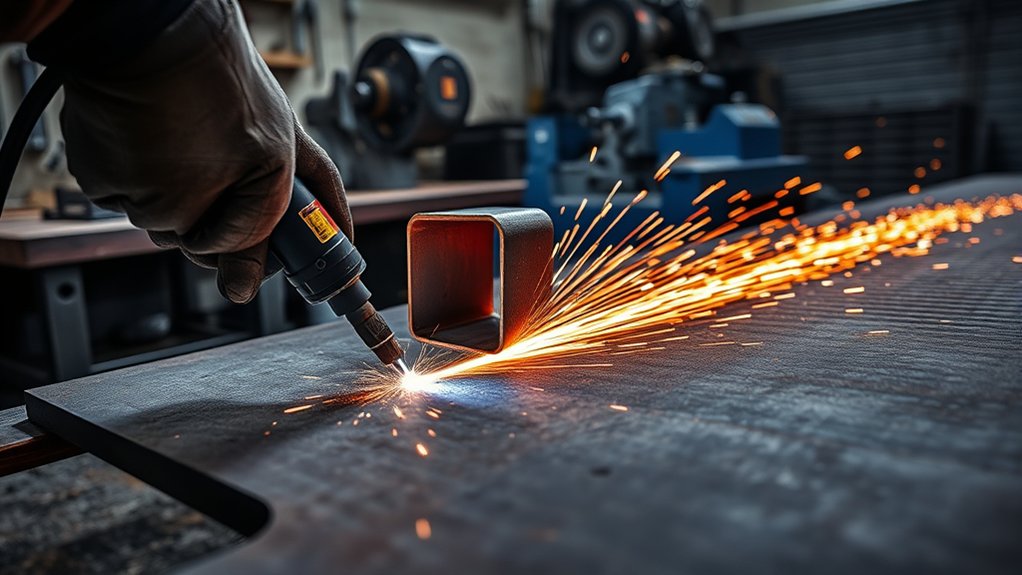
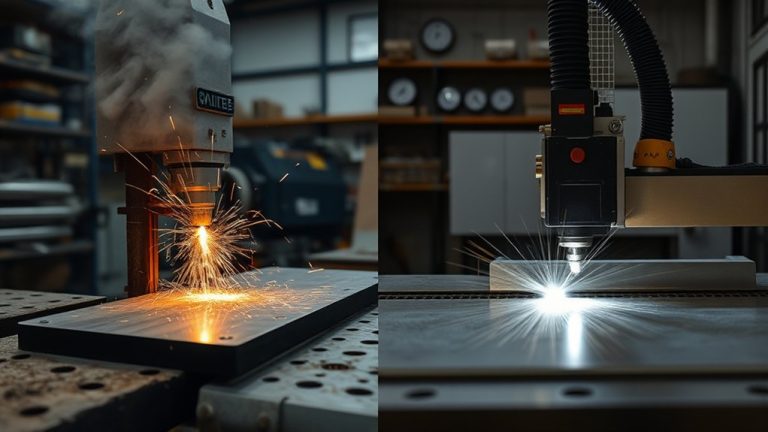
Tackle plate, tube, and grating with a pilot arc plasma system to cut faster, cleaner, and with fewer consumables. You’ll leverage pilot arc performance to start the arc without touching the work, protecting tips and electrodes and improving cutting versatility across plate steel, aluminum, and mixed scrap.
Set amperage for thickness, confirm clean, dry air, and square the torch to the cut line. The continuous pilot arc bridges gaps in grating and seam shifts on tube, so the arc won’t snuff when you cross holes or uneven edges.
- Mark your path, clamp your ground close, and use a drag shield or standoff guide for consistent kerf and minimal dross.
- For plate, pierce off the line, then lead in; for tube, roll the work or use a contour jig to keep speed steady.
- Maintain travel near rated inches per minute to control heat input.
- Wear full PPE; manage sparks and hot slag with nonflammable shields.
Frequently Asked Questions
What Safety Gear Is Essential Beyond a Face Shield and Gloves?
You’ll need respiratory protection, safety glasses, hearing protection, flame-resistant clothing, closed-toe leather boots, and a welding cap. Add fire safety gear: extinguisher, fire blanket, and a tidy, nonflammable workspace. Check costs, prioritize durability, and inspect equipment before each session.
How Much Clean, Dry Air Supply Does a Plasma Cutter Require?
You typically need clean, dry air at 4–6 CFM and 90–120 PSI. Check your plasma cutter’s air compressor requirements, set pressure settings accordingly, add a dryer/filter, size hose correctly, and verify flow under load to avoid costly torch damage.
Can a Plasma Cutter Run on a Standard Household Circuit?
Yes, but check plasma cutter power requirements first. Verify amperage draw, input voltage, and duty cycle. Match them to household circuit limitations, breaker size, and wire gauge. Use short extension cords, dedicated circuits, and GFCI protection to control costs and guarantee safety.
What Consumables Wear Out Fastest and How Often to Replace Them?
A stitch in time saves nine: electrodes and nozzles wear fastest. Track electrode lifespan, inspect pits, replace early; perform nozzle maintenance, watch orifice erosion. Swap swirl rings occasionally, shields less. Budget spares, log hours, avoid double-arcing, follow duty cycle, shut air safely.
How Do Ambient Temperature and Humidity Affect Cut Quality?
Ambient temperature and humidity directly influence cut quality. You monitor environmental factors, preheat cold workpieces, dehumidify air, and dry lines. You store consumables sealed, drain compressors, and adjust amperage and travel speed. You prevent condensation, protect electronics, and avoid costly rework.
Conclusion
So go ahead—treat the plasma cutter like your thrifty, slightly dangerous best friend. You’ll prototype faster, cut cleaner, and stop paying rush fees for brackets you can make in minutes. You’ll nest parts to save sheets, bevel edges so welds don’t punish you, and use pilot arc to slice tube and grating without drama. Wear PPE, mind your leads, and keep a fire watch—because savings vanish faster than slag if you torch the shop instead of the steel.