A tangled wire can stop a metal inert gas (MIG) weld in seconds. Bird nesting happens when the welding wire bunches up near the drive rolls instead of feeding smoothly through the gun. This guide explains the main causes, the clearest signs, and the fixes that help you get the wire moving again.
Quick Answer
Bird nesting in MIG welding means the wire tangles near the drive rolls and stops feeding correctly. You can usually fix it by checking drive roll tension, using the right roller type, cleaning the liner, matching the contact tip to the wire, and keeping the wire path straight.
Key Takeaways
- Bird nesting starts when the wire slips, binds, or curls before it reaches the gun.
- Wrong drive roll tension can crush the wire or let it slip during feeding.
- A dirty liner, worn contact tip, or kinked cable can block smooth wire movement.
- Solid wire needs V-groove rollers, while softer wire often needs U-groove rollers.
- Regular cleaning and setup checks help prevent wasted wire and poor weld quality.
What Causes Bird Nesting in MIG Welding?
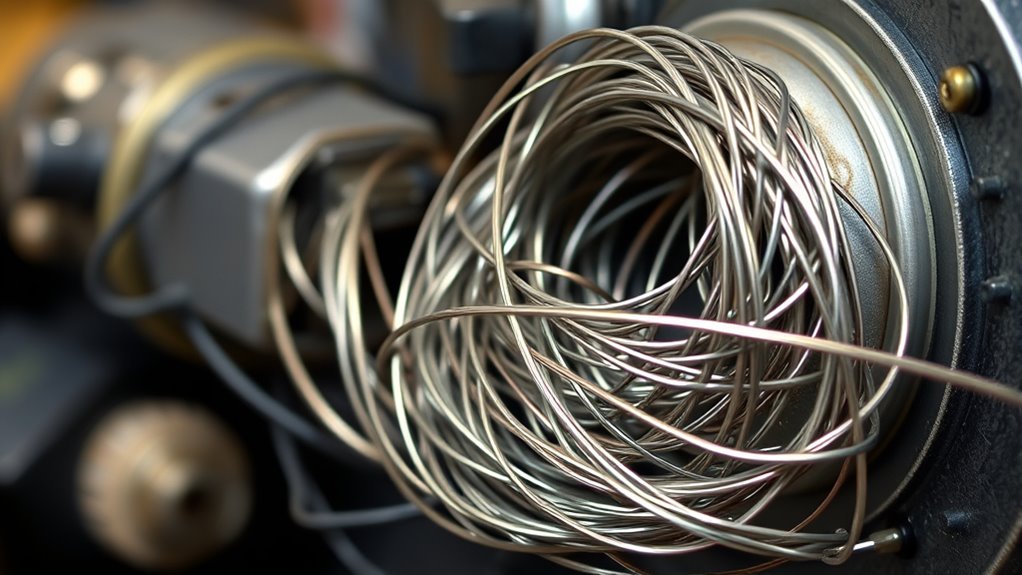
Bird nesting in MIG welding usually starts when the welding wire tangles around the drive rolls. The wire may slip, bend, or bunch up instead of moving through the liner and out of the gun.
Improper tension settings cause many bird nests. Too little tension lets the drive rolls slip, while too much tension can flatten or shave the wire. Both problems can interrupt the wire feed.
A partial spool of wire can also make feeding harder because the wire may hold a tighter curl near the end of the spool. If the spool brake feels too tight, the wire can pull unevenly and bind before it reaches the liner.
Using a partial spool can tighten curls and increase binding risk, while the wrong roller type may lead to slippage and nesting issues.
The wrong roller type can create more trouble. Use V-groove rollers for solid wire and U-groove rollers for softer wire, such as aluminum. Knurled rollers suit some flux-cored wires, but they can damage softer wire when used incorrectly.
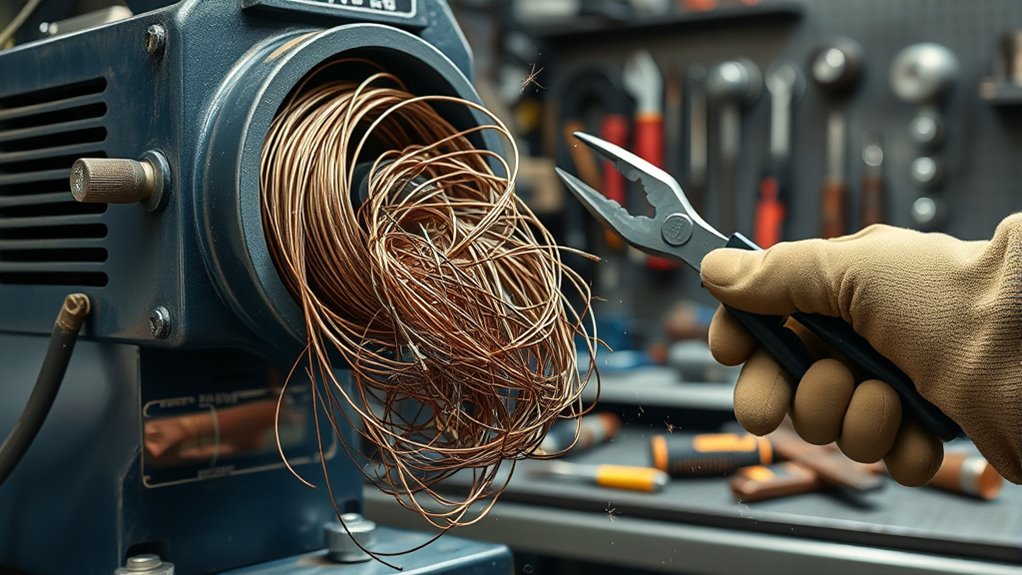
A dirty or worn liner can restrict the wire path and force the wire to bend. Kinks in the gun cable, a worn contact tip, or debris in the drive system can also trigger a nest. Keep a smooth, clear wire feed path to reduce feed problems.
How to Identify Bird Nesting Issues and Fix Them
You can spot bird nesting issues by watching how the wire feeds. If the wire stops at the gun but keeps pushing at the drive rolls, check the feed system right away.
Start with the drive rolls. Confirm that the roll groove matches the wire diameter and wire type. A mismatched groove can slip, scrape, or pinch the wire.
Inspect the wire for deep marks or flattened spots. Strong “teeth marks” often point to too much drive roll tension. Light marks may look normal, but crushed wire can jam inside the liner.
Next, check the wire path. Keep the gun cable as straight as you can during setup. Sharp bends, cable loops, and kinks make the wire work harder and raise the chance of tangling.
A dirty liner can also block wire movement. Blow out or replace the liner as needed, then check the contact tip for wear or spatter. A tip that doesn’t match the wire size can cause feeding issues and arc problems.
Finally, test the wire feeding mechanism with the contact tip removed. If the wire feeds smoothly without the tip, the tip may be worn, clogged, or too small.
Simple Fixes to Stop Bird Nesting
You can stop many bird nests with a few basic setup checks. First, keep the wire feed path straight and free of kinks. Smooth feeding gives the drive system less resistance to fight.
Adjust the wire feed roller tension so the rolls grip the wire without crushing it. One simple test is to feed wire against a wood block. The wire should curl instead of slipping or flattening.
Use the correct drive rollers for the wire. V-groove rollers work best for solid wire, while U-groove rollers support softer metals without pinching them. Match the contact tip size to the wire diameter to avoid drag and blockages.
Maintaining proper stick-out length also helps you keep a stable arc and steady wire feed.
| Fix | Description |
|---|---|
| Wire Feed Path | Keep the cable straight and free of kinks. |
| Roller Tension | Set enough grip without crushing the wire. |
| Drive Roller Type | Use V-groove for solid wire and U-groove for soft wire. |
| Liner Maintenance | Clean or replace the liner when feeding feels rough. |
| Contact Tip Size | Match the tip to the wire diameter. |
Pro tip: Keep spare contact tips and a clean liner on hand so you can fix feed issues before they waste a spool.
Products Worth Considering

This V-groove wire feed roller has a diameter of 30mm (1.2 inches), thickness: 10 mm (0.4 inches), and inner diameter: 10 mm (0.4 inches).

Mig Welder Wire Feed Drive Roller Roll Parts

【Long-Lasting】Made of materials, this welding wire feed drive roller roll is built to last, long-lasting durability.
Essential Maintenance Practices to Prevent Bird Nesting
A clean, well-set MIG welding setup helps the wire feed smoothly and reduces downtime. Make these checks part of your routine before long welds or critical work.
- Inspect and clean the welding liner to prevent dust and metal shavings from building up.
- Keep the wire feed path straight, with no tight bends in the gun cable.
- Set spool brake tension so the spool stops cleanly without dragging.
- Adjust drive roll pressure for steady grip without wire damage.
- Use V-groove rollers for solid wire and U-groove rollers for aluminum or other soft wire.
- Check and replace worn liners, drive rolls, and contact tips as needed.
- Use regular maintenance to catch wire feeding issues before they stop the weld.
Warning: Turn off and unplug the welder before you clean drive rolls, replace a liner, or inspect the gun cable.
Products Worth Considering

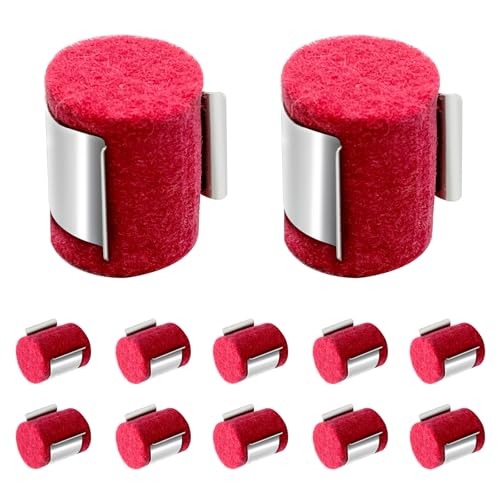
【Keep Your Welding Smooth】 These 12-piece MIG welding wire cleaner pads are designed to remove dust, rust, and debris from the welding wire surface. By ensuring a clean wire enters the feeder, they significantly reduce friction and prevent erratic wire feeding for a more stable arc.
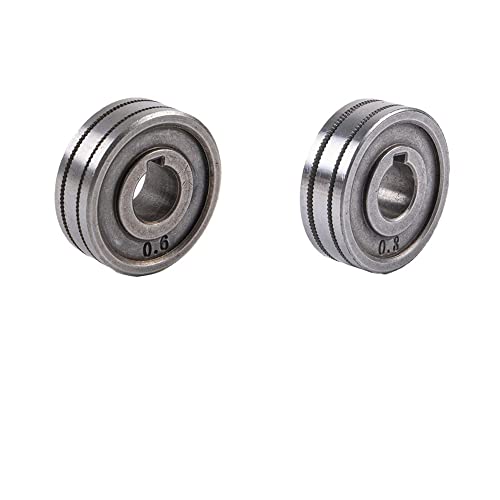
These rollers are used for feeding MIG wire on welding machines, fits directly onto the motor shaft.
How Bird Nesting Impacts Welding Quality and Efficiency
Bird nesting hurts both weld quality and productivity. When the wire tangles in the drive rolls, the arc can stutter, the bead can turn uneven, and the weld may lose consistency.
Feed interruptions can create inconsistent bead appearance and weak spots in the weld joint. They also waste wire, contact tips, shielding gas, and project time.
Frequent bird nesting often points to a setup issue, such as poor drive roll tension, a worn liner, or the wrong roller type. Fixing the cause gives you a more stable wire feed and a cleaner weld.
Proper drive roll tension plays a key role in preventing tangles. When the wire feeds without slipping or binding, you can keep the arc steady and protect weld quality.
When to Replace Parts Instead of Adjusting Them
Adjustments won’t fix every feeding problem. Replace the contact tip if the hole looks enlarged, clogged, or uneven. A worn tip can let the wire wander and feed poorly.
Replace the liner if cleaning doesn’t restore smooth wire movement. You should also replace drive rolls that show deep grooves, sharp edges, or heavy wear. Fresh parts often cost less than repeated wire waste and repair time.
Frequently Asked Questions
Why Does My MIG Machine Keep Birds Nesting?
Your MIG machine may keep bird nesting because the wire meets too much resistance or the drive rolls don’t grip it correctly. Check drive roll tension, spool brake tension, liner condition, contact tip size, and cable bends.
How Can Bird Nesting Be Eliminated in Welding?
You can eliminate many bird nesting problems by keeping the wire path straight, setting proper roller tension, and using the correct rollers. Clean the liner often and replace worn contact tips before they block the wire.
What’s the Hardest Thing to Weld?
High-strength steels and aluminum alloys can be hard to weld because they react strongly to heat and setup errors. You need the right wire, shielding gas, machine settings, and technique to reduce cracking, warping, and feed issues.
What Is Bird Nesting in Welding?
Bird nesting in welding happens when the wire tangles near the drive rolls and stops feeding through the gun. It usually points to tension, liner, roller, spool, or contact tip problems.
Can a Bad Contact Tip Cause Bird Nesting?
Yes, a worn or clogged contact tip can add drag and stop the wire at the gun end. When the drive rolls keep pushing, the wire can bunch up near the feeder and form a nest.
Conclusion
Bird nesting usually comes from one clear problem in the wire feed path. Start with the easiest checks: straighten the cable, adjust drive roll tension, inspect the contact tip, and clean the liner.
If the problem keeps coming back, replace worn feed parts before you lose more wire and time. A steady wire feed helps you produce cleaner beads, stronger welds, and a smoother welding workflow.


