
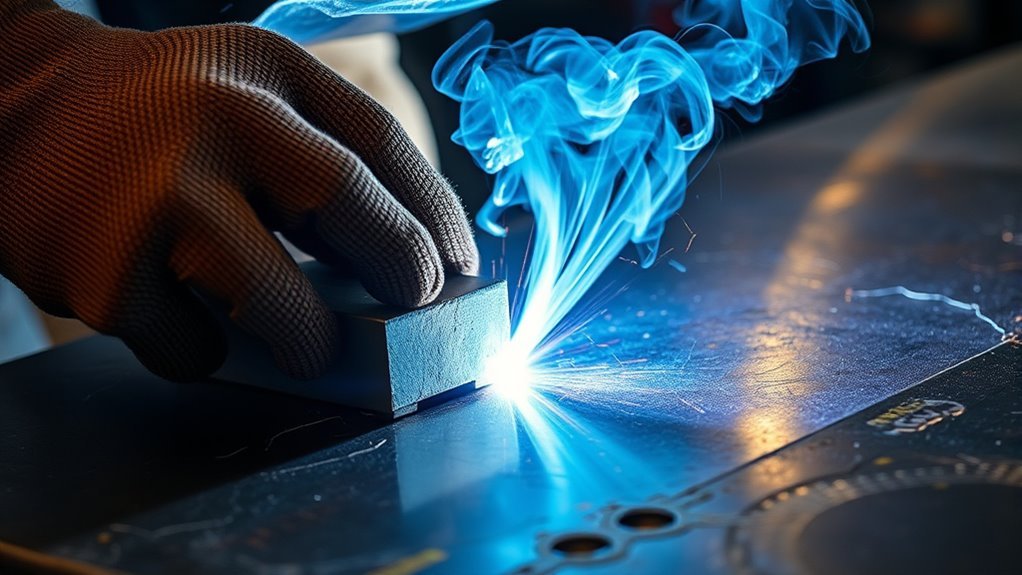
Thin sheet metal can warp, buckle, or burn through when welding heat stays concentrated in one area. A heat sink—often called a chill bar when it is used for welding—absorbs part of that heat and spreads it into a larger mass. Used with tight fit-up, short welds, and a controlled sequence, it can help the panel stay flatter and make the root easier to support.
Quick Answer
A heat sink for welding sheet metal is a clean copper or aluminum bar clamped firmly against the work near or behind the joint. It absorbs and spreads heat, supports thin metal, and can reduce warping and burn-through. It works best when combined with low heat input, short welds, and a staggered welding sequence.
Key Takeaways
- Copper transfers heat faster and is usually the best choice for very thin sheet, small holes, and burn-through control.
- Aluminum is lighter, easier to machine, and often less expensive, but its exact conductivity depends on the alloy.
- Clean, flat, tightly clamped contact matters more than fins or a large gap between the bar and the workpiece.
- A heat sink cannot replace correct amperage, voltage, travel speed, fit-up, tack spacing, or weld sequence.
- Do not rapidly quench a weld or use a chill bar on critical or hardenable material unless the welding procedure allows it.
At a Glance
| Time Required | About 10–30 minutes for cleaning, fitting, clamping, and test welds |
| Difficulty | Beginner to intermediate for noncritical sheet-metal work |
| Tools Needed | Copper or aluminum bar, suitable clamps, cleaning tools, welding PPE, and test coupons |
| Cost | Low to moderate; scrap bars may cost little, while machined or water-cooled fixtures cost more |
What’s in This Article
- What Are Heat Sinks and Their Role in Welding?
- How Heat Sinks Prevent Warping During Welding
- Top Materials for Welding Heat Sinks
- How to Design an Effective Heat Sink
- Understanding Thermal Conductivity
- Selecting the Right Heat Sink
- How to Use a Heat Sink Step by Step
- Best Installation Practices
- Welding Heat-Sink Safety
- When to Consult an Expert
- Common Mistakes
- Troubleshooting
- Frequently Asked Questions
- Conclusion
What Are Heat Sinks and Their Role in Welding?
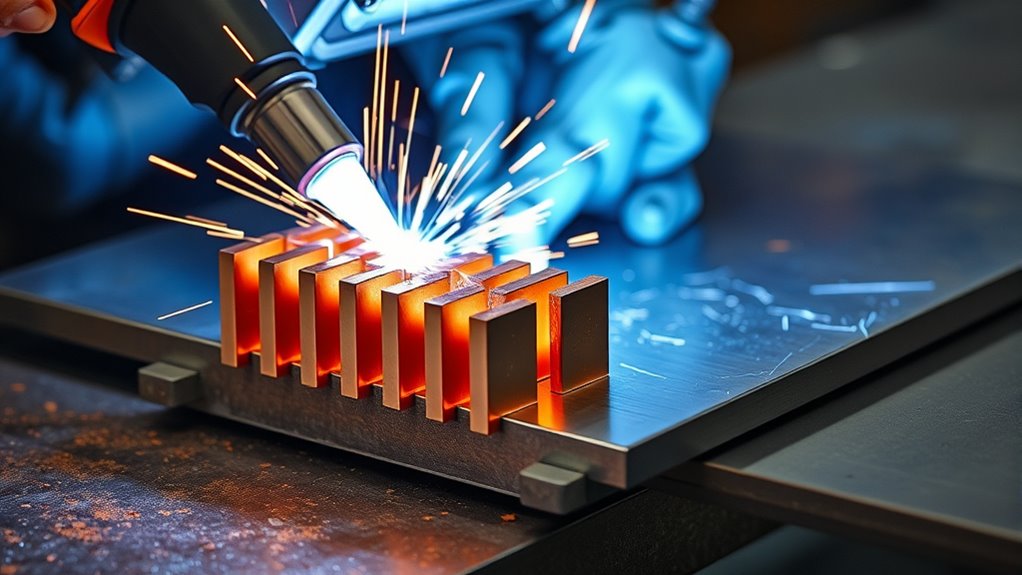
A welding heat sink is a solid piece of thermally conductive material placed in close contact with the workpiece. It accepts heat by conduction and spreads that energy through a larger mass. Copper and high-conductivity aluminum are common choices because they move heat much faster than carbon steel or stainless steel.
The term chill bar usually describes a heat sink installed specifically to change the local welding thermal cycle. A temporary backing bar sits behind the joint and may perform two jobs: supporting the molten root and removing heat. A permanent backing strip remains in the finished joint, while a strongback is primarily a restraint used to hold the assembly in position.
TWI’s backing-bar guidance notes that temporary backing may be made from copper or ceramic. Metal backing bars can also be water cooled in engineered fixtures. The fit-up and welding conditions must prevent the arc from striking the bar because a melted backing material can contaminate the weld pool.
A heat sink may limit the distance that peak temperatures spread from the joint, but it does not eliminate the heat-affected zone. The HAZ is the unmelted base metal changed by the welding thermal cycle. Its width and properties depend on heat input, alloy, thickness, thermal diffusivity, joint design, and cooling rate.
Note: Back purging and heat sinking solve different problems. A copper bar removes heat and may support the root. Argon back purging protects the underside of a suitable stainless steel or reactive-metal weld from oxygen.
Good placement matters. Put the bar against the back or side of the weld zone so heat has a short path into it. Heat control should still be combined with suitable joint dimensions, correct maximum fillet weld sizes, and techniques that maintain weld quality without unnecessary heat input.
How Heat Sinks Prevent Warping During Welding
Weld distortion develops because the heated area expands and then contracts as it cools. The contraction is not evenly distributed across the panel, so the sheet may bow, twist, oil-can, or pull toward the weld. A tightly fitted heat sink reduces the peak temperature and heat buildup in the nearby sheet, which can reduce the amount of uneven expansion and shrinkage.
Heat Distribution Control
Without backing, a small section of thin sheet can heat rapidly while the surrounding panel remains cooler. A copper or aluminum bar increases the amount of material available to absorb that energy. The effect is strongest when the contact faces are flat, clean, firmly clamped, and close to the joint.
For a short tack or small repair, contact quality and thermal mass usually matter more than decorative fins. Fins and open airflow become more useful when a fixture is used repeatedly and must release accumulated heat between weld cycles.
Minimized Heat-Affected Zone
A heat sink may narrow local heat spread, but the result is not automatic. According to TWI’s HAZ guidance, HAZ size is influenced by heat input and the material’s thermal conductivity, density, and specific heat.
High heat input can produce a wider thermal zone, while very rapid cooling can create other problems in susceptible materials. The correct goal is a controlled thermal cycle—not simply the fastest possible cooling.
Enhanced Weld Integrity
A backing bar can help support the molten root, bridge a small burn-through risk, and keep the panel aligned. This can improve consistency when the joint, shielding, filler, settings, and technique are already suitable.
It cannot correct contaminated metal, a large joint gap, poor shielding, excessive weld size, or incorrect polarity. A heat sink is one part of the welding procedure, not a substitute for it.
Warning: Do not force rapid cooling on high-carbon, hardenable, high-strength, heat-treated, or code-controlled material unless the approved welding procedure permits it. Fast cooling can increase HAZ hardness and cracking risk. Never spray or pour water onto an energized welding setup.
The most effective distortion control combines a heat sink or restraint with minimum necessary weld metal, controlled heat input, tight fit-up, and a balanced welding sequence.
Top Materials for Welding Heat Sinks: Aluminum and Copper
Copper and aluminum offer the best practical balance for most shop-made welding heat sinks. Copper removes heat faster, while aluminum is lighter and easier to handle. The best choice depends on the alloy being welded, the size of the heat load, available space, contamination limits, and whether the bar must also support the root.
Products Worth Considering

Copper heat pipe copper heatsink heat pipe Size:8x0.8x0.3cm/3.14x0.31x0.11Inch(LxWxT)

[Copper Flat Bar] - The package comes with 1 piece of copper bar stock in following size: Length: 250mm/9.84-inch; Width: 20mm/0.79-inch; Thickness: 1.5mm/0.06-inch

[SIZE & PACKAGING]: The size of the copper flat bar is: Material: C110 Copper; Length: 230 mm/9 inch; Width: 25 mm/0.98 inch; Thickness: 3 mm/0.12 inch, and the package includes 1 piece of Copper Flat Bar.
Aluminum Benefits in Welding
Aluminum is light, corrosion resistant, and easy to machine into plates, blocks, curved shoes, or custom fixtures. Its density is about 2.7 g/cm³, although individual alloy values vary slightly.
Do not treat 200–235 W/m·K as a universal value for aluminum. The Aluminum Association reports that aluminum alloys span roughly 88–251 W/(m·K). High-purity and 1xxx-series grades are near the upper end, while heavily alloyed grades may transfer heat more slowly.
Aluminum usually costs less than an equivalent copper block and places less load on clamps and portable fixtures. A suitable C-clamp or fixture clamp can hold it against a flat panel without making the setup excessively heavy.
Anodizing improves the corrosion and wear resistance of aluminum in general service. However, do not put an anodized, painted, or otherwise coated face where the arc or molten weld pool can strike it. A clean bare contact face provides a predictable heat path and reduces the risk of coating contamination.
Copper’s Thermal Efficiency
High-conductivity copper is the preferred material for many thin-sheet backing bars, patch-welding spoons, and chill blocks. The Copper Development Association’s C11000 data lists a specific gravity of 8.91 and thermal conductivity of 226 Btu·ft/(ft²·h·°F), which is approximately 391 W/(m·K).
This high conductivity helps copper absorb heat quickly from a small tack or short bead. It is especially useful behind a small gap, plug-weld hole, thin edge, or repair area that is likely to burn through.
Copper weighs more and generally costs more than aluminum. It also becomes hot quickly, so the bar must be handled as a hot-work component even after the visible weld has cooled.
Copper backing is common with controlled TIG work, including stainless applications using suitable filler such as the products discussed in this ER308L stainless TIG rod review. For stainless steel or nickel-alloy work with strict contamination limits, TWI notes that chromium-plated copper backing may be used.
Material Selection Considerations
| Material | Best Use | Advantages | Limitations |
|---|---|---|---|
| Copper | Very thin sheet, patch holes, root support, precision TIG or MIG work | Highest practical heat transfer and good root support | Heavy, costly, and capable of contaminating the weld if struck by the arc |
| Aluminum | Larger general-purpose bars, portable fixtures, moderate heat loads | Light, machinable, corrosion resistant, and often economical | Conductivity varies by alloy; lower melting temperature than copper |
| Copper alloy or bronze | Durable custom fixtures where wear resistance matters | Can provide better strength or wear resistance than pure copper | Usually transfers heat more slowly than high-conductivity copper; composition must be known |
| Steel or stainless steel | Strongbacks and shape restraints where heat removal is secondary | Strong, durable, and readily available | Much lower conductivity than copper and usually less effective as a chill bar |
| Ceramic backing | Root shaping and weld-pool support in approved applications | Heat resistant and electrically nonconductive | Not a high-conductivity heat sink and must fit tightly to prevent an irregular root |
Choose the material based on the complete fixture. A thick aluminum block with broad, tight contact may outperform a thin copper strip that touches only at a few high spots. Advanced metal-matrix composites can tailor conductivity and expansion, but most repair and fabrication jobs do not justify their cost or complexity.
How to Design Effective Heat Sinks
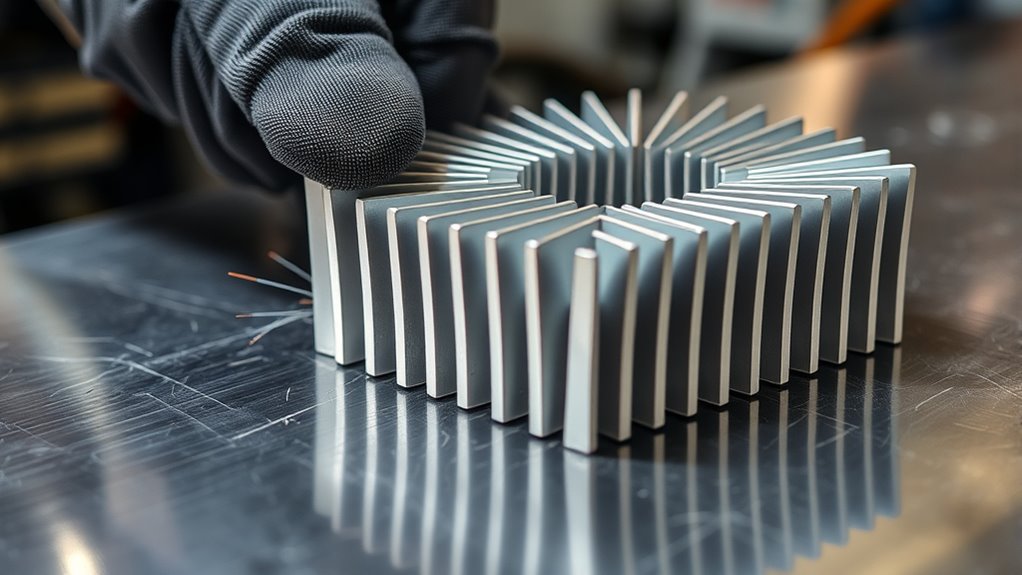
An effective welding heat sink needs the right contact area, mass, shape, and attachment method. It should fit the part closely, remain stable throughout the weld, and leave enough access for the torch, gun, filler wire, and shielding gas.
For one or two short tacks, a compact solid block may be enough. A long seam or repeated production cycle may require a longer bar, more mass, cooling time between parts, or an engineered water-cooled fixture.
Ordinary electronics thermal paste should not be treated as a standard welding consumable. Use clean, bare metal-to-metal contact unless the interface product’s manufacturer specifically approves it for the expected temperature, fumes, electrical conditions, and weld-contamination limits.
| Factor | Why It Matters | Recommendation |
|---|---|---|
| Contact flatness | High spots leave insulating air gaps | File, machine, or form the bar so it sits flush against the panel |
| Thermal mass | A small bar reaches a high temperature quickly | Use enough thickness and volume for the weld length and duty cycle |
| Distance from weld | A longer heat path reduces the immediate chilling effect | Place the bar directly behind the joint or as close as access permits |
| Root groove | A groove can shape the root but changes weld-pool support | Use a smooth flat face for general repairs; machine a groove only for a tested procedure |
| Clamping | Loose mounting allows movement and air gaps | Use evenly spaced clamps without crushing or bowing the sheet |
| Airflow and exposed area | Helps release stored heat between repeated welds | Leave exposed faces open; add fins only when repeated-duty cooling justifies them |
Pro Tip: Hold the cleaned bar against the work and shine a light from the opposite side. Visible light between the surfaces reveals gaps that will weaken both heat transfer and backing support.
Understanding Thermal Conductivity and Its Importance
Thermal conductivity describes how readily heat flows through a material. It is commonly expressed in watts per meter-kelvin, written as W/(m·K). A higher number means the material can move a given temperature difference more readily.
Conductivity alone does not determine heat-sink performance. Density, specific heat, thickness, total mass, contact pressure, temperature, and exposed surface area also matter. Together, conductivity, density, and specific heat influence thermal diffusivity, which affects how quickly a temperature change spreads through the material.
High-conductivity copper reacts quickly to a local weld pulse, while a larger aluminum block may store substantial heat with less fixture weight.
This is why the best heat sink is not always the one with the highest conductivity number. A thick, flat, tightly clamped aluminum bar may work better than a narrow copper piece with poor contact.
Selecting the Right Heat Sink for Welding
Select the heat sink by considering the workpiece material, thickness, joint type, process, access behind the joint, weld length, duty cycle, and allowable cooling rate.
| Job | Practical Starting Choice | Main Caution |
|---|---|---|
| Thin mild-steel patch or small hole | Flat copper bar, copper spoon, or thick copper block behind the repair | Keep the joint gap small and use short, separated tacks |
| Long mild-steel seam | Long copper or aluminum bar with multiple clamps | Sequence and total weld length may control distortion more than the bar itself |
| Stainless sheet | Clean dedicated copper backing; chromium-plated copper for strict contamination control | Full-penetration welds may also need a suitable argon back purge |
| Aluminum sheet | Substantial copper backing or an engineered fixture tested on matching scrap | Aluminum already conducts heat rapidly; too much chilling may require more arc energy |
| Titanium or reactive alloy | Clean dedicated backing designed with the shielding or purge system | Shielding quality and contamination control are critical |
| High-strength, hardenable, or heat-treated material | Only the backing or cooling arrangement allowed by the qualified procedure | Excessive chilling can change hardness, toughness, or cracking risk |
Do not copy plasma-cutting amperage guidance into a welding setup. Cutting and welding use different equipment, arcs, and parameter relationships. Likewise, nitrogen used for plasma cutting is not a replacement for the shielding or purge gas specified for a weld.
Products Worth Considering

Enough Quantity: with each package, you get 2 pieces of copper flat bar, an ideal quantity for a wide range of your creative and practical projects, offering nice ductility and are easy to cut and weld, ensuring you can easily adapt them for a variety of applications and project needs

Copper Flat Bar Size: The package comes with 1PCS of copper bar stock in following. Size: Length 102mm/4.01-inch; Width 50mm/1.97-inch; Thickness 10mm/0.39-inch. Dimensions are hand-cut, so slight variations are normal. The tolerance is +0.5 to 1 mm.

Size: 2Pcs copper bar 1/8"(3mm) x 1"(25mm) x 12"(305mm) Dimensions are hand-cut, so slight variations are normal. The tolerance is +0.5 to 1 mm.
How to Use a Heat Sink on Sheet Metal Step by Step
1. Confirm the Material and Welding Requirements
Identify the base metal, coating, thickness, joint type, and whether the part is structural, pressure-retaining, heat-treated, or governed by a repair procedure. Do not experiment with aggressive chilling on a critical component.
2. Make Test Coupons
Prepare scrap pieces of the same material and thickness. Reproduce the joint gap, orientation, backing contact, and welding position. Use the coupon to check penetration, bead shape, discoloration, burn-through, and distortion before welding the actual part.
3. Clean the Workpiece and Heat Sink
Remove oil, moisture, paint, oxide, scale, slag, and loose debris from the contact faces and weld area. Use a cleaning method approved for the base metal. Keep stainless and aluminum tools separate when cross-contamination matters.
4. Fit and Tack the Joint
Correct the panel shape and establish the required joint gap before installing the bar. Tack the assembly at balanced points so the fit cannot open or walk as the weld progresses. Do not use the heat sink to force a badly fitted joint into position.
5. Position and Clamp the Heat Sink
Place the clean bar directly behind the joint or as close to the weld as access allows. Tighten clamps gradually and evenly. The bar should touch the sheet without bowing, denting, or crushing it.
6. Set the Lowest Heat That Produces a Sound Weld
Start from the welder or consumable manufacturer’s recommendations and refine the settings on the coupon. For MIG work, the relationship between voltage, wire speed, travel speed, and stickout matters; use a reliable MIG wire-speed and voltage chart only as a starting point.
Do not make the weld larger than the joint requires. Excess weld metal adds shrinkage and heat. Maintain a short, controlled arc and move steadily rather than dwelling over one spot.
7. Use a Balanced Welding Sequence
For noncritical sheet-metal work, place short tacks or stitches at separated locations rather than completing a long continuous bead from one end. Move between distant areas, alternate sides when possible, and allow the panel and bar to cool naturally between groups of welds.
Backstepping can also help: each short weld progresses opposite the overall direction in which the seam is being completed. The correct sequence depends on the joint shape and where shrinkage forces can be balanced.
8. Inspect Before Continuing
After each group of welds, check panel flatness, joint gap, root support, bar temperature, shielding condition, and bead appearance. Stop if the bar shifts, the panel begins to oil-can, the root becomes contaminated, or cracks appear.
Note: A simpler consumable setup does not automatically mean lower heat input. Check the manufacturer’s data when using self-shielded flux-cored wire. Claims about flux-core welding aluminum also require careful verification because common self-shielded steel wire is not an aluminum welding consumable.
Best Practices for Installing Heat Sinks
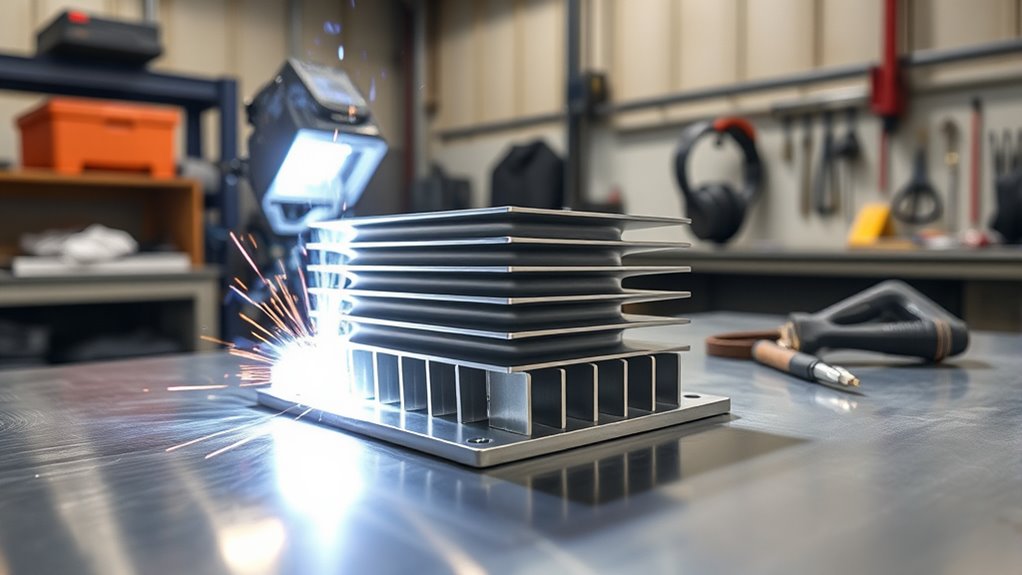
Good installation determines whether a heat sink has meaningful contact with the workpiece. Dirt, high spots, weak clamps, or a curved bar on a flat panel can leave enough air space to reduce heat flow.
- Use a bar long enough to cover the active weld zone and nearby tacks.
- Match the contact face to the panel’s flat, curved, or formed shape.
- Remove oil, moisture, slag, paint, oxide, and loose debris.
- Use several evenly spaced clamps on a long seam instead of overtightening one point.
- Keep the torch or electrode from striking the copper or aluminum bar.
- Do not block shielding-gas coverage with an oversized fixture.
- Allow the bar to cool naturally or rotate between multiple bars during repeated work.
- Inspect the face for embedded steel, arc damage, grooves, or raised spots before reuse.
- Use dedicated clean backing for stainless steel, aluminum, titanium, or other contamination-sensitive work.
- Use interface compounds only when the product is specifically approved for the welding environment.
Welding Heat-Sink Safety
A heat sink does not reduce the normal hazards of welding. Follow the welder and consumable instructions and use a fire-safe work area. OSHA’s welding requirements address eye protection, combustible materials, ventilation, equipment condition, and other hot-work hazards.
- Wear an appropriate welding helmet, safety glasses, gloves, protective clothing, and footwear.
- Use adequate ventilation or local fume extraction for the process and material.
- Remove or shield combustibles on both sides of the workpiece.
- Confirm that tanks, tubes, cavities, and closed sections are safely vented and prepared before heating.
- Treat copper and aluminum bars as hot even when they are no longer glowing or visibly discolored.
- Position conductive fixtures so they cannot create an unintended electrical path or contact the electrode, torch parts, or work lead connection.
- Do not handle the bar with bare hands immediately after welding.
- Do not apply water to an energized welder, cable, electrode holder, gun, torch, work lead, or hot unknown alloy.
Warning: Painted, plated, galvanized, or unknown metal can release hazardous fumes when heated. Identify the coating and follow an approved removal and ventilation procedure. Review the risks before removing zinc coating from galvanized steel.
Heat-sink inspections should be part of the same pre-use check applied to the welder, leads, torch, clamps, gas system, and surrounding work area. A broader equipment inspection and PPE checklist can help establish the habit, although plasma cutting and welding have different process-specific requirements.
When to Consult Experts for Custom Heat Sinks?
A standard block or backing bar is not suitable for every job. Ask a welding engineer, qualified welding specialist, fabricator, or thermal-fixture designer for help when the part has strict dimensional, metallurgical, contamination, or inspection requirements.
Expert review is appropriate for pressure parts, vehicle structures, high-strength or heat-treated steels, aerospace assemblies, medical components, titanium, nickel alloys, long cosmetic stainless seams, precision electronics housings, and repeated production work.
| Factor | Why It Matters |
|---|---|
| Material selection | Controls conductivity, wear, thermal expansion, contamination risk, and service life |
| Geometry design | Improves contact and root support around bends, corners, flanges, and tight assemblies |
| Cooling rate | May affect HAZ hardness, toughness, strength, cracking risk, and heat-treatment condition |
| Argon flow management | Protects suitable stainless, titanium, and reactive-alloy roots without allowing the fixture to block gas coverage |
| Production duty cycle | Determines whether a solid bar, rotating fixture set, air cooling, or engineered water cooling is required |
An expert can also determine whether the heat sink should be copper, chromium-plated copper, aluminum, bronze, ceramic, stainless steel, or a custom composite. The final design may include shaped grooves, purge passages, thermocouples, interchangeable contact shoes, or controlled water channels.
For sensitive electronics, nearby welding can introduce heat, current paths, electromagnetic interference, and contamination. Follow the equipment manufacturer’s isolation and repair procedures rather than relying on a heat sink alone.
Common Mistakes When Using Welding Heat Sinks
- Leaving dirt or scale between the surfaces: Debris creates air gaps and high spots.
- Placing the bar too far away: Heat must travel through more sheet before reaching it.
- Using too little mass: A small piece quickly becomes hot and loses its chilling effect.
- Clamping loosely: The panel can move while contact pressure changes during welding.
- Overtightening one clamp: The clamp can dent or preload the sheet into a distorted shape.
- Striking the backing bar with the arc: Melted copper or aluminum can enter the weld pool.
- Blocking shielding gas: A poorly shaped fixture can cause oxidation or porosity.
- Using an unknown coated or plated bar: Heat may release fumes or transfer contaminants.
- Using ordinary thermal paste without approval: The compound may smoke, decompose, interfere with shielding, or contaminate the joint.
- Expecting the heat sink to correct excessive heat input: Long dwell time, a large bead, or poor sequencing can overwhelm the fixture.
- Quenching the work with water: This can create electrical, metallurgical, and distortion hazards.
- Skipping the test coupon: The first sign of excessive chilling or contamination then appears on the finished part.
Troubleshooting Welding Heat-Sink Problems
| Symptom | Likely Causes | What to Check |
|---|---|---|
| The panel still warps | Excess total heat, long welds, poor sequence, insufficient mass, or weak contact | Shorten welds, move between areas, improve fit, add contact area, and verify settings on scrap |
| Burn-through continues | Large joint gap, excessive amperage or voltage, slow travel, or poor root support | Correct the gap, place copper directly behind the hole, and reduce heat or dwell time |
| Copper or aluminum appears in the weld | The arc struck the bar or molten metal entered a damaged groove | Stop, remove the affected weld as required, repair or replace the bar, and correct torch position |
| Stainless root is dark or sugared | Insufficient backside shielding, leaks, excessive heat, or purge flow blocked by the fixture | Check purge coverage, seals, flow, heat input, and fixture passages |
| The bar becomes hot after only a few tacks | Insufficient mass or an excessive repeated-work duty cycle | Use a larger bar, rotate fixtures, or extend natural cooling time |
| Cracks or unusually hard areas appear | Material susceptibility, excessive cooling, hydrogen, restraint, or an unsuitable procedure | Stop welding and have the material and procedure reviewed by a qualified specialist |
Frequently Asked Questions
What can I use as a welding heat sink?
A clean copper plate, copper block, copper spoon, aluminum bar, or purpose-made chill fixture can work. The piece should be thick enough for the heat load, flat enough to contact the work, and made from a known material without paint, plating, oil, or unknown residue near the weld.
What is a heat sink for welding?
It is a conductive mass placed against the workpiece to absorb and spread some welding heat. When positioned behind a joint, it may also act as a temporary backing bar that supports the root and reduces the chance of burn-through.
What happens if a welding heat sink is ineffective?
The nearby sheet may reach a higher temperature, the bar may stop supporting the root, and the panel may warp or burn through. Common causes include poor contact, too little mass, loose clamps, excessive heat input, and a welding sequence that concentrates heat in one area.
What does a welding heat sink look like?
It may be a flat bar, thick block, curved copper spoon, shaped shoe, clamp-on plate, grooved backing bar, or engineered water-cooled fixture. The contact face should match the shape of the sheet as closely as practical.
Is copper or aluminum better for welding heat sinks?
Copper transfers heat faster and is usually better for very thin sheet, small holes, and compact backing tools. Aluminum is lighter, easier to machine, and often more economical for a large fixture. Contact area, thickness, and fit can matter as much as the material choice.
Can a heat sink stop all welding warping?
No. It can reduce heat buildup and support the sheet, but distortion also depends on joint design, fit-up, weld size, total weld length, restraint, travel speed, tack pattern, and welding sequence.
How close should the heat sink be to the weld?
Place it directly behind the joint when it is also providing root support. For side-mounted cooling, place it as close as torch access and joint geometry allow. A small air gap can sharply reduce conduction, so firm contact is more important than simply placing a large block nearby.
Should I use thermal paste under a welding heat sink?
Not by default. Ordinary electronics paste may not be rated for arc-welding temperatures, fumes, electrical conditions, or contamination limits. Use clean, flat, clamped metal contact unless the interface product’s manufacturer specifically approves the welding application.
Should I cool the weld or heat sink with water?
Do not spray or pour water onto an energized welding setup. Sudden quenching can also create unwanted metallurgical changes or extra distortion. Purpose-built water-cooled backing fixtures are different: they use contained channels and are designed as part of a controlled procedure.
Can I use a copper backing bar for both MIG and TIG welding?
Yes, copper backing is used with both processes in suitable sheet-metal applications. The bar must remain outside the intended fusion zone, fit tightly, and leave enough access for the gun or torch and shielding gas. Test the setup on matching scrap first.
Conclusion
A heat sink can make thin-sheet welding more controllable by absorbing local heat, supporting the root, and reducing the chance of warping or burn-through. Copper is the strongest practical choice for rapid heat transfer, while aluminum offers lower weight and easier fabrication for larger fixtures.
The results depend on more than the bar. Clean contact, adequate mass, tight fit-up, correct settings, minimum necessary weld metal, short welds, and a balanced sequence all work together. A poorly fitted heat sink cannot compensate for excessive heat or an unsuitable procedure.
For ordinary noncritical sheet-metal repairs, test the setup on matching scrap and inspect the panel after every group of welds. For hardenable, heat-treated, structural, pressure-retaining, aerospace, medical, or contamination-sensitive parts, use an approved procedure or obtain qualified technical guidance.
Sources
- Lincoln Electric — Weld Distortion — supports guidance on minimizing weld metal, intermittent welding, weld sequence, and distortion control.
- TWI — Design, Part 4: Backing Bars and Strips — supports temporary copper backing, close fit-up, water-cooled fixtures, and contamination cautions.
- TWI — What Is the Heat-Affected Zone? — supports the definition of the HAZ and factors affecting its width.
- Copper Development Association — C11000 Alloy Properties — supports copper density and thermal-conductivity values.
- The Aluminum Association — Fire Safety of Aluminum and Its Alloys — supports the published thermal-conductivity range for aluminum alloys.
- OSHA — 29 CFR 1910.252, Welding, Cutting, and Brazing — supports fire prevention, eye protection, hot-work preparation, and welding safety requirements.




