Heat straightening is a controlled repair method you use to reshape a bent vehicle frame with targeted heat instead of cutting and replacing sections. You first verify the manufacturer allows heat, then you apply localized heat within safe temperature limits while monitoring it with indicators. The heat temporarily changes steel’s yield behavior, letting you pull the frame back into alignment. Steel type matters, and you must restore corrosion protection after the repair for a complete result.
What Is Heat Straightening on a Frame?
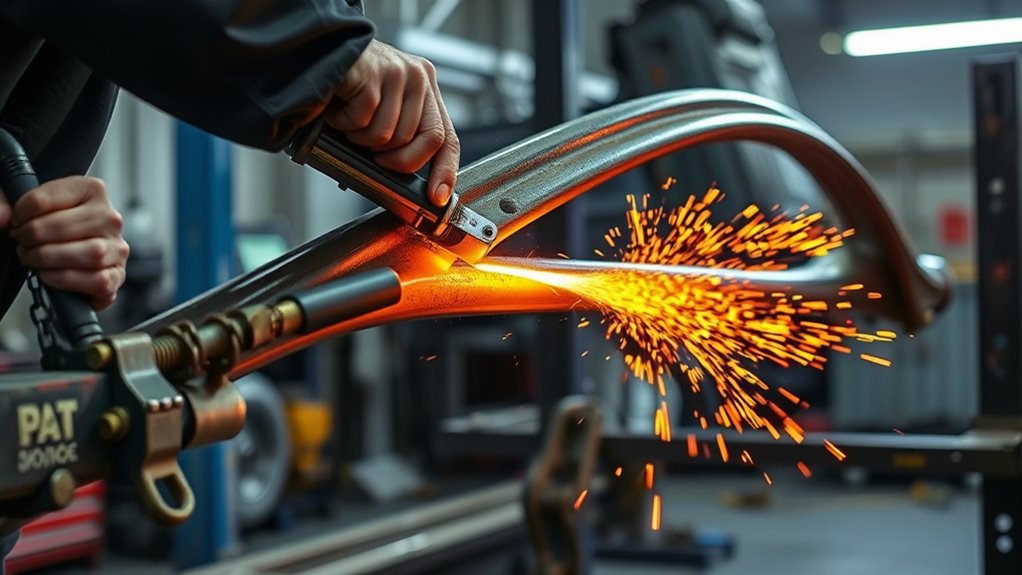
Heat straightening on a frame is a controlled repair process that uses targeted heat to reshape a bent or damaged vehicle frame and restore its structural integrity. You use heat straightening to correct deformation without resorting to lengthy sectioning methods, which can take far longer. In practice, you apply heat in a disciplined way, following manufacturer guidelines so you don’t weaken the frame or disrupt corrosion protection. You also need to understand the steel you’re working with, because yield strength and carbon content change how the material responds. Accurate temperature measurement matters, and temperature-indicating markers give you a more reliable reading than judging color alone. When you work within these limits, you can recover frame geometry efficiently while preserving safety and performance. Additionally, proper metal preparation is crucial to ensure that the heat straightening process is effective and long-lasting. Afterward, you’ll need to restore corrosion protection on every heated area to maintain long-term durability and keep the vehicle ready for liberated, reliable use.
When Can You Safely Use Heat?
Once you understand how heat straightening restores frame geometry, the next question is when you can apply heat without creating new damage. You can use heat only when the vehicle manufacturer allows it and defines safe temperature limits, dwell times, and steel classifications.
In heat straightening, you must verify those limits before you strike the torch. Treat high-strength steel as restricted material; don’t assume it tolerates the same process as mild steel. Some models prohibit heat entirely, including the 1997 Ford F-150, so you need model-specific documentation before proceeding.
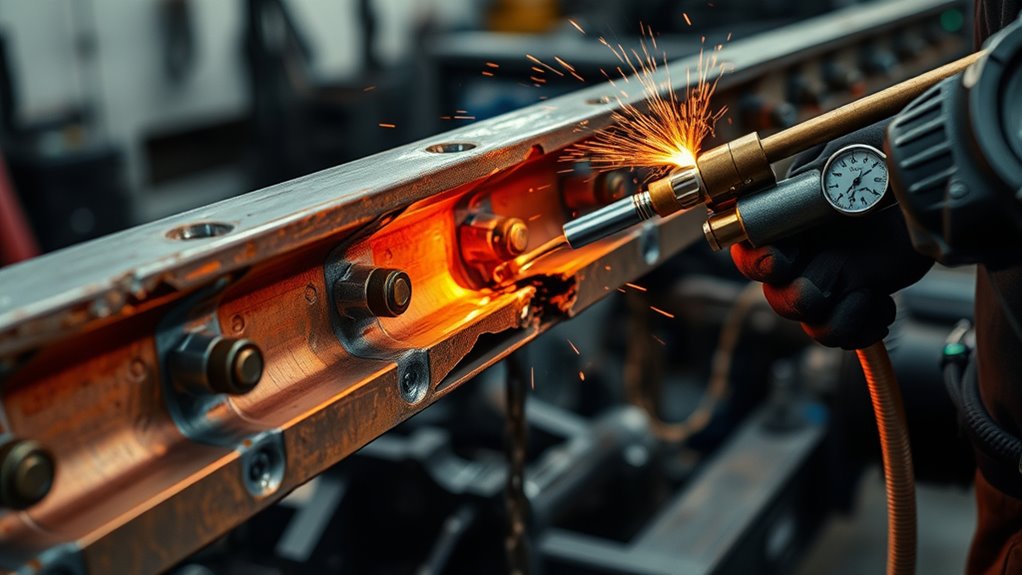
Measure temperature with indicators or markers, not by judging color, because visual cues can mislead you. Use controlled torch techniques to localize heating and avoid overheating adjacent metal. Additionally, understanding welding challenges with cast iron can help in avoiding unintended consequences when applying heat to frame materials.
When you follow the published data, you preserve structural integrity and keep the repair aligned with the vehicle’s engineering intent, not with guesswork or coercion.
How Heat Straightening Works
By applying controlled heat to a damaged frame section, you can temporarily change the steel’s yield behavior and ductility so the metal can be reshaped back toward original dimensions without creating a new permanent set.
You exploit the mechanical properties of the metal, concentrating energy only where deformation exists and then guiding the frame back into alignment. This approach can reduce repair time to about 2-3 hours, far less than the 20 hours often needed for sectioning.
You must monitor temperature closely with temperature-indicating markers, because overheating can weaken the structure and violate safe limits. You also need to follow manufacturer instructions; some frames, including the 1997 Ford F-150, forbid heat application entirely.
After the metal cools, you should restore corrosion protection on every heated area to preserve durability and prevent hidden degradation. Moreover, cut quality can be significantly affected by the method used, underscoring the importance of precision in the heat straightening process.
When you control the process precisely, you reclaim structural function without surrendering safety or freedom.
How Steel Type Affects the Repair
Steel type determines how much heat a frame can tolerate and how predictably it will move during straightening. You need to identify the alloy before you apply any torch work, because mild steel, around 35,000 psi yield strength, usually bends back with controlled heating, while ultra high-strength steel can exceed 110,000 psi and may warp or lose strength if you push it too far.
Higher carbon steel also hardens faster, so you must use tighter temperature control and shorter cycles. Cold-rolled steel often carries better surface finish and strength than hot-rolled steel, so you should treat it with a more exact thermal strategy.
If you’re unsure about a panel, assume it’s high-strength steel and don’t heat it unless the manufacturer explicitly allows it. Keep the temperature within the specified range, often below 1,200 degrees F, so you preserve structural integrity and avoid turning a repair into a hazard. Additionally, proper weld sizing is essential to ensure that the frame maintains its strength during the heat straightening process.
Restore Corrosion Protection After Heating
After heat straightening, you must restore corrosion protection on every heated area to prevent rust and preserve frame integrity. You should inspect each zone, remove scale, residue, and oxidation, then confirm the surface is dry and mechanically sound before coating.
Use corrosion-resistant products that match the steel grade and comply with manufacturer guidance; don’t improvise with incompatible treatments. To restore corrosion protection effectively, apply the specified coating thickness and coverage across all exposed metal, including edges, seams, and fastener interfaces.
- Clean and prepare every heated surface.
- Apply approved corrosion-resistant treatment.
- Inspect coverage and recheck after curing.
You should also monitor manufacturer updates, because materials and procedures evolve. After repair, perform a thorough post-process inspection to verify that the protection layer bonds properly and that no bare metal remains, ensuring proper fit-up to enhance durability and reduce future degradation.
This disciplined step helps you defend structural integrity, reduce future degradation, and keep the frame serviceable on your terms.
Frequently Asked Questions
What Is the Heat Straightening Procedure?
You apply localized Heat Application to the distorted frame, monitor temperature with markers, then gently reshape it to spec. You’ll follow manufacturer limits, cool it, and restore corrosion protection so you don’t weaken steel.
Does Heat Straighten Metal?
Yes—you can straighten metal with controlled heat, but you’ve got to respect Metal Properties. You’ll relieve stress, reshape distortion, and avoid weakening the frame; otherwise, you’re asking for trouble and risking structural failure.
How to Straighten a Shaft With Heat?
You’ll straighten a shaft with heat by applying controlled, localized heating to the bent area, monitoring temperature markers, then letting it cool to restore Shaft Alignment; don’t exceed material limits, and protect the surface afterward.
How to Straighten a Steel Plate With Heat?
You straighten a steel plate with heat by applying localized Heat Applications at 1,000–1,200°F; just 1% distortion can be corrected. You’ll heat, let it contract, verify temperature markers, and restore corrosion protection.
Conclusion
You can use heat straightening to correct a bent frame, but you must use it only when you’ve confirmed the steel is repairable, the damage is stable, and the heating plan is controlled. You heat, you monitor, and you cool the section in a way that restores alignment without weakening the member. You then inspect, measure, and recoat the frame to restore corrosion protection. Done correctly, the process recovers geometry without sacrificing structural integrity.


