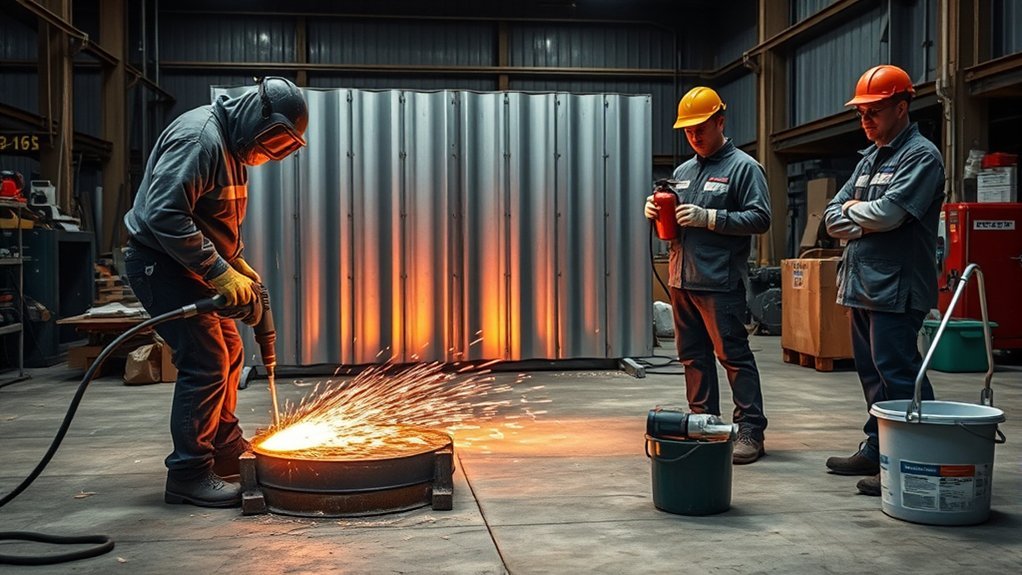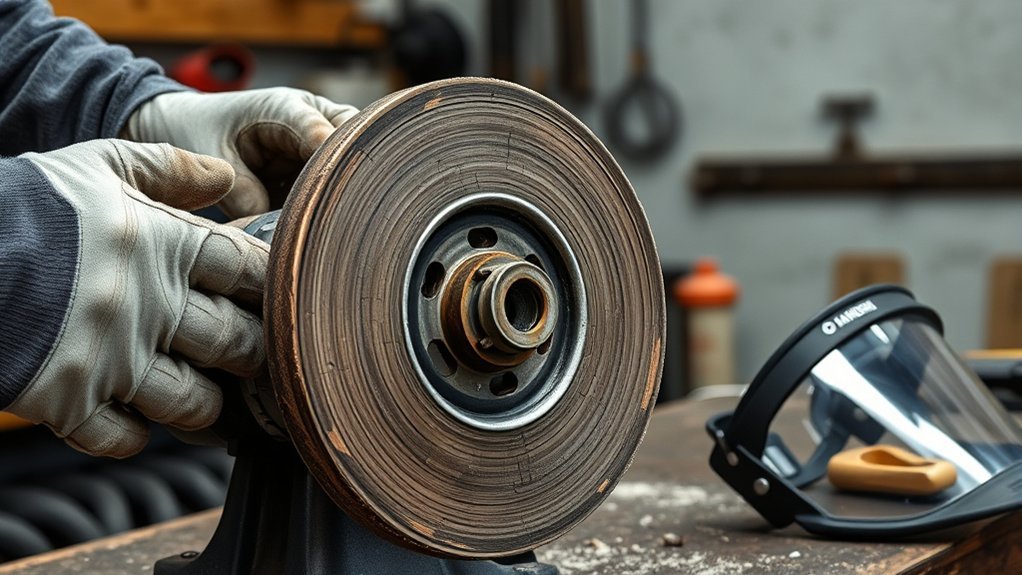
If you notice cracks, chips, wobbling, strange sounds, burning smells, or excessive vibration from a grinding wheel, stop using it right away. A damaged grinding wheel can break apart under speed, damage the grinder, or send fragments toward your hands, face, or nearby workers. Inspect the wheel before mounting and before each use, check the wheel’s marked RPM rating, and replace any wheel that fails inspection.
Quick Answer
Stop using a grinding wheel if it has cracks, chips, missing chunks, a dead sound during a ring test, heavy glazing, heat discoloration, wobble, vibration, or a missing speed label. Do not dress or “try one more pass” with a cracked wheel. Remove it from service and install a compatible replacement.
Key Takeaways
- Replace a grinding wheel immediately if you see cracks, chips, missing edges, wobble, or a failed ring test.
- Before mounting, make sure the grinder speed does not exceed the maximum operating speed marked on the wheel.
- Glazing or loading can sometimes be corrected by dressing, but structural damage means replacement.
- Use guards, correct flanges, eye and face protection, and the proper wheel for the material.
At a Glance
| Time Required | 2–5 minutes for a pre-use inspection; 10–20 minutes to replace and check a wheel |
| Difficulty | Beginner, but safety-critical |
| Tools Needed | Light nonmetallic tapping tool, grinder wrench, PPE, clean cloth, compatible replacement wheel |
| Cost | Usually the cost of a replacement wheel; do not risk using a questionable wheel to save money |
Signs Your Grinding Wheel Is Damaged
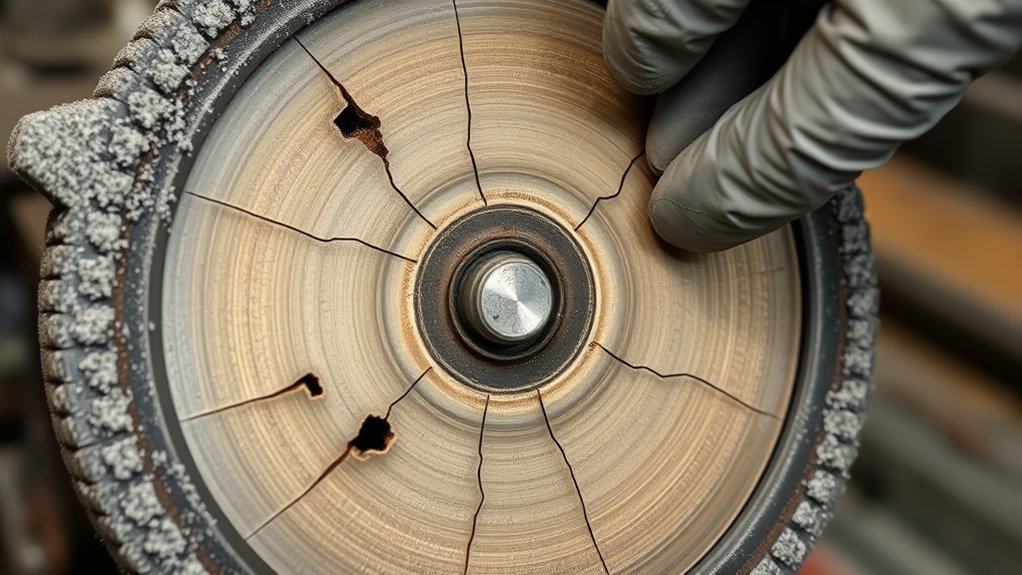
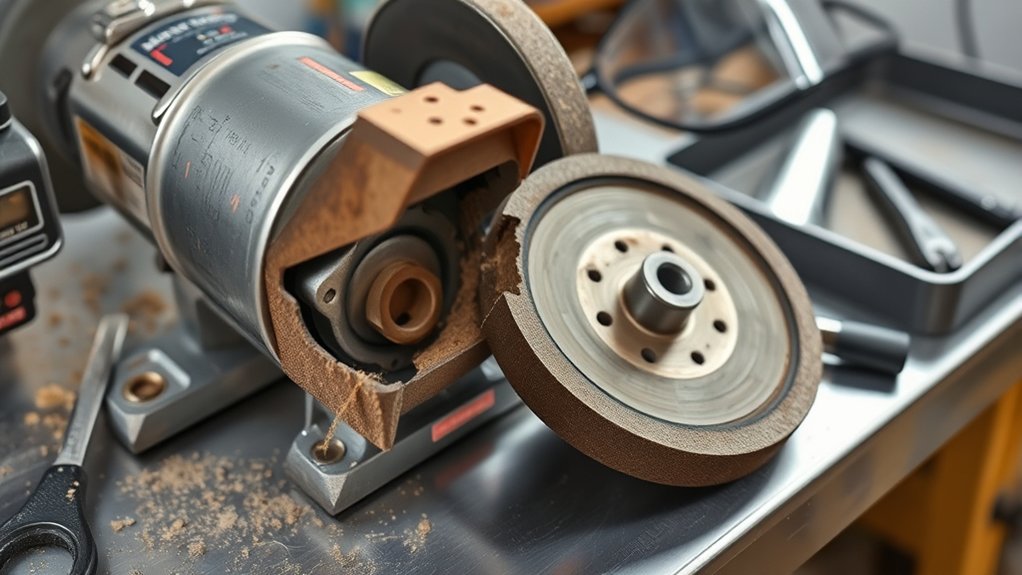
Start with a visual check. A grinding wheel should not have cracks, chips, missing chunks, edge breaks, deep grooves, oil contamination, or loose abrasive sections. Even a small crack can spread once the wheel reaches operating speed.
Next, pay attention to how the wheel behaves. A wheel that wobbles, vibrates heavily, chatters, smells hot, makes unusual scraping or knocking sounds, or leaves uneven marks may be damaged, out of balance, mounted wrong, or worn past safe use.
Surface changes also matter. A shiny, smooth wheel face often means glazing, where dull abrasive grains stop cutting well. A loaded wheel may have metal packed into the pores. Glazing or loading can sometimes be corrected with proper dressing, but only if the wheel has no cracks, chips, or structural damage.
Warning: Never keep grinding with a wheel that is cracked, chipped, badly wobbling, or making a dead sound during a ring test. Remove it from service and replace it.
What to Do If Your Grinding Wheel Is Damaged?
If you find damage, stop the grinder, wait for the wheel to come to a complete stop, and disconnect power before touching the wheel. Do not try to “finish one quick job” with a questionable wheel.
Use this simple action table to decide what to do next:
| What You Find | What It Means | Safe Next Step |
|---|---|---|
| Cracks, chips, missing pieces, or dead ring-test sound | Structural damage | Remove from service and replace |
| Wobble or heavy vibration | Possible wheel damage, bad mounting, worn flange, or imbalance | Stop, inspect mounting, and replace if damage is present |
| Shiny glazed surface | Dull abrasive grains are rubbing instead of cutting | Dress the wheel only if it is otherwise sound |
| Missing label or unreadable RPM rating | You cannot confirm compatibility | Do not mount it; use a labeled wheel |
After removing a damaged wheel, mark it so no one else uses it. If you work in a shop, follow your workplace lockout, tag-out, and disposal procedure.
Risks of Using a Damaged Grinding Wheel
Using a damaged grinding wheel increases the chance of wheel breakage, loss of control, bad surface finish, and injury from flying fragments. The faster the grinder runs, the more serious a failure can become.
Increased Accident Risk
A cracked or weakened wheel may come apart during operation. That is why OSHA abrasive wheel rules require guards that can help retain fragments if a wheel breaks. A guard does not make a damaged wheel safe, but it is a key layer of protection.
Do not operate a grinder with missing guards, loose flanges, a forced-on wheel, or a wheel rated below the grinder’s speed. These conditions add stress to the wheel and raise the risk of failure.
Compromised Cutting Efficiency
A worn or glazed grinding wheel also works poorly. You may notice slower material removal, more heat, more pressure needed, burn marks, chatter, or uneven surfaces. Pushing harder can make the problem worse because it adds heat and side load.
If the wheel is only glazed or loaded, dressing may restore cutting action. If the wheel is cracked, chipped, warped, oil-soaked, or too small to use with the guard and tool rest adjusted correctly, replace it.
Performance Indicators of Grinding Wheel Wear
Wheel wear is not always dangerous, but it must be watched. A grinding wheel is a consumable part, so its diameter, face condition, balance, and cutting action will change with use.
Visual Damage Signs
Inspect the wheel before mounting and before grinding. Look for:
- Cracks and chips: Any visible crack, chip, or missing piece is a stop-use sign.
- Discoloration or heat marks: Heat can point to overloading, wrong wheel choice, or poor technique.
- Glazing or loading: A shiny or packed surface cuts poorly and may need dressing if the wheel is otherwise safe.
- Uneven wear: A wheel that is worn out of round can vibrate and leave inaccurate results.
Performance Efficiency Decline
A major drop in cutting ability means the wheel needs attention. If you must press harder than normal, the wheel may be dull, loaded, glazed, wrong for the material, or near the end of its useful size.
For bench and floor grinders, wheel diameter matters because the tool rest and guard must still be adjusted close to the wheel. If the wheel becomes too small to maintain safe clearances, replace it.
Excessive Vibration Detection
Excessive vibration is a warning sign. It can come from a cracked wheel, uneven wear, a dirty flange, a bent spindle, poor mounting, or an out-of-balance wheel. Stop the grinder and inspect before continuing.
If the wheel vibrates after correct mounting and inspection, do not keep using it. Replace the wheel or have the grinder checked before returning it to service.
Key Manufacturer Guidelines for Safe Wheel Usage
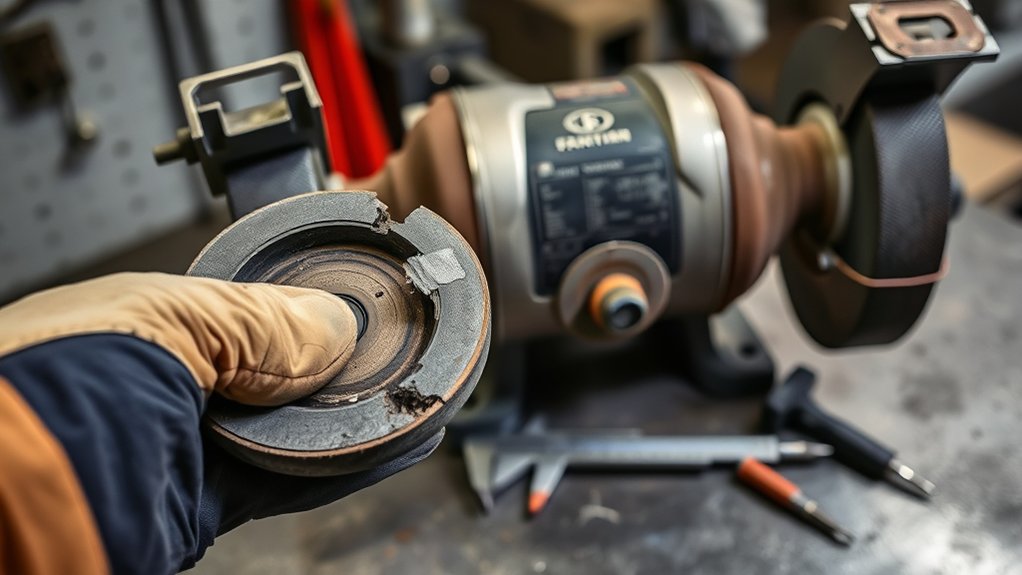
Before mounting a wheel, read the wheel label and the grinder manual. The wheel must match the grinder’s diameter, arbor size, wheel type, material use, and maximum speed.
OSHA 1910.215 says the spindle speed must be checked before mounting so it does not exceed the maximum operating speed marked on the wheel. This matters because overspeeding can overstress the wheel.
Also check that the wheel fits freely on the spindle. Do not force a tight wheel onto the arbor, drill the hole larger, remove guards to make it fit, or use the wrong flange. The spindle nut should be tight enough to hold the wheel securely, not overtightened.
Pro Tip: Keep one clean, labeled spare wheel for each grinder size you use often. That makes it easier to replace a questionable wheel instead of taking a risk.
The Importance of Regular Inspections
Regular inspection helps catch problems before the wheel reaches full speed. Make it a habit to inspect the wheel when you receive it, before you mount it, after any drop or impact, and before each grinding session.
During inspection, check:
- The wheel body: Look for cracks, chips, missing edges, moisture damage, oil contamination, or warping.
- The label: Confirm wheel type, size, material rating, and maximum RPM.
- The grinder: Confirm guards, flanges, spindle, tool rest, and power switch are in safe condition.
- The work area: Remove flammables, secure the workpiece, and keep bystanders out of the spark and debris path.
Wear safety glasses with side protection during grinding. For higher-risk work, use a face shield over safety glasses, hearing protection, gloves suited to the task, and dust control or respiratory protection when material dust requires it. OSHA eye and face protection rules require suitable protection for flying-particle hazards.
How to Conduct a Ring Test for Wheel Integrity
A ring test helps detect cracks in many vitrified and silicate grinding wheels before mounting. It is not a replacement for visual inspection, and it may not work the same way on every wheel type.
Use this safer ring-test method:
- Make sure the wheel is dry, clean, and free from sawdust or debris.
- Support the wheel through the arbor hole with your finger or a nonmetallic support, depending on wheel size.
- Gently tap the wheel with a light nonmetallic tool, such as a screwdriver handle for light wheels or a wooden mallet for heavier wheels.
- Tap about 45 degrees on each side of the vertical centerline and about 1–2 inches from the outer edge.
- Rotate the wheel 45 degrees and repeat the test.
- Listen for the sound. A sound wheel gives a clear ring; a cracked wheel gives a dull or dead sound.
If the wheel gives a dead sound, do not use it. OSHA’s abrasive wheel standard states that wheels should be inspected and sounded before mounting, and cracked-sounding wheels must not be used.
Note: Organic-bonded wheels may not make the same clear metallic ring as vitrified or silicate wheels. When in doubt, follow the wheel manufacturer’s instructions or replace the wheel.
How to Choose the Best Replacement Grinding Wheel
Choose a replacement wheel by matching it to the grinder and the job. Do not choose only by diameter or price.
- Wheel size: Match the grinder’s approved diameter, thickness, and arbor size.
- Maximum RPM: The wheel’s marked maximum speed must be equal to or higher than the grinder’s spindle speed.
- Wheel type: Use the correct type for grinding, cutting, surface grinding, or tool sharpening.
- Abrasive material: Aluminum oxide is common for steel and general metal grinding; silicon carbide is often used for harder or nonferrous materials; diamond and CBN wheels are for specific applications.
- Grit size: Lower grit numbers remove material faster; higher grit numbers leave a finer finish.
- Bond and grade: Match wheel hardness and bond to the material, grinder, and type of cut.
Do not use a wheel with a missing label, unknown rating, wrong arbor size, or visible damage. If the wheel does not fit freely and correctly, it is the wrong wheel for that grinder.
Products Worth Considering

Suitable for Casfuy Model: N10, N20, N30, N50, N60, N65 (Not for Model N70 / N75 / N90)

Premium Diamond Grinding Heads: This set includes 6 high-quality diamond grinding heads designed specifically for dog nail grinders, providing a long-lasting and effective solution for trimming your pet's nails.

COMPLETE ALL-IN-ONE KIT: Contains everything you need—8 replacement wheels, two bolt sizes, spacers, washers, and specialized tools. No need to buy anything else. Start the repair immediately and bring your favorite luggage back to life.
How to Set Up Your Grinder Safely
Before grinding, confirm that the grinder is clean, guarded, and adjusted. For a bench or floor grinder, keep the work rest close to the wheel. OSHA’s rule for offhand grinding machines sets the maximum opening between the work rest and wheel at 1/8 inch. The top tongue or adjustable guard opening should not exceed 1/4 inch.
Follow these setup steps:
- Disconnect power before changing or adjusting the wheel.
- Inspect and ring-test the wheel if the wheel type allows it.
- Check that the wheel’s RPM rating is safe for the grinder.
- Clean the spindle, flanges, blotters, and contact surfaces.
- Mount the wheel so it fits freely on the spindle.
- Tighten the nut only enough to hold the wheel securely.
- Reinstall and align all guards before powering the grinder.
- Adjust the work rest and tongue guard with the wheel stopped.
- Wear eye protection and keep your face out of the wheel plane when starting the grinder.
Do not grind on the side of a wheel unless that wheel is designed for side grinding. Do not remove the guard to fit a larger wheel. Do not use a wheel meant for a different machine, material, or speed range.
What Causes Grinding Wheels to Fail Early?
Grinding wheels often fail early because of rough handling, wrong storage, wrong material use, side pressure, overspeeding, poor mounting, or forcing the wheel onto the spindle. Dropping a wheel can create damage you cannot easily see.
Moisture and oil can also weaken or contaminate some wheels. Store wheels flat or supported as recommended by the manufacturer, keep them dry, and avoid stacking them where they can bend, chip, or absorb contaminants.
Dressing vs. Replacing a Grinding Wheel
Dressing and replacing are not the same. Dressing exposes fresh abrasive and can correct glazing, loading, and minor face irregularities on a sound wheel. Replacing is required when the wheel is structurally damaged, fails the ring test, is too small for safe guard adjustment, has an unknown speed rating, or does not match the grinder.
Never try to dress away a crack or chip. Dressing can improve cutting action, but it cannot restore a damaged wheel’s strength.
Products Worth Considering

VERSATILE 60 GRIT ALUMINUM OXIDE Wheel – Our 6 inch grinding wheel offers an ideal balance between material removal and surface finish, perfect for sharpening blades, drill bits, chisels and tool grinding

INCLUDES: 8” Aluminum Oxide Grinding Wheel w/ 60 grit

QUALITY UPGRADE: Bench grinder wheel is made of green silicon carbide, high hardness, durablity and wear resistance.Bench grinder wire wheel, crafted from premium carbon steel wire, good toughness for removing light burrs and paint, well-balanced for smooth operation
Frequently Asked Questions
When should you stop using a grinding wheel?
Stop using a grinding wheel when you see cracks, chips, missing pieces, heavy wobble, excessive vibration, heat damage, a missing speed label, or a dull/dead sound during a ring test. Disconnect power, remove the wheel, and replace it with a compatible one.
How do I know when to change my grinding wheel?
Change the wheel when it is damaged, fails inspection, fails a ring test, becomes too small for safe guard and tool-rest adjustment, cuts poorly after proper dressing, or no longer matches the job. If the wheel’s RPM rating or wheel type is unknown, do not use it.
What is the thumb rule for grinding wheel selection?
Match the wheel to the grinder speed, wheel diameter, arbor size, material, and grinding task. The wheel’s maximum RPM must be equal to or higher than the grinder’s spindle speed, and the wheel must fit freely on the spindle without forcing.
What must be done with cracked or damaged grinding wheels?
Cracked or damaged grinding wheels must be removed from service immediately. Do not dress them, patch them, mount them, or keep them as spares. Mark or dispose of them so another person does not accidentally use them.
Can a glazed grinding wheel be repaired?
A glazed wheel can often be dressed if the wheel is otherwise sound. Dressing removes dull abrasive and exposes a sharper cutting surface. If the wheel is cracked, chipped, wobbling, contaminated, or too small, replace it instead of dressing it.
Do all grinding wheels need a ring test?
Many vitrified and silicate grinding wheels should be ring-tested before mounting, but not every wheel type rings the same way. Organic-bonded wheels may not give the same clear metallic tone. Always follow the wheel manufacturer’s instructions for that wheel type.
Conclusion
A grinding wheel is not worth risking your eyes, hands, grinder, or workspace. If you see cracks, chips, wobble, heavy vibration, heat damage, or a failed ring test, stop and replace the wheel. If the wheel is only glazed or loaded and has no structural damage, proper dressing may restore cutting performance. Check the RPM rating, use the correct guard and flanges, keep the work rest close, wear proper PPE, and choose the right wheel for the material every time.
Sources
- OSHA 29 CFR 1910.215 — Abrasive wheel machinery — backs ring testing, wheel inspection, spindle speed checks, guards, flanges, arbor fit, work-rest clearance, and tongue guard clearance.
- OSHA 29 CFR 1926.303 — Abrasive wheels and tools — backs construction-use requirements for guards, ring testing, free spindle fit, work rests, and eye protection during abrasive wheel use.
- OSHA 29 CFR 1910.133 — Eye and face protection — backs eye and face protection guidance for flying-particle hazards.