
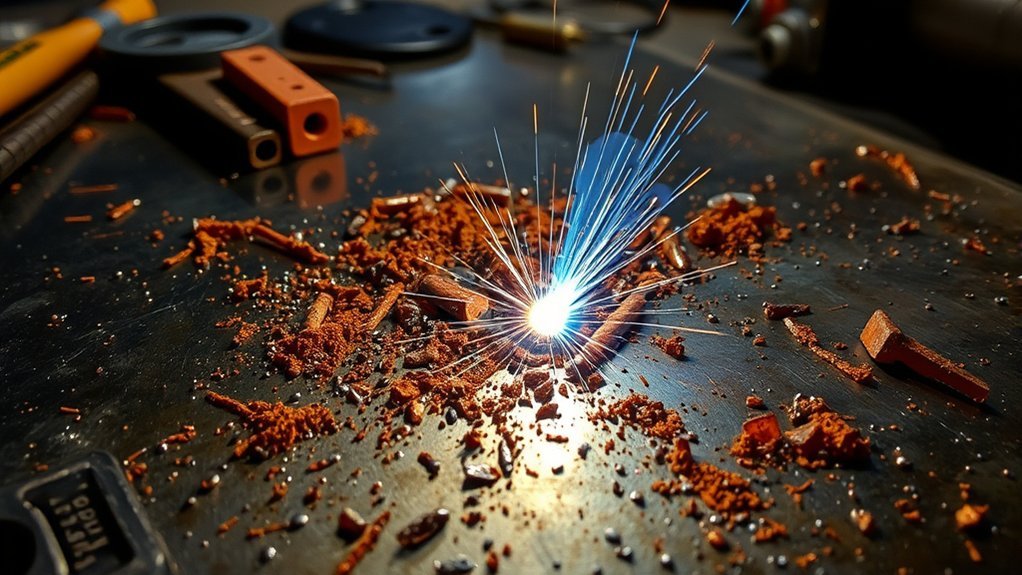
Excessive weld spatter usually means the arc is unstable, the metal is dirty, the shielding gas is not protecting the puddle, or the gun setup needs maintenance. You can reduce it by cleaning the joint, checking the work clamp, setting the correct voltage and wire feed speed, using the right shielding gas flow, shortening excessive stickout, and replacing worn consumables.
Quick Answer
Too much weld spatter is most often caused by dirty metal, mismatched voltage and wire feed speed, poor shielding gas coverage, long wire stickout, bad grounding, or worn contact tips. Start by cleaning the base metal, checking gas flow in CFH, shortening stickout, and tuning settings on scrap before welding the final part.
Key Takeaways
- Spatter is a symptom. It usually points to unstable arc transfer, poor shielding, dirty material, or worn welding gun parts.
- For MIG welding, set shielding gas by flow rate, usually CFH, not by pressure alone.
- Rust, mill scale, paint, oil, grease, and zinc coatings can all disturb the weld pool and increase spatter.
- Anti-spatter spray helps cleanup, but it does not fix wrong settings, bad gas coverage, or poor technique.
- Always wear proper PPE and use ventilation because spatter, UV radiation, fumes, and hot metal can cause serious injuries.
At a Glance
| Time Required | 10 to 30 minutes for basic troubleshooting; longer if you need to replace liners, tips, or nozzles |
| Difficulty | Beginner to intermediate |
| Tools Needed | Welding PPE, wire brush, grinder or flap disc, clean rag, approved solvent, flowmeter or regulator, spare contact tips, nozzle pliers, and scrap metal for test welds |
| Cost | Usually low if settings or cleaning are the issue; higher if you need new tips, nozzles, liner, wire, or shielding gas |
Warning: Weld spatter is hot molten metal. Wear a welding helmet, safety glasses, gloves, flame-resistant clothing, and proper footwear. Keep flammables away, mark hot metal after welding, and use ventilation or fume extraction. Do not weld painted, oily, galvanized, or unknown coated metal until you understand the fume and fire hazards.
Understanding Weld Spatter: What Is It?
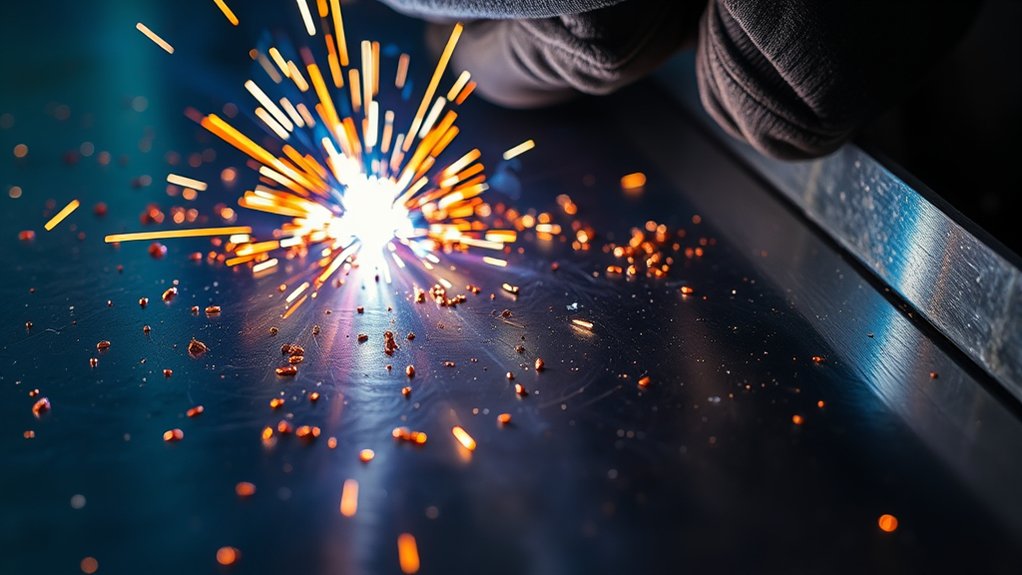
Weld spatter is the small molten-metal droplets that shoot out of the arc and stick to the base metal, nozzle, fixture, or nearby surfaces. A little spatter is normal in some welding processes, especially short-circuit MIG, flux-core, and stick welding. Heavy spatter, however, usually means something in the setup is wrong.
Excessive spatter makes cleanup slower, wastes filler metal, clogs nozzles, shortens consumable life, and can hide the weld bead from view. In some cases, it also points to deeper problems such as poor fusion, porosity, weak shielding, or unstable metal transfer.
The biggest causes are poor metal preparation, mismatched voltage and wire feed speed, bad gas coverage, excessive stickout, worn contact tips, poor work clamp contact, and the wrong wire or shielding gas for the job.
Common Causes of Excessive Weld Spatter
If your weld is popping, throwing BBs, or leaving heavy rough deposits around the bead, do not adjust one knob at random. Work through the causes in order so you can find the real issue.
| Cause | What You May Notice | Fix |
|---|---|---|
| Dirty base metal | Popping arc, smoke, soot, porosity, rough bead | Remove rust, paint, oil, grease, mill scale, and coatings from the weld zone. |
| Voltage and wire feed speed mismatch | Wire stubbing, loud crackling, excessive BB spatter | Use the welder chart as a starting point, then fine-tune on scrap of the same thickness. |
| Poor shielding gas coverage | Spatter with porosity, black soot, inconsistent bead | Check flow in CFH, leaks, drafts, nozzle buildup, and gas type. |
| Excessive wire stickout | Erratic arc, colder bead, scattered spatter | Shorten the contact-tip-to-work distance according to the wire and process. |
| Worn contact tip or clogged nozzle | Arc wanders, wire burns back, gas flow is blocked | Replace worn tips and clean the nozzle before buildup blocks shielding gas. |
| Poor work clamp connection | Unstable arc even when settings look correct | Clamp to clean bare metal as close to the weld as practical. |
| Wrong polarity | Harsh arc, poor penetration, heavy spatter | Confirm polarity for the wire. Solid MIG wire commonly uses DCEP, while many self-shielded flux-core wires use DCEN. |
Step-by-Step Checklist to Reduce Weld Spatter
- Stop and inspect the bead. Look for porosity, soot, undercut, cold lap, or poor fusion. Spatter may be only one symptom.
- Clean the workpiece. Grind or brush to bright metal where the arc will run. Wipe oil and grease with an approved cleaner and let the area dry before welding.
- Check the work clamp. Clamp to clean bare metal. Avoid clamping to paint, rust, a loose table, or a dirty fixture.
- Inspect the gun. Remove spatter from the nozzle, confirm the contact tip size matches the wire, and replace tips that are worn, loose, oval, or burned back.
- Check wire feeding. Make sure the spool turns smoothly, the drive rolls are correct for the wire, the liner is not dirty or kinked, and the wire is not rusty.
- Set gas flow correctly. For many indoor short-circuit MIG welds, start in the 20 to 30 CFH range, or follow your welder and gas supplier guidance. Do not use “more gas” as a cure for wind or dirty metal.
- Confirm gas type. C25, which is 75% argon and 25% CO₂, is common for short-circuit MIG on mild steel. Some higher-argon mixes can run smoother when the machine, material, and transfer mode support them.
- Set voltage and wire feed speed together. Use the door chart or procedure as a starting point. A smooth, steady arc is the goal.
- Control stickout and angle. Keep a consistent contact-tip-to-work distance and a modest work or travel angle. Do not let the gun drift far from the puddle.
- Test on scrap. Run short beads on the same material before welding the final part. Make one change at a time so you know what fixed the problem.
Pro Tip: If the arc sounds rough, do not start by increasing gas flow. First check clean metal, work clamp contact, wire stickout, contact tip condition, and voltage-to-wire-feed balance.
How Improper Settings and Techniques Contribute to Excessive Spatter
Settings control how the wire melts, transfers, and joins the weld pool. If voltage is too low for the wire feed speed, the wire can stub into the puddle and throw metal. If voltage is too high, the arc can become harsh, widen the bead, and increase undercut or spatter. Wire feed speed that is too fast or too slow can also make the arc unstable.
Travel speed matters too. Moving too slowly can create an oversized puddle that becomes hard to control. Moving too fast can leave poor wet-in at the toes of the weld. Either condition can make the weld look rough and increase cleanup.
Gun angle should stay controlled, not extreme. A modest 5 to 15 degree travel angle is a common starting point for many MIG welds, but the right angle depends on joint design, position, wire type, and process. Too much angle can push shielding gas away from the weld pool and expose the molten metal to air.
Transfer mode also matters. Short-circuit transfer is useful for thin metal and out-of-position work, and it is often used when learning how to MIG weld thin metal without burning through. Still, it can create more spatter than spray or pulsed-spray transfer. Spray transfer can be cleaner on suitable thicker material with the right gas mix, machine capability, and position.
The Role of Contaminated Surfaces in Spatter Formation
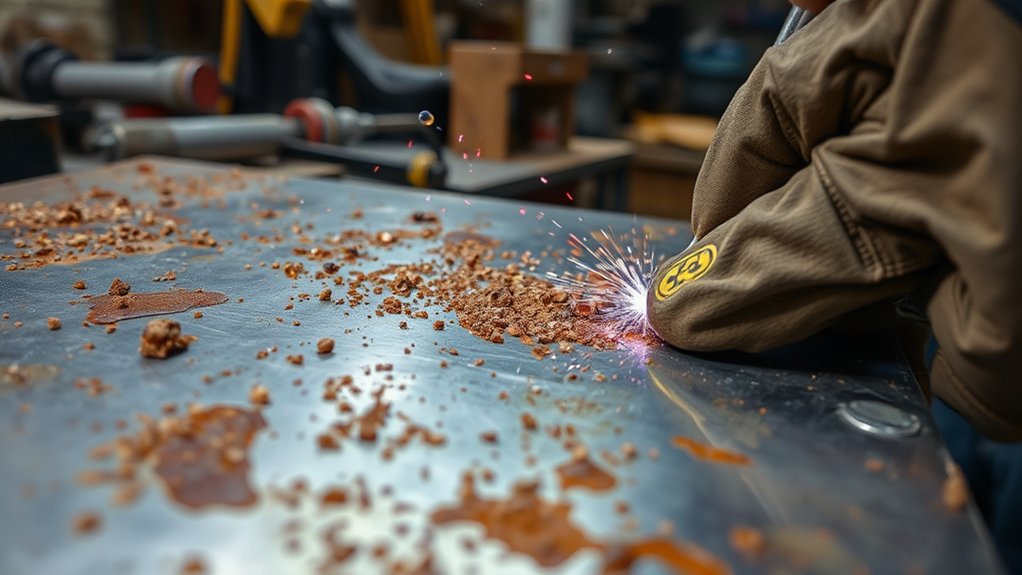
Contaminated surfaces are one of the easiest spatter causes to fix. Dirt, oil, grease, paint, rust, mill scale, moisture, and coating residue can vaporize under the arc. That gas movement disturbs the molten weld pool and can leave spatter, porosity, soot, and weak fusion.
- Degrease first. Wipe the joint with an approved cleaner, then let the surface dry fully before striking an arc.
- Remove rust and mill scale. Use a grinder, flap disc, wire wheel, or file until the weld zone is clean enough for the process.
- Remove paint and coatings. Do not weld directly over paint, powder coat, undercoating, or unknown coatings.
- Handle galvanized steel carefully. Zinc coatings can create hazardous fumes and poor weld quality. Remove zinc from the weld zone only when it is safe and allowed for the job, and use ventilation and PPE. This guide on how to remove zinc coating from galvanized steel explains the preparation concern in more detail.
- Keep cleaned parts clean. Avoid touching the prepared joint with oily gloves or laying it on dirty fixtures.
Note: Anti-spatter spray can make cleanup easier, but it should be used around the weld area, not as a replacement for clean metal, correct settings, or good shielding gas coverage.
Selecting Optimal Filler Materials and Shielding Gases for Minimal Spatter
The right wire and shielding gas can make the arc smoother and reduce spatter. For mild steel MIG work, ER70S-6 wire is a common choice because it handles light surface oxidation better than some wires, but it still needs clean material for best results. Low-quality or rusty wire can feed poorly and contaminate the weld.
Shielding gas should match the metal, wire, and transfer mode. For many short-circuit MIG welds on mild steel, C25 is a common choice. Straight CO₂ can give deeper penetration and lower gas cost, but it often runs with more spatter. Higher-argon blends can reduce spatter in the right spray-transfer setup, but they are not right for every machine or thickness.
Gas flow is measured as flow, commonly CFH in the U.S. A typical indoor MIG starting point is often around 20 to 30 CFH, but the correct setting depends on nozzle size, joint access, amperage, transfer mode, and drafts. When planning shop costs, remember that flow rate affects how quickly a cylinder is used, as explained in this guide to how much MIG welding gas costs.
| Factor | Better Choice | Why It Helps |
|---|---|---|
| Filler wire | Clean, correct-size wire for the base metal | Improves feeding, arc stability, and weld consistency. |
| Shielding gas for mild steel MIG | C25 for many short-circuit jobs; higher-argon blends when suitable for spray transfer | Improves arc stability and can reduce spatter compared with less suitable gas choices. |
| Wire diameter | Match wire diameter to material thickness and machine output | Oversized or undersized wire can make settings harder to control. |
| Gas flow | Start around 20 to 30 CFH indoors, then adjust by procedure and weld results | Too little gas allows contamination; too much flow can become turbulent and pull air into the shield. |
Products Worth Considering

ER70S-6 MIG WIRE: It's the most common wire of the copper-coated mild steel GMAW (MIG) wires for single or multiple pass welding.

High-quality: ARCCAPTAIN's ER70S-6 mig welding wire .035" meets industry standards(Net Weight: 10lbs), ensuring consistent performance, superior strength. With its smooth feeding and stable welding parameters, you can achieve optimal penetration, high deposition rates, and exceptional overall welding performance.

High-quality: ARCCAPTAIN's ER70S-6 mig welding wire .030" meets industry standards(Net Weight: 10lbs), ensuring consistent performance, superior strength. With its smooth feeding and stable welding parameters, you can achieve optimal penetration, high deposition rates, and exceptional overall welding performance.
Smart Ways to Tackle Weld Spatter
Once the basics are correct, use small controlled changes instead of guessing. A clean weld starts with a stable arc, steady wire feed, and a shielded puddle.
- Use the setup chart first. Start with the welder chart for your wire size, material thickness, and gas.
- Adjust voltage and wire feed together. If the wire stubs into the puddle, the voltage may be too low for the wire feed speed. If the arc feels harsh or wide, voltage may be too high.
- Keep stickout consistent. Long stickout can cool the wire, weaken shielding, and create an erratic arc.
- Block drafts. Fans, open doors, and outdoor wind can blow shielding gas away. Use screens or move the work when possible.
- Do not overuse gas flow. More CFH is not always better. Excessive flow can create turbulence around the weld pool.
- Use the right process for the job. Flux-core can tolerate outdoor drafts better than gas-shielded MIG, but it may create more spatter and slag. Solid-wire MIG can be cleaner indoors when gas coverage is stable.
- Record good settings. When a test bead runs clean, write down material thickness, wire size, voltage, wire speed, gas, and stickout.
Equipment Maintenance Checks That Reduce Spatter
Even perfect settings will not help if the gun and feed system are worn or dirty. Regular maintenance keeps the arc consistent and prevents avoidable spatter.
| Maintenance Task | When to Check | Why It Matters |
|---|---|---|
| Clean the nozzle | Before welding and during long jobs | Spatter buildup can block shielding gas and cause porosity or more spatter. |
| Replace contact tips | When worn, loose, oversized, or burned back | A worn tip gives poor electrical contact and lets the arc wander. |
| Inspect liner and drive rolls | When wire feed is uneven or birdnesting occurs | Inconsistent wire feed creates unstable metal transfer. |
| Check gas hoses and fittings | Any time gas coverage seems weak | Leaks reduce shielding at the puddle even when the regulator looks correct. |
| Clean the work clamp | Weekly or when the arc becomes unstable | Poor electrical return can create a rough arc and heavy spatter. |
Products Worth Considering

1.Package Includes : 20×.030" (Ø0.8mm)welding tips, 2×flux core gasless nozzle, 2×gas diffusers, ,totaling 24 components to meet more of your needs.

20Pcs Contact Tip .035'' Ø0.9mm

High-valued Package: 15pcs x .030" Contact Tip, 2pcs x Gas Diffuser, 2pcs x Gas Nozzle
What Not to Do When Fighting Weld Spatter
Some quick fixes make the problem worse. Avoid these common mistakes:
- Do not weld over contamination. Turning up heat will not fix oil, rust, paint, or zinc in the weld zone.
- Do not crank up gas flow to fight wind. Shield the weld from drafts instead. Excessive flow can become turbulent.
- Do not rely on anti-spatter spray alone. It reduces cleanup, but it does not correct an unstable arc.
- Do not ignore polarity. Wrong polarity can make flux-core and MIG welds run badly.
- Do not keep welding with a bad tip. Contact tips are consumables. Replace them before they ruin weld quality.
Final Thoughts on Managing Weld Spatter for Better Results
To manage weld spatter well, focus on the basics before chasing advanced fixes. Clean the joint, check the work clamp, set the right voltage and wire feed speed, protect the puddle with the correct gas flow, and keep the gun parts in good condition. If you are adjusting by material thickness, this flux-core and MIG welding settings chart can help you compare starting points.
Best Practices Overview
- Prepare the metal. Clean to bright metal where the weld will run.
- Use correct settings. Match voltage, wire feed speed, wire diameter, gas, and base-metal thickness.
- Control shielding gas. Use the right gas type and CFH range, and protect the weld from drafts.
- Keep a steady hand. Maintain consistent travel speed, gun angle, and stickout.
- Inspect the weld. If spatter comes with porosity, undercut, or lack of fusion, fix the root cause before continuing.
Equipment Maintenance Importance
Neglecting maintenance can turn a good setup into a spatter problem. Dirty nozzles restrict shielding gas. Worn contact tips create poor electrical contact. A kinked liner or wrong drive-roll tension can cause uneven wire feed. These small issues make the arc unstable, and an unstable arc throws more spatter.
Build a simple routine: clean the nozzle after use, inspect the tip before important welds, keep wire dry and clean, check gas hoses for leaks, and clamp the work lead to clean metal. These habits reduce cleanup and make your welds more repeatable.
Frequently Asked Questions
Why am I getting so much splatter when I weld?
You are probably getting too much splatter because the arc is unstable. The most common causes are dirty metal, poor work clamp contact, wrong voltage or wire feed speed, poor shielding gas coverage, excessive stickout, wrong polarity, or worn gun consumables.
How do I stop my welder from splattering?
Clean the base metal, clamp to bare metal, replace worn contact tips, clean the nozzle, confirm polarity, set shielding gas by CFH, and tune voltage with wire feed speed on scrap. Make one change at a time so you can see which fix worked.
What causes too much spatter?
Too much spatter can come from voltage that does not match wire feed speed, contaminated metal, poor gas coverage, drafts, long stickout, wrong gas, rusty wire, a worn contact tip, poor grounding, wrong polarity, or an unsuitable transfer mode for the job.
Does anti-spatter spray stop weld spatter?
Anti-spatter spray helps prevent droplets from sticking, so cleanup is easier. It does not stop the root cause of spatter. If settings, gas coverage, wire feed, stickout, or metal cleanliness are wrong, the weld will still throw spatter.
Is weld spatter dangerous?
Yes, weld spatter can burn skin, damage eyes, ignite flammable materials, and mark nearby surfaces. Wear proper PPE, keep the area clear of combustibles, and remember that welded metal stays hot after the arc stops.
Why is welding safety important for long-term health?
Welding can expose you to fumes, gases, UV radiation, heat, noise, and fire hazards. Good ventilation, proper PPE, safe cylinder handling, and correct work practices reduce risk. Follow your employer’s safety program, the product safety data sheets, and recognized welding safety guidance.
Conclusion
Managing weld spatter comes down to control. Clean the metal, use the right wire and gas, set voltage and wire feed speed together, keep stickout steady, and maintain the gun. Fix small problems early so they do not turn into wasted wire, long cleanup, weak welds, or unsafe work conditions. With careful setup and regular maintenance, you can produce cleaner, more professional welds with far less spatter.
Sources
- MillerWelds, Tips for Troubleshooting Common MIG Weld Defects — supports spatter causes including shielding gas, dirty material, high settings, stickout, and contact-tip issues.
- Hobart Brothers, MIG Troubleshooting for Metal-Cored and Solid Wire — supports transfer-mode, voltage, rust, mill scale, shielding gas, and wire-selection guidance.
- MillerWelds, What Type of Gas Is Best for MIG Welding in DIY Applications? — supports shielding gas flow being measured in CFH and gives MIG flow-rate guidance.
- ESAB, Welding Defects Guide — supports the definition of weld spatter and its relationship to welding defects and cleanup.
- OSHA 29 CFR 1910.252, Welding, Cutting, and Brazing — supports PPE, ventilation, hot-work, and hazard-control safety guidance.
- AWS Z49.1:2021, Safety in Welding, Cutting, and Allied Processes — supports welding safety, ventilation, fire prevention, and safe work-practice guidance.




