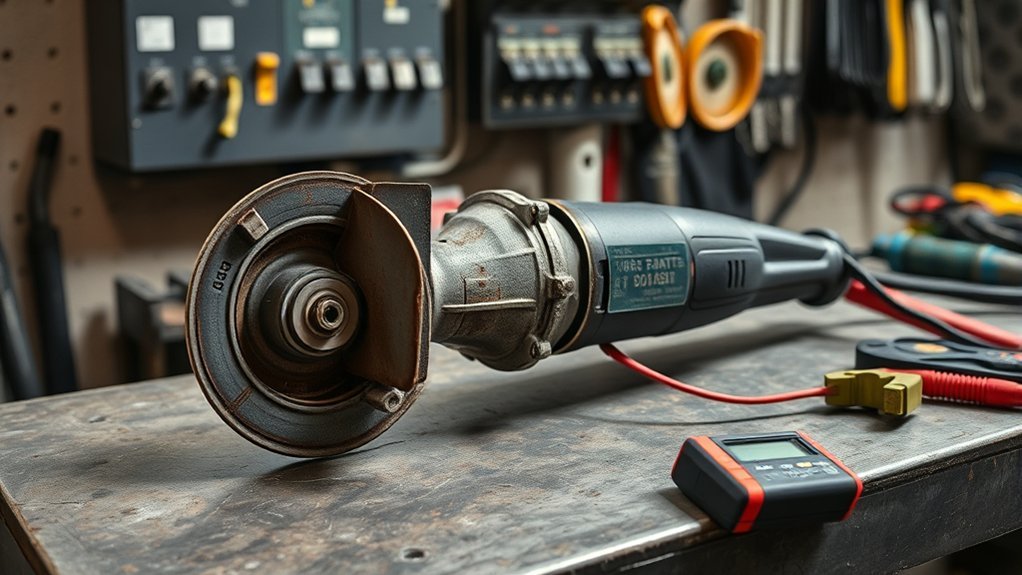
If your angle grinder stalls at startup, do not keep squeezing the trigger. A startup stall usually points to one of five problems: weak power, an undersized extension cord, a jammed or mismatched disc, worn brushes, or a failing switch or motor. Start with the safest outside checks first, then move inward only if you are comfortable working on power tools.
Quick Answer
If an angle grinder stalls at startup, unplug it first. Check the outlet, extension cord, plug, wheel, guard, and spindle for binding. If those are fine, inspect the carbon brushes, trigger switch, vents, and motor. Stop using the grinder if it sparks heavily, smells burned, trips breakers, or makes grinding noises.
Key Takeaways
- A grinder that stalls at startup is often losing voltage, fighting a jammed disc, or failing to make solid electrical contact.
- Always unplug the tool or remove the battery before checking the disc, guard, brush caps, switch, or vents.
- Use the correct disc size, arbor, guard, flange, and RPM rating for your grinder.
- Replace carbon brushes only at the service limit listed in your manual, not by a universal length rule.
- Heavy arcing, burning smell, breaker trips, melted switch parts, or seized bearings mean the grinder needs professional service.
At a Glance
| Time Required | 10 to 30 minutes for basic checks; longer if brushes or a switch need service |
| Difficulty | Beginner for outside checks; intermediate for brush or continuity testing |
| Tools Needed | Safety glasses, face shield, gloves, manual, clean brush, multimeter, correct wrench, replacement brushes if specified |
| Cost | Usually $0 for cleaning and power checks; about $10 to $30 for many brush sets; more for switch or motor service |
Identify and Fix Common Startup Issues With Your Angle Grinder
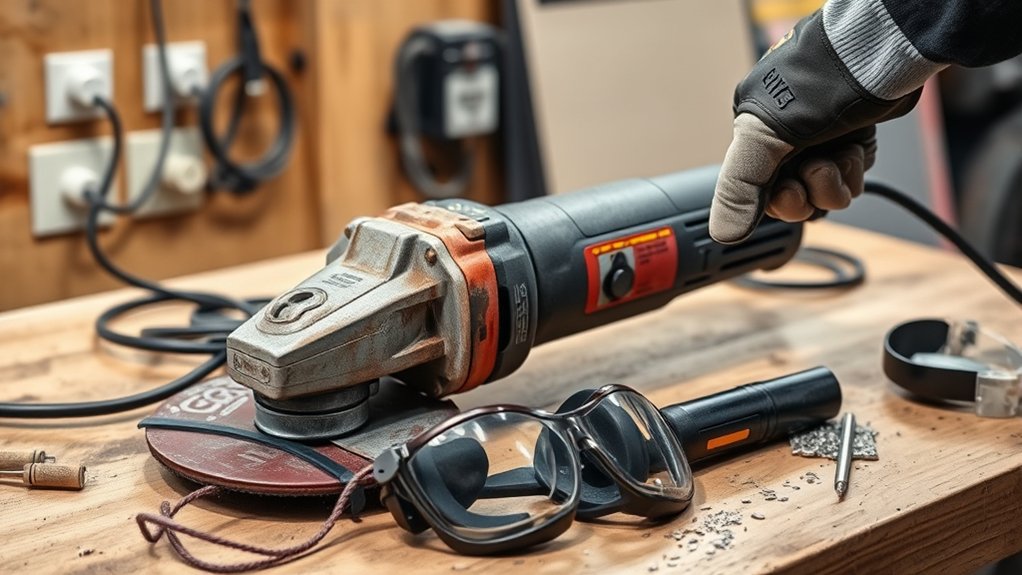
When your angle grinder won’t start or stalls the moment you pull the trigger, work from the outside in. Start with the outlet, cord, battery, disc, and guard before opening any part of the tool. Many startup problems come from simple causes, such as a loose plug, weak extension cord, jammed wheel, dirty vents, or a disc that does not match the grinder.
Warning: Unplug a corded grinder or remove the battery from a cordless grinder before touching the wheel, guard, brush caps, switch, spindle, or vents. Never bypass, tape down, or clamp the trigger switch. A grinder that cannot be controlled by its switch should be repaired before use.
Use this quick symptom guide before you take anything apart:
| Startup Symptom | Likely Cause | Safe First Check |
|---|---|---|
| No sound, no movement | Dead outlet, bad cord, bad battery, failed switch | Try a known-good outlet or charged battery |
| Hums but does not spin | Jammed wheel, seized bearing, internal motor fault | Unplug it and check that the disc spins freely by hand |
| Starts, then stops | Overheating, worn brushes, weak battery, electronic protection | Let it cool, clean vents, and test with no load |
| Trips breaker or GFCI | Shorted cord, overloaded circuit, internal electrical fault | Stop using it until the cord and tool are inspected |
| Only stalls when cutting or grinding | Too much pressure, wrong disc, weak power, binding cut | Use lighter pressure and the correct wheel for the job |
Safe Troubleshooting Order
Follow this order so you do not miss a simple problem or create a hazard:
- Disconnect power. Unplug the grinder or remove the battery.
- Check the wheel. Look for cracks, chips, a bent disc, debris, or a wheel rubbing the guard.
- Spin the spindle by hand. It should turn smoothly with no grinding, scraping, or wobble.
- Check the outlet or battery. Test a corded grinder in a known-good outlet. Test a cordless grinder with a fully charged battery.
- Inspect the cord and plug. Look for cuts, crushed insulation, burn marks, loose prongs, or a damaged strain relief.
- Clean the vents. Dust packed in the vents can trap heat and shorten motor life.
- Test with no load. If the wheel and guard are installed correctly, run the grinder away from people for a short no-load test.
- Move to brushes, switch, and motor checks. Do this only if you are comfortable with basic electrical testing and the tool is out of warranty.
Pro Tip: Test the grinder without cutting or grinding first. If it runs freely with no load but stalls in the work, the problem is often technique, disc choice, voltage drop, or a binding cut rather than a dead motor.
How to Check the Power Supply and Cord
A weak power supply is one of the most common reasons an angle grinder stalls at startup. Plug the grinder directly into a working outlet whenever possible. If it runs normally without an extension cord, the cord is likely undersized, too long, damaged, or overloaded.
Manufacturer manuals warn that an undersized extension cord can cause a drop in line voltage, which leads to loss of power and overheating. Use the amp rating on your grinder nameplate and the extension-cord chart in your manual to choose the correct wire gauge. You can also review DeWALT’s grinder manual for cord-gauge guidance and power-supply cautions.
| Check | Action |
|---|---|
| Power outlet | Test it with another tool or lamp. Reset the breaker or GFCI only once. If it trips again, stop and find the fault. |
| Power cord | Look for cuts, crushed spots, melted insulation, exposed copper, or a loose strain relief. Do not tape over a damaged cord and keep using it. |
| Extension cord | Use a heavy enough cord for the grinder’s amperage and length. Avoid light household cords on high-amp grinders. |
| Multimeter test | With the tool unplugged, a trained user can test cord continuity. Do not test live circuits unless you are qualified. |
If the grinder stalls only on one outlet or one extension cord, the tool may be fine. If it stalls on several known-good outlets, keep troubleshooting.
Check the Wheel, Guard, Flanges, and Spindle
A grinder can stall at startup if the wheel is cracked, pinched, overtightened, rubbing the guard, mounted on the wrong flange, or mismatched to the spindle. Before each use, inspect abrasive wheels for chips and cracks. OSHA also explains that portable abrasive wheel tools need proper guards, wheel inspection, and correct mounting before use in its safe use of portable power tools guidance.
- Check wheel size: Use only the diameter and thickness listed for your grinder.
- Check RPM rating: The disc rating must be at least equal to the grinder’s maximum speed.
- Check arbor fit: A loose or forced arbor fit can cause vibration, binding, or loss of control.
- Check flanges: Dirty, damaged, reversed, or mismatched flanges can make the wheel wobble or bind.
- Check the guard: The guard should be secure and positioned between you and the wheel where possible.
- Check the spindle lock: Make sure the spindle lock is fully released before starting.
- Run a no-load test: After installing a wheel, stand out of the wheel plane and let it run briefly before touching the work.
Note: Do not install saw blades, woodcarving chain discs, or accessories that are not designed and recommended for your grinder. A disc that fits the arbor is not automatically safe.
Products Worth Considering


【Safe and Reliable】Subjected to SDS safety testing, it complies with Amazon's product warehousing standards, instilling confidence in purchasers and ensuring safe usage.

HIGH-DENSITY JUMBO DESIGN: Type 29 flap discs with a high-density jumbo layout support surface blending, beveling, grinding, deburring, and edge chamfering. Curved profile aids finishing, stock removal, and rust cleanup for pros and DIY enthusiasts
Testing Carbon Brushes and Motor Functionality
On many corded angle grinders, worn carbon brushes can cause weak startup, intermittent running, heavy sparking, or a tool that stops when moved. Unplug the grinder before checking brush caps. If your model has external brush caps, remove them carefully and check whether each brush slides freely in its holder.
Do not rely on a universal brush length such as 1/4 inch. Brush limits vary by model. Replace brushes when they reach the service-limit mark, when the manual says to replace them, or when they are chipped, burned, unevenly worn, or too short to maintain spring pressure. For example, the Makita 9557PB manual points users to proper maintenance, carbon brush inspection, and replacement using the correct parts.
Replace brushes as a pair. Mixing one new brush with one worn brush can cause uneven contact and poor motor performance. If the commutator is blackened, grooved, burned, or throwing heavy sparks, stop and have the motor inspected.
A trained user can also test motor continuity with a multimeter while the tool is unplugged. If readings are open, shorted, or far outside the manual’s expected range, the grinder may have an armature, field, or wiring fault. At that point, service is safer than guesswork.
Inspecting Your Angle Grinder’s Trigger Switch
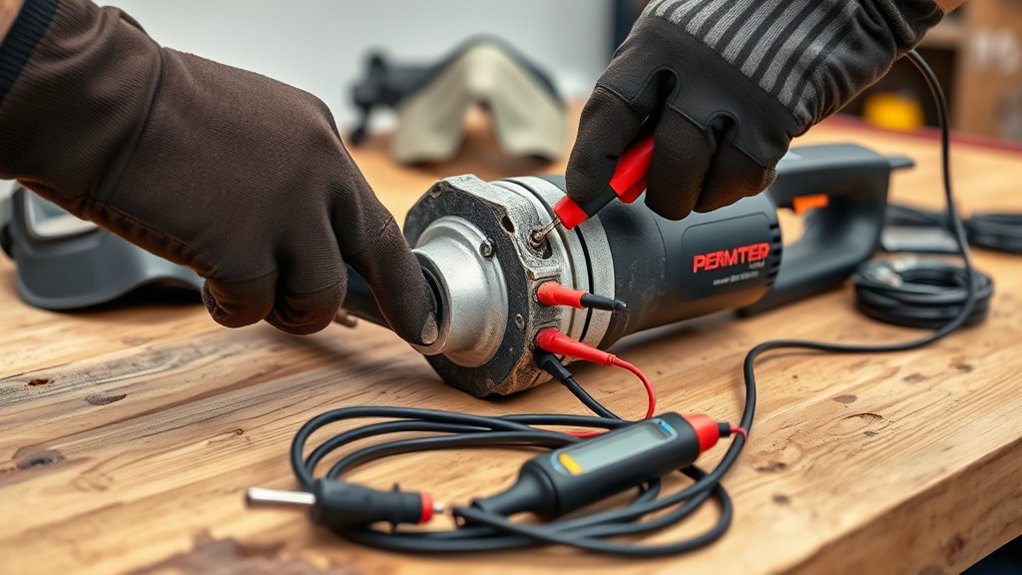
When your angle grinder will not start or stalls as you squeeze the trigger, the trigger switch may be worn, dirty, melted, or loose inside the housing. A bad switch is not just inconvenient. It can make the grinder unsafe because you may not be able to control power reliably.
Common Trigger Switch Issues
Look for simple outside clues first. The trigger should move freely and return fully when released. If it sticks, feels gritty, fails to click, or needs pressure at a certain angle, the internal contacts may be worn or dirty. If you see melted plastic, smell burning, or notice intermittent power, stop using the tool.
Common switch-related symptoms include:
- The grinder starts only when the trigger is held at a certain angle.
- The tool cuts in and out when you move the cord or handle.
- The trigger feels sticky, loose, or jammed.
- The grinder keeps running after the trigger is released.
- The switch housing looks discolored, melted, or cracked.
Testing Switch Functionality
If you know how to use a multimeter, unplug the grinder and test switch continuity according to your service manual. The switch should show the correct open and closed readings as you operate the trigger. If it does not, replace the switch with the correct part or send the tool to a qualified repair center.
Warning: Never bypass a trigger switch to “test” the grinder. A grinder that starts unexpectedly can kick back, shatter a disc, or pull the tool out of your hands.
Detecting and Resolving Overheating Issues in Your Angle Grinder
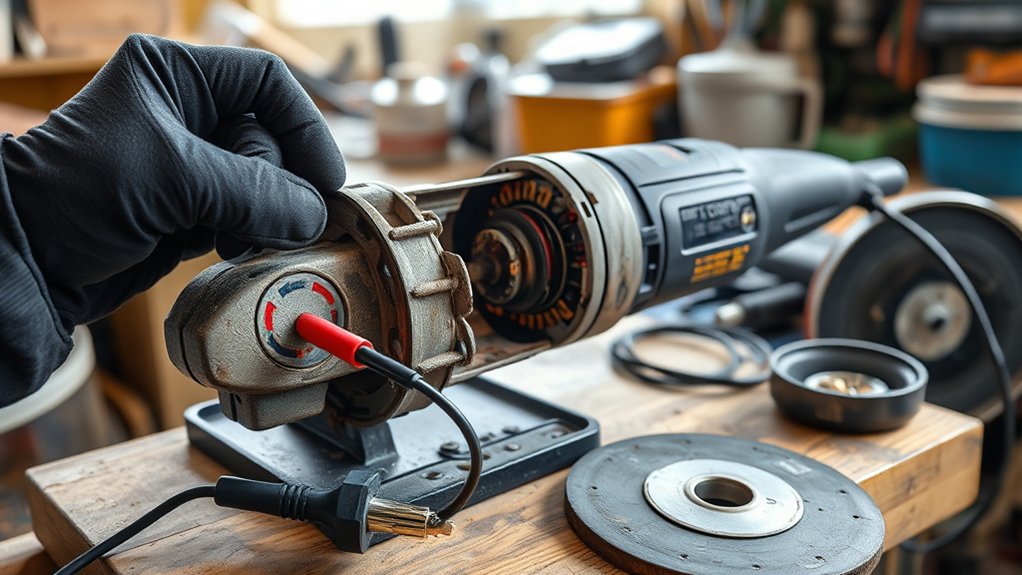
Overheating can make an angle grinder stall at startup or shut down shortly after it starts. Heat may come from blocked vents, hard pressure, a dull wheel, a binding cut, worn brushes, low voltage, or internal bearing and motor problems.
Common Overheating Causes
- Dust accumulation: Dust and metal powder block air vents and trap heat inside the motor housing.
- Motor overload: Forcing the grinder into the work can stall the wheel and overheat the windings.
- Voltage drop: Long or undersized extension cords reduce power and make the motor work harder.
- Wrong accessory: A dull, oversized, or incorrect disc increases resistance.
- Worn bearings: Bearings that grind, squeal, or bind add drag before the wheel reaches speed.
- Continuous use: Long grinding sessions without cooling breaks can trip thermal protection or damage the motor.
Effective Cooling Techniques
Let the grinder cool fully before restarting it. Clean the air vents with a dry brush or low-pressure compressed air while wearing eye protection. Do not spray liquid cleaner into the vents. Run the grinder with no load for a short period after heavy work to help move air through the motor.
Use the correct disc and let the wheel do the work. If you need to lean hard into the grinder, the wheel may be dull, the material may be pinching the cut, or the grinder may be too small for the job.
Maintenance Best Practices
Good maintenance prevents many startup stalls. Keep the vents clean, store discs dry, inspect the cord before use, and check the guard, flange, and side handle every time. Makita’s manual also warns that air vents should be kept clean because dust drawn into the housing can create electrical hazards.
Cordless Angle Grinder Startup Stalls
If you are using a cordless angle grinder, a startup stall can come from the battery or electronic protection system rather than the motor itself. Try these checks:
- Use a fully charged battery. A low pack may shut down as soon as the grinder demands startup current.
- Try a higher-capacity pack. Small batteries may not supply enough current for heavy grinding or cutting.
- Let the battery cool. Hot packs can trigger thermal protection.
- Clean the contacts. Dirty battery terminals can cause intermittent power.
- Reset after a stall. Release the trigger, remove the grinder from the cut, wait a few seconds, and restart with no load.
- Check the wheel for binding. Brushless grinders often shut down quickly when the disc is pinched.
If the same battery works in other tools but the grinder still stalls with no load, the grinder may need service.
Products Worth Considering

Brushless motor of the angle grinder requires no brush changes.

【Cordless Use/High Capacity Battery】Cordless angle grinder runs on 16.8V lithium battery, cordless design eliminates the hassle of tangled cables, easy to carry, can be used indoors and outdoors.2000mAh high-capacity rechargeable lithium-ion battery and a fast charger keep the angle grinder working stably for a long time.Warm tips: Angle grinder upgraded new self-locking switch, no need to use a screwdriver to fix the saw blade

Battery and charger sold separately
What to Do About Strange Noises From Your Grinder?
Strange noises at startup are warning signs. Do not ignore grinding, squeaking, rattling, or rumbling sounds. Unplug the grinder and inspect it before the next use.
| Noise Type | Possible Cause | What to Do |
|---|---|---|
| Grinding | Worn bearing, rubbing wheel, damaged gearbox | Stop using it and check spindle rotation and wheel clearance |
| Squeaking | Dry bearing, brush noise, internal friction | Clean vents and inspect brushes; service if the sound remains |
| Rattling | Loose guard, flange, disc, or internal part | Tighten external parts only after unplugging; service internal rattles |
| High-pitched whine | Over-speed sound, dry bearing, wrong accessory | Confirm accessory rating and stop if the sound changes suddenly |
| Low rumbling | Bearing, gear, or armature damage | Have the grinder inspected before using it again |
A grinder that changes sound at startup is giving you a warning. Stop early, inspect the wheel and spindle, and avoid turning a small repair into a motor failure.
Maintaining Your Angle Grinder to Prevent Issues
Regular maintenance helps prevent startup stalls, overheating, and premature motor failure. You do not need to rebuild the tool after every use, but you should make a few checks part of your routine.
- Clean vents: Brush dust away from intake and exhaust vents after dirty grinding work.
- Inspect the cord: Look for cuts, crushed insulation, burn marks, and loose plug prongs.
- Store discs correctly: Keep wheels dry, flat, and away from impacts.
- Check the guard: Make sure it locks securely and does not rub the wheel.
- Check the side handle: Keep it tight so you can control startup torque and kickback.
- Use the right accessory: Match the wheel to the material, guard, arbor, and grinder speed.
- Do not overload the motor: Use steady pressure and let the abrasive do the cutting or grinding.
OSHA’s portable powered tool guarding standard explains that right-angle grinder guards should help deflect broken wheel fragments away from the operator. Keep that guard in place unless the tool manual and accessory type specifically allow a different setup.
Essential Safety Checks Before Using Your Grinder
Before you start grinding, make a quick visual inspection. Check the power cord, plug, guard, wheel, flange, side handle, and switch. Confirm the disc is the right type and size for the job. Look for cracks, chips, moisture damage, uneven wear, or a disc that has been dropped.
Wear safety glasses with side protection, and add a face shield for grinding or cutting where fragments and sparks can fly. OSHA’s eye and face protection standard covers eye protection for hazards such as flying particles. Gloves, hearing protection, long sleeves, and respiratory protection may also be needed depending on the material.
Clear the workspace before you start. Keep sparks away from flammable materials, move the cord away from the disc, and keep bystanders out of the wheel plane. Hold the grinder with two hands when the tool has a side handle, and let it reach full speed before touching the work.
When to Seek Professional Help for Repairs
You can safely handle many outside checks, but some symptoms mean the grinder should go to a qualified repair person or be replaced. Stop troubleshooting and seek service if you notice any of these signs:
- Burning smell: A hot electrical smell can point to windings, switch, brush, or wiring damage.
- Heavy arcing: Strong sparks around the brushes can damage the commutator and motor.
- Repeated breaker trips: A breaker or GFCI that trips more than once may indicate a short or ground fault.
- Melted switch parts: Heat damage near the trigger should not be repaired with tape or glue.
- Seized spindle: If the spindle will not turn freely with the grinder unplugged, do not force it.
- Cracked housing: A damaged body can affect alignment, insulation, and safe control.
- Warranty coverage: Opening the tool may void the warranty, so check the manufacturer service terms first.
Manufacturer manuals commonly state that power tools should be serviced by qualified repair personnel using proper replacement parts. That is the safest route when the problem is inside the switch, wiring, gearbox, or motor.
Frequently Asked Questions
Why does my angle grinder keep stopping?
Your angle grinder may keep stopping because the motor is overheating, the disc is binding, the extension cord is too light, the carbon brushes are worn, or the battery protection system is shutting down. Start with power, wheel, and vent checks before opening the tool.
How do I fix an angle grinder that will not turn on?
Check the outlet or battery first. Then inspect the cord, plug, trigger, wheel, guard, and brush caps with the tool unplugged. If the switch is melted, the cord is damaged, or the motor smells burned, do not use the grinder until it is repaired.
What are signs my grinder needs repair?
Your grinder needs repair if it sparks heavily, smells burned, trips breakers, makes grinding or rumbling noises, has a cracked housing, runs only at certain trigger angles, or has a spindle that does not turn smoothly by hand.
How can I tell if an angle grinder disc is bad?
A bad disc may have cracks, chips, soft spots, warping, uneven wear, water damage, missing labels, or vibration during a no-load test. Replace damaged discs immediately. Do not try to finish a job with a cracked or wobbling wheel.
Can a bad extension cord make an angle grinder stall?
Yes. A long, light, or damaged extension cord can drop voltage before the grinder reaches full speed. That can cause weak startup, overheating, and stalling. Use the wire gauge and length recommended in your grinder manual.
Why does my cordless angle grinder start and then stop?
A cordless grinder may stop because the battery is low, overheated, too small for the load, or triggering electronic stall protection. Try a fully charged high-capacity battery, clean the contacts, remove the tool from the cut, and restart with no load.
Conclusion
Troubleshooting an angle grinder that stalls at startup is easiest when you follow a safe order. Disconnect power first, then check the outlet, cord, battery, wheel, guard, spindle, vents, brushes, and switch. If the grinder still stalls, sparks heavily, smells burned, trips breakers, or makes rough bearing noises, stop using it and get professional service. A repaired or properly maintained grinder is faster, safer, and easier to control.
Sources
- OSHA: Safe Use of Portable and Hand-Held Power Tools — backs up grinder guard, wheel inspection, PPE, and disconnect-before-service guidance.
- OSHA 1910.243: Guarding of Portable Powered Tools — backs up portable grinder guard positioning and wheel inspection requirements.
- OSHA 1926.102: Eye and Face Protection — backs up eye protection guidance for flying particles.
- Makita 9557PB Angle Grinder Instruction Manual — backs up switch safety, extension-cord cautions, air vent cleaning, and brush/service guidance.
- DeWALT DW831/DW840 Angle Grinder Instruction Manual — backs up extension-cord voltage-drop warnings, guard use, accessory inspection, and service guidance.