How to Clean and Degrease Metal Before Welding
Dirty metal can turn a good weld setup into a weak joint fast. Oil, rust, paint, moisture, and oxide can cause porosity, poor fusion, extra spatter, and cracks. Before welding, you should degrease metal, remove loose surface layers, inspect the joint, and let the surface dry fully.
What’s in This Article
- Why Clean Metal Before Welding
- What You’ll Need Before Cleaning Metal
- Estimated Time for Metal Cleaning
- Remove Grease, Oil, and Solvent Film
- Choose the Right Degreasing Solvent
- Scrub Off Rust, Paint, and Mill Scale
- Remove Aluminum Oxide Before Welding
- Wipe Metal Dry Before Welding
- Check for Cracks, Gaps, and Pitting
- Avoid Common Metal-Cleaning Mistakes
- Gather the Right Tools and PPE
- Step-by-Step Cleaning Process
- Frequently Asked Questions
- Conclusion
Quick Answer
Clean metal before welding by removing oil, grease, rust, paint, mill scale, and oxide from the weld area. Use acetone or a suitable commercial degreaser with a clean, lint-free rag, then scrub or grind down to bare metal where needed. Let the solvent evaporate fully before you strike an arc.
Key Takeaways
- Remove oil and grease before you brush, grind, or weld the metal.
- Use clean rags and dedicated brushes so you don’t spread contamination back onto the joint.
- Clear rust, paint, mill scale, and aluminum oxide before welding.
- Let solvents evaporate fully before you strike an arc.
- Wear gloves, eye protection, and respiratory protection when fumes or dust may be present.
Why Clean Metal Before Welding
Before you strike an arc, you need clean metal because oil, grease, dirt, moisture, and other surface contaminants can cause weld porosity and weaken the joint.
When you remove contaminants, you reduce the chance of gas pockets and poor fusion in the weld. Clean metal also helps you achieve deeper penetration and better fusion, so the weld forms a more continuous bond.
That matters when the joint must hold under load. It also saves you time later because you’ll have less spatter, residue, and cosmetic cleanup after welding.
In practical terms, prep isn’t busywork. You control the weld path, reduce defects, and improve consistency. Proper cleaning can also support paint adhesion when the finished part later needs coating.
If you want durable joints and cleaner results, start with clean metal and treat surface prep as a critical step.
What You’ll Need Before Cleaning Metal
Gather your tools before you start, so you don’t stop halfway through the job. Keep clean tools separate from dirty tools to avoid spreading oil, rust, or metal dust.
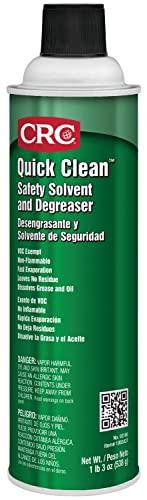
- Acetone, MEK, or a welding-safe commercial degreaser
- Clean lint-free rags
- Wire brush, stainless brush, sandpaper, grinder, or sanding disc
- Dedicated stainless steel wire brush for aluminum
- Gloves, safety goggles, and respiratory protection when needed
- Good ventilation and a safe place to store solvents
Warning: Keep solvents away from sparks, flames, and hot metal because many cleaning solvents can catch fire.
Products Worth Considering

TOUGH ON GREASE & GRIME: Easy to use aerosol format sprays on to eliminates grease, grime, oil, tar, wax & other tough soils

ENGINE CLEANING GUN FOR TOUGH GRIME: Pneumatic cleaning gun uses a high-speed syphon spray action to help blast away dirt, grease, and oil from engine bays and machinery; combines air blow gun control with solvent sprayer reach for faster detailing.

Powerful grease remover and grime fighter in a bio-solvent formula with durable, shatter-resistance trigger and convenient refill port; no funnel needed and no-mess
Estimated Time for Metal Cleaning
Light cleaning may take 5 to 10 minutes for a small joint. Heavy rust, paint, mill scale, or pitting can take 20 minutes or more, depending on the part size and tool choice.
Don’t rush the drying step. The surface must feel dry, look clean, and have no solvent film before welding.
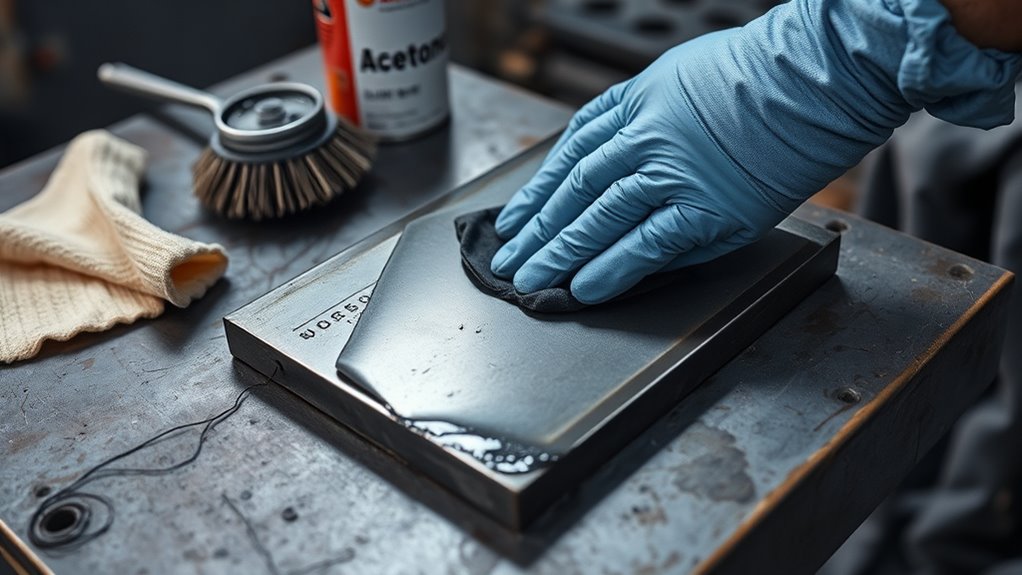
Remove Grease, Oil, and Solvent Film
Use a degreasing solvent like acetone, MEK, or a welding-safe commercial degreaser with a clean, lint-free rag. These cleaners help break down grease and oil on the metal surface.
Work in a well-ventilated area, then wipe the metal thoroughly and inspect it for remaining residue before welding. Good surface prep also helps you prepare the surface when the part needs later coating.
Grease Removal Methods
A clean, lint-free rag dampened with acetone or MEK can remove oils, grease, and light residue from the metal surface before welding.
Wipe in one direction so you lift contamination away instead of pushing it around. For heavy buildup, use a commercial degreaser or alkaline cleaner by immersion or power washing, then rinse and dry the part fully.
Use fresh rags as soon as one gets dirty. A loaded rag can spread grime back onto clean metal surfaces. Keep the surface dry because moisture can cause porosity and poor fusion.
- Wipe with a fresh rag.
- Degrease stubborn spots thoroughly.
- Verify that the part is dry.
Solvent Film Cleanup
Solvent film cleanup matters because remaining grease, oil, or wiped-on residue can cause weld porosity and weaken joint integrity.
For solvent film cleanup, choose acetone, MEK, or a compatible commercial cleaner that leaves no harmful residue. Dampen a clean, lint-free rag, then wipe the metal until the surface feels dry and clean.
Change rags often because a dirty rag only spreads film back onto the part. Work in a well-ventilated area to limit fume exposure and keep your workspace safer.
When you finish, inspect the surface under good light before striking an arc. Clean metal gives you stronger welds and reduces rework.
Choose the Right Degreasing Solvent
Choosing the right degreasing solvent matters because the cleaner must remove oil fast, evaporate cleanly, and leave no residue on the weld area.
When you’re cleaning metal, acetone works well for many metal surfaces because it evaporates quickly and leaves little residue. Using clean metal helps reduce weld defects and improves joint quality.
If you need stronger cleaning action, MEK can cut stubborn oils. Handle strong solvents with care because their fumes can pose health risks.
Alkaline solutions work well for immersion tanks or power washing, but you must rinse thoroughly so no cleaner stays behind.
Be careful with alcohol-based cleaners. Some can smear contaminants instead of lifting them, which can weaken weld quality.
Always check solvent compatibility with the alloy before you commit. The wrong chemical can damage the part or leave residue that affects the weld.
- Use acetone for fast evaporation.
- Use MEK for tough oils when you can control fumes safely.
- Use alkaline cleaners for wash tanks and heavy buildup.
Products Worth Considering

✅INDUSTRIAL & AEROSPACE-GRADE SOLVENT CLEANER: Nanoskin Acetone delivers ultra-pure, fast-evaporating cleaning performance for industrial, automotive, marine, and aerospace maintenance. Ideal for precision degreasing, surface prep, and contamination removal where reliability matters.
CRC INDUSTRIES- A market leader that offers impeccably designed chemical solutions to maintain, protect and repair different marine, heavy-duty motor vehicles, industrial-grade engines, household tools, and electrical equipment

[Fast and Effective] Achieve professional-grade cleaning before painting; Klean-Strip's Prep-All removes wax, grease, and road film effectively and quickly.
Scrub Off Rust, Paint, and Mill Scale
Next, scrub the surface until every trace of rust, paint, and mill scale is gone from the weld area. To scrub off rust, use a wire brush or sandpaper on light corrosion. For heavy buildup, switch to grinding or blasting so you reach bare metal.
Remove paint with sanding discs, power tools, or a chemical stripper that breaks the coating’s grip. To remove mill scale, use a wire brush or grinder until the oxide layer disappears.
This pre-weld cleaning step matters because residue can trap gases, cause porosity, and reduce weld adhesion. Proper surface preparation also helps you get better penetration into the weld joint.
Work methodically and check edges, corners, and seams where contaminants hide. Wear gloves, eye protection, and respiratory protection so dust, chips, and chemical vapors don’t injure you.
When you clear the full weld zone, you set up a stronger and more reliable joint.
Remove Aluminum Oxide Before Welding
Aluminum differs from steel because it forms a hard oxide layer that you must remove before welding. If you leave that layer in place, the weld may struggle to fuse and penetrate correctly.
Use a clean stainless steel wire brush, or a powered brush made for aluminum. Keep that brush dedicated to aluminum so you don’t contaminate the surface.
Work with a light touch. If you press too hard, you can push oxide into the metal instead of lifting it. Brush only until the surface looks bright and uniform, then stop.
- Remove oxide from the weld area, not just the bead line.
- Keep your wire brush clean and reserved for aluminum.
- Use controlled strokes to avoid embedding debris.
Hand cleaning can work when you’re careful and thorough. Once you remove the oxide, make a clean final wipe with acetone or a suitable solvent before welding.
This last step helps protect your clean fusion zone and can reduce problems such as micro-cracks during cooling.
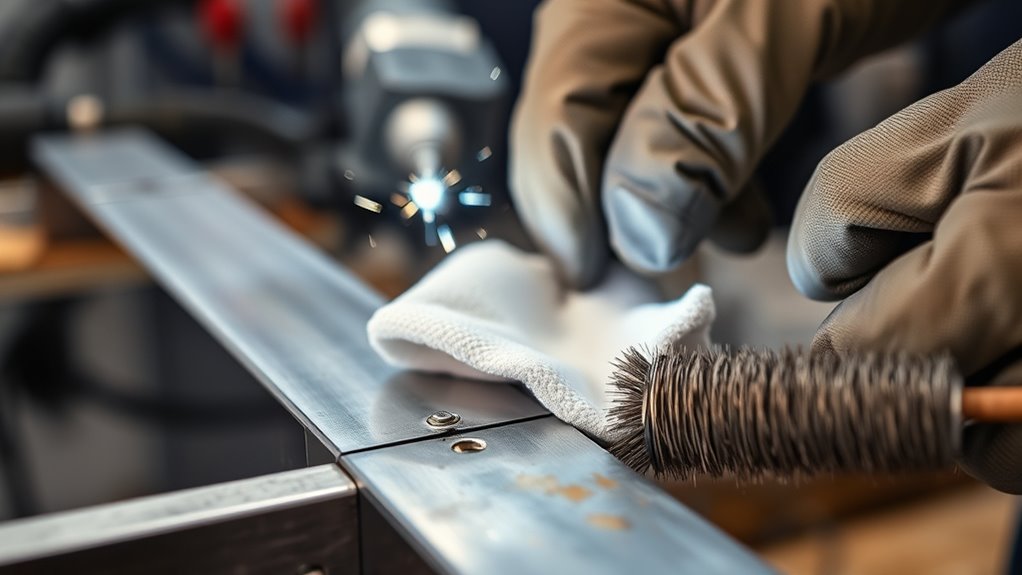
Wipe Metal Dry Before Welding
Wipe the metal with a clean, lint-free rag dampened with acetone or another suitable degreasing solvent. This final wipe removes remaining oil, grease, and moisture.
Wipe the metal with a clean, lint-free rag dampened with acetone to remove oil, grease, and moisture.
Then wipe metal dry before welding. Work methodically so you don’t leave solvent film or damp spots behind.
This final pass clears contaminants that can trigger porosity, weak fusion, and cracking. A clean final wipe gives you a cleaner and stronger joint.
If you need to use a wire brush, do it before this step so you don’t spread debris back onto the surface. Brush work can also help remove light rust.
Perform the wipe-down right after cleaning because airborne dust can settle fast and undo your work. Keep using fresh sections of the rag until the surface feels dry and looks uniform.
Let the solvent evaporate completely before striking an arc. This practice supports proper electrode melting and improves overall weld quality.
Check for Cracks, Gaps, and Pitting
Inspect the cleaned metal for visible cracks, gaps, and pitting along the full weld path.
Use a magnifying glass, flashlight, or inspection tool to spot defects that could weaken fusion or trap contaminants.
If you find cracks, gaps, or pits, repair them before welding. Trapped gases can lead to porosity and may weaken the weld.
Spot Surface Defects
Look closely at the metal surface for cracks, gaps, pitting, and other flaws before welding. Use a flashlight or magnifying glass to inspect the surface and find hidden surface irregularities that can compromise fusion.
- Mark cracks because heat and stress can open them further.
- Correct gaps because poor fit-up can reduce fusion.
- Remove pitting because small holes can trap contaminants.
When you spot damage, correct it before you strike an arc. Regular inspections help you catch flaws early and reduce avoidable rework.
Inspect Weld Path
Before you weld, run the joint line with a careful visual check for cracks, gaps, and pitting. Inspect the weld area under good light and trace every edge with your eyes and fingertips.
Cracks can form from thermal stress or poor technique, and even hairline breaks can weaken the joint. Keep gaps minimal because wide openings can prevent full fusion and raise porosity risk.
Look for pitting since small depressions can trap contaminants and seed defects. A smooth, continuous surface gives you a cleaner weld and better load transfer.
Regular inspection saves time, reduces rework, and helps you build stronger metal connections with fewer hidden failure points.
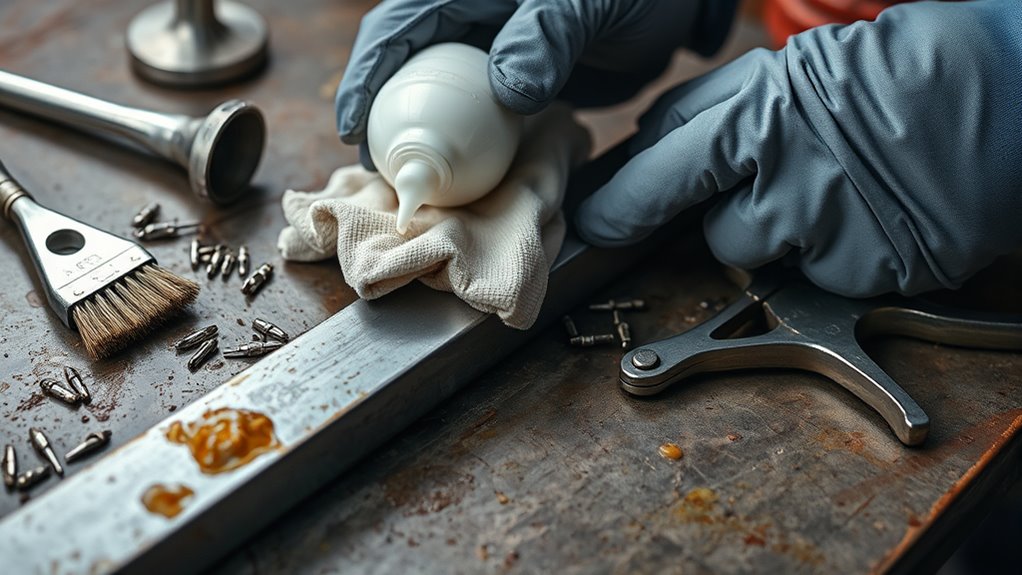
Fill Cracks and Pits
Fill any cracks, gaps, or pits you find before welding because these flaws can weaken the joint. Inspect the metal closely with a flashlight or magnifier so you catch small damage that the eye might miss.
Remove corrosion-related pitting by grinding, or fill damaged areas with compatible filler metal when the repair method allows it. Then level the area to remove uneven surfaces.
- Trace each crack past its visible end.
- Fill gaps only with compatible filler metal.
- Recheck the repaired metal for new pits or fatigue.
A clean, continuous surface helps the weld fuse evenly and build stronger bond integrity. If you leave defects in place, stress can grow them into failures.
Your prep work protects the joint and keeps the weld dependable.
Avoid Common Metal-Cleaning Mistakes
Common cleaning mistakes can undermine weld quality, so you need to remove contaminants with the right tools and solvents from the start. Use a clean, lint-free rag dampened with a degreasing solvent such as acetone or MEK, then wipe the metal until oils and grease are gone.
Don’t use dirty rags, dirty brushes, or oily gloves on a cleaned joint. Even a thin film of residue can raise the risk of hydrogen porosity during welding.
A thorough cleaning process helps prevent common weld defects.
Avoid dirty rags and contaminated brushes because they can move grime back onto the weld area.
For stainless steel and aluminum surface prep, use the correct brush for that metal. Don’t use a carbon steel brush on aluminum or stainless steel because it can transfer ferrous particles into the base metal.
Inspect your brush and rags often, and replace anything loaded with debris. You’re not just cleaning metal; you’re clearing the path for a sound, durable weld.
Gather the Right Tools and PPE
To degrease metal effectively, keep the right solvent, the right tools, and the right protection on hand from the start. Choose degreasing solvents like acetone or MEK, plus clean lint-free rags and stainless wire brushes for stubborn contamination.
Keep personal protective equipment ready. Gloves, safety goggles, and a respirator can help protect you from fumes, dust, and skin exposure.
Work in a well-ventilated area so vapors don’t build up. Store solvents in approved containers and close them when you finish.
- Acetone or MEK in a sealed container
- Stainless wire brushes and fresh lint-free rags
- Gloves, goggles, and respiratory protection within reach
If grease is heavy, add an alkaline cleaner to your kit. Inspect tools before each use because worn rags or dirty brushes can recontaminate the surface and weaken your weld prep.
Proper storage of abrasive wheels helps keep your tools in better condition for prep work.
When you’re organized, you work with more control, less waste, and cleaner joints.
Step-by-Step Cleaning Process
Use this simple order when you need a clean weld area. Each step helps prevent one type of defect before it starts.
- Inspect the metal. Check the joint for oil, grease, rust, paint, mill scale, oxide, cracks, gaps, and pitting.
- Degrease the surface. Wipe the area with a compatible solvent and a fresh lint-free rag.
- Remove surface layers. Brush, sand, grind, or blast away rust, paint, mill scale, or aluminum oxide.
- Repair defects. Correct cracks, gaps, and pits before welding when the repair method allows it.
- Make a final wipe. Use a clean rag and suitable solvent to remove dust and residue.
- Let the part dry. Wait until the solvent fully evaporates before you strike an arc.
Pro tip: Clean a wider area than the bead line because heat can pull nearby contamination into the weld pool.
Frequently Asked Questions
How do you degrease metal before welding?
Dampen a lint-free rag with acetone, MEK, or a suitable degreaser, then wipe the metal in one direction. Use fresh rag sections often and let the surface dry fully before welding.
What is the most common way to clean and prepare a joint for welding?
Most welders start with solvent wiping to remove oil and grease. They then brush, sand, or grind the joint to remove rust, paint, mill scale, or oxide before a final wipe.
Is acetone good for cleaning metal before welding?
Yes, acetone works well for many welding prep jobs because it dissolves oils and evaporates quickly. Use it with ventilation, gloves, and clean rags, and keep it away from flames and sparks.
What do welders use to clean metal?
Welders often use acetone, MEK, commercial degreasers, alkaline cleaners, wire brushes, sandpaper, grinders, and sanding discs. The best choice depends on the metal, contamination level, and welding process.
Should you clean metal before every weld?
Yes, you should clean the weld area before each weld. Even small amounts of oil, dust, rust, or moisture can cause porosity, poor fusion, and extra cleanup.
Safety Disclaimer: This article is for informational purposes only and does not replace professional welding, shop safety, or chemical safety guidance. Always follow the solvent label, safety data sheet, local rules, and your workplace procedures before cleaning or welding metal.
Conclusion
Clean metal gives you a better chance of making a strong, clean weld. Before you weld, degrease the metal, remove rust, paint, mill scale, and oxide, then wipe the surface dry.
Use the right solvent, inspect for cracks, gaps, and pitting, and wear proper PPE throughout the process. Take a few more minutes during prep, and you’ll reduce porosity, improve arc stability, and get cleaner welds with less rework.


