To finish and smooth welds on auto body panels, start with a coarse 50-grit grinding disc, applying consistent pressure to avoid gouging. Use a finer 120-grit disc for a smooth finish. Employ the hammer and dolly technique for low spots and check for imperfections. Clean the area thoroughly before applying primer. Don’t rush—finishing welds properly guarantees durability and a seamless appearance. Stick around to discover more tips and techniques for a flawless result.
Understanding the Importance of Finishing Welds on Auto Body Panels
Finishing welds on auto body panels isn’t just a cosmetic step—it’s a vital process that guarantees your vehicle’s longevity and performance. Properly finished welds guarantee a smooth, seamless appearance, essential for paint adhesion.
In the automotive industry, neglecting this step can lead to moisture traps, inviting rust and corrosion that compromise your vehicle’s integrity. Techniques like grinding and sanding with varying grits help you achieve a flush surface, important for blending with surrounding thin metal. Using tools such as disc grinders and orbital sanders allows you to effectively remove excess material while minimizing distortion and overheating. A thorough finishing process also includes applying seam sealer and primer, which prepares the surface for painting and enhances durability. Additionally, understanding the correct cutting techniques is crucial for achieving optimal results during the finishing process.
Common Mistakes to Avoid When Finishing Welds
Achieving a flawless finish on your welds requires attention to detail, and avoiding common mistakes can make a significant difference.
First, steer clear of approaching welds directly at the edge; this often leads to uneven surfaces that demand more extensive sanding. Keep your grinding disc level to the center of the weld to prevent gouging and maintain a uniform surface.
Be mindful of applying excessive pressure while grinding, as this can cause irregularities and damage the parent metal. Instead, opt for a stiff grinding disc to enhance control and accuracy—flexible discs can result in inconsistent grinding outcomes.
Finally, regularly check your grinding equipment for wear and tear to guarantee peak performance. Additionally, ensuring that your work area is free from flammable materials can further reduce the risk of accidents during the grinding process.
Grinding and Smoothing Welds: Step-by-Step
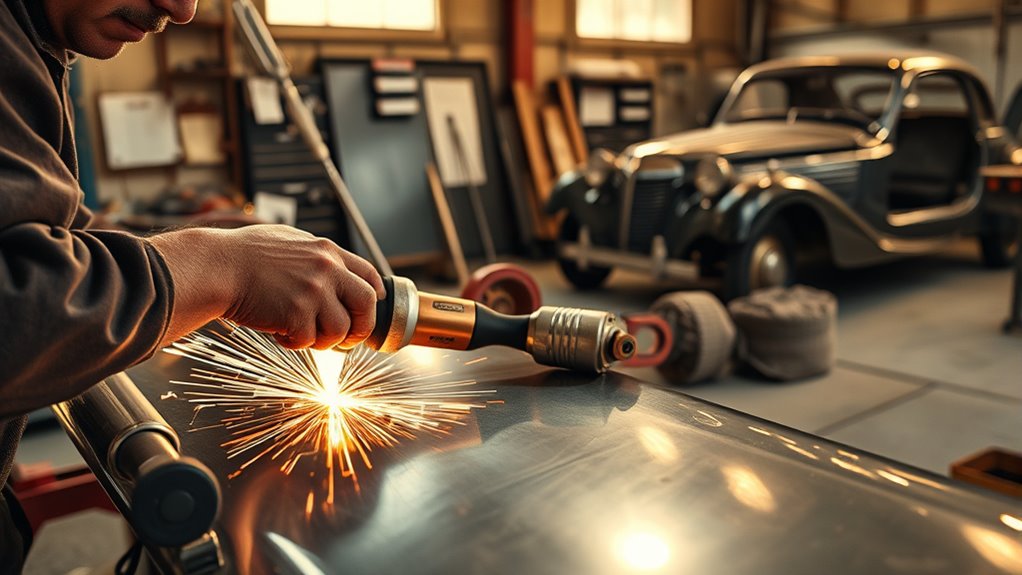
To effectively grind and smooth your welds, start by using a disc grinder to remove excess material carefully.
Begin with a coarse 50-grit grinding disc to tackle the thicker welds, ensuring you maintain consistent pressure and movement to avoid gouging the parent metal. Once you’ve reduced the weld to a thin profile, switch to a finer 120-grit disc for smoothing welds, achieving a more refined finish.
Before finishing, employ the Hammer and Dolly technique to address any low spots, ensuring a flush surface. This step is essential in your welding project, as it prepares the area for final sanding. Additionally, selecting the right grit size is crucial for achieving the desired finish without damaging the metal.
Finally, clean the weld area thoroughly to eliminate debris and contaminants, promoting a smooth surface for painting and priming. Following these steps will enhance the durability and appearance of your repair, allowing for a professional-quality finish.
Products Worth Considering

Box of 30 Dura-Gold Premium 3" 120 Grit Purple Film Ceramic Sanding Discs with a Hook & Loop Backing. These high-performance film-backed sanding discs have a hook and loop backing that securely attaches to 3" hook and loop backing plate pads on drills, grinders, rotary tools, and dual-action and random orbital sanders. They are highly effective, extra-sharp, fast-cutting ceramic abrasive sanding discs that provide uniform finish results.

PACKAGE INCLUDED: 100 pcs 6-inch 120 Grit PSA sanding disc.Perfect discs for sanding orbital sanders、DA Sander

Easy to Identify: The grits of the sanding discs are printed on the backside for easy identification.
Key Tools for Smoothing Welds Effectively
When it comes to smoothing welds effectively, five essential tools stand out for achieving a professional finish. Each tool plays a vital role in ensuring your panel work is precise and polished.
| Tool | Purpose |
|---|---|
| Disc Grinder | For precise cutting and smoothing without damaging surrounding metal. |
| DA Sander | To shift from coarse to fine grits for a polished finish. |
| Rotary Tools | For intricate areas, offering better control in tight spaces. |
| Flap Discs | Blend grinding and finishing, minimizing heat buildup. |
| 3-Inch Air Cut-Off Tool | Ideal for precise cuts and smoothing in confined areas. |
Using these tools effectively will elevate your welding quality. Additionally, ensure you always wear appropriate PPE to protect yourself from hazards while working with metal. Whether you’re tackling larger sections or intricate details, each tool enhances your ability to work with metal seamlessly, liberating your craftsmanship.
Products Worth Considering

Aluminium Oxide flap disc is preferred for DIY use as it is the most cost effective product for most DIY applications.

Aluminium Oxide abrasive is preferred for DIY use as it is the most cost effective product for most DIY applications.
【Great Performance】EZARC flap sanding discs are made of hard zirconia material which lasts longer than standard aluminum oxide abrasive material, built for a more robust and economical grinding wheel
Tips for Finishing Welds Seamlessly Before Painting
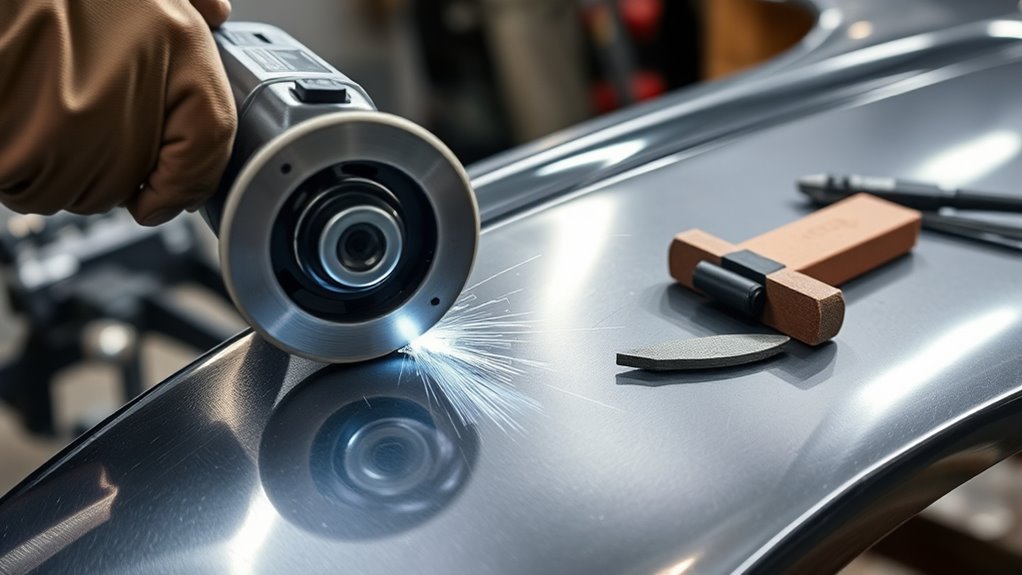
After using the right tools to smooth your welds, the next step is finishing them seamlessly before painting. Start by employing a disc grinder with a thin cut-off disc to carefully remove excess weld bead without damaging surrounding metal.
Once you’ve ground the area, use hammer and dolly techniques to raise any low spots, ensuring a flush surface.
Use hammer and dolly techniques to elevate low spots, achieving a perfectly flush surface for a seamless finish.
Next, work through a sequence of grits for sanding—begin with 50-grit for initial smoothing, then finish with 120-grit for a polished look. Inspect for imperfections; if you find any, consider applying a plastic filler to achieve that seamless finish.
Finally, make sure to clean the surface thoroughly to remove dust and debris. This step is essential for ideal adhesion when you apply primer, ensuring the final paint application adheres properly and looks flawless. Additionally, consider using a self-shielded flux core wire for quick and effective welds on imperfect base metals.
Frequently Asked Questions
What to Use to Smooth Welds?
To smooth welds, use grinding wheels for initial surface preparation, followed by sanding methods to refine the finish. Incorporate filler application where needed, and utilize polishing tools for a flawless look while managing heat and ensuring rust prevention.
What Is the Best Way to Weld Auto Body Panels?
To weld auto body panels effectively, focus on panel preparation, select appropriate metal types, adjust heat settings for ideal weld penetration, guarantee joint alignment, use suitable filler materials, and conduct thorough post-weld inspections for quality assurance.
What Is the Golden Rule in Welding?
The golden rule in welding involves mastering heat management and distortion control. Use proper joint preparation and suitable welding techniques for different metal types, ensuring effective weld penetration and selecting appropriate filler materials while prioritizing safety measures.
What Welder Is Best for Welding Car Panels?
For car panels, the Millermatic 211 PRO shines, like a versatile toolbox. Use MIG welding for ease, TIG for precision, and choose your welder type based on panel thickness and welding techniques for excellent results.
Conclusion
Now that you know the essential steps and tools for finishing and smoothing welds on auto body panels, you’re just one step away from achieving that flawless finish. But beware—common pitfalls can sabotage your hard work if you’re not careful. As you prepare for the final touches, remember: the quality of your welds will make or break your project. Will you take the time to perfect them, or risk an imperfect finish? The choice is yours.


