How to Prep a Surface for Welding Auto Body Panels
Quick Answer
To prep a surface for welding auto body panels, remove paint, primer, rust, oil, and dirt from the weld area first. Clean both mating surfaces, use weld-through coating where the panel maker allows it, then clamp the panels tight before you weld. Good prep helps the weld arc stay stable and helps reduce weak joints, rust, and panel movement.
Key Takeaways
- Clean metal gives you stronger welds and fewer defects.
- Remove coatings from the weld zone before you start welding.
- Use weld-through coating only where it fits the repair plan and product instructions.
- Clamp panels every 4 to 5 inches to help control gaps and movement.
- Check alignment, safety gear, and airflow before you strike an arc.
Weak welds often start before the arc ever touches the metal. If paint, primer, rust, oil, or loose coating stays in the joint, your weld can lose strength and trap contamination. To prep a surface for welding auto body panels, you need clean metal, proper corrosion protection, tight panel fitment, and safe work habits before welding begins.
Start by removing coatings and contaminants from the weld area. Use proper cleaning tools to spot clean specific areas when needed. Apply a weld-through primer or coating only where the repair plan and product label allow it. Secure panels tightly with clamps, spaced about every 4 to 5 inches, to help maintain alignment and reduce warping.
Why Surface Prep Is Key for Welding Success
Surface preparation plays a major role in weld quality. When you work on auto body panels, you need to remove coatings and contaminants from the weld area so the weld can penetrate clean metal. This step helps create a strong bond, especially when welds sit close together.
Weld-through coating can help protect hidden lap joints from corrosion when you use it correctly. It also helps keep some protection in places you may not reach after welding. Follow the coating maker’s instructions, because heavy coating in the weld area can affect arc quality.
Secure clamping also matters. Tight clamps help keep the panel aligned, reduce gaps, and limit movement while you weld. Poor fitment can lead to weak welds, uneven heat, and extra grinding later.
Don’t overlook NVH dampening materials when the repair plan calls for them. Noise, vibration, and harshness (NVH) materials can help reduce cabin noise and panel vibration after the repair. Also, remember that removing zinc coating near the weld zone can help reduce contamination and fumes.
Warning: Welding coatings, zinc, paint, and adhesives can release harmful fumes, so use proper ventilation and approved protective gear.
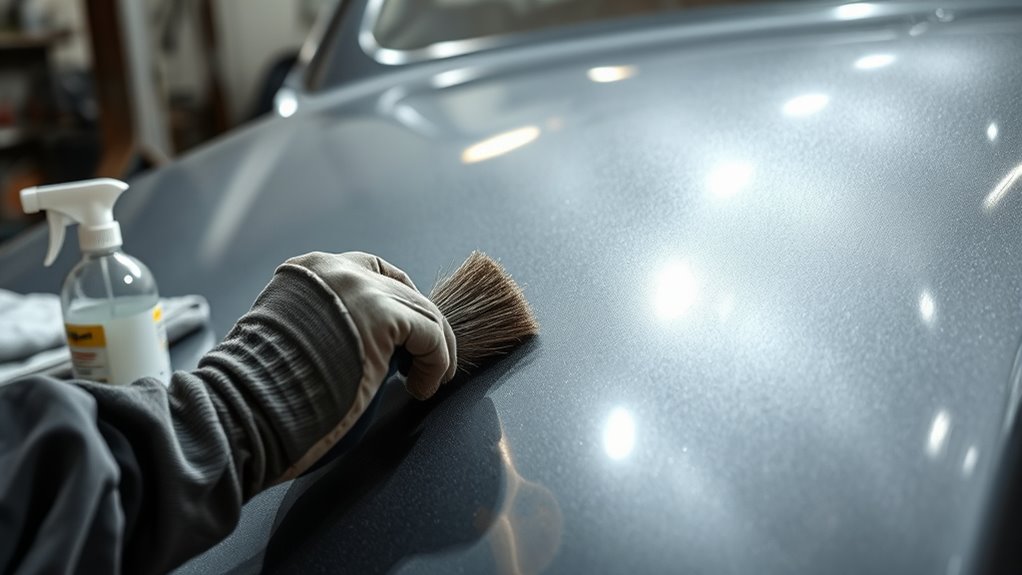
Cleaning: Removing Coatings and Contaminants for Welding
Strong welds depend on thorough cleaning. Dirt, oil, paint, undercoating, primer, rust, and seam sealer can all weaken the weld area.
Focus on these prep steps before you weld:
- Remove shipping primer: Strip the replacement panel in the weld zone, including the front and back sides where panels meet.
- Clean the mating surfaces: Remove paint, rust, oil, and loose coating so the weld touches clean metal.
- Spot clean when needed: For plug welding, clean each plug weld hole and the metal behind it. Proper cleaning tools and methods help remove contaminants before welding.
Use tools that fit the panel and coating type. A sanding disc, wire wheel, scraper, or spot blaster may help, but avoid thinning the sheet metal. After cleaning, wipe the area with a suitable panel cleaner and let it dry fully before welding.
Applying Weld-Through Coating for Corrosion Protection
Weld-through coating can help protect auto body seams from corrosion after welding. This matters most in hidden lap joints, flanges, and overlapped areas that you can’t coat well after the panel is installed.
Start by removing shipping primer and surface contaminants from the replacement panel. Once the metal is clean and dry, apply the weld-through coating in a thin, even layer where the product instructions allow it. Use thorough masking to prevent overspray from reaching areas that need clean weld contact.
Remove shipping primer and contaminants before applying weld-through coating. Mask the area carefully so the weld zone stays controlled and clean.
The main benefit is corrosion protection in hard-to-reach areas. The coating should not replace good cleaning, correct heat settings, or proper fitment. To achieve better results, also consider proper weld sizing so you can reduce distortion and avoid weak welds.
Before application, check the coating label and the repair procedure. Make sure the coating works with your welding process, panel material, and joint type. If the instructions require bare metal at the exact weld point, clean that area before welding.
With the right prep, you can improve corrosion protection and help the repaired panel last longer.
Products Worth Considering
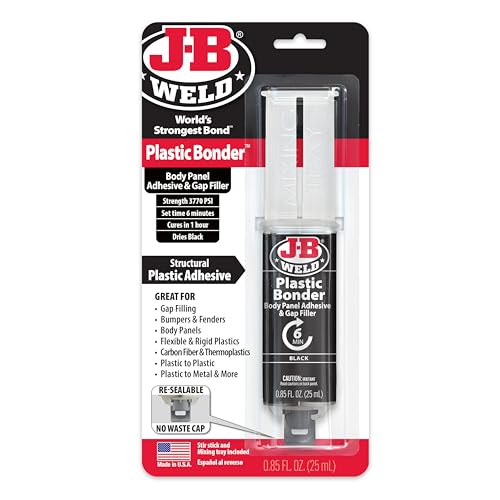
Plasticbonder: Is A Quick-Set, 2 Part, Urethane Adhesive System That Provides Strong, Lasting Repairs And Works On Thermoset, Carbon Fiber Composites, Thermoplastics, Coated Metals, Concrete & More.

J-B Weld AutoWeld is a high-strength, impact-resistant automotive adhesive, filler & sealer. AutoWeld dispenses in a 1:1 mix ratio, sets in 15 minutes, and can be sanded and painted in 30 minutes. Once cured, AutoWeld has a strength of 3770 PSI

J-B Weld Body Filler: is a two-component filler system that provides waterproof, durable repairs to cracks and rust-outs on automotive bodies and home surfaces made of metal, wood, & more
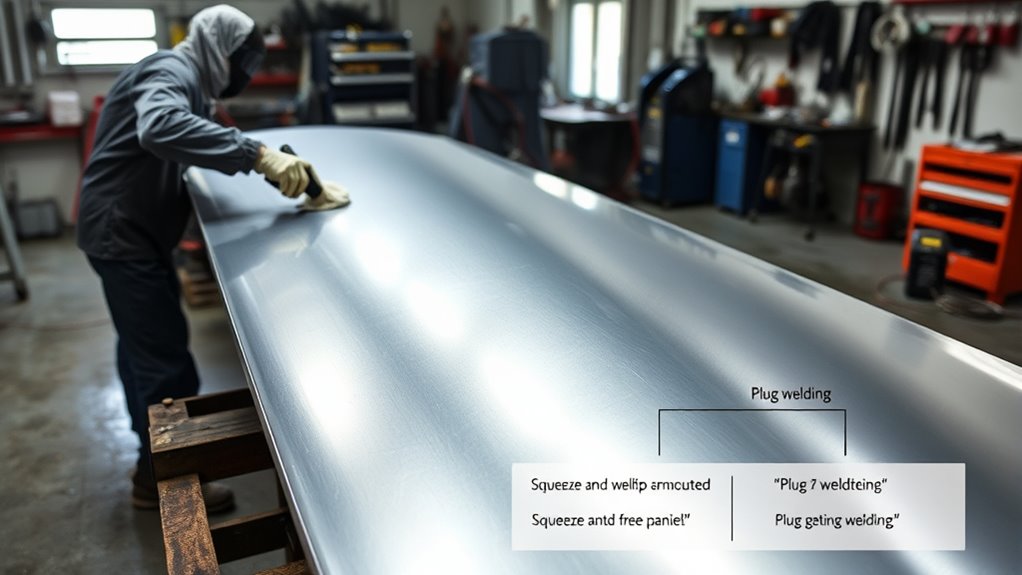
How to Choose Between Squeeze and Plug Welding?
When you choose between squeeze welding and plug welding, start with the repair procedure and panel access. Each method works best in a different setup.
- Squeeze welding: Use it when you have access to both sides of the joint and the equipment can reach the flange.
- Plug welding: Use it when you need to join overlapping panels from one side through drilled or punched holes.
- Panel configuration: Check access, metal thickness, flange shape, and factory weld locations before choosing a method.
You also need to think about adhesive and NVH dampening materials. These materials can affect heat, fitment, and weld access. Proper welding techniques can affect the quality and durability of your welds.
Products Worth Considering

Value Pack: The package includes 24 packs of butt welding clamps, enough quantity to meet your daily needs and replacements. Each butt welding clamps is individually wrapped in a small bag, convenient to carry and use.

【Product Purpose】Butt welding clamps set includes 16 welding corner square welder clamps, which can be used to make precision butt welds and edge-to-edge welds for patch repairs in floors, wings, door skins, fabricating, and re-skinning projects. They are good accessories to help you to find the location quickly in repair work.
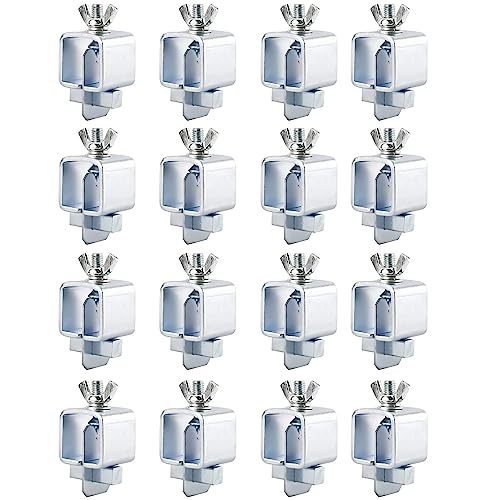
Butt Welding Clamps includes 16 welding corner square welder clamps; Used to make precision butt welds and edge-to-edge welds for patch repairs in floors, wings, door skins, fabricating, and re-skinning projects
Coating Removal Techniques: Complete Strip vs. Spot Cleaning
When you prep for welding, you need to decide whether to fully strip coatings or spot clean the weld points. Complete coating removal works best when welds sit close together or when contamination could spread into the joint. Spot cleaning works well for plug welds because you can clean only the plug weld hole and the metal behind it.
Keep the work area clean and well ventilated. Maintaining air quality during cutting, grinding, and welding helps reduce contamination and fume risk.
Complete Coating Removal Benefits
Complete coating removal helps you create a clean weld area. By stripping paint, primer, rust, and loose material, you give the weld a better chance to fuse into clean metal.
Here are three key benefits of complete coating removal:
- Improved weld integrity: Clean metal reduces contamination and lowers the chance of porosity or weak fusion.
- Better corrosion control: Removing damaged coatings lets you treat and protect the repair area correctly after welding.
- Stronger repair quality: Good prep helps the panel fit better and supports a longer-lasting repair.
After complete removal, apply weld-through coatings only where the repair plan and coating label allow them. This step helps protect hidden areas without replacing proper welding technique.
Spot Cleaning Advantages
Spot cleaning gives you a targeted way to prepare only the areas where welds will be made. This helps preserve protective coating on nearby metal while still giving the weld a clean contact area.
This method can work well for plug welding. Clean the hole edge, the top panel, and the backing panel where the weld will fuse. If welds sit close together, a complete strip may give you better control over heat and contamination.
Choose the method based on your weld type, panel access, and repair instructions. The goal stays the same: clean metal at the weld and corrosion protection around it.
Apply NVH Dampening Material for Better Results
Apply NVH dampening material when the repair procedure calls for it. These materials can improve sound insulation and help reduce vibration after the panel repair. Focus on the areas where panels meet and where the original material was placed.
Clean the surface before application so the material can bond well. Also, use proper safety gear, including flame-resistant clothing, to reduce burn and fire risk during welding.
Importance of NVH Material
Noise, vibration, and harshness (NVH) dampening material helps keep the vehicle quieter and more comfortable after repair. It can also help reduce panel vibration when you install it in the right areas.
Keep these points in mind:
- Material type: Choose foam, adhesive pads, or other NVH material that matches the repair plan.
- Placement: Apply the material where the original panel used it or where the repair instructions specify.
- Timing: Keep the material clear of active weld zones unless the product and repair plan allow that use.
Application Techniques Explained
The effectiveness of NVH dampening material depends on clean surfaces and correct placement. Choose the right material for the panel and apply it evenly where needed.
Apply dampening material after you prep the host and replacement panels, but before final clamping if the repair plan requires it. Keep it away from the weld area unless the material is made for that location. Let the material cure or set as the product instructions require.
Properly applied NVH material can reduce noise and vibration after the repair. It can also help the repaired area feel closer to the original factory finish.
Securing Panels: Effective Clamping Techniques Before Welding
Effective clamping helps create a stable welding process. Secure replacement panels about every 4 to 5 inches when the panel shape allows it. This spacing helps maintain alignment and reduce panel movement.
Use clamp types that match the panel shape. Check the gap between the replacement panel and the host panel before welding. Tight fitment helps improve weld quality and reduces extra finishing work.
Here are three useful securing methods:
- C-clamps: Use them on flat surfaces where you need a strong adjustable grip.
- Toggle clamps: Use them when you need quick clamping and steady pressure.
- Pneumatic clamps: Use them in high-volume work where fast, repeatable clamping matters.
Before welding, check that each clamp holds the panel firmly. This small step helps reduce defects and supports a cleaner finish. Proper clamping also helps reduce heat distortion during the welding process.
Pro tip: Do a dry fit before welding so you can fix gaps, clamp pressure, and panel alignment early.
Final Preparations for Welding Auto Body Panels
Before you start welding auto body panels, verify that the host panel is clean and ready. Remove shipping primer and coatings from both sides of the replacement panel where the weld will contact metal. Then apply a weld-through coating only where it fits the repair plan.
Choose your coating removal method based on the weld type. Strip coatings completely for close weld spacing or high-contamination risk. Use spot cleaning when plug welds only need clean metal in specific weld locations.
Next, apply NVH dampening material and adhesive around factory-style locations when required. Securely clamp the panel in place and distribute clamps about every 4 to 5 inches where possible.
Confirm that the panel sits flush and that the weld area stays clean. Use proper fixturing to maintain alignment during welding.
Follow welding safety protocols throughout the process. Inspect your welder, cables, clamps, helmet, gloves, and ventilation before you begin. Keep your tools maintained so your setup stays stable and predictable.
Finally, check panel alignment one more time before you strike the arc. Small fitment errors can become major repair problems after welding.
Common Mistakes to Avoid Before Welding
Surface prep fails when you rush the small steps. Avoid welding over paint, heavy primer, rust, seam sealer, adhesive, or oil. These materials can contaminate the weld and create weak spots.
- Don’t weld before the panel fits tightly.
- Don’t leave coating inside the exact weld contact area unless the product instructions allow it.
- Don’t skip ventilation when grinding or welding coated metal.
- Don’t rely on clamps to fix a badly shaped panel.
- Don’t ignore the repair procedure for weld type and placement.
Frequently Asked Questions
How Do You Prepare the Surface Before Welding?
Prepare the surface by removing paint, primer, rust, oil, and loose coating from the weld zone. Clean both mating surfaces, dry the area, and check that the panels fit tightly before welding.
What Is the Best Way to Weld Auto Body Panels?
The best method depends on the repair procedure, panel access, and joint type. Many auto body repairs use squeeze welding or plug welding, but clean metal and tight alignment matter in every method.
Do Auto Body Panels Need to Be Preheated Before Welding?
Most thin auto body panels do not need preheating in normal repair work. Instead, you should control heat with short welds, proper spacing, and good panel fitment to reduce warping.
What Is the Golden Rule in Welding?
The golden rule is simple: weld clean, properly fitted metal. Good joint prep, correct heat settings, and safe work habits help you create stronger, cleaner welds.
Can You Weld Over Weld-Through Primer?
You can weld over some weld-through primers when the product instructions allow it. Apply a thin coat, avoid heavy buildup, and keep the weld area as clean as the repair procedure requires.
Safety Disclaimer: This article is for informational purposes only and does not replace professional auto body repair or welding training. Welding can cause burns, fire, eye injury, electric shock, and harmful fumes. Follow your equipment manual, product labels, repair procedures, and local safety rules before you weld.
Conclusion
Good surface prep gives your auto body welds a cleaner, stronger starting point. Remove coatings and contaminants, protect hidden seams, clamp panels tight, and check alignment before welding. Your next step is to dry-fit the panel and clean each weld point before you power on the welder. Careful prep takes more time at first, but it helps you get a safer and cleaner repair.


