How to Patch-Weld a Car Floor Pan at Home
What’s in This Article
- Assessing Damage Before Patch-Welding
- What Tools and Materials You’ll Need
- Preparing the Floor Pan: Cleaning and Cutting
- Fitting the Patch Panel: Ensuring a Snug Fit
- Choosing the Right Welding Technique for Your Patch
- Step-by-Step Patch-Welding Process
- Sealing Your Welds for Protection
- Troubleshooting Common Welding Issues
- Frequently Asked Questions
- Conclusion
Rust in a car floor pan can look small from above, but it may hide weak metal below the carpet. A clean patch-weld can restore strength, block moisture, and help you stop the damage from spreading. This guide shows you how to inspect the rust, prepare the metal, fit the patch, weld it, and seal the repair safely.
Quick Answer
To patch-weld a car floor pan at home, cut out all weak rusted metal first. Fit a clean sheet metal patch, tack it in place, weld slowly to control heat, then seal both sides of the repair with seam sealer and rust-resistant coating.
Key Takeaways
- Start with a full rust inspection before you cut or weld the floor pan.
- Remove weak metal until you reach clean, solid steel around the damaged area.
- Use short welds and cooling breaks to reduce warping on thin sheet metal.
- Seal both sides of the weld to help block moisture and future rust.
- Get professional help if rust affects seat mounts, frame areas, or major structural points.
Estimated total time: Most home floor pan patch repairs take several hours to a full day. Heavy rust, tight access, and extra shaping can add more time.
Assessing Damage Before Patch-Welding
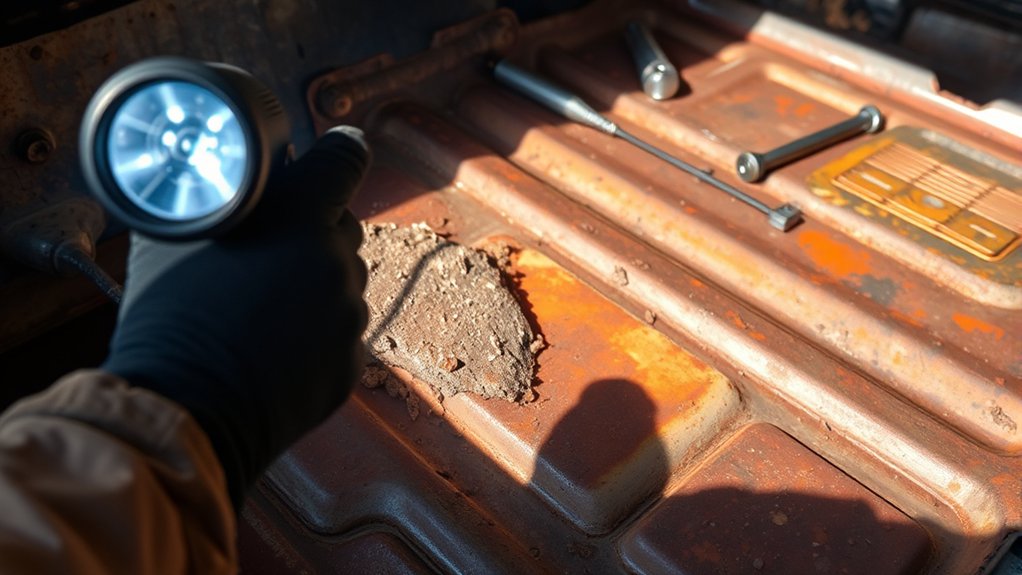
When you inspect your car’s floor pan, look for rust that may weaken the metal. Focus on the footwells, trunk floor, seat mounts, and undercarriage, since moisture often collects there. Use a magnet to check weak spots, as badly rusted steel may lose some magnetic pull.
Look for old repairs, thick coatings, or patched areas that may hide deeper rust. Remove carpet, insulation, and loose debris before you decide where to cut. If needed, use media blasting or careful grinding to expose hidden corrosion.
This full assessment helps you decide between a small patch and a larger replacement panel. Addressing rust early helps keep the floor pan stronger and safer, as unchecked rust can quickly spread, compromising both safety and integrity.
What Tools and Materials You’ll Need
To patch-weld a car floor pan, gather your tools before you start cutting. You need a MIG welder, cutoff wheel, sheet metal, clamps, and proper safety gear. Good preparation helps you work faster and reduces the chance of poor fitment.
Make sure you have proper ventilation while welding, grinding, and cleaning. Floor pan work can create fumes, dust, sparks, and sharp metal edges.
Products Worth Considering

Includes 2 pre-cut steel sheets that detach into 24 parts—weld them to build 2 hollow cubes and 2 dice.

🎲Superior Processing: Our steel plates are all laser-cut, providing edge and overall flatness that is unmatched by other stamped and sheared components.
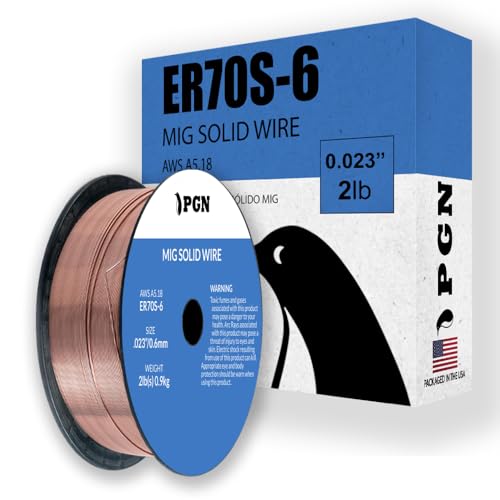
Consistent Welding Performance ... ER70S-6 solid MIG welding wire is designed to provide stable arc characteristics and reduced spatter during single-pass and multi-pass welding applications. Suitable for T-joints, butt joints, and lap joints.
Essential Tools Checklist
A strong patch-weld starts with tools that help you cut, shape, and hold the metal correctly. Use a MIG welder for clean sheet metal welding and a cutoff wheel for controlled cuts. A die grinder helps refine edges, while body hammers help shape the patch.
A flanger and hole punch can help create lap joints and plug-weld holes. Use weld-thru primer on hidden overlap areas that you cannot coat after welding. Wear a welding helmet, gloves, respirator, hearing protection, and fire-resistant clothing.
Required Welding Materials
A reliable patch repair needs clean metal, proper filler wire, and corrosion protection. Use materials that match your vehicle’s floor pan thickness as closely as possible.
| Material/Tool | Purpose |
|---|---|
| MIG Welder | Joins the patch panel to the floor pan |
| .023-Inch MIG Wire | Helps control heat on thin sheet metal |
| Die Grinder/Cutoff Wheel | Cuts rusted metal and cleans patch edges |
| Weld-Through Primer | Protects hidden overlap areas before welding |
| Body Hammers & Dollies | Shapes and aligns the patch panel |
| Seam Sealer | Blocks moisture around finished welds |
Quality tools and clean materials make the repair easier to control. They also help you create a stronger patch with fewer gaps and less grinding.
Safety Gear Necessities
Safety gear matters because floor pan welding exposes you to heat, sparks, fumes, and sharp steel. Wear a welding helmet with the proper shade for your process. Use heavy leather or fire-resistant welding gloves to protect your hands.
Wear a respirator or approved dust mask when grinding rust, paint, seam sealer, or old coatings. Use steel-toed boots and flame-resistant clothing to reduce burn and impact risks. Keep a fire extinguisher nearby before you strike an arc.
Warning: Remove carpet, insulation, undercoating, and flammable materials near the weld area before welding.
Preparing the Floor Pan: Cleaning and Cutting
Before you start patch-welding, prepare the floor pan with careful cleaning and cutting. Use a cutoff wheel or air saw to remove damaged sections until you reach solid metal. Clean both surfaces before you apply any primer or coating.
If you work near galvanized sections, make sure to remove zinc coating from the weld area. This helps reduce weld contamination and fume risk.
Products Worth Considering

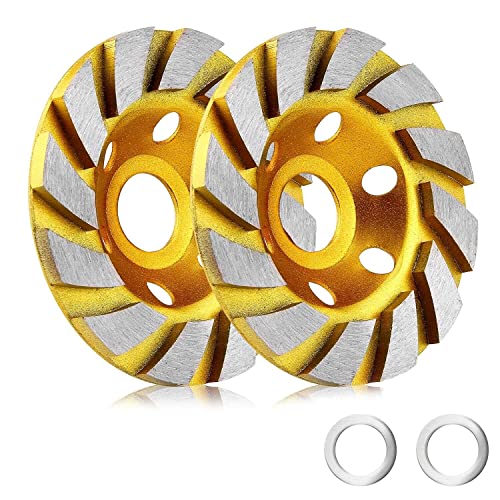
3 Pieces 4 Inch Diamond Cup Grinding Wheel.
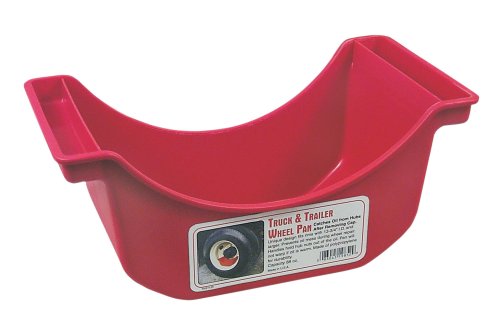
Catches Oil from Wheel Hubs After Removing Cap
Essential Tools Needed for Preparation
Use a die grinder or cutoff wheel to cut out rusted sections with clean edges. Clean the original metal and replacement patch with a wire brush, grinder, or stripping disc. Strip at least 1 inch around the seam so the weld can reach clean metal.
Use body hammers and dollies to shape the patch before you weld it. Drill or punch evenly spaced holes if you plan to use plug welds. Apply weld-through primer only where the metal will overlap and become hard to reach later.
Cleaning Techniques Explained
Cleaning the floor pan gives your weld a better chance of bonding well. Start by removing rust, dirt, seam sealer, old paint, and loose undercoating. Use an electric grinder with a stripping disc or a sandblaster when access allows.
- Apply a degreaser to remove grease and grime.
- Wipe the area with a suitable solvent after degreasing.
- Cut away damaged sections with a cutoff wheel or air saw.
- Treat exposed metal with a rust-inhibiting product before primer.
Strip the existing floor pan and patch edges to bare metal at the weld area. Clean preparation helps improve weld penetration and repair strength.
Accurate Cutting Methods
Accurate cutting helps your replacement patch fit snugly without large gaps. Clean the area around the rust holes first, then mark the cut line clearly. Cut out the weak metal and leave enough solid steel for a strong weld.
Measure and mark your replacement panel carefully before trimming it to final size. Avoid a loose fit, since large gaps can cause burn-through and weak welds. If you use plug welds, punch holes around the perimeter about 1 inch apart.
Fitting the Patch Panel: Ensuring a Snug Fit
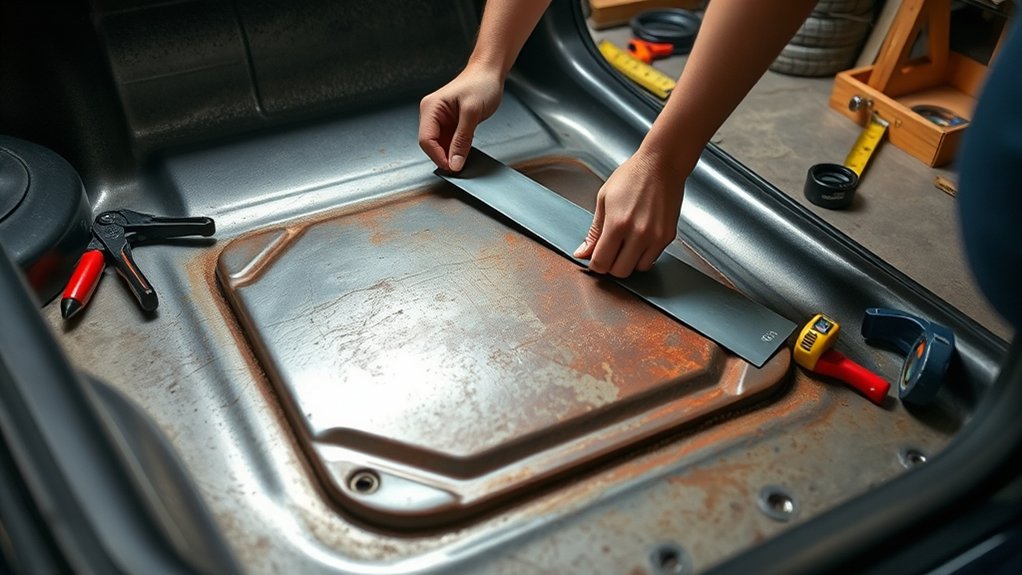
A snug patch panel fit helps you make a stronger floor pan repair. Start by measuring the rusted area, then cut the patch slightly larger than the opening. Trim it slowly with a grinder until the contours match the original floor shape.
To improve alignment, follow these steps:
Test-fit the panel, make small adjustments, and secure it before you weld.
- Test-fit the patch panel several times.
- Adjust the shape with body hammers and dollies.
- Hold the panel with clamps or self-tapping screws.
- Keep the gap no wider than the welding wire diameter.
This careful approach helps you create cleaner plug welds and better alignment. A tight fit also reduces grinding and supports a longer-lasting repair. Proper weld sizing can improve the quality of your repair.
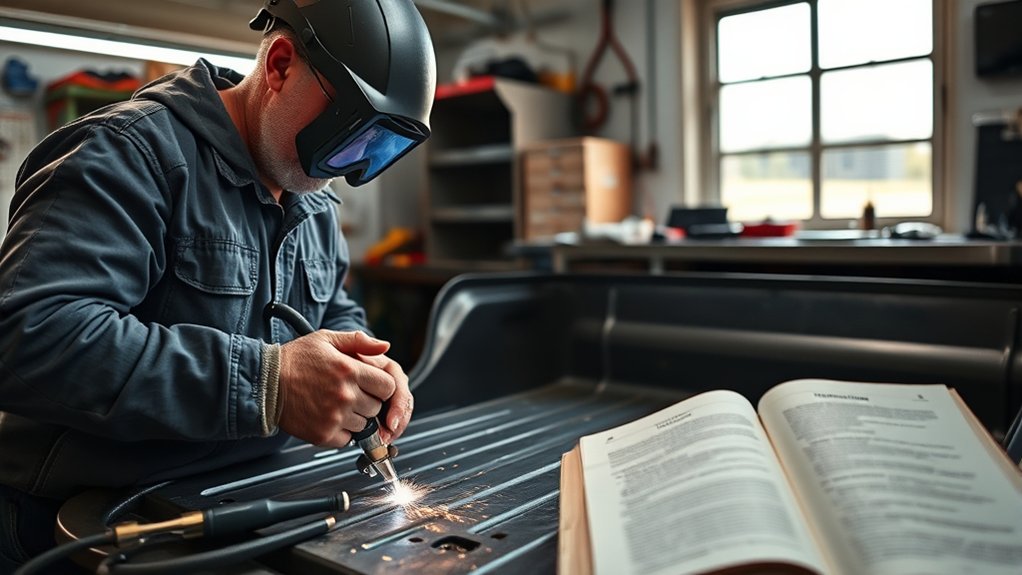
Choosing the Right Welding Technique for Your Patch
The right welding technique depends on your skill level, metal thickness, and patch style. A butt weld can create a clean finish on thin metal, but it requires tight gaps and careful heat control. Newer welders may find plug-welding easier because it joins overlapping panels through drilled or punched holes.
Stitch welding uses short welds spaced apart to control heat and reduce warping. Overlap welding can work, but trapped moisture may cause rust if you do not seal it well. Apply weld-through primer on hidden overlap areas before welding.
Thin sheet metal needs careful heat control. Learn how to control heat input before welding near weak or thin sections.
Pro tip: Make short tack welds in different spots instead of welding one long bead.
Step-by-Step Patch-Welding Process
Follow a clear order so the repair stays controlled and safe. Do not rush the welding stage, since floor pan metal can warp or burn through quickly.
- Disconnect the battery. Protect electrical parts before you grind or weld.
- Remove flammable materials. Pull back carpet, insulation, wiring, and undercoating near the repair area.
- Mark the damaged area. Outline the rusted section and confirm that your cut reaches solid metal.
- Cut out the weak metal. Use a cutoff wheel or air saw to remove rusted steel cleanly.
- Clean the weld zone. Grind both mating surfaces to bare metal at the seam.
- Fit the patch panel. Trim and shape the patch until it sits flat with tight gaps.
- Prime hidden overlaps. Use weld-through primer only on areas you cannot coat after welding.
- Tack the patch in place. Place small tack welds around the patch to hold alignment.
- Stitch-weld slowly. Add short welds in different areas and let the metal cool between passes.
- Grind only as needed. Smooth high spots without thinning the surrounding sheet metal.
- Inspect both sides. Check for pinholes, missed gaps, and weak weld areas before sealing.
Sealing Your Welds for Protection
Seal your welds to help protect the repair from rust and moisture. Start by cleaning the welds to remove slag, dust, oil, and grinding residue. A high-quality urethane seam sealer works well because it stays flexible and resists moisture.
Follow these key steps:
- Apply seam sealer on both sides of the weld when you can access them.
- Cover the full seam to reduce moisture entry and rust risk.
- Allow the sealer to cure according to the manufacturer’s instructions.
- Apply rust-inhibitive paint or coating over the cured seam sealer.
- Wear flame-resistant clothing while working near sparks or hot metal.
Check the underside after the repair because road spray can attack unsealed seams. A complete seal on both sides helps the patch last longer.
Troubleshooting Common Welding Issues
Even careful welders can run into problems during floor pan repair. If you get weak weld penetration, check your welder settings and clean the metal again. Dirty metal, low heat, and poor ground contact can all weaken the weld.
If you notice burn-through, lower the heat, increase travel speed, or shorten each tack. Poor fitment can also cause burn-through because large gaps need too much filler metal. For warping, use stitch welding and let each section cool before you add more welds.
If you see excess welding spatter, adjust your wire feed speed and voltage. You can also use anti-spatter spray away from the exact weld area to keep cleanup easier. Use the correct flux core wire or MIG wire for your machine and metal thickness.
When to Get Professional Help
Some floor pan rust goes beyond a simple home patch. Stop and get professional help if rust affects seat belt mounts, seat brackets, frame rails, or major structural areas. These parts carry crash and load forces, so poor repairs can create serious safety risks.
You should also get help if the metal keeps burning through after several setting changes. That problem often means the surrounding steel has become too thin. A larger replacement panel may suit the repair better than a small patch.
Note: If you cannot reach the back side of the weld, inspect and coat the area as well as access allows.
Frequently Asked Questions
How Do I Know if the Damage Is Too Extensive to Repair?
Check for wide rust holes, soft metal, cracked seams, and weak seat or belt mounting areas. If the floor flexes, flakes heavily, or affects structural points, ask a qualified repair shop to inspect it.
Can I Use a Regular Welder Instead of a MIG Welder?
You can use other welders, but a MIG welder usually gives better control on thin automotive sheet metal. Stick welding often adds too much heat for floor pans, while flux-core welding needs extra care with settings and cleanup.
What Safety Gear Should I Wear While Welding?
Wear a welding helmet, flame-resistant clothing, leather gloves, safety glasses, and steel-toed boots. Use a respirator or approved mask when grinding rust, old paint, primer, or coatings.
How Long Should I Wait Before Sealing the Welds?
Let the welds cool fully before you clean and inspect them. Many seam sealers need dry, clean metal and a set cure time, so follow the product label before painting or driving.
What Should I Do if I Encounter Warping During Welding?
Stop welding and let the panel cool before you continue. Use shorter tack welds, spread them across the patch, and avoid running one long bead on thin sheet metal.
Should I Weld a Floor Pan From the Top or Underneath?
Most home repairs work better from the top after you remove carpet and interior trim. You should still inspect, clean, and seal the underside after welding because moisture often attacks from below.
Safety Disclaimer: This article is for informational purposes only and does not replace professional automotive repair advice. Consult a qualified technician if rust affects structural areas, seat mounts, or seat belt mounting points.
Conclusion
A strong floor pan patch starts with clean metal, tight fitment, controlled heat, and careful sealing. Take your time during inspection and preparation because those steps shape the final result. If the rust affects structural points, choose professional repair instead of risking a weak patch. With patience and the right safety steps, you can make a cleaner repair that helps protect your vehicle for the road ahead.


