Spot Welding for Car Panels: A Practical Body Repair Guide
Weak spot welds can leave car body panels loose, uneven, or hard to finish. Good welds start before you pull the trigger, with clean metal, tight fitment, and steady pressure. This guide shows you how to prepare, spot weld, inspect, and finish car panels so your repair looks clean and holds well.
What’s in This Article
- Spot Welding: What You Need to Know for Car Panels
- Before You Begin: Tools, Safety, and Setup
- Essential Preparation Steps Before Spot Welding
- How to Master the Spot Welding Technique
- How to Check a Good Spot Weld
- Why Resistance Spot Welding Is Great for Your Automotive Projects
- Post-Welding Finishing Techniques for a Professional Look
- Common Spot Welding Mistakes to Avoid
- Frequently Asked Questions
- Conclusion
Quick Answer
To spot weld car body panels, clean both mating surfaces, remove coating from the weld area, apply zinc weld-through primer where needed, and clamp the panels tightly. Keep the welder tips clean, hold steady pressure, and inspect each weld for proper fusion before you finish the surface.
Key Takeaways
- Clean bare metal gives your spot welds better contact and stronger fusion.
- Tight clamping helps prevent panel movement, weak welds, and poor alignment.
- Clean welder tips help heat flow evenly through both panels.
- Good welds need proper pressure, correct timing, and a careful visual check.
- Post-weld epoxy, sanding, and primer help protect the repair before paint.
Spot Welding: What You Need to Know for Car Panels
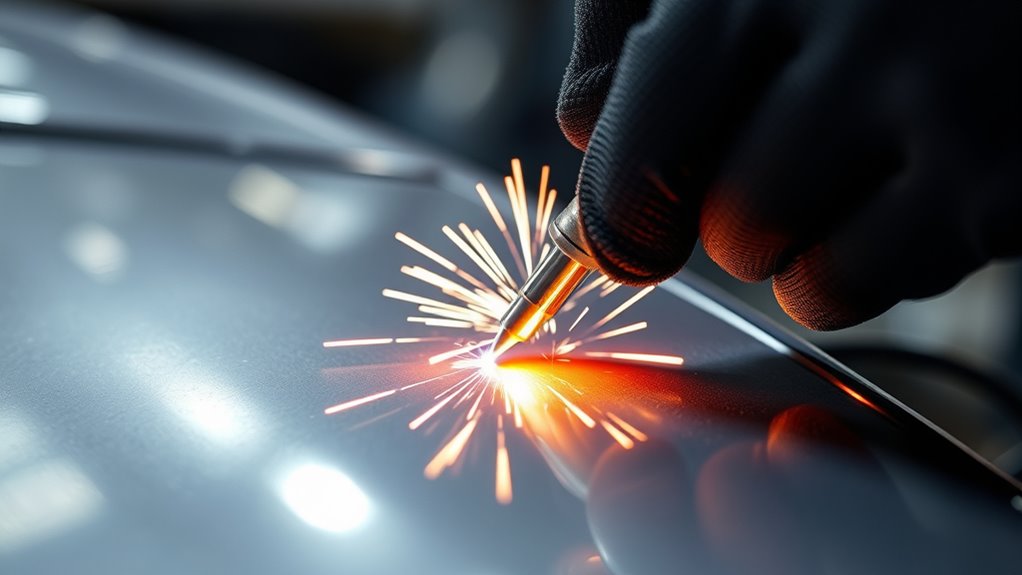
When you work on car body panels, spot welding helps you create strong, factory-style joints. This method joins overlapping sheet metal by using pressure and heat at small contact points.
Start by preparing the surfaces. Remove the electro-deposition primer (EDP) coating only from the weld contact area, then apply zinc weld-through primer where the repair process calls for it.
Before you weld, check that the welder tip is clean and seated firmly against the panel. Secure contact helps reduce arcing, weak fusion, and burn-through.
Spot welding can look cleaner than metal inert gas (MIG) or tungsten inert gas (TIG) welding on overlapping body panels. It can also reduce grinding work when the panels fit well and the weld settings match the metal thickness.
Good material knowledge also matters. Like understanding cast iron and welding challenges, knowing the metal type and coating helps you avoid poor weld quality.
After welding, protect the backside with epoxy where you can reach it. Then sand the edges, smooth the surface, and prepare the repair for primer and paint.
Before You Begin: Tools, Safety, and Setup
Plan about 30 to 90 minutes for a small body panel repair area. Larger panels, rust repair, and tight access points can take longer.
You need a clean setup before you start. Gather these items before you clamp the panels:
- Resistance spot welder with clean tips
- Clamps or panel-holding tools
- Wire brush, sanding disc, or abrasive pad
- Zinc weld-through primer, if required for the joint
- Epoxy primer or corrosion protection for the backside
- Safety goggles or a face shield
- Welding gloves and protective clothing
- 320 grit sandpaper and a Scotch Brite pad for finishing
Warning: Spot welding creates heat, sparks, and fumes, so wear proper protection and keep flammable materials away.
Products Worth Considering

Strong & Durable Design: Thanks to their tough polycarbonate wraparound construction, these anti-fog safety goggles offer superior protection from both direct and peripheral threats.
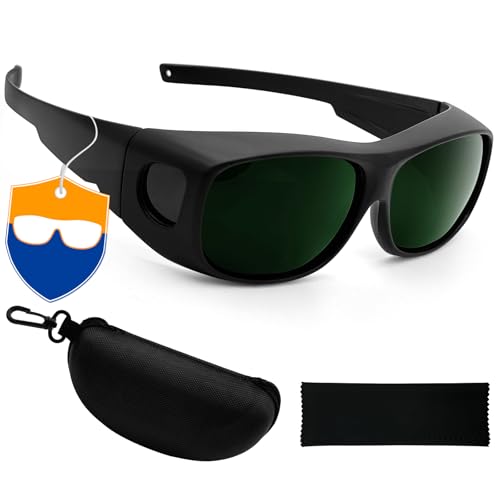
1.Wide application: These glasses are meant for light duty oxy-acetylene or propane torch welding, soldering, or brazing, low-amp TIG (TIG welding below 50 amps on thin materials), as well as auxiliary tasks such as grinding, chipping slag, or observing welding from a distance, and a host of other uses mentioned in the description.

Ideal for light welding applications in hot environments
Essential Preparation Steps Before Spot Welding
Before you start spot welding, prepare each panel with care. Good preparation improves fitment, heat transfer, and weld strength.
First, complete a mock-up assembly. Check the gap, alignment, and overlap before you weld the parts together.
Next, remove the EDP coating from the weld contact points to expose clean bare metal. Coating left between the panels can reduce conductivity and weaken the weld.
Remove coating from the weld contact area so the spot welder can heat both metal layers correctly.
After that, apply a zinc weld-through primer where the joint design needs corrosion protection between panels. Let the primer dry as directed before you weld.
Mask the nearby areas to keep the mating surfaces clean. This helps prevent dust, overspray, and debris from getting trapped in the joint.
Finally, clamp the parts firmly in position. Stable pressure helps the weld form in the right place and keeps the panel from shifting.
You should also understand joint size and weld spacing for your repair. Knowing the maximum fillet weld size can help you avoid weak or oversized welds in structural work.
Products Worth Considering

A durable, zinc enhanced coating that protects all metal surfaces
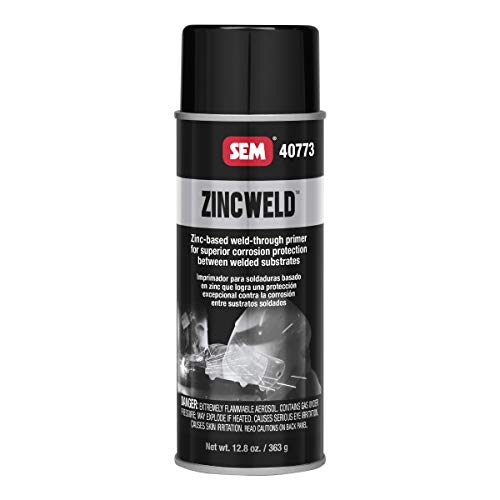
Weld thru primer

69 percent zinc metal
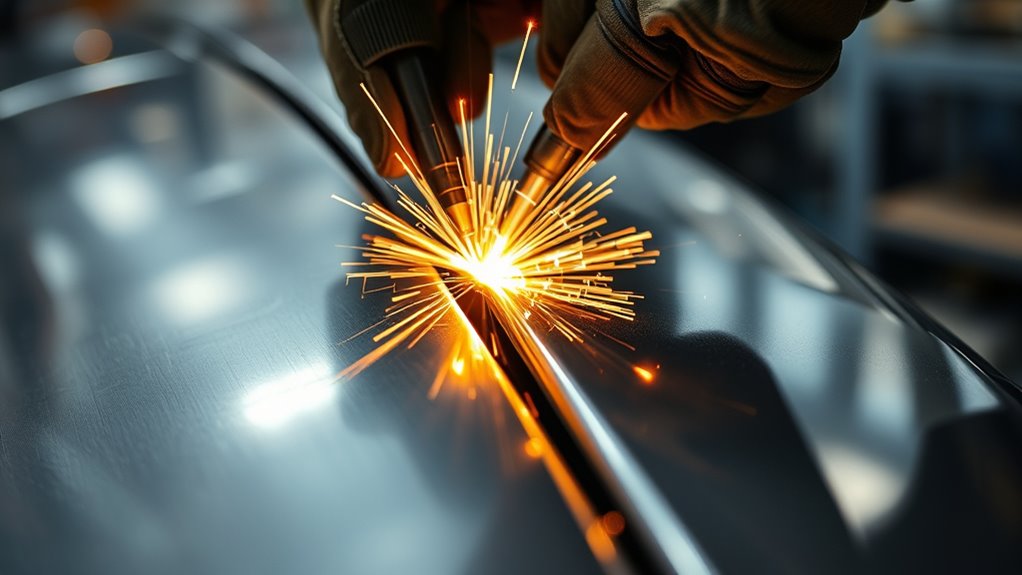
How to Master the Spot Welding Technique
Use a steady process each time you make a weld. Clean contact, firm pressure, and correct timing matter more than speed.
| Step | Action |
|---|---|
| Clean | Remove contaminants from both panels and welder tips |
| Clamp | Secure the panels so they stay aligned |
| Weld | Apply pressure, activate the welder, and watch the heat mark |
- Clean the contact points. Remove dirt, coating, rust, and loose debris from the weld area.
- Clamp the panels tightly. Keep the metal layers flat against each other before you weld.
- Place the welder tips squarely. Hold the tips straight so pressure spreads evenly.
- Activate the welder briefly. Use the correct setting for the metal thickness and avoid overheating the panel.
- Check the weld mark. Look for a clean heat pattern and avoid holes, cracks, or heavy burn-through.
- Repeat with steady spacing. Keep welds consistent along the joint so the panel holds evenly.
Always wear safety goggles or a face shield to protect your eyes from sparks. You should also wear gloves and protective clothing because thin sheet metal heats quickly.
After welding, inspect the joint for fusion and finish the edges with sanding and a Scotch Brite pad. Good heat input control helps you prevent burn-through on thin metal.
How to Check a Good Spot Weld
A good spot weld should look even, centered, and clean. The metal should show a solid heat mark without holes or sharp cracks.
Check both sides of the joint when you can reach them. Look for signs that the weld joined both panels, not just the top layer.
If the weld looks too light, the joint may not have enough fusion. If the weld burns through, you may have used too much heat, poor tip contact, or too long of a weld time.
Pro tip: Test your settings on scrap metal with the same thickness before you weld the actual panel.
Why Resistance Spot Welding Is Great for Your Automotive Projects
Resistance spot welding works well for many automotive body panel repairs because it joins overlapping sheet metal with little surface disruption.
If you plan to use this method, focus on these three advantages:
- Fast and clean work: Spot welding can reduce grinding and cleanup when you compare it with many plug welds or long bead welds.
- Strong panel joints: Correct spot welds can hold panels firmly when you prepare the metal and set the welder correctly.
- Less surface damage: The small weld area helps preserve the panel face, which makes bodywork and paint prep easier.
This method also works best when the base metal has good contact. Some welding methods can handle less-than-perfect base metal, similar to how flux core MIG wire performs, but spot welding still needs clean contact points.
Post-Welding Finishing Techniques for a Professional Look
Once you make strong, clean welds, finish the repair so it looks smooth and resists corrosion. The finish work protects the metal and helps paint sit correctly.
Start by applying epoxy to the backside of the welds where you can access the area. This helps protect the joint from moisture and rust.
Apply epoxy to the backside of the welds to improve corrosion protection before final paint prep.
Next, use 320 grit sandpaper to smooth the weld area. Feather the edges so the repair blends into the nearby metal.
Finish the surface with a Scotch Brite pad to create an even texture. This step helps primer and paint bond better.
If you see small low spots or shallow imperfections, use filler to level the surface before painting. Keep the filler thin and only use it where the panel needs it.
Finally, clean all surfaces before you apply primer and paint. Wear protective clothing to shield your skin from heat, sparks, and sharp metal edges during the repair.
Common Spot Welding Mistakes to Avoid
Small mistakes can weaken a spot weld fast. You can avoid most problems by checking the panel fit, tip condition, and weld settings before you start.
- Skipping surface cleaning: Dirt, paint, and coating can block current flow.
- Using loose clamps: Poor contact can cause weak welds and panel movement.
- Holding the weld too long: Too much heat can burn through thin sheet metal.
- Ignoring tip wear: Dirty or worn tips can create uneven heat.
- Skipping inspection: A weld can look fine on top but fail to join both panels.
Note: Follow the vehicle repair manual when you work on structural areas or safety-related panels.
Frequently Asked Questions
What Is the Best Way to Weld Auto Body Panels?
The best way depends on the panel design and repair area. For overlapping sheet metal, resistance spot welding often gives clean results when you clean the metal, clamp the parts, and use the correct settings.
What Is the Golden Rule in Welding?
The golden rule is simple: prepare the metal before you weld. Clean surfaces, tight fitment, steady pressure, and proper safety gear give you a much better chance of making a strong weld.
How Do You Spot Weld Properly?
Clean both metal surfaces, clamp the panels tightly, and hold the welder tips square to the joint. Activate the welder for the correct time, then inspect the weld before you move to the next spot.
What Is the Formula for Spot Welding?
Spot welding depends on current, pressure, and weld time. The correct setting changes with metal thickness, panel fit, tip size, and the welder you use.
Can You Spot Weld Over Paint or Primer?
You should not spot weld over paint, rust, or thick coating. Remove coating from the weld contact area and use weld-through primer only where the repair process allows it.
Conclusion
Strong spot welds start with clean metal, tight clamping, and steady welder control. Take time to test your settings on scrap metal before you weld the real panel.
After each weld, inspect the joint and fix small issues before they turn into bigger repair problems. With careful prep and patient finishing, your car panel repair can look cleaner, last longer, and move closer to a professional result.


