How to Weld a Bung Into a Custom Fuel Tank
What’s in This Article
- Understanding the Purpose of a Bung
- Preparing Your Workspace and Tools
- Choose the Right Bung for Your Tank
- Prep Your Tank for Welding
- Drilling Holes for Bung Installation
- Executing the Weld After Drilling
- Check Your Weld to Ensure It’s Solid
- Finalizing the Bung Installation and Testing
- Frequently Asked Questions
A bung installation can look simple, but a small leak near fuel can create a serious hazard. You need clean metal, the right fitting, safe tank prep, and a controlled weld. This guide shows you how to plan, fit, weld, inspect, and test a bung in a custom fuel tank.
Quick Answer
To weld a bung into a custom fuel tank, clean the area to bare metal, drill the hole to the correct size, and fit the bung tightly. Tack weld it first, then run a steady bead around the full edge. After it cools, inspect the weld and leak test the tank before you add fuel.
Key Takeaways
- Work only on a new, unused, or fully cleaned and purged fuel tank.
- Match the bung thread size, material, and shape to your fuel system.
- Clean the tank surface to bare metal before you drill or weld.
- Tack weld the bung first so it stays aligned during the final bead.
- Leak test the tank with a non-flammable method before you use fuel.
Understanding the Purpose of a Bung
When you work with custom fuel tanks, you need to understand what a bung does. A bung acts as a fixed fitting for a fuel line, drain, vent, sending unit, or cap. It helps create a secure connection and reduces the chance of leaks when you install it correctly.
Standard bungs often use threaded openings, which makes installation easier with matching fittings. Always match the thread type and size before you drill the tank.
Many bungs use durable materials like mild steel or stainless steel. Match the bung material to the tank material when possible. A steel bung on a steel tank usually welds more predictably than mixed metals.
Bungs create secure mounting points for fittings, but the weld and seal must hold up to fuel, vibration, and pressure changes.
When you weld a bung into a fuel tank, your weld must protect the tank’s structural integrity. A well-fitted weld-in bung improves function and helps prevent hazardous fuel leaks. Good surface preparation can also improve weld quality and reduce leak risk.
Preparing Your Workspace and Tools
You need a clean, safe workspace before you start any welding work. Choose a well-ventilated area and remove flammable items from the welding zone. Keep a fire extinguisher nearby and wear proper safety gear.
Warning: Never weld on a fuel tank that contains fuel, fuel vapor, or unknown residue.
Gather your essential tools before you start. You may need:
- TIG or MIG welder suited to the tank material
- Matching filler rod or wire
- Drill and step bit
- Die grinder or sanding disc
- Clamps or magnets for alignment
- Gloves, eye protection, welding helmet, and apron
Prepare the fuel tank by thoroughly cleaning the area around the bung location. Remove dirt, grease, paint, and rust that could weaken the weld. Use a die grinder or sanding disc to expose clean metal for better fusion.
Keep your tools within reach so you can work without rushing. Proper preparation helps you avoid mistakes and reduces accident risk. Wear flame-resistant clothing to protect your skin from sparks and heat.
Products Worth Considering

Compatible with CGA-580 tanks: Easily attach this Gas Pressure Regulator/Flowmeter to your Argon, Helium, and CO2 tanks with its CGA-580 inlet connector

Brand New BETOOLL Argon / CO2 regulator and flow meter.

Application: This Gas Pressure Regulator/Flowmeter Can Be Used with Argon, Helium and CO2 Gas tanks
Choose the Right Bung for Your Tank
After you prepare your tools, choose the right bung for your fuel tank. Confirm the thread size fits your fuel system parts, such as 5/16-18 or 22 mm x 1.0. Do not guess, because a mismatched thread can leak or strip.
Choose a bung with a larger outer diameter than the drilled opening. This helps stop the bung from dropping into the tank during fitting. Check the flange style and make sure it can sit flat on the tank surface.
Material choice also matters. Mild steel may work for a mild steel tank. Stainless steel can offer better corrosion resistance, but it needs the right setup and filler material.
A tophat-style bung can give you more stability during welding. It sits on the tank surface and helps you keep the fitting aligned. The bung should fit snugly into the drilled hole so you can make a clean weld with less gap. Use proper welding techniques to protect the joint quality.
Products Worth Considering

Wide Applications:The Female Weld on Bung Fitting suit for fuel tank, intercooler piping,sensor ports, drain lines,radiator, custom fluid reservoir, oil pan, or heat exchanger ect

Filler Cap OD (outer diameter): 1.50"

Fits: XL 1983-1996
Prep Your Tank for Welding
Good tank prep helps you create a strong, leak-free bond. Start by cleaning the area around the planned hole. Remove paint, rust, grease, and any coating that can contaminate the weld.
Use a die grinder with a Scotch-Brite attachment or sanding disc to expose bare metal. Keep the cleaned zone wider than the bung flange so the weld area stays clean.
You can apply Dykem layout fluid around the hole area to improve mark visibility. Mark the hole center carefully so the bung lines up with the fuel line or cap location.
Confirm the tank is dry and free from fuel residue before you weld. Even small traces of fuel vapor can create a fire or explosion hazard. If the tank has ever held fuel, let a qualified professional clean and purge it before welding. Removing zinc coating also helps prevent weld contamination and poor joints.
You can use leather washers or heat-resistant barriers to shield nearby painted areas. Do not place anything between the bung and weld area that could burn or contaminate the joint. Keep the bung seated firmly against bare metal before you tack it.
Drilling Holes for Bung Installation
Mark the hole center before you drill. Use a center punch so the bit does not wander across the tank surface. Drill a small pilot hole first to guide the step bit.
Next, use a step bit or unibit to enlarge the hole gradually. Many tophat bungs use a hole near 3/4 inch, but your exact size depends on the bung design. The flange should sit flat on top without falling through the opening.
After drilling, clean the area again to remove chips, burrs, and layout fluid. Any debris near the weld can contaminate the puddle and weaken the joint.
Check the drilled hole for burrs or sharp edges. Smooth the hole so the bung sits square against the tank. Proper fit-up helps you control the weld bead and reduces the chance of gaps. Stable arc settings can also help you avoid defects during welding.
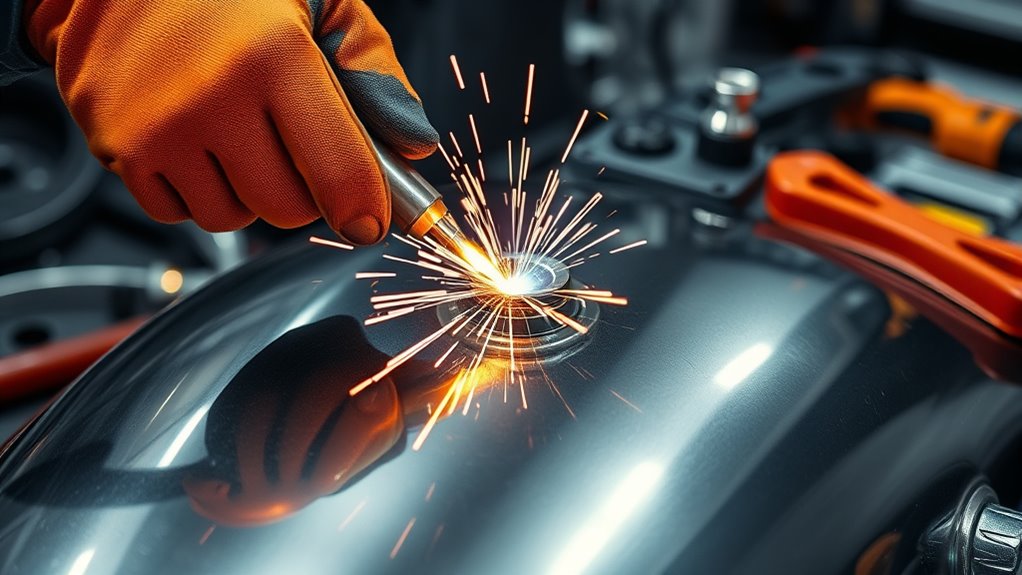
Executing the Weld After Drilling
Before you weld, clean the area around the drilled bung hole one more time. A clean surface helps the weld fuse to both the bung and tank. Tack weld the bung in several spots, then apply a consistent bead around the full circumference.
Good fit-up matters as much as machine settings. Prepare your metal correctly to reduce cracks, porosity, and weak fusion.
Preparing the Area
Start by cleaning the area around the drilled hole. Remove grease, grinding dust, paint, and other contaminants. Check the inside edge of the hole for burrs that could affect fit-up.
If you drilled the hole for a tophat-style bung, confirm the flange sits flat. A gap under the flange can make the weld harder to control and easier to leak.
Avoid applying anti-seize or sealant near the weld area before welding. These products can contaminate the weld and create fumes. If the bung has threads, protect them from spatter and clean them after the weld cools.
Position the bung securely and add a few tack welds to hold it in place. Check alignment after each tack. This step helps prevent the bung from shifting during the full weld.
Selecting Welding Equipment
Choose welding equipment that matches your tank material and thickness. TIG welding gives you strong control on thin mild steel or stainless steel. MIG welding can also work when you use the right wire, gas, and settings.
Use the correct filler rod or wire for the tank and bung material. For mild steel TIG work, ER70S-2 often works well. For stainless steel, match the filler to the stainless grade when possible.
Set the welding amperage based on the metal thickness. The common TIG starting point of about 1 amp per 0.001 inch can help, but thin tanks may need more care and heat control. Test on scrap metal of similar thickness before welding the tank.
Clean the bung and the tank surface before you start. Use leather or heat-resistant shields to protect nearby areas from heat and sparks.
Ensuring Proper Technique
Good technique helps you create a strong and leak-resistant joint. Keep a steady travel speed and avoid overheating one area. Too much heat can warp thin tank metal or cause burn-through.
Set your TIG or MIG welder to match the material and thickness. For mild steel, many welders start in the 120-180 amp range, then adjust based on test welds and tank thickness.
Tack weld the bung at several points to hold alignment. Then weld around the bung in a steady motion. Aim for full fusion into both the bung and tank material.
Allow the weld to cool naturally. Do not quench it with water, because fast cooling can increase stress in the joint. After it cools, inspect the bead for cracks, pinholes, voids, or uneven fusion.
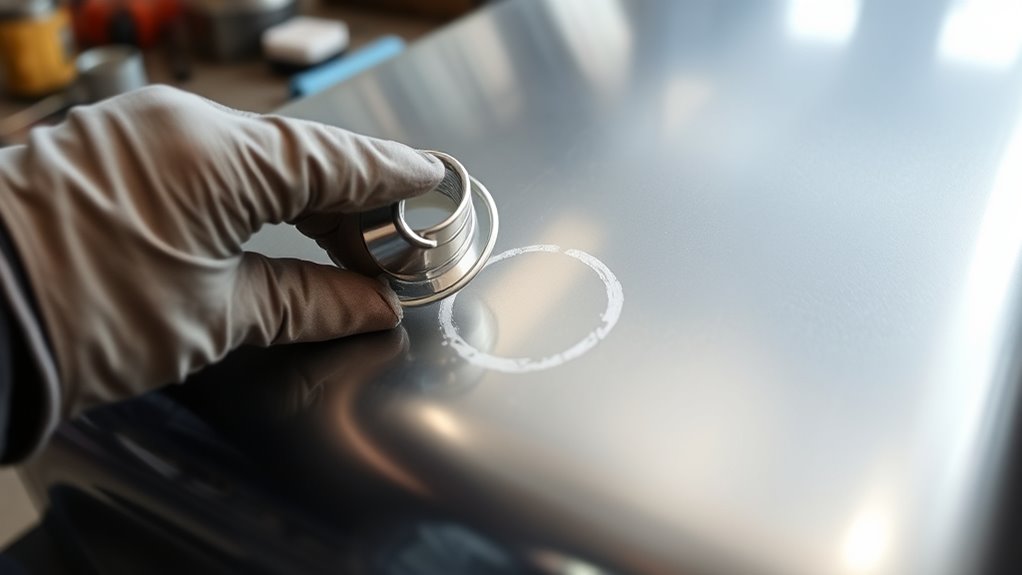
Check Your Weld to Ensure It’s Solid
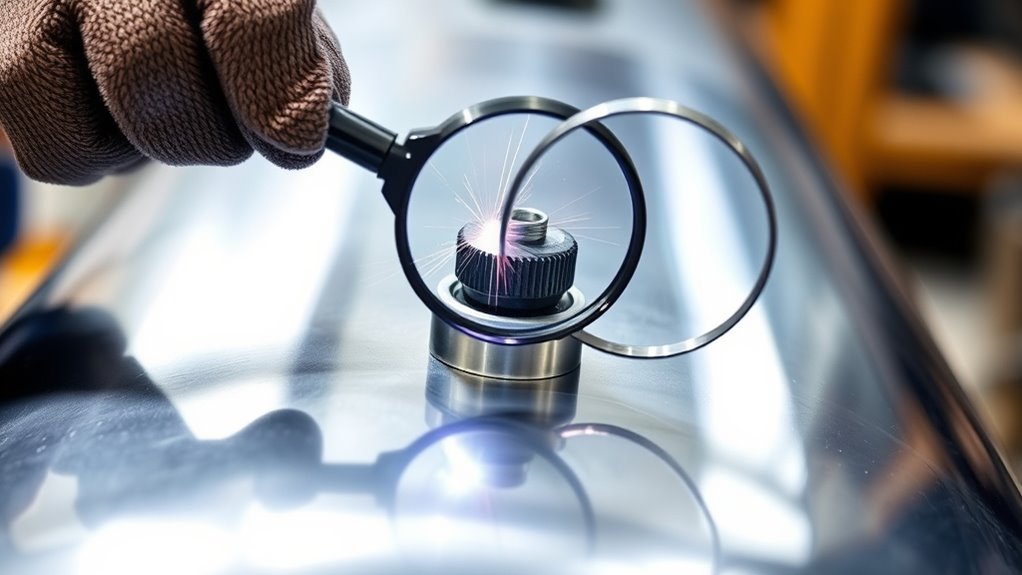
Inspect your weld before you install the tank. A clean visual check can help you catch gaps, pinholes, and weak areas early. Look for a smooth bead with consistent width and good fusion around the full bung.
A strong-looking weld still needs a leak test, because small pinholes may not show during a quick visual check.
Use these three checks before you move forward:
- Visual inspection: Check for even bead size, smooth tie-in, and full coverage around the bung.
- Heat damage check: Look for burn-through, heavy discoloration, or warped tank metal.
- Leak test: Use air at low pressure or a non-flammable liquid to check for leaks around the welded area. Make sure you understand the correct amperage settings, because poor settings can weaken weld quality.
Keep the surrounding area clean during inspection. Dirt, grease, or sealant can hide small defects and make the weld look better than it is.
Finalizing the Bung Installation and Testing
Finalize the bung installation only after the weld passes inspection. Check the bead for porosity, cracks, gaps, and uneven fusion. Repair any visible flaw before you test or install the tank.
Perform a leak test with a safe, non-flammable method before you add fuel. You can fill the tank with water or use low air pressure with soapy water around the bung. Do not over-pressurize the tank, because thin metal can distort.
Apply a suitable sealant or gasket material only where the threaded fitting needs it. Do not use sealant to hide a poor weld. A bad weld needs repair, not a thicker coating.
Double-check the alignment of the bung. It should connect cleanly to the fuel line or cap and should not interfere with nearby parts.
Once you confirm the weld and fitment, let the area cool completely. Reinstall the tank and tighten all mounting hardware securely. Clean metal yields better weld results, so surface prep remains one of the most important parts of the job.
Frequently Asked Questions
How Do I Add a Bung to a Fuel Tank?
To add a bung to a fuel tank, choose the correct bung size and material first. Clean the tank to bare metal, drill the hole, tack the bung in place, weld the full edge, and leak test the finished tank.
What JB Weld Works With Gasoline?
For gasoline exposure, choose an epoxy product that the maker lists for fuel tank repair or gasoline contact. Clean and dry the surface fully, then follow the cure time on the product label. Do not use epoxy as a shortcut for a structural weld that needs proper repair.
Can You Weld Your Own Fuel Tank?
You can weld your own fuel tank only if you have the right welding skill, safety setup, and tank preparation. Fuel vapor can ignite, so you should not weld a used tank unless a qualified person has cleaned and purged it. When in doubt, hire a professional welder.
What Is a Fuel Tank Bung?
A fuel tank bung is a welded or threaded fitting that creates a secure connection point on a tank. You can use it for a fuel line, vent, drain, cap, or sensor fitting. The bung must match the tank material and fuel system hardware.
Should You Use TIG or MIG to Weld a Fuel Tank Bung?
TIG gives you more control on thin tank material and often works best for clean custom work. MIG can work on mild steel tanks if you use proper settings and clean fit-up. Test your setup on similar scrap metal before you weld the tank.
Safety Disclaimer: This article is for informational purposes only and does not replace professional welding or fuel system advice. Fuel tanks can contain explosive vapors even when they look empty. Consult a qualified welder or fuel system professional before welding, repairing, or modifying any tank that has held fuel.
Conclusion
A safe bung installation starts with clean metal, correct fit-up, steady welding, and careful leak testing. Take time to choose the right bung and prepare the tank before you strike an arc. Never use fuel until the weld passes inspection and a safe leak test. A careful installation gives your custom fuel tank a stronger, safer, and more reliable connection point.


