
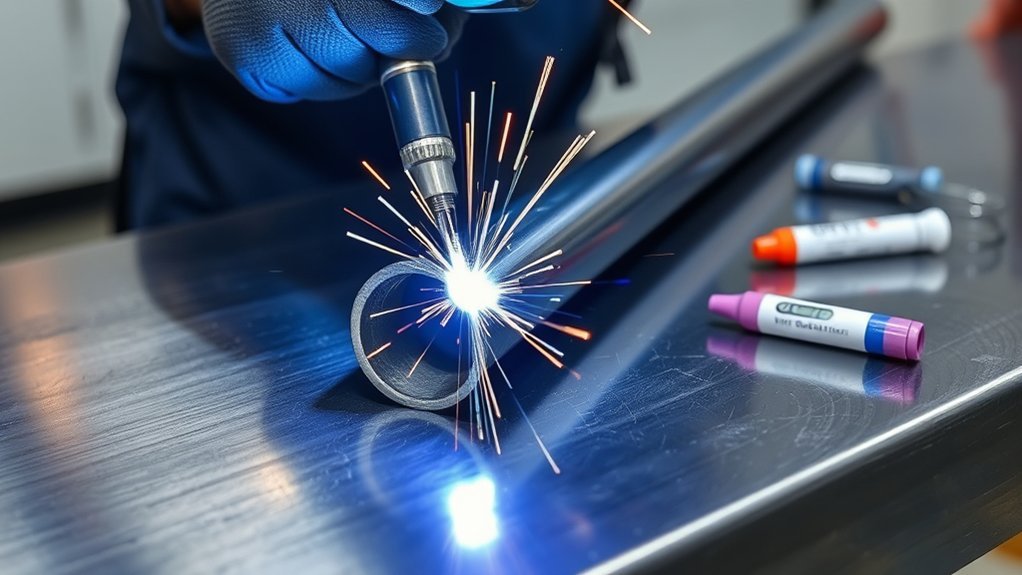
4130 chromoly steel combines high strength, useful ductility, and good weldability when you match the procedure to the material condition, wall thickness, joint design, and service requirements. TIG and MIG can both produce sound joints, but clean fit-up, suitable filler metal, controlled heat, slow cooling, and careful inspection matter more than any single machine setting.
Quick Answer
You can weld 4130 chromoly with TIG or MIG after confirming its condition and the required procedure. Use clean, close fit-up, pure argon for TIG, an approved gas for the selected MIG wire, and a suitable filler such as ER70S-2 or ER80S-D2. Preheat and post-weld treatment depend on thickness, condition, and design.
What’s in This Article
- What Is 4130 Chromoly?
- 4130 Chromoly Properties
- Chromoly vs. Mild Steel
- Is 4130 Chromoly Hard to Weld?
- 4130 Welding Safety
- How to Weld 4130 Chromoly Step by Step
- How to Prep Chromoly for Welding
- Best Filler Metals for Chromoly
- Best Shielding Gas for Chromoly
- How to TIG Weld Chromoly
- How to MIG Weld Chromoly
- When to Preheat 4130 Chromoly
- How to Weld Thick Chromoly Tubing
- Post-Weld Cooling and Heat Treatment
- How to Prevent Cracks and Distortion
- 4130 Welding Troubleshooting
- How to Inspect and Protect the Weld
- Sources
- Frequently Asked Questions
- Conclusion
Key Takeaways
- Confirm whether the 4130 is annealed, normalized, or heat-treated before choosing a welding procedure.
- Use close, consistent fit-up and remove oil, rust, scale, paint, plating, and moisture from the weld zone.
- ER70S-2 and ER80S-D2 are both common filler choices, but neither is automatically correct for every joint.
- Thin normalized tubing often needs no high-temperature preheat, while thicker or highly restrained parts may require a controlled preheat.
- Never quench the completed weld. Let it cool in still air unless an engineered heat-treatment procedure says otherwise.
- Use qualified procedures and inspection for aircraft, roll cages, suspension parts, pressure components, and other safety-critical structures.
At a Glance
| Time Required | About 30–90 minutes for a prepared practice joint; complex frames, preheat, inspection, or repair approval can take much longer. |
| Difficulty | Intermediate to advanced. Thin tubing and safety-critical structures require strong puddle control and procedure discipline. |
| Tools Needed | DC TIG or suitable MIG welder, regulator and shielding gas, approved filler, clamps or fixture, abrasives, nonchlorinated cleaner, temperature indicator when preheating, and complete welding PPE. |
| Cost | Consumable cost is modest when you already own the equipment. Engineering, certified fabrication, heat treatment, and nondestructive testing can add substantial cost. |
Warning: This guide provides general educational information, not a qualified welding procedure. Aircraft structures, roll cages, suspension parts, pressure-containing parts, and regulated competition vehicles may require certified material, an approved drawing or WPS, a qualified welder, governing-body approval, and professional inspection.
What Is 4130 Chromoly?
4130 chromoly is a low-alloy steel that contains carbon, chromium, molybdenum, manganese, silicon, and iron. A typical specification permits about 0.28% to 0.33% carbon, 0.80% to 1.10% chromium, and 0.15% to 0.25% molybdenum. You can review the listed composition in the Harris 4130 welding-wire technical specification.
Chromium and molybdenum improve hardenability, strength, and high-temperature performance. They do not turn 4130 into stainless steel. The alloy can rust in storage or service, so you should clean and protect the finished part with primer, paint, powder coating, plating, oil, or another coating approved for the application.
You’ll often see 4130 in aircraft tubing, race-car frames, roll cages, bicycle frames, mounts, shafts, gears, and other parts that need a useful balance of strength, toughness, and weight. Actual properties depend heavily on whether the steel is annealed, normalized, cold-worked, or quenched and tempered.
Note: “Chromoly,” “chrome-moly,” and “chromium-molybdenum steel” describe an alloy family. Confirm the grade marking, material certificate, and supplied condition rather than assuming every chrome-moly tube is 4130.
4130 Chromoly Properties
The strength of 4130 does not come from a lower density than mild steel. Both are steels with broadly similar density. The weight advantage comes from using a stronger material in a thinner or more efficient section when the design allows it.
Normalized 4130 tubing offers a useful combination of strength, ductility, fatigue performance, and weldability. Heat-treated 4130 can be much stronger, but it is also more sensitive to the welding thermal cycle. Welding can soften one area, harden another, change residual stress, and reduce the benefits of the original heat treatment.
| Property | Why It Matters |
|---|---|
| Strength | Can support thinner, lighter sections when the structure is properly designed. |
| Ductility and toughness | Help the part tolerate deformation, impact, and cyclic loading without brittle failure. |
| Hardenability | Makes cooling rate, preheat, filler chemistry, and material condition important. |
| Weldability | Generally good in normalized or annealed material when the joint is clean and the procedure controls heat and hydrogen. |
| Corrosion behavior | The alloy still needs surface protection in damp, salty, or outdoor environments. |
The correct welding procedure depends on the condition of the 4130, not just the number stamped on the material.
Chromoly vs. Mild Steel
Compared with common mild-steel tubing, normalized 4130 can provide greater strength in a similarly sized section. A designer may therefore use a thinner section to reduce weight. That does not mean swapping mild steel for thinner chromoly is automatically safe; buckling, fatigue, joint design, impact behavior, and code requirements still control the final dimensions.
| Factor | 4130 Chromoly | Typical Mild Steel |
|---|---|---|
| Strength potential | Higher and strongly affected by heat treatment. | Lower but often adequate for general fabrication. |
| Welding tolerance | Requires closer control of material condition, cooling rate, and procedure. | Usually more forgiving in ordinary shop fabrication. |
| Cost | Usually higher. | Usually lower and more widely available. |
| Corrosion resistance | Not stainless; needs protection. | Also needs protection. |
| Common uses | Aircraft tubing, racing structures, bicycles, high-strength machinery parts. | General frames, brackets, furniture, trailers, and routine fabrication. |
Mild steel remains the better choice when cost, easy forming, repairability, and straightforward welding matter more than maximum strength. Chromoly fits applications where a properly engineered structure can use its higher strength effectively.
Is 4130 Chromoly Hard to Weld?
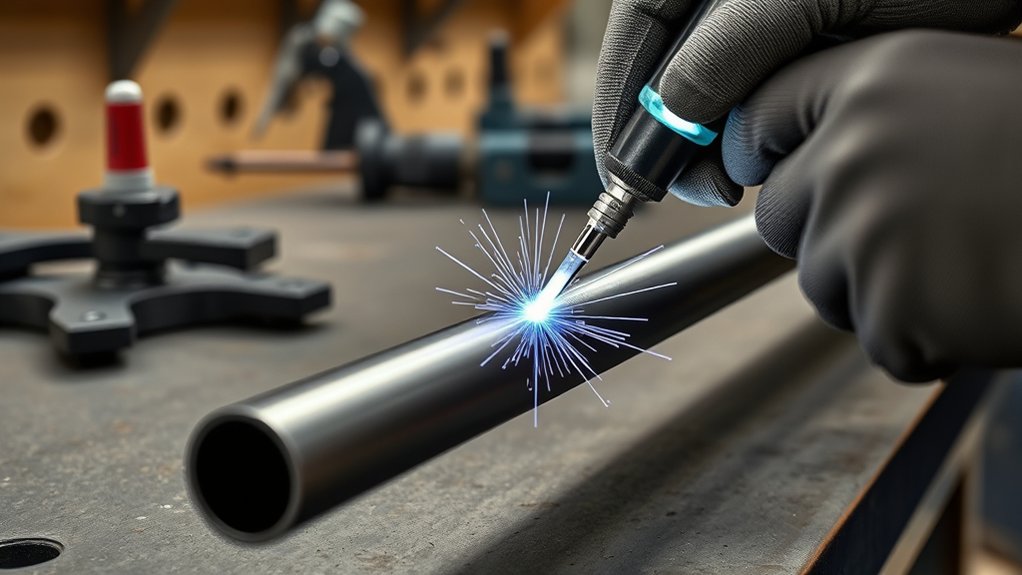
Normalized or annealed 4130 is not unusually difficult to weld after you learn to control a small puddle and maintain consistent travel. The difficulty rises when the material is very thin, heavily restrained, cold, contaminated, highly heat-treated, or part of a structure that must meet a code or certification rule.
Weldability of 4130
TIG and MIG can both join 4130. TIG usually gives you the greatest manual control over arc length, puddle size, filler addition, and heat input on thin tubing. MIG can be productive and repeatable, but the wire, transfer mode, shielding gas, fit-up, and machine settings must suit the joint.
Oxy-fuel welding has also been used on aircraft-style tubing, but it creates a wider heating cycle and requires specific skill. Stick welding is generally a poor first choice for thin tubing because the process is harder to control at low heat and can leave slag that complicates inspection.
What Controls Weld Quality?
- The supplied material condition and actual wall thickness.
- Joint design, restraint, fit-up, and access.
- Filler-metal chemistry and required weld strength.
- Preheat, interpass temperature, travel speed, and cooling rate.
- Hydrogen, moisture, oil, paint, plating, rust, and other contamination.
- Service loading, fatigue requirements, code rules, and inspection requirements.
4130 Welding Safety
Arc welding can expose you to intense ultraviolet and infrared radiation, hot metal, electrical current, fumes, gases, noise, fire, and compressed-gas hazards. Follow the welder, filler, gas, and PPE manufacturers’ instructions and the applicable requirements in OSHA 29 CFR 1910.252.
- Wear a properly shaded welding helmet, safety glasses, dry welding gloves, flame-resistant clothing, and suitable footwear.
- Use local exhaust or effective general ventilation that moves fumes away from your breathing zone without blowing away shielding gas.
- Remove paint, plating, grease, preservative coatings, and unknown residues far enough from the weld to prevent contamination and hazardous decomposition.
- Use only a cleaner approved for welding preparation. Never weld near vapors from chlorinated solvents.
- Move combustible material away from the work area and keep an appropriate fire extinguisher available.
- Secure gas cylinders upright, protect the valve, and check hoses and fittings for damage.
- Keep the work lead connection clean and secure. Do not weld while standing in water or wearing wet clothing.
- Never weld a sealed, pressurized, or previously contaminated container without a professionally approved cleaning and hot-work procedure.
Warning: Heating plated or coated steel can release highly hazardous fumes. Identify and remove the coating using an approved method before welding, and use the ventilation or respiratory controls required for that material.
How to Weld 4130 Chromoly Step by Step
- Verify the material. Confirm that the part is actually 4130 and identify whether it is annealed, normalized, cold-worked, or heat-treated.
- Review the requirements. Check the drawing, code, sanctioning-body rule, repair manual, filler specification, and welding procedure before selecting settings.
- Prepare the joint. Cut, notch, or bevel the parts accurately and remove burrs, rust, scale, paint, plating, oil, moisture, and abrasive residue.
- Establish close fit-up. Hold a uniform joint with no uncontrolled gaps. Use a root opening only when the joint design or approved procedure specifies one.
- Select the process and filler. Use TIG for maximum manual control or an approved MIG setup for suitable production and fabrication work.
- Set gas and polarity. TIG steel normally uses DCEN with pure argon. MIG normally uses DCEP and the gas listed for the selected wire and transfer mode.
- Apply preheat when required. Bring cold material to room temperature at minimum. Use higher preheat only when the thickness, condition, restraint, filler, or WPS calls for it.
- Tack and sequence the joint. Place small, sound tacks around the joint, recheck alignment, and alternate weld locations to distribute heat.
- Weld with a compact puddle. Hold a short arc, maintain steady travel, add only the filler needed, and avoid repeated reheating.
- Cool slowly and inspect. Let the part cool in still air, clean the joint, inspect the bead and surrounding metal, and arrange qualified NDT when required.
- Protect the surface. Remove oxidation and apply the approved corrosion-protection system after the part passes inspection.
How to Prep Chromoly for Welding
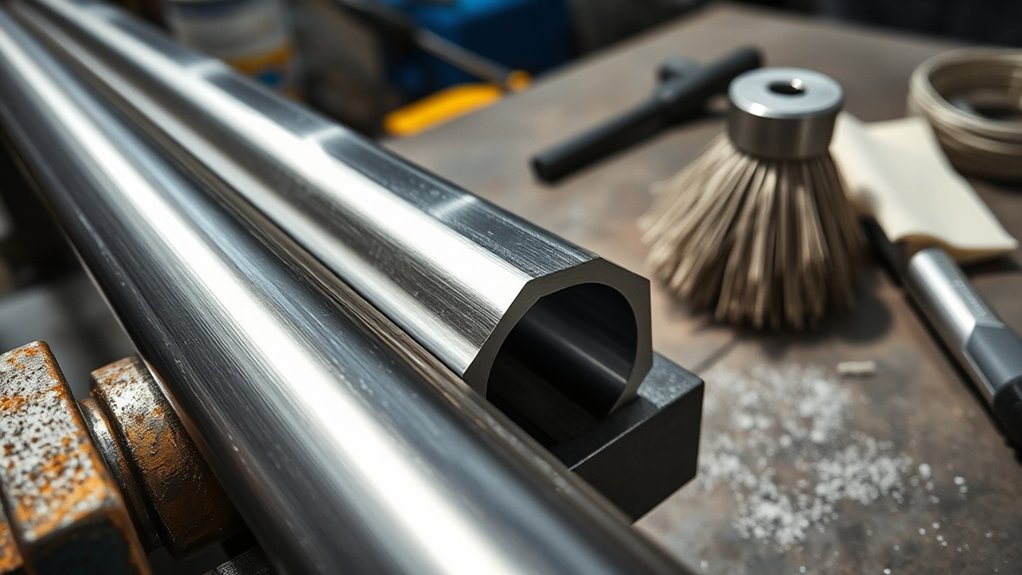
Preparation controls arc stability, penetration, porosity, and distortion. Clean at least the full heat-affected zone on both sides of the joint, not just the line where the bead will sit.
Surface Cleaning Steps
- Remove paint, plating, heavy rust, mill scale, and oxide with an appropriate mechanical method.
- Deburr the joint and remove loose abrasive particles.
- Wipe the joint and filler with a clean, lint-free cloth and a nonchlorinated cleaner approved for welding preparation.
- Let the cleaner evaporate completely before welding.
- Handle the cleaned surfaces with clean gloves and inspect them under good lighting.
Do not assume a strong deoxidizing filler will compensate for dirty steel. Filler chemistry cannot reliably correct oil, moisture, paint, plating, or severe oxide at the joint.
Fit-Up and Alignment
Tube notches should contact closely and consistently around the joint. An uncontrolled gap forces you to add more filler, dwell longer, and spread more heat into the surrounding tube. For thin-wall tubing, even a small local gap can lead to burn-through or an oversized bead.
Use a fixture that holds alignment without placing excessive stress into the parts. Confirm that tubes meet at the required angle, that the assembly is not twisted, and that you can reach the entire weld without changing torch angle abruptly.
Pro Tip: Check every tack before completing the joint. Grind out a cracked, porous, oversized, or poorly fused tack instead of burying it under the final weld.
Best Filler Metals for Chromoly
No single filler is best for every 4130 joint. Select filler from the drawing, WPS, governing code, and required combination of strength and ductility. Lincoln Electric’s chrome-moly tubing guidance and the Harris 4130 welding guide discuss ER80S-D2 as well as lower-strength alternatives.
| Filler | Typical Use | Important Limitation |
|---|---|---|
| ER70S-2 | Common TIG choice for clean, normalized thin tubing where ductility and crack resistance are valued. | Deposited weld strength may be lower than higher-strength filler. |
| ER70S-6 | Common solid MIG wire and a possible TIG alternative when permitted by the procedure. | Higher silicon can change puddle behavior and leave silicate islands that must not be confused with defects. |
| ER80S-D2 | Higher-strength low-alloy filler that can more closely approach the strength of normalized 4130. | May provide less ductility than a 70-series filler and still does not reproduce every base-metal condition. |
| 4130 matching filler | Specialized weldments that will receive a complete, engineered heat-treatment cycle. | Not a general-purpose choice for an as-welded thin-tube structure. |
| Stainless filler | Special dissimilar-metal or repair procedures designed around that filler. | Do not use it as a routine substitute without engineering approval. |
Select filler diameter for controllable deposition. The rod should melt smoothly into the leading edge of the puddle without forcing you to stop, overheat the base metal, or build an oversized bead. Filler diameter alone does not determine whether a weld will be brittle.
Products Worth Considering

ER308L STAINLESS STEEL: ER308L is a low-carbon stainless steel TIG welding rod for general-purpose welding where moderate corrosion resistance and cryogenic performance are required.

ER4043: Commonly referred to as “AlSi5", has a 5% silicon and is the oldest and one of the most widely used aluminum welding wires for general purpose applications.

ER308L: Most popular stainless rod for general-purpose applications where corrosion is moderate and applications at cryogenic temperatures.
Best Shielding Gas for Chromoly
For TIG welding 4130, pure argon is the standard starting gas because it gives easy arc starting and stable shielding. An approved argon-helium mixture may be used for a specialized procedure that needs more heat or penetration, but pure argon is suitable for most manual tubing work.
For MIG welding, do not select gas by alloy name alone. Use the shielding gas specified by the wire manufacturer and welding procedure. Depending on the wire and transfer mode, the recommendation may include an argon-carbon dioxide blend or carbon dioxide.
| Process | Common Gas | Selection Rule |
|---|---|---|
| TIG/GTAW | 100% argon | Use enough flow for shielding without creating turbulence or pulling room air into the gas envelope. |
| MIG/GMAW | Approved Ar/CO₂ blend or CO₂ | Follow the wire data sheet, transfer mode, joint thickness, and qualified procedure. |
Shield the weld from drafts. Too little gas can cause oxidation and porosity, while excessive flow can create turbulence and draw air into the weld zone. Keep the nozzle and TIG cup clean, and hold a practical stickout and torch angle.
Products Worth Considering

All HP cylinders come with a 10 year hydrotest date stamped.


All HP cylinders come with a 10 year hydrotest date stamped.
How to TIG Weld Chromoly
TIG, formally called gas tungsten arc welding, gives you independent control of the arc and filler addition. A basic 4130 setup uses DC electrode negative, pure argon, a sharpened ceriated or lanthanated tungsten, and filler selected for the design. For general TIG principles, see the Fronius TIG welding guide.
TIG Setup Basics
- Polarity: DCEN for ordinary steel TIG welding.
- Tungsten: Commonly 1/16 or 3/32 inch for thin and medium tubing, matched to the required current.
- Shielding gas: Pure argon with a clean cup, regulator, hose, and leak-free connections.
- Filler: ER70S-2, ER70S-6, ER80S-D2, or another filler required by the procedure.
- Amperage: Set enough maximum current to establish the puddle quickly, then control actual heat with travel speed and a remote control when available.
- Post-flow: Use enough time to protect the cooling tungsten and weld end. Follow the machine and tungsten manufacturer rather than using one fixed duration for every current level.
The familiar rule of roughly one amp per thousandth of steel thickness can help you choose an initial maximum setting, but it is not a welding procedure. Joint shape, fit-up, tube diameter, position, tungsten preparation, filler size, and operator speed all change the actual requirement.
TIG Welding Technique
- Start on a practice coupon made from the same grade, condition, and thickness.
- Hold a short, consistent arc and keep the tungsten centered over the joint.
- Establish the puddle promptly instead of dwelling at low heat for a long time.
- Add small, regular amounts of filler at the front of the puddle.
- Keep the filler tip within the shielding envelope so it does not oxidize between dips.
- Move at a steady rate and taper off gradually at the end to fill the crater.
- Stop immediately if the tungsten touches the puddle. Regrind or replace the contaminated tungsten before continuing.
Controlling Heat Input
Do not confuse low amperage with low total heat input. If the current is too low, you may travel slowly and put more heat into the part. A controlled, adequately hot arc with steady travel often creates a narrower heat-affected zone than a weak arc that lingers.
Watch the width of the puddle and heat tint rather than trying to follow one universal amperage number. Avoid weaving on thin tubing unless the procedure specifically requires it. A compact stringer bead usually gives better control.
Pro Tip: Place tacks at balanced positions around a tube joint, then weld short sections in an alternating sequence. Recheck alignment as the assembly warms.
How to MIG Weld Chromoly
MIG can weld 4130 successfully when the procedure controls wire chemistry, voltage, wire-feed speed, transfer mode, gas, joint gap, and cooling. It is less forgiving of poor fit-up on thin tubing because the wire is added continuously.
- Choose a solid wire approved for the required base metal and weld properties.
- Use DCEP unless the wire manufacturer states otherwise.
- Install the shielding gas listed for that wire and transfer mode.
- Start from the wire manufacturer’s voltage and wire-feed range for the diameter and thickness.
- Test on matching coupons and cut or bend the samples when procedure qualification is required.
- Use a stable stickout and travel angle. Avoid a long arc, excessive weave, or repeated starts in one location.
- Maintain close fit-up so the arc does not repeatedly bridge large gaps.
- Let the assembly cool naturally and inspect the completed joint before coating it.
A short-circuit process may be useful on thin sections, but it must produce reliable fusion. Spray transfer usually requires more current and a suitable argon-rich gas, making it less practical for very thin tubing. Follow the wire data sheet and qualified procedure rather than assuming one transfer mode fits every joint.
When to Preheat 4130 Chromoly
Thin-wall normalized tubing below roughly 0.120 inch often does not require a 300°F to 400°F preheat, according to Lincoln Electric’s chrome-moly tubing guidance. The material should still be dry and at room temperature or above before welding.
The 0.120-inch value is a practical guideline, not a universal code boundary. Preheat decisions also depend on carbon equivalent, supplied condition, joint restraint, ambient temperature, hydrogen control, filler, heat input, and the section thicknesses meeting at the joint.
| Condition | General Direction |
|---|---|
| Thin, normalized tubing; low restraint; warm and dry | High-temperature preheat is often unnecessary when the approved procedure allows welding at room temperature. |
| Tubing or plate above about 0.120 inch | A controlled 300°F to 400°F preheat may be specified, but confirm it from the WPS or responsible engineer. |
| Cold material, heavy restraint, mixed thicknesses, or high-strength condition | Obtain procedure-specific preheat and interpass limits before welding. |
| Certified aircraft, pressure, or regulated structural work | Use only the approved repair or production procedure. |
Measure preheat with temperature-indicating crayons, a contact probe, or another method suitable for the procedure. Check the metal near the joint rather than guessing from torch time or surface color. Heat the area evenly and avoid concentrating a flame on one spot.
How to Weld Thick Chromoly Tubing
Thicker 4130 sections cool differently from thin tubing and can develop a harder heat-affected zone. They also require more energy to reach full fusion. A suitable procedure may therefore specify preheat, interpass limits, low-hydrogen controls, multiple passes, and post-weld treatment.
- Confirm the material condition, thickness, joint design, filler, and required final properties.
- Prepare the required bevel and root geometry from the drawing or WPS.
- Apply and verify the specified preheat over a broad area around the joint.
- Maintain the specified interpass range instead of allowing uncontrolled overheating or complete chilling between passes.
- Use stringer beads and clean each pass before adding the next one.
- Control the start and stop locations so defects are not stacked in one section.
- Cool and heat-treat the part only as the approved procedure requires.
Do not use a generic thin-tube technique on a thick, highly restrained, or heat-treated component. When the joint must reproduce specific mechanical properties, procedure qualification and test coupons may be necessary.
Post-Weld Cooling and Heat Treatment
Let ordinary as-welded tubing cool in still air, protected from rain, cold drafts, and direct contact with a cold steel bench. Do not spray the joint with water, immerse it in oil, blast it with compressed air, or apply another rapid-quenching method.
Warning: Do not use 1,500°F to 1,600°F as a generic “stress-relief” treatment. Temperatures in that range can significantly transform 4130 and require a complete, engineered heat-treatment cycle with controlled heating, soak time, atmosphere, cooling, dimensional control, and property verification.
Some thicker 4130 tubing procedures use a controlled stress-relief operation. Lincoln Electric discusses approximately 1,100°F for relevant tubing applications, but that value is not permission to heat every welded part with a torch. The correct temperature and hold time depend on the base-metal condition, filler, section size, required properties, and applicable specification.
If a weldment will be hardened, normalized, quenched and tempered, or otherwise heat-treated after welding, use a filler and furnace schedule selected by the responsible engineer or metallurgist. Local torch heating cannot provide the uniformity of a controlled furnace cycle.
How to Prevent Cracks and Distortion
Cracking and distortion are controlled before the arc starts. Material condition, joint design, restraint, cleanliness, filler choice, preheat, bead sequence, and cooling rate all work together.
- Use accurate fit-up: Large or changing gaps force inconsistent travel and filler addition.
- Keep the material dry: Moisture and contamination can introduce hydrogen and porosity.
- Use small, sound tacks: Balance them around the joint and inspect each one.
- Plan the sequence: Alternate sides and locations instead of finishing every joint from one end of the frame to the other.
- Use adequate current and steady travel: Avoid a weak arc that forces long dwell time.
- Limit restarts: Feather or prepare stops when the procedure requires it, and avoid stacking craters.
- Respect interpass limits: Do not let a multi-pass joint become progressively hotter without control.
- Cool naturally: Keep the hot part away from drafts, water, or forced air.
- Do not over-constrain the fixture: Hold alignment while allowing predictable thermal movement where the design permits it.
Do not try to straighten a safety-critical welded assembly by applying uncontrolled heat. Use the approved dimensional-correction method and reinspect the affected welds afterward.
4130 Welding Troubleshooting
| Problem | Likely Causes | Corrective Action |
|---|---|---|
| Porosity | Oil, moisture, paint, gas leak, draft, blocked nozzle, excessive gas turbulence, or contaminated filler. | Remove the defective weld, reclean, repair gas delivery, shield the area from drafts, and retest on a coupon. |
| Crater crack | Abrupt arc stop, unfilled crater, excessive restraint, unsuitable filler, or rapid cooling. | Remove the crack fully, taper current at the stop, fill the crater, and review the procedure. |
| Toe crack or delayed crack | Hard heat-affected zone, hydrogen, high restraint, poor profile, or unsuitable cooling rate. | Stop work, obtain qualified inspection, and review preheat, filler, hydrogen control, and material condition. |
| Burn-through | Excessive gap, oversized puddle, slow travel, poor torch angle, or too much current. | Improve fit-up, reduce puddle size, increase travel consistency, and practice on matching tubing. |
| Lack of fusion | Low current, long arc, excessive wire feed, poor angle, oxide, or traveling before both edges melt. | Remove the defective section, clean to sound metal, establish fusion at both toes, and correct the parameters. |
| Undercut | Excessive current, long arc, wrong angle, insufficient filler, or excessive travel speed. | Shorten the arc, balance travel and filler addition, and avoid washing the arc beyond the joint edges. |
| Tungsten inclusions | Tungsten contact, excessive current for the electrode, or damaged electrode preparation. | Remove the affected weld metal, regrind or replace the tungsten, and correct the current or technique. |
| Frame distortion | Unbalanced tacks, poor sequencing, excessive heat, weak fixture, or inconsistent gaps. | Revise the tack and weld sequence, improve fixture support, shorten weld segments, and recheck dimensions frequently. |
How to Inspect and Protect the Weld
Inspect the joint only after it has cooled enough to handle safely. Clean the bead and surrounding metal so slag, silicate deposits, soot, or oxidation do not hide defects.
Visual Inspection
- Look for surface cracks, crater cracks, pinholes, overlap, undercut, incomplete tie-in, and arc strikes.
- Check that the bead is consistent and not grossly oversized for the base material.
- Verify that the tube has not necked, melted away, flattened, or distorted beside the weld.
- Confirm the finished assembly remains square, straight, and within the required dimensions.
- Inspect the inside or root where the design provides access.
A good-looking bead is not proof of full penetration, sound fusion, or correct mechanical properties. Safety-critical work may require dye-penetrant, magnetic-particle, radiographic, ultrasonic, hardness, bend, tensile, or metallographic testing performed under an approved inspection plan.
Corrosion Protection
Remove loose oxide and spatter after the joint passes inspection. Clean the surface again, then apply the specified primer, paint, powder coating, plating, preservative, or oil. Seal open tube ends or provide drainage and ventilation according to the design so trapped moisture does not corrode the tube from inside.
Do not coat a joint before required inspection or heat treatment. Some coatings can hide cracks, contaminate later work, or be damaged by the heat-treatment cycle.
Sources
- Lincoln Electric — TIG Welding Chrome-Moly Tubing — filler options, thin-wall preheat guidance, cooling, and thicker-tubing considerations.
- Harris Products Group — Welding 4130 Chrome-Moly — filler-metal selection and general 4130 welding guidance.
- Harris Products Group — 4130 Cr-Mo Welding Wire Technical Specification — nominal 4130 composition, application notes, and example welding parameters.
- OSHA 29 CFR 1910.252 — Welding, Cutting, and Brazing — ventilation, personnel protection, fire prevention, and hot-work requirements.
- Fronius — What Is TIG Welding? — TIG process, tungsten, shielding-gas, and equipment fundamentals.
Frequently Asked Questions
Can You Weld Chrome Molybdenum Steel?
Yes. You can weld normalized or annealed 4130 with TIG, MIG, oxy-fuel, and other approved processes. TIG is popular for thin tubing because it gives precise puddle and filler control. The procedure must still match the material condition, thickness, joint, filler, service load, and governing requirements.
How Hard Is Chromoly to Weld?
Normalized thin-wall chromoly is manageable for an intermediate TIG welder with accurate fit-up and practice on matching coupons. Heat-treated material, thick sections, high restraint, mixed thicknesses, and safety-critical structures require more procedure control and may require formal qualification.
What Is the Best Welding Rod for Chromoly?
ER70S-2 and ER80S-D2 are both common choices. ER70S-2 can provide useful ductility for many normalized thin-tube joints, while ER80S-D2 offers higher deposited strength. ER70S-6 may also be approved. Use matching 4130 filler only as part of a suitable heat-treatment procedure.
Can Chromoly Be Stick-Welded?
It can be stick-welded under a suitable procedure, especially in thicker sections, but stick is difficult to control on thin tubing and leaves slag that must be removed. TIG or a properly developed MIG procedure is usually more practical for thin 4130 fabrication.
Does 4130 Chromoly Need Preheat Before Welding?
Thin normalized tubing below about 0.120 inch often does not need a 300°F to 400°F preheat, but it should be warm, dry, and at room temperature or above. Thicker, highly restrained, heat-treated, or critical parts may require a controlled preheat specified by the WPS or engineer.
Can You Weld 4130 Chromoly to Mild Steel?
Yes, many dissimilar 4130-to-mild-steel joints can be welded with ER70S-2, ER70S-6, ER80S-D2, or another procedure-approved filler. Design the joint around the weaker base material and confirm preheat, filler, and final properties for the actual grades and thicknesses.
Should You Quench 4130 After Welding?
No. Do not cool an ordinary completed weld with water, oil, compressed air, or another rapid-quenching method. Let it cool in still air unless a complete engineered heat-treatment procedure specifies a controlled quench as part of the final material treatment.
Does 4130 Tubing Need an Argon Back Purge?
An internal argon purge is not normally required for ordinary carbon or low-alloy steel tubing in the way it is for reactive metals or corrosion-resistant stainless process piping. A drawing, code, cleanliness requirement, or specialized root-quality procedure can still require purging.
Conclusion
Successful 4130 welding starts with identifying the material condition and following a procedure that matches the joint. Clean the steel, maintain close fit-up, select filler and gas for the required properties, use controlled travel, and avoid unnecessary heat.
Thin normalized tubing often welds well without high-temperature preheat, while thicker, restrained, or heat-treated parts may need carefully controlled preheat and post-weld treatment. Do not apply a generic furnace or torch temperature to every 4130 weld, and never quench an ordinary completed joint.
For practice projects, test your setup on matching coupons before welding the part. For aircraft, racing, suspension, pressure, or other safety-critical structures, use approved drawings, a qualified welding procedure, a qualified welder, and the required inspection method.




