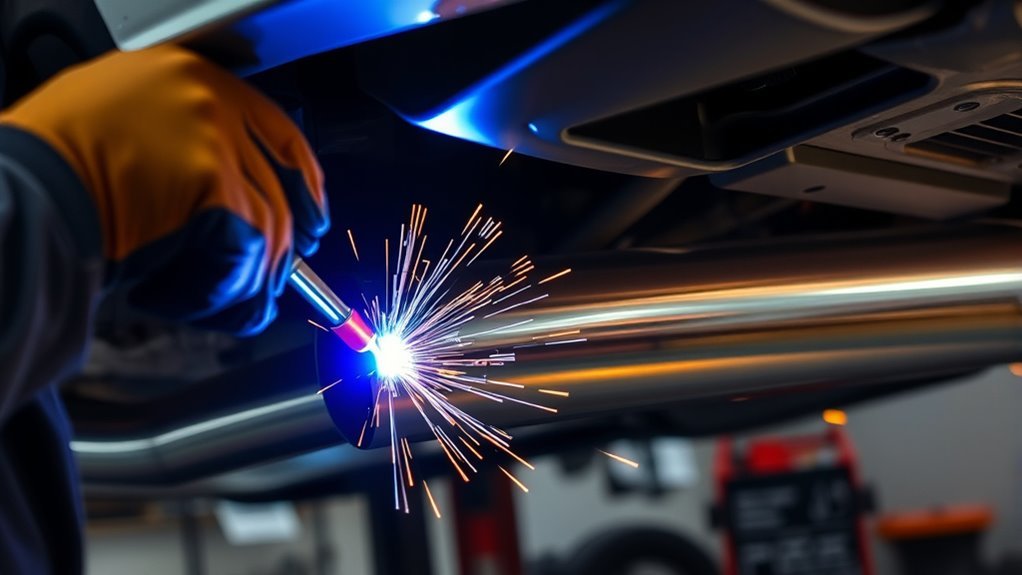
TIG welding titanium exhaust tubing is possible at home or in a fabrication shop, but it demands much cleaner prep, better shielding, and tighter heat control than mild steel or stainless steel. For thin titanium tube, start with a low-amperage DCEN TIG setup, clean every joint with acetone, use a large gas lens, back purge the inside of the tube with argon, and watch the weld color closely. A bright silver or light straw finish usually means the shielding was effective, while blue, purple, gray, or chalky white discoloration means the titanium was exposed to oxygen while hot.
Quick Answer
To TIG weld titanium exhaust tubing, use DCEN TIG, pure argon shielding, a large gas lens, clean titanium filler rod, and full internal back purging. Clean the tubing with acetone, tack it evenly, weld with low heat, and keep the weld silver or light straw. Heavy blue, gray, or white oxidation means the weld is contaminated.
Key Takeaways
- Titanium must be welded with excellent argon coverage on both the outside and inside of the tube.
- Use DCEN TIG, a sharp tungsten, a large gas lens, and a clean, matching titanium filler rod.
- Clean the joint with acetone and a dedicated abrasive pad before fitting or welding.
- Back purging is not optional on exhaust tubing because the inside of the weld can oxidize badly.
- Control heat input with short welds, pulse settings, and cooling time between sections.
At a Glance
| Best Process | DCEN TIG welding with pure argon shielding and internal back purge |
| Difficulty | Advanced; titanium is less forgiving than steel or stainless |
| Typical Starting Amps | About 35–45 amps for thin 1 mm tubing, adjusted by fit-up, travel speed, and pedal control |
| Tools Needed | TIG welder, argon bottle, gas lens, tungsten, titanium filler rod, purge plugs or tape, acetone, dedicated abrasive pad, clamps, and PPE |
| Main Risk | Oxygen contamination while the titanium is hot, which can make the weld brittle |
How to TIG Weld Titanium Exhaust Tubing
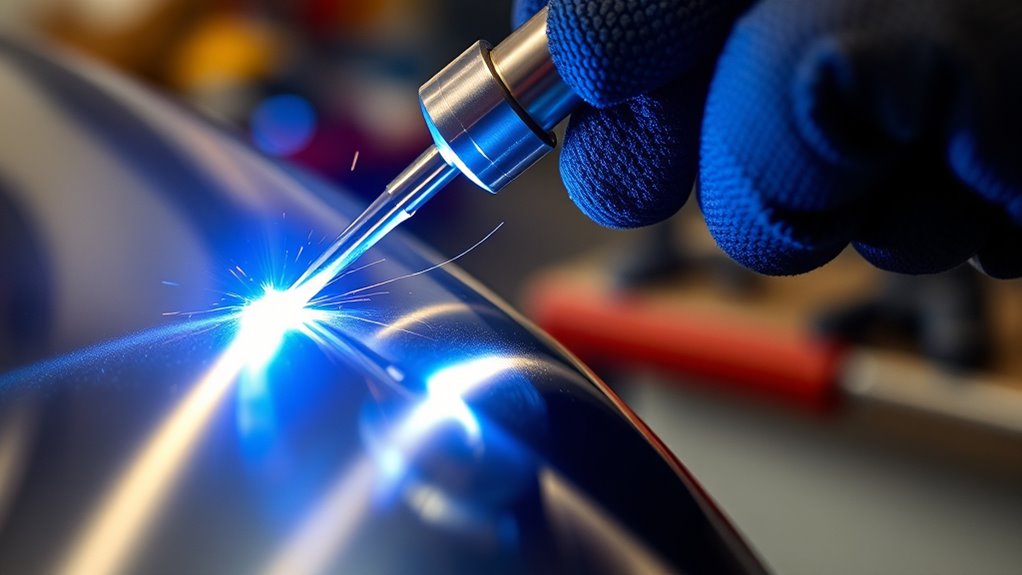
TIG welding titanium exhaust tubing requires careful setup and technique to achieve clean, strong results. Titanium reacts quickly with oxygen, nitrogen, hydrogen, oil, moisture, and shop dirt when it is hot, so the goal is simple: keep the metal clean, keep the weld shielded, and avoid overheating the joint.
For thin exhaust tubing, set a capable TIG machine such as a Miller Dynasty 285 or similar inverter TIG welder to DCEN. A practical starting point for 1 mm titanium tube is around 35–45 amps, with pedal control if available. The original 38-amp setting can work as a starting point on very thin, tight-fit tubing, but you should adjust it based on wall thickness, fit-up, torch angle, filler size, and your travel speed.
Use a 1.2-second pre-flow and a generous 10-second post-flow so the weld and tungsten remain protected while the titanium is still hot. Clean the seams thoroughly with acetone and a dedicated scotch-brite pad before you begin. Apply about four small tacks per seam to hold the tube in alignment before final welding.
Use a large gas lens, such as a Monster 16 cup or another large-diameter cup, to widen the argon coverage around the puddle. A sharp 2% ceriated tungsten, often identified by a gray band, works well for low-amperage titanium TIG welding. Grind the tungsten lengthwise to a clean point and keep it free from contamination.
Pulse welding can help control heat on thin tubing. A short pulse rhythm, such as 12–15 controlled pulses before pausing, lets the joint cool slightly and reduces the chance of warping. If you add filler, choose a clean titanium filler rod that matches the tubing grade as closely as possible. Correct filler rod selection greatly affects joint strength and weld quality.
For exhaust tubing, use back purge pots, purge plugs, foil tape, or silicone caps to fill the inside of the tubing with argon gas. This prevents the root side of the weld from oxidizing. A weld can look acceptable on the outside while being rough, gray, and brittle inside if the tube was not purged properly.
Warning: Do not weld titanium exhaust tubing without internal back purging. Oxygen contamination on the inside of the tube can create a brittle, crusty weld root that may crack under vibration and heat cycling.
Essential Equipment for TIG Welding Titanium
When welding titanium exhaust tubing, having the right equipment is vital for achieving high-quality results. You need stable arc control, excellent argon shielding, and clean tools that are not shared with rusty steel or dirty aluminum.
Here’s what you’ll need:
- TIG welder with DC output – A machine such as a Miller Dynasty 285 gives precise amperage control, pulse options, and stable low-amp starts.
- Large gas lens or large TIG cup – A Monster 16 cup or similar large cup improves shielding gas coverage around the weld zone.
- 2% ceriated gray-band tungsten – A sharpened tungsten electrode helps keep the arc stable on thin titanium tubing.
- Pure argon shielding gas – Use argon for torch shielding and back purging. Avoid mixed gases used for MIG or stainless applications.
- Matching titanium filler rod – Use a filler rod that matches the base metal grade when possible, such as commercially pure titanium filler for CP titanium tubing.
- Back purge setup – Purge plugs, purge pots, foil tape, silicone caps, or custom purge dams help fill the inside of the tube with argon.
- Cleaning supplies – Use acetone, clean lint-free wipes, and a dedicated scotch-brite pad or stainless brush used only on titanium.
- Good fit-up tools – Tube notcher, deburring tools, clamps, magnets used carefully away from the weld zone, and tack fixtures help reduce gaps.
Set your torch shielding gas flow to a practical range for your cup size. With a very large cup, 25–35 CFH may be used, but too much flow can create turbulence and pull air into the shield. For back purging, the goal is not high pressure; the goal is a steady argon blanket inside the tube. Start with enough flow to displace air, then reduce it so the tube stays purged without pushing hard against the molten puddle.
Before welding, confirm your equipment is stable and calibrated for the tubing thickness. Understanding amperage guidelines can help you think more carefully about heat control, even though titanium TIG welding uses its own setup and technique.
Products Worth Considering

***READ THIS: Check Picture #2 for an approximate number of rods per pound. The main image is for reference only. These rods are shipped in a reusable plastic container with a cap that can be used to safely store and transport your rods. Read the description of this product below for a general guide on how to weld titanium.

Premium quality ERTi-2 (Grade-2) Titanium TIG welding rods with available diameters 0.035", 0.045", 1/16", 3/32" and 1/8"; 36" length.
Premium quality ERTi-1 (Grade-1) Titanium TIG welding rods with available diameters 0.035", 0.045", 1/16", 3/32" and 1/8"; 36" length.
Step-by-Step Preparation for TIG Welding Titanium
Good titanium welds start before the arc is lit. Poor prep is one of the fastest ways to ruin titanium exhaust tubing because oil, fingerprints, abrasive dust, and trapped oxygen can all affect the weld.
Surface Cleaning Techniques
Before you start the welding process, make sure the titanium exhaust tubing is thoroughly cleaned. Surface contamination can compromise weld integrity, so follow these steps:
- Degrease with acetone: Wipe the seam area inside and outside with acetone and a clean lint-free cloth. Do not use brake cleaner or chlorinated solvents near welding.
- Buff with a dedicated abrasive pad: Lightly buff the titanium with a clean scotch-brite pad reserved only for titanium work.
- Deburr the tube ends: Remove sharp edges and burrs so the joint fits tightly and does not trap contamination.
- Final acetone wipe: After sanding or fitting, wipe the joint again with acetone to remove fine dust and fingerprints.
- Inspect the surface: Look for oil, marker residue, heavy scratches, or embedded grit that could weaken the weld.
Using these cleaning techniques creates a solid foundation for the welding process. Clean prep also makes arc starts smoother and helps the bead wet evenly into both sides of the joint. Proper electrode cleaning is also important, and basic principles from proper electrode cleaning still apply: keep the arc-starting surface clean, stable, and free from contamination.
Fit-Up and Joint Alignment
Titanium exhaust tubing should fit tightly before welding. Large gaps force you to add extra filler, increase heat input, and spend more time with the titanium above its oxidation-sensitive temperature range.
Dry-fit the sections before cleaning so you can correct tube angles, flange alignment, slip joints, or pie cuts without contaminating the final weld area. After the fit is correct, clean the parts again. If the exhaust uses pie cuts, keep each segment numbered or marked away from the weld area so the assembly does not shift during tacking.
For butt joints, aim for an even gap around the entire tube. For thin wall tubing, a near-zero gap or very small consistent gap is usually easier to control than an uneven joint. If the gap changes around the tube, the weld will require more amperage in one area and less in another, which increases the risk of burn-through.
Tacking Procedures Explained
Tack the titanium exhaust tubing carefully to guarantee a secure fit before the final welding process.
Start by cleaning the surfaces with acetone and a scotch-brite pad, removing all contaminants. Next, position the tubing pieces accurately. Use effective tack placement strategies by placing about four tacks per seam at even intervals around the tube.
Use a TIG torch to apply small, quick tacks. Keep the tacks clean and shielded just like the final weld. If the tack turns dark blue, gray, or powdery, grind it out and retack after fixing the shielding problem.
Don’t forget to use a back purge with argon gas before tacking, not only before the final weld. The inside of a tack can oxidize the same way the inside of a full weld can. Allow proper cooling between tacks to avoid overheating and to maintain the titanium’s integrity.
Pro Tip: If you are welding several pie-cut sections, tack the full assembly first, check alignment on the vehicle or jig, then finish-weld in short alternating sections to reduce distortion.
Techniques to Master TIG Welding
Mastering TIG welding techniques is crucial for achieving high-quality welds, especially when working with titanium exhaust tubing. Titanium rewards patience and punishes shortcuts, so your hand position, torch angle, filler timing, and cooling rhythm all matter.
A clean titanium weld is controlled by three things: spotless prep, full argon coverage, and low, steady heat input.
- Pulse welding techniques: Use controlled pulses before allowing the titanium to cool. This helps distribute heat evenly and reduces warping.
- Tungsten electrode maintenance: Use a sharp 2% ceriated tungsten electrode, ground lengthwise to a point and cleaned before welding.
- Argon gas coverage: Maintain a smooth argon flow through a large cup. More flow is not always better if it causes turbulence.
- Dipping method: Add filler rod with small, consistent dips at the leading edge of the puddle. Keep the filler tip inside the shielding gas.
- Short arc length: Keep the arc tight without touching the tungsten to the puddle. A long arc widens heat input and weakens shielding.
- Consistent torch angle: Keep the torch nearly upright with only a slight push angle so the gas shield stays over the hot weld.
- Cooling discipline: Pause between sections and keep post-flow on the weld until the color stabilizes.
When working on related exhaust or fabrication components, clean cutting also matters. The benefits of using nitrogen for plasma cutting can help you understand how gas choice affects edge quality, oxidation, and downstream welding preparation.
Recommended TIG Settings for Titanium Exhaust Tubing
Exact TIG settings depend on tubing grade, wall thickness, joint fit-up, filler size, and welder control. Still, the following setup works as a safe starting point for many thin titanium exhaust projects:
- Polarity: DCEN
- Starting amperage: 35–45 amps for about 1 mm tubing
- Tungsten: 1/16 inch or similar small-diameter 2% ceriated tungsten
- Cup: Large gas lens cup, such as #12 to #16 depending on access
- Torch gas: Pure argon, adjusted for cup size and draft conditions
- Back purge gas: Pure argon, enough to fully displace oxygen inside the tube
- Pre-flow: Around 1 second or slightly more
- Post-flow: Around 10 seconds or longer if the weld remains hot
- Pulse: Optional, but helpful for heat control on thin tubing
- Filler: Matching titanium filler rod, kept clean and inside the gas shield
Start with a test coupon made from the same tube material before welding the actual exhaust. Cut and bend a short practice section, purge it, and weld it with the same settings. If the bead turns silver to light straw and the inside remains clean, your setup is close. If the bead turns dull gray or the inside becomes crusty, fix the purge and shielding before moving to the real part.
Products Worth Considering

ER4043: Commonly referred to as “AlSi5", has a 5% silicon and is the oldest and one of the most widely used aluminum welding wires for general purpose applications.

Premium Material: Crafted from high-grade stainless steel, ER308L rods ensure superior strength & durability for professional welding work
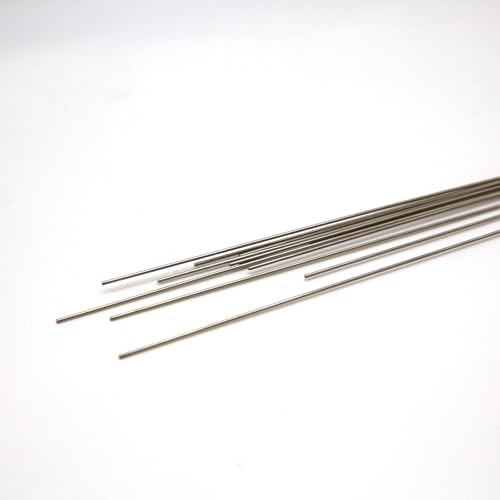
✅ Material: Grade 1 Pure Titanium – excellent weldability, highest corrosion resistance
Achieving Clean Welds With Back Purging
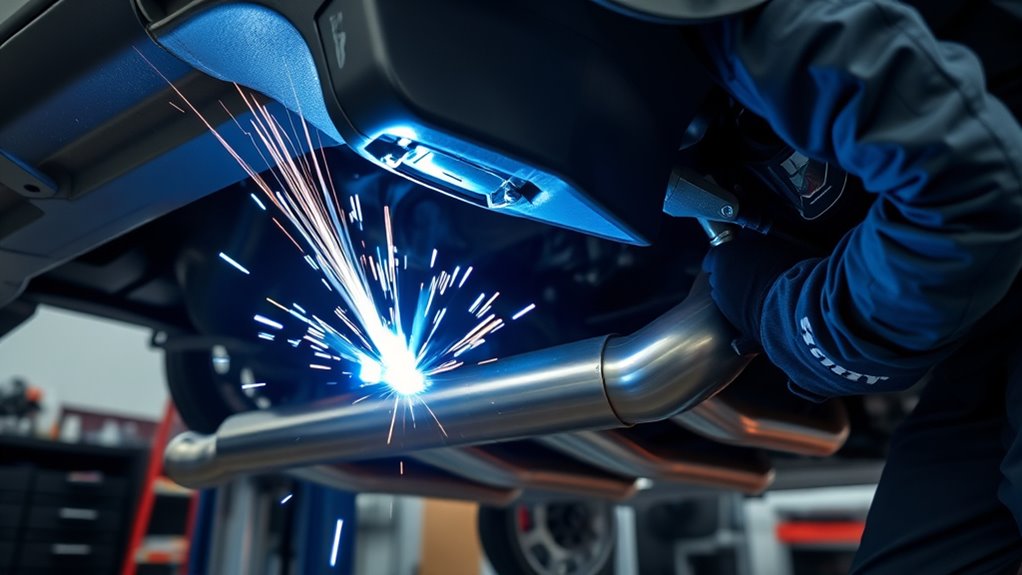
Achieving clean welds in titanium exhaust tubing depends heavily on effective back purging. This technique fills the interior of the tubing with argon gas to prevent oxidation during welding.
Back purge pots, silicone plugs, aluminum tape, and purge dams can all work if they seal the tube well and allow air to escape. Do not fully seal both ends without a vent. Trapped pressure can push against the molten puddle and create weld defects.
Before welding, let argon flow long enough to displace the air inside the tube. Larger or more complex exhaust sections need more purge time than a short straight tube. If possible, keep the purge inlet low and the vent slightly higher because argon is heavier than air and can help push oxygen out of the tube.
Set the back purge flow to a level that maintains shielding without creating pressure. A high purge flow is not automatically better. The best setup gives the inside of the tube a calm, oxygen-free environment while the outside weld is protected by the torch cup.
This step is critical for enhancing weld quality, as proper back purging greatly reduces defects and improves the overall appearance of your seams. Maintaining adequate air pressure is essential in many fabrication processes, and the same mindset applies here: control the gas flow instead of guessing.
Note: Titanium weld color is a useful clue, but it is not the only quality check. Fit-up, penetration, inside purge quality, and absence of cracks all matter.
Reading Titanium Weld Color
Weld color is one of the easiest ways to judge titanium shielding quality. The color comes from heat tint and oxidation. The less oxygen that reaches the hot metal, the cleaner the color will usually be.
- Bright silver: Excellent shielding and heat control.
- Light straw: Usually acceptable on many non-critical exhaust welds.
- Dark straw or bronze: Often still usable, but heat input or shielding may need improvement.
- Blue or purple: Indicates more oxidation. Improve shielding, purge, travel speed, and post-flow.
- Gray, chalky, or white: Poor shielding and likely contamination. For quality work, remove the bad weld area and reweld correctly.
Exhaust tubing sees heat cycling, vibration, and expansion. Because of that, do not ignore heavy discoloration. A weld that looks gray and crusty may crack even if it appears to hold during the first test fit.
Common Problems in Titanium Welding and Their Solutions
Welding titanium presents unique challenges that can impact the quality of your final product. Understanding and addressing these common issues is essential for successful results.
- Oxidation: Use better argon shielding, a larger gas lens, longer post-flow, and full internal back purging. Watch for blue, gray, or chalky weld color.
- Weld pool contamination: Reclean the tube and filler rod. Do not touch the cleaned weld area with bare hands.
- Burn-through: Lower amperage, tighten the joint gap, move faster, use pulse control, or add filler more consistently.
- Warping: Use short weld sections, balanced tack placement, and cooling time between passes.
- Cracked tacks: Make smaller, cleaner tacks with proper purge and avoid overheating before final welding.
- Rough inside weld root: Improve the back purge, reduce internal pressure, and verify that oxygen is being displaced before welding.
- Filler rod compatibility: Match the filler rod grade to your titanium tubing to prevent weak or mismatched joints.
- Oversized fillets: Avoid adding excessive filler. Be mindful of the maximum fillet weld size because too much weld metal can add heat, weight, and stress concentration.
Comparing Welds: Filler Rod vs. No Filler Rod
When comparing welds in titanium exhaust tubing, using a filler rod can enhance the strength and durability of your joints when the fit-up has a slight gap or when the joint needs reinforcement. Filler benefits include added material at the seam, better control over the bead profile, and a more forgiving weld when the tube edges are not perfectly matched.
The dipping technique allows you to maintain a consistent bead appearance while controlling the puddle. Keep the filler rod inside the argon shield, and do not let the hot end of the rod leave the gas coverage. If the filler oxidizes, trim it or clean it before continuing.
Welds made without a filler rod can have a cleaner, smoother finish and may reduce weight slightly. This is sometimes used on very tight-fitting thin tubing, especially for cosmetic exhaust work. However, autogenous welds leave less room for error. If the joint has gaps, uneven tube edges, or high stress, a filler rod is often the better option.
In a strength comparison, welds with filler rods usually provide a more reinforced bead profile. Welds without filler can still be strong when fit-up is perfect, the purge is excellent, and heat input is controlled, but they are less forgiving.
Managing heat input is essential in both techniques to avoid warping and oxidation. Controlling interpass temperature is also important in many welding processes because excessive heat can reduce corrosion resistance, increase distortion, and create weaker joints.
Safety Tips Before Welding Titanium
Titanium TIG welding is not only about bead appearance. You also need to protect yourself, your workspace, and the finished part.
- Wear proper PPE: Use a welding helmet, gloves, flame-resistant clothing, and eye protection during grinding or cutting.
- Ventilate the workspace: TIG welding itself is clean compared with some processes, but cleaning chemicals, dust, and metal fumes still require ventilation.
- Avoid chlorinated solvents: Do not clean parts with brake cleaner or chlorinated chemicals before welding.
- Handle argon safely: Secure gas cylinders upright and prevent leaks in confined spaces because argon can displace oxygen.
- Control fire risk: Keep flammable items away from the welding area, especially when working near vehicles or exhaust insulation.
- Grind titanium carefully: Fine titanium dust can be a fire risk, so keep grinding dust controlled and away from sparks.
Final Check Before Installing the Exhaust
After welding, inspect the titanium exhaust before installing it. Look at both the outside and inside of the weld where possible. The bead should be consistent, free from cracks, and not heavily oxidized. Check that all hangers, flanges, V-band locations, and slip joints still align after welding.
If the exhaust uses pie cuts, check each transition for internal sharp edges or heavy weld buildup that could disturb flow. Also confirm that the system has enough clearance around heat-sensitive parts. Titanium handles heat well, but nearby wiring, bushings, bumper trim, and underbody panels may not.
Before final use, wipe the tubing clean to remove fingerprints and shop residue. Fingerprints can stain when the exhaust heats up. A final cleaning gives the finished titanium a cleaner look and helps reveal any flaws that should be repaired before installation.
Frequently Asked Questions
Can you weld titanium exhaust?
Yes, you can weld titanium exhaust tubing with TIG welding. Use DCEN, pure argon, a large gas lens, clean titanium filler rod, and full internal back purging. Titanium is lightweight and heat resistant, but it must be protected from oxygen while hot.
What is the best welding process for titanium?
TIG welding is usually the best process for titanium exhaust tubing because it gives precise heat control, clean starts, and strong shielding. Thin titanium tubing needs a stable arc, clean filler, and careful gas coverage.
Do you weld titanium with AC or DC?
Titanium is welded with DC, normally DCEN. AC is commonly used for aluminum because it helps clean oxide from the surface, but titanium exhaust tubing is normally TIG welded on DCEN for focused heat and stable control.
What gas do I need to weld titanium?
Use pure argon for both torch shielding and back purging. Argon protects the hot titanium from oxygen and helps prevent brittle, discolored welds. Do not use common MIG mixed gases for titanium TIG welding.
Do titanium exhaust welds need back purging?
Yes. Titanium exhaust tubing should be back purged because the inside of the weld is exposed to air if it is not shielded. Without back purging, the weld root can become gray, rough, brittle, and more likely to crack.
What color should a good titanium weld be?
A good titanium weld is usually bright silver or light straw. Dark straw can be acceptable in some non-critical exhaust work, but blue, purple, gray, or white discoloration usually means the weld was overheated or poorly shielded.
Can you weld titanium without filler rod?
Yes, titanium can be welded without filler rod when the tube fit-up is excellent and the joint has no meaningful gap. However, filler rod is often better when the joint needs extra reinforcement or when the tube edges are not perfectly matched.
Conclusion
TIG welding titanium exhaust tubing is a precision job. The process is not difficult because the weld puddle is impossible to control; it is difficult because titanium gives you very little room for contamination, poor purge, or excess heat. Use DCEN TIG, clean the tubing carefully, back purge the inside, shield the outside with a large gas lens, and keep the weld color as clean as possible.
If you treat titanium like stainless steel, the weld may look acceptable at first but fail later from oxidation, brittleness, or cracking. If you treat it with the care it demands, titanium rewards you with lightweight, strong, clean exhaust welds that look professional and hold up well under heat and vibration.