Start by leveling and bracing the car so the body stays square, then cut out the rusted wheel tub section cleanly without disturbing the quarter panel. Fit the replacement patch tightly, clean all metal, and hold it with Clecos or screws. Tack weld in spaced spots, recheck alignment, then finish with short, controlled welds to manage heat. Cycle the suspension and confirm tire clearance, because the next steps make the job much easier.
Prep the Car for Wheel Tub Welding
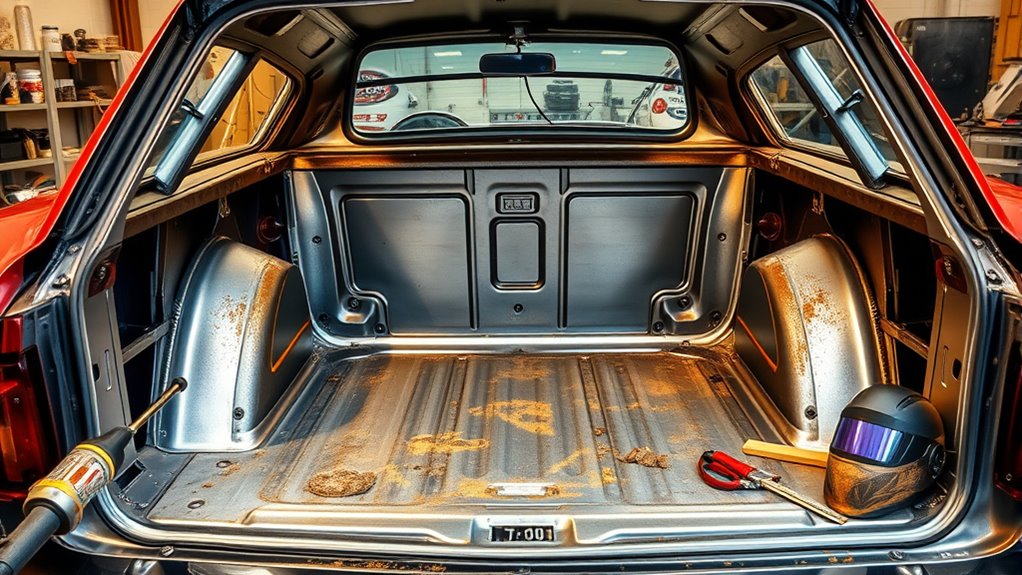
Before you strike an arc, make sure the car is jigged, leveled, and square so the body stays true during the wheel tub install. You need that baseline before any welding starts, because a twisted shell will lock in bad geometry.
Pre-fit every sheet metal panel, including the wheel tubs, and check that the doors and trunk lid still open, close, and latch correctly. Use zip screws to hold gaps where you need temporary control, then measure, adjust, and recheck until the fit is consistent.
Confirm the tub depth into the body gives the tire clearance you want without crowding suspension travel or body structure. Run a thorough pre-weld inspection and catch interference, mismatch, or alignment drift now, not after heat distorts the panels. Additionally, ensure you are wearing appropriate protective clothing to shield against burns and UV radiation during the welding process.
When you prepare this way, you free yourself from rework and weld the tubs with confidence.
Products Worth Considering

12pcs 22g 6.5cm of Metal Spoons Jigging Lures with opp packing Metal Lures with Good-Looking and Attractive Color, The vivid eye Looks Totally Real and Hooks are Chemically...
Cut Out the Rusted Wheel Tub
Mark your cut lines along the wheel lip corner and the wheel-tub-to-quarter seam so you can remove the rusted section without disturbing adjacent metal.
Use a small reciprocating saw in tight areas and cut only the damaged outer tub, keeping the original quarter panel intact.
Preserve the remaining alignment points, then check the patch fit against the structure before you weld. Ensure you have removed all zinc residues to prevent contamination during the welding process.
Mark Cut Lines
Start by locating the rusted sections of the wheel tub and laying out precise cut lines along the wheel lip corner so you remove only the damaged outer metal. Use a marker or scribe to mark cut lines clearly, then double-check your alignment at the quarter panel seam and wheel tub reference points.
You’re preserving the car’s geometry, so every line matters. Keep the layout tight to the corrosion boundary and don’t chase clean steel unnecessarily. A small reciprocating saw gives you control as you trace the lines without drifting into sound material.
Mark the seam where the wheel tub meets the quarter panel so you can free the patch cleanly later. This careful setup gives you the freedom to cut once, cut right, and protect structural integrity.
Remove Damaged Metal
With the cut lines laid out, you can remove the damaged wheel tub metal by following the wheel lip corner and cutting only the rusted outer section.
Use a small reciprocating saw where access is tight, and keep your cuts controlled so you don’t disturb sound sheet metal.
Work along the wheel-tub-to-quarter seam with care, since that joint helps define the tub’s position when you fit the replacement.
Hold the original quarter panel in place as your visual guide while you free the bad material.
Cut cleanly and deliberately, because rough edges create extra work and weaken the repair.
When the rusted wheel tub section comes out, you’ll have a precise opening that’s ready for new patch panels and a stronger, cleaner rebuild.
Preserve Alignment Points
As you cut out the rusted wheel tub, keep the alignment points intact so the replacement fits correctly.
Make precise cuts along the wheel lip corner and remove only the rust-damaged outer section. Use a small reciprocating saw in tight spaces so you can control the cut without nicking the quarter panel.
Cut the seam between the wheel tub and quarter panel to preserve structure. Treat the original quarter panel as your positioning guide, and protect the alignment reference points throughout the job.
- Mark the cut line before you start.
- Follow the wheel lip corner exactly.
- Keep the seam clean and intact.
- Check fitment against the quarter panel often.
That discipline frees you to install the new patch panel with confidence and maintain proper structural integrity.
Fit the New Wheel Tub Patch
Position the new AMD donor wheel tub patch over the original panel and align it carefully with the existing structure so it fits cleanly. Use the quarter panel as your reference, and match the wheel tub lip exactly so the wheel tub patch follows the factory line without distortion.
Check the edges, contours, and overlap points before you commit to anything. Once the fit looks right, secure the patch with Cleco pins or small self-tapping screws to hold it steady while you verify the layout.
Don’t rush this step; a precise fit now gives you control later and keeps the repair honest. Recheck the alignment against the quarter panel and confirm your critical reference points stay intact.
When the patch sits true, remember to clean metal thoroughly to ensure a strong weld, then remove the quarter panel so you can open up the seam area and prep for welding. That clean fit helps you build a stronger, freer structure.
Brace and Clamp the Quarter Panel
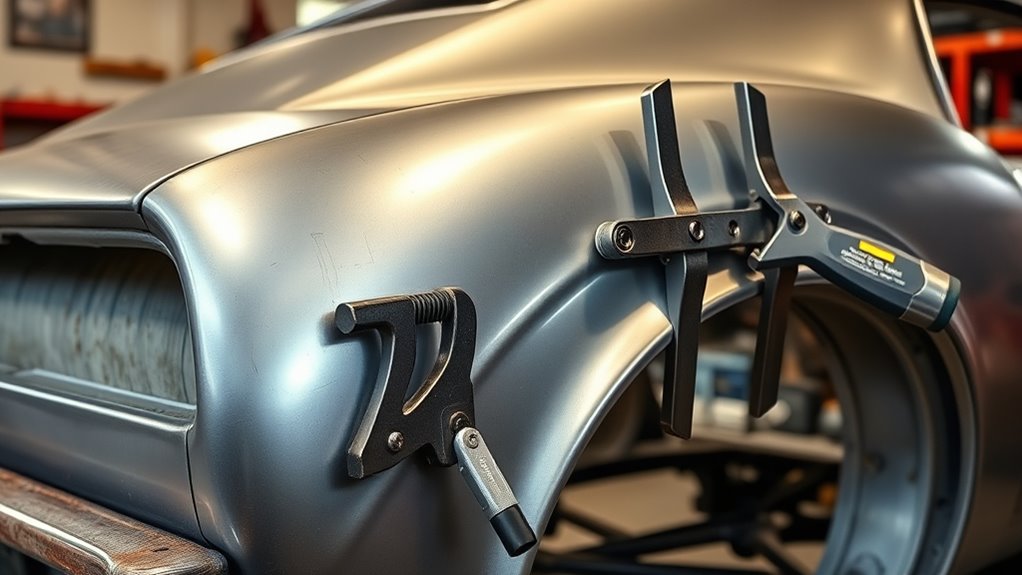
Clamp the quarter panel back in place and jig it so it’s level, square, and locked to the body before you weld. Use stout clamps to hold the quarter panel tight, and verify every reference point so the uni-body stays true. Pre-fit with zip screws first to confirm the gaps, then recheck the panel against your marks before you commit heat.
- Clamp at multiple points to stop shift.
- Check level, square, and body alignment.
- Use reference points to preserve geometry.
- Confirm the quarter panel sits flush.
Bracing like this keeps the shell from drifting while you work, and it gives you the control you need to build clean, accurate repairs. Additionally, ensure you are wearing appropriate PPE guidelines to protect yourself from potential hazards while welding.
Bracing keeps the shell from drifting and gives you control for clean, accurate repairs.
If the quarter panel moves, your wheel tub fit changes, so lock it down before you move on. A disciplined setup protects the structure, the fit, and the freedom of the finished car.
Tack Weld the Patch for Alignment
Tack weld the patch at evenly spaced points around the perimeter, using clamps to keep it locked in alignment with the original wheel tub. You’ll want the heat to penetrate through all layers at each tack so the bond holds under later stress. To avoid issues like lack of penetration, ensure proper amperage and joint preparation before completing full welds. After the tacks cool, check panel fitment against the quarter panel before you move on to full welds.
Tack Weld Alignment Points
With the patch panel aligned to your reference points, secure it with clamps and place a few tack welds around the perimeter to lock in its position.
Use tack weld alignment points to hold the panel while you work, keeping the joint true and the metal free from unwanted shift.
- Clamp tightly at each anchor point.
- Place tacks opposite each other.
- Space welds to control heat.
- Keep the patch flush to the tub.
These tack welds preserve alignment between the new panel and the existing wheel tub, so you can maintain precise fit without surrendering control to distortion.
If a gap opens, adjust the patch now, not later. This disciplined setup gives you the freedom to proceed with confidence toward final welding.
Check Panel Fitment
Before you strike the first tack, position the new patch panel accurately over the original wheel tub so it matches the quarter panel and holds the car’s reference points true.
Clamp or use Cleco pins, then add small self-tapping screws if you need finer control. Check that the quarter panel sits flush against the patch and that the gap stays even along every edge.
Make sure the fit preserves the tub’s shape and structural lines. When the alignment looks right, place tack welds at intervals to lock the patch without freezing out adjustment.
Recheck the seam after each tack, because heat can shift the panel. Keep the fit tight, consistent, and true so your final welds go in clean, strong, and ready to carry you forward.
Fully Weld the Wheel Tub Layers
Clamp the wheel tub firmly in place, then lay down tack welds at several points to lock in alignment before you commit to the full weld. Once you’re sure the panel sits correctly, fully weld the wheel tub layers with steady, overlapping passes. Drive enough heat through every layer so the joint fuses into one strong structure, not a surface seam.
If you’ve positioned an AMD donor part over the original, use small self-tapping screws to hold it before final welding, then remove them as you progress.
- Keep clamps tight to stop shift.
- Verify quarter-panel alignment as you weld.
- Weld in short sections to control heat.
- Confirm full penetration through all layers.
Move deliberately and let each bead tie into the last. That’s how you build a durable wheel tub that supports the car’s structure and gives you the freedom to push the project hard without second-guessing the repair.
Additionally, remember that using dedicated stainless tools helps prevent contamination and ensures a clean weld.
Check Tire Clearance and Suspension Travel
Once the wheel tubs are welded solid, you need to verify that the new clearance actually works in motion.
Jack the car, cycle the suspension to full compression and full extension, and measure tire clearance at every point. If you’re fitting larger tires, even up to 355s, you can’t guess; you need hard numbers.
Keep at least 1 inch between the tire and the tub so flex, body roll, and axle movement don’t create contact.
Check the tub’s vertical alignment against the axle centerline, because a crooked install can steal room and stress the structure.
If you’re short on space, a mini tub kit can add about 2 inches of clearance while keeping the tub supported and aligned.
This check protects the car, the tires, and your freedom to drive hard without rubbing. Additionally, consider using heat control techniques to ensure the welds remain strong without damaging the surrounding metal.
Frequently Asked Questions
What Kind of Welder Do I Need to Weld on a Car?
You need a MIG welder, ideally 140 amps or more, with adjustable voltage and wire feed for Welding Techniques. You can use TIG for precision, but don’t choose a setup that can’t run solid wire.
What Is the Best Welding for Alloy Wheels?
TIG welding’s your best bet for Alloy Repair on alloy wheels; you get fine control, clean beads, and minimal heat. Use 4047 or 5356 filler, preheat gently, then post-weld heat-treat for strength.
Can You Use a Stick Welder for Auto Body Work?
No, you usually shouldn’t use a stick welder for auto body work. Stick Welding dumps too much heat, distorts thin panels, and leaves slag. You’ll get better results with MIG, or TIG, on sheet metal.
What Kind of Welding Is Used for Car Frames?
You’d usually use MIG welding for car frames because it’s fast and strong; TIG gives you finer control on thin sections. Choose the right Welding Techniques, keep penetration deep, and clamp parts square.
Conclusion
Welding wheel tubs correctly gives your classic muscle car the clearance it needs without sacrificing strength. In fact, many builders find that a properly fitted mini-tub can add up to 2 inches of extra tire room, which can make a big difference in traction. If you prep the car, brace the body, and weld in stages, you’ll keep alignment tight and the finish clean. Double-check suspension travel, then you’re ready to bolt in wider rubber with confidence.


