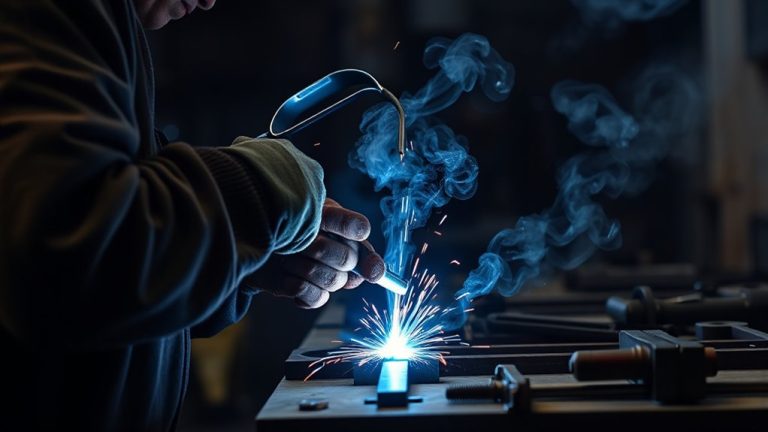
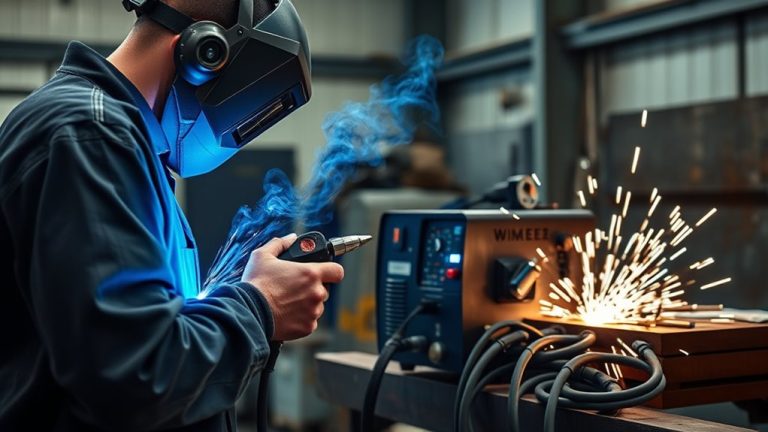
MIG and TIG can both produce sound automotive welds, but they solve different problems. MIG is usually the practical starting point for steel patch panels, brackets, exhaust work, and general fabrication because it feeds filler wire automatically and works quickly. TIG gives you finer control of the arc, amperage, and filler metal, which helps on thin, visible, stainless, or aluminum parts.
Quick Answer
MIG is usually the best first choice for common steel auto repairs because it is faster, easier to learn, and well suited to patch panels, brackets, and exhaust work. Choose TIG when you need finer heat and puddle control on thin, visible, stainless, or aluminum parts. Neither process is automatically stronger.
Key Takeaways
- Use gas-shielded MIG for most mild-steel patch panels, brackets, and general automotive fabrication.
- Use TIG when appearance, puddle control, or precise filler placement matters more than speed.
- A weld is not strong simply because it was made with MIG or TIG. Joint design, preparation, filler, settings, penetration, and technique determine the result.
- Never select a joining process for a structural collision repair without checking the vehicle-specific OEM repair procedure.
- Protect the vehicle from electrical damage, fire, fumes, and hidden combustible materials before striking an arc.
Warning: This comparison is general guidance for fabrication and non-structural repair. Structural panels, occupant-safety components, restraint mounting points, fuel-system areas, and hybrid or electric vehicles require the vehicle maker’s repair information, correct equipment, and qualified training.
Best Weld for Auto Repair?
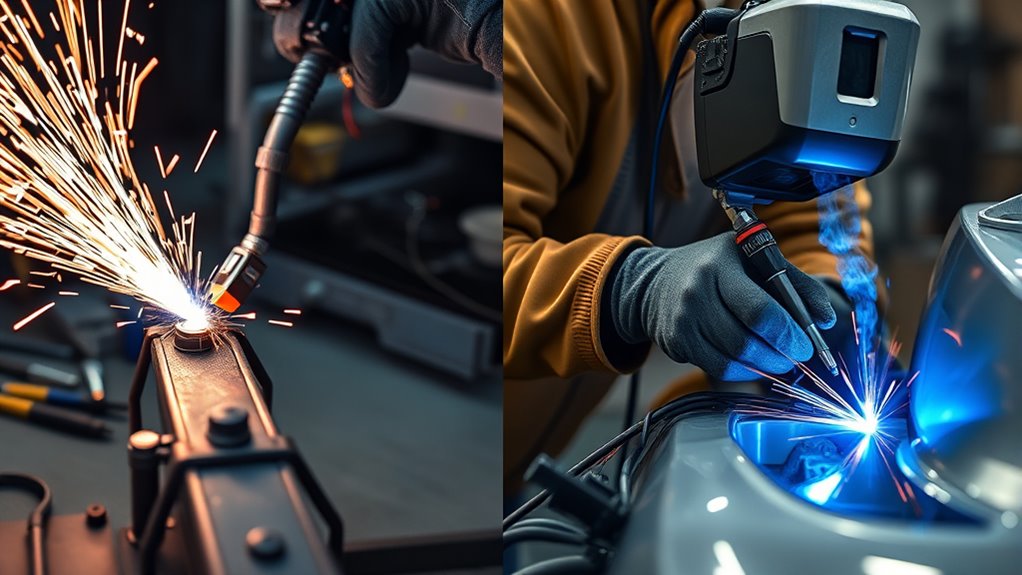
For most routine steel auto repair and fabrication, MIG is the practical default. The gun feeds filler wire automatically, so you can concentrate on gun angle, travel speed, stickout, and puddle placement. That makes MIG useful for patch panels, brackets, exhaust sections, tabs, and other common steel parts.
Choose the process that matches the material, joint, access, and approved repair method. Do not choose MIG or TIG based on a universal claim that one always makes the stronger weld.
MIG also has a higher filler-metal deposition rate, so it usually completes longer or repeated welds faster. With the correct solid wire, shielding gas, polarity, and machine settings, it can work well on light-gauge sheet metal.
TIG becomes more attractive when the weld must be small, controlled, and visually clean. The operator controls the torch, amperage, and filler rod separately, which allows careful placement around tight joints and visible seams. That extra control also creates a steeper learning curve.
You can weld steel, stainless steel, and aluminum with either process when you have compatible equipment and consumables. The best choice depends on the exact alloy, part thickness, access, finish requirement, and vehicle maker’s repair instructions.
How MIG and TIG Welding Work
How MIG Welding Works
MIG is the common shop name for gas metal arc welding, or GMAW. The machine continuously feeds an electrically charged wire through the gun. The wire acts as both the electrode and the filler metal while shielding gas protects the molten weld pool from the surrounding air.
Because the wire feeds automatically, MIG involves fewer simultaneous hand movements than TIG. That usually makes it easier for a beginner to produce repeatable tack welds and short seams after practicing on matching scrap.
How TIG Welding Works
TIG is the common name for gas tungsten arc welding, or GTAW. A non-consumable tungsten electrode creates the arc. You add filler rod separately when the joint needs it, and many TIG machines let you adjust amperage with a foot pedal or fingertip control.
This separation gives you precise control over arc length, heat, and filler placement. It also requires coordination between both hands and, in many cases, one foot. TIG therefore rewards patience and practice but usually works more slowly than MIG.
Miller’s MIG and TIG process guide explains the main differences in control, heat management, and pacing.
Quick Verdict: MIG or TIG?
Choose MIG when the repair benefits from speed, automatic wire feeding, and efficient work on common steel parts. Choose TIG when the job requires careful puddle control, separate filler placement, minimal spatter, or a clean visible bead.
| Factor | MIG Welding | TIG Welding |
|---|---|---|
| Typical automotive use | Steel patch panels, brackets, tabs, exhaust sections, and general fabrication | Visible seams, custom parts, stainless work, and controlled aluminum repairs |
| Learning curve | Usually easier because filler wire feeds automatically | Steeper because the operator controls the torch, filler, and amperage separately |
| Speed | Faster deposition and quicker repeated welds | Slower, with more time spent controlling the puddle and filler |
| Heat control | Controlled mainly through machine settings, travel speed, tack timing, and technique | Finer real-time amperage control when the machine has a pedal or fingertip control |
| Finish | May leave spatter and a taller bead that needs dressing | Usually produces little or no spatter and allows careful bead shaping |
| Wind sensitivity | Shielding gas can be disturbed by drafts | Shielding gas is also sensitive to drafts |
| Strength | Can produce strong, code-quality welds when properly designed and executed | Can also produce strong, code-quality welds when properly designed and executed |
MIG vs TIG for Car Panels
For common mild-steel patch panels, gas-shielded MIG is usually the faster and more practical choice. You can make short, spaced tack welds, move around the panel, and allow each area to cool before adding the next tack.
For most light-gauge steel sheet work, Miller recommends .023- or .024-inch solid wire. ER70S-6 is a common mild-steel wire, and a 75% argon and 25% carbon-dioxide shielding-gas mix is a common starting choice. Confirm the wire, gas, polarity, and settings in your welder’s chart and manual.
- Use gas-shielded solid wire rather than self-shielded flux-core wire for typical thin body panels.
- Clean paint, rust, oil, seam sealer, and undercoating away from the immediate weld area.
- Test the setup on scrap that matches the panel’s material and thickness.
- Use spaced tacks instead of running one long continuous bead across a broad panel.
- Move between distant areas and allow cooling time to limit heat buildup.
- Check the back of the panel for penetration, wiring, trim, insulation, and smoldering material.
Pro Tip: Set up a scrap coupon with the same joint style as the repair, not just the same sheet thickness. A lap joint, butt joint, and plug weld behave differently even when the metal is identical.
TIG can work well on a visible butt seam when you need exact filler placement and have access to both sides for fitting and finishing. However, a slow TIG pass can still put enough heat into a large panel to cause distortion. Use short welds, control the puddle, and stop before the surrounding sheet becomes excessively hot.
MIG vs TIG for Thin Metal
TIG gives you finer control on thin steel, stainless steel, and aluminum, especially when the machine lets you adjust amperage while welding. A small, focused arc and separate filler rod make it easier to add only the amount of filler the joint needs.
That control does not make TIG automatically warp-free. If you travel too slowly, hold a long arc, overfill the joint, or keep returning to the same hot area, the panel can still shrink and distort.
For thin-sheet TIG work, use a tungsten size and type suited to the amperage range, keep the steel joint clean, and use a pointed electrode where the equipment manufacturer recommends it. The internal guide to TIG welder settings for stainless steel provides more process-specific setup context.
MIG remains effective on thin steel when you use small solid wire, suitable shielding gas, correct polarity, tight fit-up, and short weld timing. Poor voltage, wire speed, stickout, or travel technique can cause burn-through, excess buildup, cold lap, or incomplete fusion.
When welding aluminum, remove grease and moisture with a cleaner approved for aluminum, then use a stainless steel brush reserved only for aluminum to remove surface oxide. The internal guide to cleaning the aluminum oxide layer explains why preparation matters.
Warning: Thin auto body metal can burn through in a moment. Test on matching scrap, keep a clear view of the joint, and do not continue welding when the panel is already hot enough to distort.
Strength and Finish: MIG vs TIG
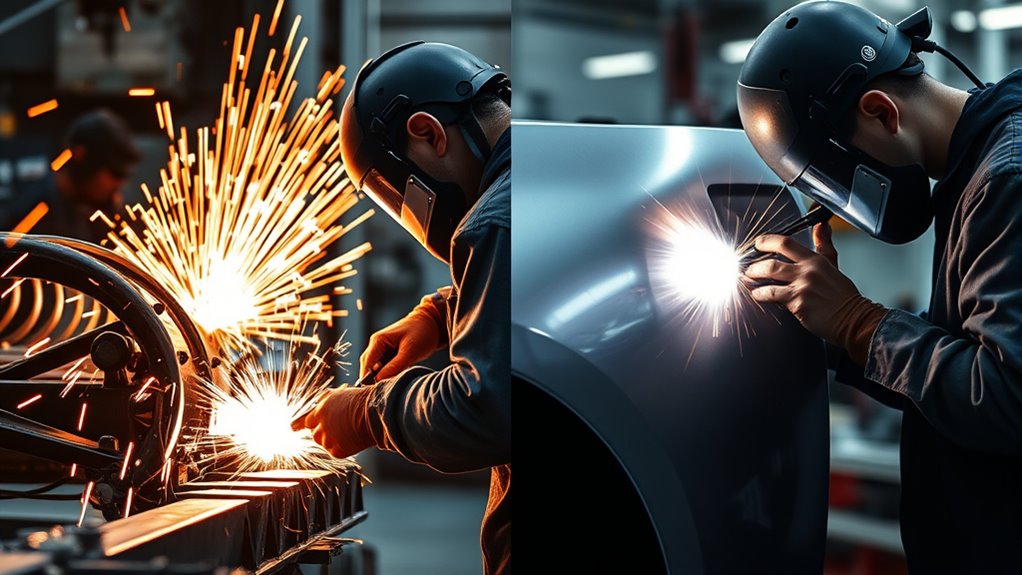
Neither MIG nor TIG wins every strength comparison. A properly prepared and executed weld from either process can be strong. A defective weld from either process can fail.
The factors that matter include:
- The base-metal grade and condition
- The approved joint type and weld location
- Filler-metal compatibility
- Fit-up and surface preparation
- Penetration and fusion
- Porosity, undercut, cracking, and other defects
- Heat input and the effect on the surrounding metal
- Welder skill and procedure qualification
MIG’s advantage is productivity. It deposits filler quickly and makes repeated tacks, plug welds, and short seams efficiently. TIG’s advantage is control. It lets you place the arc and filler precisely and normally produces little or no spatter.
TIG often needs less grinding when the bead will remain visible. MIG may be faster even after allowing time for light dressing. The best finish depends on the joint, access, panel contour, and the operator’s ability to avoid overheating the metal.
Good heat management is important with every process. Even when working with a different method, the internal guide to welding stainless steel with a stick welder reinforces the need to match filler, amperage, and technique to the stainless part rather than treating all stainless repairs alike.
Structural Auto Repair and OEM Procedures
Do not choose MIG or TIG for a structural collision repair based only on material thickness or bead appearance. Modern vehicles may use mild steel, high-strength steel, ultra-high-strength steel, aluminum, castings, adhesives, rivets, resistance spot welds, MAG plug welds, and MIG-brazed joints in the same body structure.
I-CAR states that vehicle-specific workshop information determines the required welding and sectioning method. Heating or sectioning a structural part in an unapproved location can change how the vehicle manages crash energy.
Before repairing a rail, pillar, rocker, reinforcement, roof structure, suspension attachment, seat-belt mounting point, or restraint-related area:
- Identify the exact vehicle, model year, body configuration, and damaged part.
- Obtain the current OEM body repair procedure.
- Confirm whether repair, sectioning, or complete replacement is allowed.
- Use the specified attachment method, weld count, joint location, and corrosion protection.
- Complete required destructive or practice weld tests before working on the vehicle.
- Follow any pre-repair and post-repair scanning, calibration, and inspection requirements.
Note: Generic weld-size guidance cannot replace a body repair manual. The internal explanation of maximum fillet weld size may help explain joint geometry, but the OEM procedure controls a structural vehicle repair.
Where MIG Brazing Fits
MIG brazing uses a lower-melting filler, commonly silicon bronze, without melting the steel in the same way as a fusion weld. Some manufacturers specify it where excessive welding heat could affect zinc coatings or heat-sensitive steel.
Do not substitute MIG brazing because it seems cooler or easier. I-CAR advises using MIG brazing only when vehicle-specific OEM documentation supports it. Panel preparation, machine settings, joint design, and technician training must match the approved procedure.
Choose MIG If…
Choose MIG when you need an efficient process for common steel repair and fabrication and the repair information permits GMAW or MAG welding.
- You are patching a non-structural mild-steel body panel.
- You are fabricating a bracket, tab, mount, or shop-made steel part.
- You are replacing or repairing a compatible steel exhaust section.
- You need repeated tack or plug welds and want automatic wire feeding.
- You want a shorter learning curve for basic shop work.
- You have a suitable gas-shielded machine, solid wire, and clean indoor work area.
MIG is also a practical first welder for many hobbyists because one correctly sized machine can cover a wide range of steel fabrication. Check its lowest stable output, wire-size support, voltage requirements, duty cycle, and availability of replacement consumables before buying.
Choose TIG If…
Choose TIG when the repair benefits from controlled amperage, separate filler placement, and a clean weld with little or no spatter.
- You are making a visible custom seam where bead control matters.
- You are repairing a suitable thin stainless component.
- You are working on a compatible aluminum part and have an aluminum-capable AC/DC machine.
- You need to add a very small amount of filler to a tight joint.
- You can access and clean the joint well enough for TIG’s contamination-sensitive arc.
- You have time to practice torch, filler-rod, and amperage coordination.
TIG equipment for aluminum must support the required current type and controls. Use pure argon for most aluminum TIG work, select filler that matches the alloy and service conditions, and keep steel grinding dust and steel brushes away from aluminum repair areas. Miller’s aluminum TIG repair guide covers cleaning, machine capability, shielding gas, and filler selection.
How to Choose Between MIG and TIG
Start with the repair procedure, not the welder you already own. Then compare the material, joint, access, finish, and skill requirements.
- Identify the part. Decide whether it is cosmetic, non-structural, structural, restraint-related, fuel-related, or part of a hybrid or EV system.
- Identify the material. Confirm whether the part is mild steel, high-strength steel, stainless steel, aluminum, cast material, or a coated assembly.
- Check the approved attachment method. For collision work, use the OEM body repair manual.
- Evaluate access. TIG requires room to control the torch and often a separate filler rod. MIG may reach a confined area more easily.
- Consider heat and distortion. Both processes can warp sheet metal. Choose settings and weld sequencing that limit total heat.
- Consider finish. TIG offers careful bead shaping, while MIG usually finishes the joint faster.
- Check your equipment. Confirm output range, polarity, gas, wire or tungsten size, filler compatibility, and power supply.
- Make test welds. Reproduce the material, joint, position, and access on scrap before touching the vehicle.
Entry-level MIG equipment is often simpler and less expensive than a full-featured AC/DC TIG package, but purchase price alone can be misleading. Include the regulator, cylinder, wire or filler, torch consumables, spool gun or push-pull system, electrical circuit, PPE, fume control, and training in the comparison.
Pro Tip: If you are buying one welder for basic non-structural steel auto repair, a gas-shielded MIG machine with a stable low-output range and support for .023- or .024-inch wire is usually the most practical starting point.
Best Auto Repair Jobs for Each Method
Body Panels and Patch Repairs
Gas-shielded MIG is usually the practical choice for mild-steel patches. Use clean metal, careful fit-up, matching scrap tests, and short, spaced tacks. TIG can suit a carefully fitted visible butt seam when the operator can manage the heat and has good access.
Exhaust Repair
MIG works well on many compatible steel exhaust parts because it is fast and reaches around tubing and brackets easily. TIG is attractive for stainless exhaust fabrication when you want precise fit-up, clean beads, and controlled filler placement. Identify the alloy and choose matching filler before welding.
Brackets, Tabs, and General Fabrication
MIG normally wins on speed for brackets, tabs, mounts, and shop-made steel parts. TIG becomes useful when the component is small, visible, made from stainless or aluminum, or needs careful control around an edge.
Aluminum Components
TIG is a strong choice for small, controlled aluminum repairs and custom fabrication. MIG with a spool gun or push-pull system may be faster on suitable thicker aluminum parts. Collision repair on aluminum structures requires OEM procedures, dedicated contamination-control practices, and appropriate training.
Restoration and Visible Custom Work
MIG is efficient for hidden steel patches and repeated attachment welds. TIG may provide a cleaner result on visible seams and custom pieces. The age of the vehicle does not remove the need to identify the metal, old coatings, lead filler, seam sealer, and hidden combustible materials.
Vehicle Preparation and Welding Safety
Welding on a vehicle creates more hazards than welding two clean coupons on a bench. Sparks, heat, current, and fumes can reach wiring, modules, fuel vapor, upholstery, insulation, seam sealer, undercoating, and material on the opposite side of the panel.
Protect the Electrical System
- Follow the vehicle maker’s shutdown and battery-disconnection procedure.
- Disconnect and isolate the battery cables when the procedure requires it, removing the negative cable first.
- For a hybrid or EV, disable the high-voltage system exactly as the OEM specifies.
- Observe the manufacturer’s required waiting period before working near restraint or high-voltage components.
- Move or shield nearby modules, sensors, wiring, and batteries when required.
- Place the welding work clamp close to the weld on the same panel whenever possible.
- Keep the welding-current path short and away from bearings, modules, wiring, and sensors.
I-CAR’s vehicle protection guidance recommends isolating the batteries, keeping cables away from electronics, and positioning the work clamp close to the weld area.
Control Fire and Explosion Hazards
- Inspect both sides of the panel before welding.
- Remove carpet, trim, insulation, sound deadener, wiring clips, and other combustible material from the heat zone.
- Locate fuel tanks, fuel lines, vapor lines, brake lines, refrigerant lines, and pressurized components.
- Do not weld on a tank, vessel, or part that has contained a flammable substance unless a qualified procedure makes it safe.
- Keep an appropriate fire extinguisher within reach.
- Use a second person as a fire watch when hidden materials or inaccessible cavities may ignite.
- Inspect the front and back of the repair repeatedly during cooling.
OSHA’s welding standard requires control of combustible material and, under specified conditions, a fire watch that continues for at least 30 minutes after welding ends.
Control Fumes and Coatings
Remove paint, oil, undercoating, seam sealer, and unknown contamination from the immediate weld zone. Do not use chlorinated brake cleaner or allow chlorinated solvent vapor near an arc. Ultraviolet energy from welding can react with some chlorinated compounds and create extremely toxic decomposition products.
Galvanized steel requires effective ventilation because heating the zinc coating creates hazardous fumes. Follow the precautions in the internal guide to MIG welding galvanized steel, and use local exhaust positioned to draw fumes away from your breathing zone without pulling shielding gas off the weld.
Wear Proper PPE
- A welding helmet with the correct shade
- Safety glasses under the helmet
- Flame-resistant clothing that covers exposed skin
- Dry welding gloves
- Closed leather footwear
- Hearing protection when grinding or working in an enclosed vehicle body
- Respiratory protection when the hazard assessment and applicable rules require it
Warning: Never weld near a damaged, energized, or unidentified high-voltage battery. Stop and use the vehicle-specific emergency and repair information. A conventional 12-volt battery disconnection does not make an EV high-voltage system safe.
Common MIG and TIG Mistakes
| Problem | Likely Causes | What to Check |
|---|---|---|
| Burn-through | Excess output, slow travel, large gap, oversized filler, or welding too long in one area | Lower the approved setting, improve fit-up, shorten weld time, use suitable filler size, and practice on matching scrap |
| Panel distortion | Continuous welding, repeated heat in one area, poor sequencing, or excessive grinding heat | Use spaced tacks, alternate locations, allow cooling, and avoid aggressive grinding |
| Porosity | Contamination, drafts, poor gas flow, leaks, long stickout, or a blocked nozzle | Clean both sides, stop drafts, inspect the gas system, clean the nozzle, and confirm torch distance |
| High MIG bead or cold lap | Poor voltage and wire-speed balance, excessive travel speed, bad angle, or insufficient fusion | Return to the machine chart, check technique, cut and inspect a test weld, and review these MIG welding problems and solutions |
| Dirty or unstable TIG arc | Contaminated tungsten, dirty metal, wrong polarity, gas problem, or dipping the electrode | Regrind or replace the tungsten, reclean the joint, confirm polarity and gas, and keep the electrode out of the puddle |
Frequently Asked Questions
Is MIG or TIG better for car restoration?
MIG is usually more practical for hidden mild-steel patches, brackets, and repeated attachment welds. TIG can be useful for carefully fitted visible seams, stainless parts, aluminum pieces, and custom fabrication. The correct choice still depends on the original material and the approved repair method.
Can you use MIG welding on thin auto body panels?
Yes. Gas-shielded MIG works well on many thin mild-steel panels when you use small solid wire, clean metal, tight fit-up, suitable settings, and spaced tack welds. Test on matching scrap first and avoid running a long continuous bead across a broad panel.
Is TIG worth it for auto body work?
TIG is worth learning when you do visible custom work, stainless fabrication, controlled aluminum repair, or joints that need precise filler placement. It is slower and requires more coordination, so it is not always the most efficient process for routine steel patches.
What is the golden rule in automotive welding?
Follow the approved repair procedure, prepare the joint correctly, and control heat. Clean metal and good fit-up matter, but they do not replace the OEM attachment method for a structural vehicle repair.
What is the best first welder for auto body repair?
For basic non-structural mild-steel work, a gas-shielded MIG welder with a stable low-output range and support for .023- or .024-inch solid wire is usually the most practical first machine. Structural collision work may require specialized OEM-approved welding and joining equipment.
What wire and gas should you use for thin steel body panels?
A common starting setup is .023- or .024-inch ER70S-6 solid wire with 75% argon and 25% carbon dioxide. Use DCEP polarity and follow the welder and wire manufacturer’s chart. The final setup depends on the machine, joint, panel, and welding position.
Is MIG or TIG better for automotive aluminum?
TIG gives fine control for small repairs and visible custom work. Aluminum-capable MIG with a spool gun or push-pull system can be faster on suitable parts. For collision structures, use the OEM procedure, correct alloy-specific filler, dedicated contamination-control tools, and qualified aluminum repair training.
Can you use a basic MIG welder for structural car repair?
Do not assume that you can. The vehicle-specific repair manual may require a particular welder, pulse mode, resistance spot welder, MIG brazing equipment, test-weld procedure, rivets, adhesives, or another joining method. Use only the specified equipment and attachment procedure.
Conclusion
MIG is usually the best all-around starting process for common non-structural steel auto repairs because it is fast, accessible, and easier to learn. TIG is valuable when you need precise amperage and filler control, little spatter, or a clean result on a suitable thin, stainless, or aluminum part.
Do not reduce the choice to “MIG for strength and TIG for looks.” Either process can produce a strong or defective weld. The correct material, joint, filler, preparation, settings, heat control, and technique determine weld quality.
Most importantly, use the vehicle maker’s current procedure for structural, collision, restraint-related, hybrid, and EV work. Protect the electrical system, inspect both sides of the panel, control fumes and fire hazards, and prove your setup on matching scrap before welding the vehicle.
Sources
- Miller: MIG vs. TIG Welding Equipment and Process — process control, pacing, heat management, and learning curve
- Miller: Successfully Welding Sheet Metal with MIG and TIG — thin-sheet wire, shielding gas, polarity, and electrode guidance
- OSHA 29 CFR 1910.252 — welding PPE, fire prevention, ventilation, and zinc-coated-metal requirements
- I-CAR: Battery Disconnection Before Welding — battery isolation, work-clamp position, high-voltage disconnection, and electronic-component protection
- I-CAR: MIG Brazing, What, Where, When, and Why? — OEM documentation and MIG-brazing limitations
- I-CAR: Structural Sectioning Procedures — vehicle-specific structural repair and attachment requirements