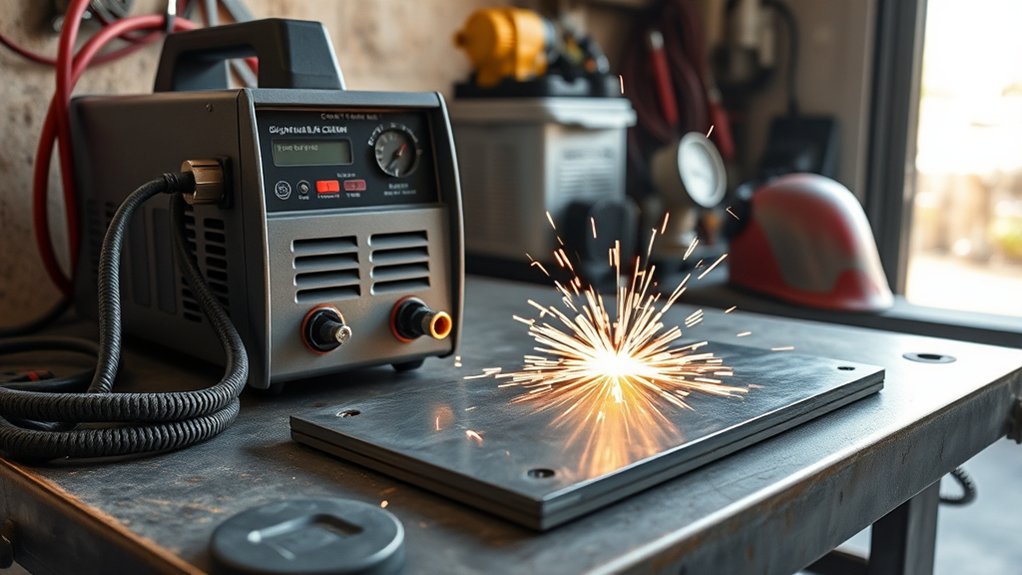
Setting up a plasma cutter in your garage starts with two things: safe power and clean air. Match output current to your real material thickness, confirm the cutter’s duty cycle, and check whether your garage can support 120V, 240V, or a dual-voltage machine. Then size the compressor, filter moisture, clear fire hazards, and make a test cut before you trust the setup on a real project.
Quick Answer
For a home garage, choose a plasma cutter by matching amps, input voltage, duty cycle, and air demand to your usual metal thickness. A 120V unit works for thin sheet and short cuts, while 240V or higher-output dual-voltage units are better for thicker steel, longer cuts, and cleaner edges.
Key Takeaways
- Match amperage to thickness, but also check the machine’s rated cut, severance cut, and duty cycle.
- Use 120V for light garage work and 240V when you need more output, faster travel speed, and better arc stability.
- Clean, dry, oil-free air matters as much as power because wet air shortens consumable life and weakens cut quality.
- Treat plasma cutting as hot work: clear combustibles, ventilate fumes, wear proper PPE, and follow the manual.
At a Glance
| Time Required | 20–40 minutes to inspect power, air, PPE, and fire safety before the first cut |
| Difficulty | Beginner to intermediate; hire a qualified electrician for new circuits, receptacles, or breaker changes |
| Tools Needed | Plasma cutter, compatible compressor, regulator, water separator or dryer, grounded work clamp, PPE, fire extinguisher, scrap test metal |
| Cost | Varies by cutter class; budget for the machine, consumables, air filtration, PPE, and any electrical upgrade |
Key Power Specs for DIY Metal Cutting
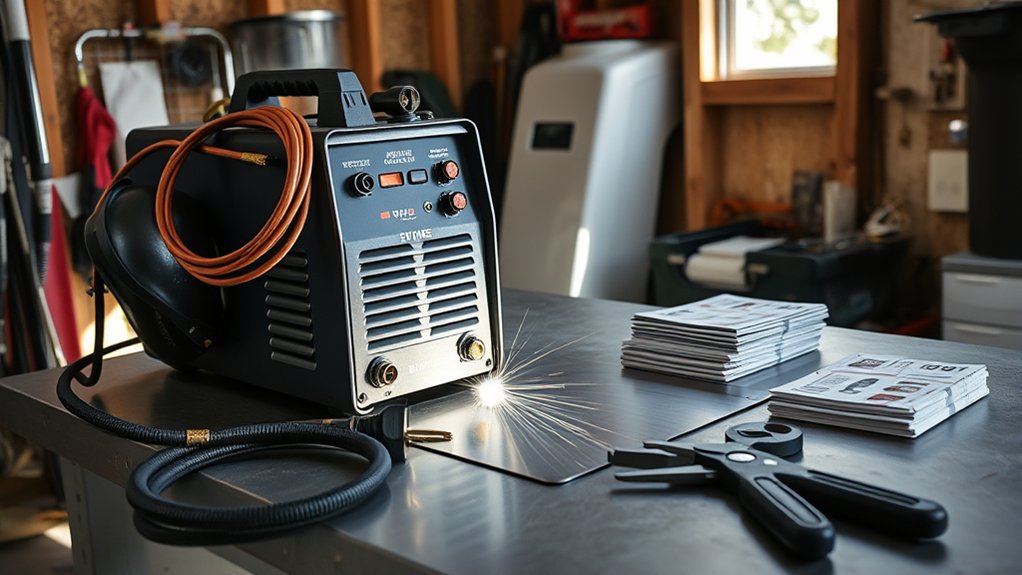
When you spec a plasma cutter for a home garage, start with output current, input voltage, duty cycle, and air supply. These four specs decide whether the machine will cut cleanly or keep tripping breakers, overheating, or leaving heavy dross.
Use 120V for portability and light-gauge work. Use 240V when you want more output, faster travel speed, and better arc stability on thicker stock. Some professional machines go beyond a simple hobby-garage setup, so always compare the cutter’s nameplate input requirements with your panel, breaker, receptacle, and wire size before buying.
For output current, match amperage to your common material instead of buying only for the thickest plate you might cut once a year. As a practical garage guide, thin sheet often falls in the 20–30A range, 1/4 in steel often needs more headroom, and 3/8–1/2 in material usually calls for a stronger 40–60A class machine. For heavy cuts, check the manufacturer’s cut chart instead of trusting only the front-panel amp rating.
| Typical Garage Material | What to Check | Best Fit |
|---|---|---|
| Thin sheet and small brackets | Stable low-amp arc, fine-cut consumables, clean ground clamp | 120V or dual-voltage machine on 120V |
| 1/4 in to 3/8 in mild steel | Rated cut speed, duty cycle, compressor CFM | Dual-voltage machine, preferably on 240V |
| 1/2 in and thicker plate | Recommended cut rating, severance rating, input amperage, air flow | Higher-output 240V or professional system |
Choose by rated cut quality, not just maximum severance thickness. A severance rating only means the machine can separate the metal slowly; it does not guarantee a clean, fast edge.
Look for dual-voltage if you cut in more than one location. It lets you use a standard outlet for light work and step up to 240V when the project needs more output. Just remember that a dual-voltage cutter may deliver much less power on 120V than it does on 240V.
Understanding Duty Cycle and Cut Ratings
You’ve matched amperage and voltage to your garage power, so now quantify uptime and thickness limits. Duty cycle tells you how long the torch can stay on at a stated amperage and temperature before the machine needs cooling time. A 60% duty cycle at 40A means about 6 minutes cutting and 4 minutes cooling in a 10-minute cycle.
Cut ratings define what the machine can do at the edge of its range. A recommended cut is the cleaner working range. A maximum or severance cut is slower, rougher, and closer to the limit of the arc. Higher amperage helps only when the duty cycle, input circuit, and air supply can support it.
| Spec | Definition | Practical Check |
|---|---|---|
| Duty Cycle | % of cutting time at rated amps | Match to job duration and cooling breaks |
| Recommended Cut | Clean working thickness range | Use this for buying decisions |
| Severance Cut | Maximum separation thickness | Expect slow travel and rougher edges |
For example, the Hypertherm Powermax65 SYNC lists 20–65A output, recommended cutting at 20 mm (3/4 in) at 20 ipm, a slower 25 mm (1 in) cut at 10 ipm, and hand severance at 32 mm (1-1/4 in). That is why you should compare the full cut table, not just the biggest number in the brochure.
Pro Tip: If your jobs involve many repeated cuts, buy for duty cycle and air flow first. If your jobs are short repair cuts, portability and clean arc starts may matter more.
120V Vs 240V: Which Fits Your Garage
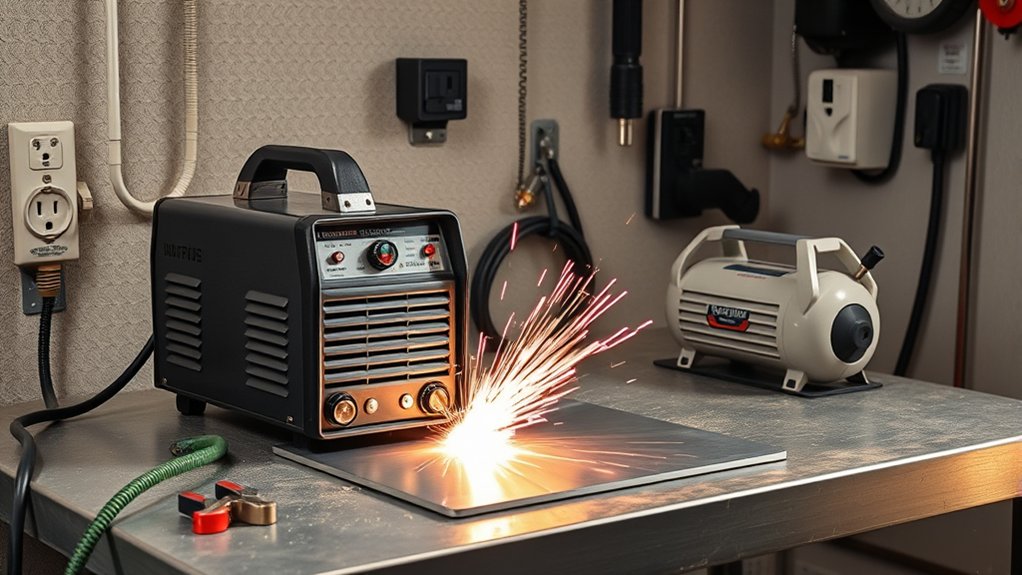
Before you pick a plasma cutter, audit your garage’s power. A standard 120V receptacle is convenient, but it limits output and may struggle when the cutter, compressor, lights, and other tools share a circuit. A 240V circuit gives many cutters more headroom, but only if the breaker, wire, receptacle, and plug match the machine.
Power Availability Constraints
Most garages have 120V receptacles on 15A or 20A breakers. That can work for light-duty cutters and short cuts, but a cutter near its limit can pull enough current to cause nuisance trips or voltage drop. Do not assume every garage outlet is safe for every 120V plasma cutter.
If you have a 240V receptacle, confirm the breaker size, wire gauge, plug type, and circuit loading. Some high-output machines may need a dedicated circuit. If you need a new breaker, receptacle, or wiring, use a qualified electrician and follow the cutter manual and local electrical code.
Cutting Performance Differences
On 120V, you are usually working in the lighter end of the cutter’s output range. That means thinner material, slower travel speeds, and shorter duty cycles. On 240V, many dual-voltage cutters can deliver higher amperage with a steadier arc, which helps on thicker steel and longer cuts.
- Compare the output range on 120V and 240V separately.
- Check the rated cut thickness, not just the severance thickness.
- Confirm the required breaker and plug before buying.
- Avoid long, undersized extension cords that cause voltage drop.
- Keep the compressor on a separate circuit when possible.
Circuit and Duty Cycle
Two specs decide whether a plasma cutter plays nicely with your garage: circuit compatibility and duty cycle. A 120V unit plugs into common receptacles, but it may cap output. A 240V machine can run more efficiently and support thicker cuts when the circuit is sized correctly.
Note: Do not “make the plug fit” with random adapters. The plug, receptacle, breaker, wire, and machine input rating all need to match.
Air Supply: Built-In Compressors Vs External
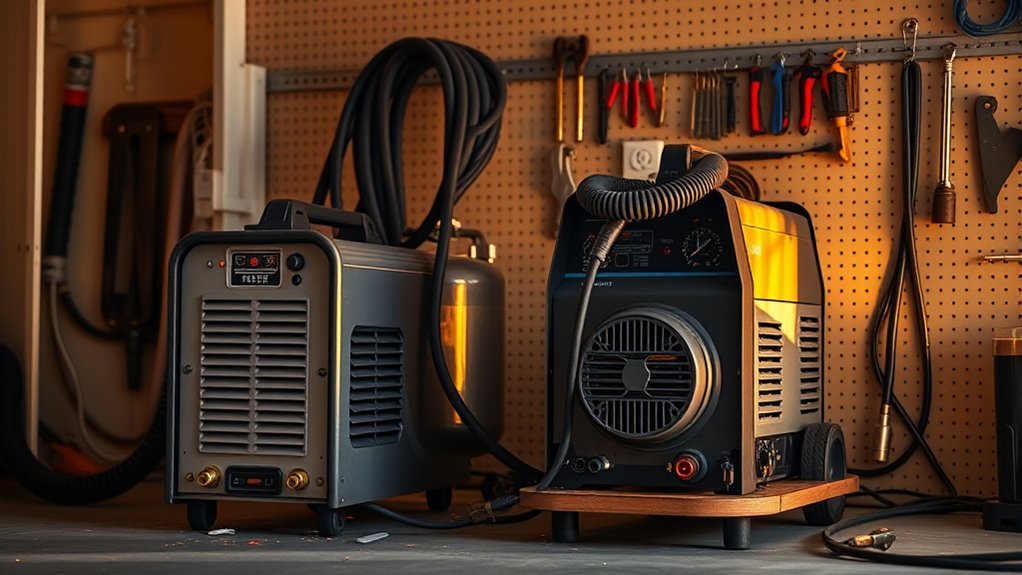
Before you pick a plasma cutter for your garage, decide how you’ll feed it air: an onboard compressor or an external supply. Plasma cutters need stable airflow because the torch uses gas to constrict the arc and blow molten metal out of the kerf.
Built-in compressor units are simple and portable. They reduce hoses and setup time, which is helpful for light repair work. The tradeoff is lower airflow, shorter sustained cuts, and less capacity on thicker metal.
External air gives you more flexibility. Pair the cutter with a shop compressor that can meet the torch’s required CFM at the stated PSI. For reference, Hypertherm lists clean, dry, oil-free air or nitrogen for the Powermax65 SYNC and gives a cutting inlet flow rate of 210 l/min, or 7.5 scfm, at 5.9 bar / 85 psi.
Air Compressor Checklist
- Match compressor CFM to the cutter’s required CFM at operating PSI.
- Use a regulator so pressure stays inside the torch’s recommended range.
- Add a water separator and filter/dryer to keep moisture out of the torch.
- Drain the compressor tank before cutting.
- Use adequate hose diameter to reduce pressure drop.
- Listen for leaks and run a quick leak-down check before long cuts.
Wet or oily air can erode electrodes, damage nozzles, cause sputtering, and create more dross. If cut quality suddenly gets worse after the first few minutes, check moisture and pressure before blaming the machine.
Top Budget-Friendly 120V Plasma Cutters
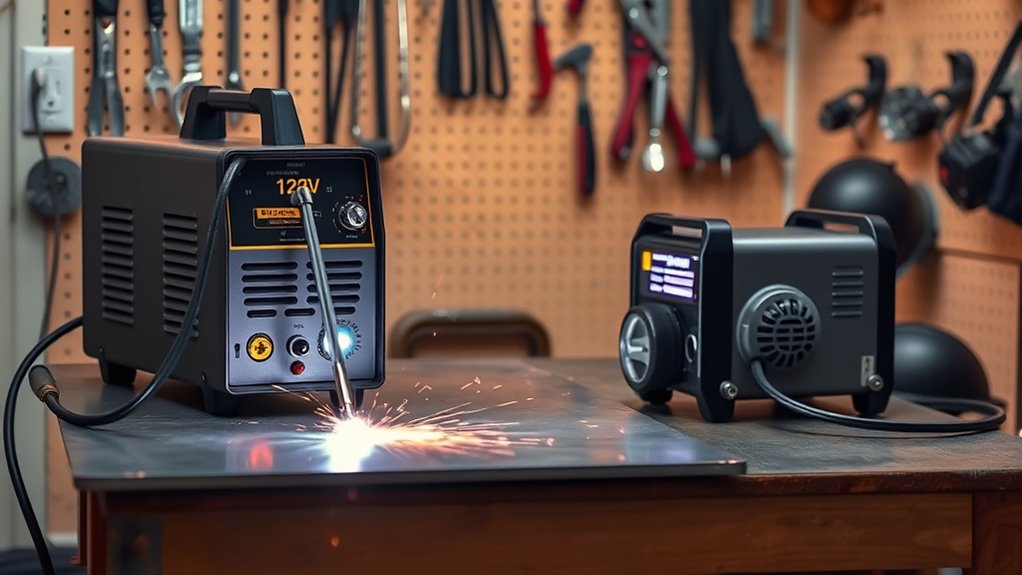
You want a budget-friendly plasma cutter that works on real garage power, not just impressive-looking specs. Focus on true 120V performance: stable arc starts, realistic clean-cut thickness, reasonable duty cycle, and input draw that will not overwhelm your breaker.
Products Worth Considering
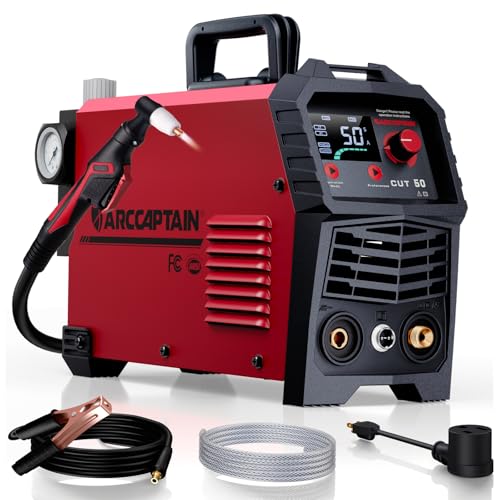
【Powerful Cutting Ability】Switch effortlessly between 110V and 220V for home or workshop use. Achieve professional 1/2" clean cuts on steel, aluminum, and copper with advanced LGBT technology. Perfect for DIY projects and heavy-duty tasks. Recommended maximum cutting thickness: 12mm @ 35A / 110V / 55 PSl; 18mm @ 50A / 220V / 75 PSI. Note: Requires compressed air (compressor sold separately).

[Powerful Cutting Ability] Dual voltage 110/220V good for home, workshop and hardware shop use. Professional performance 1/2" clean cuts on Iron, Steel aluminum and copper with Inverter IGBT Technology. Very powerful for DIY and heavy duty project. The Maximum cutting thickness is recommended to 1/2" @35A 110V 50PSI; 2/3" @50A 220V 65PSI. Dry and compressed air is required. Power breaker up to 60A@110V 35A; Up to 50A@220V 50A.

【Non-Touch Pilot Arc Function】The ARCCAPTAIN 55A plasma cutter features a pilot arc function. It utilizes a high-frequency non-touch arc starting mode. The torch head does not need to touch the metal plate, reducing energy consumption during non-cutting work, minimizing electrode burning, and extending service life. NOTE: Do not switch voltages until the screen turns off and the fan stops.
Budget Model Features That Matter
Instead of buying only by advertised amperage, compare the details that affect daily use. A lower-cost machine can be a good garage fit when it has the right features and you stay within its working range.
- Dual-voltage input: useful if you want 120V convenience now and 240V headroom later.
- Pilot arc: helpful on rusty, painted, or expanded metal because the torch does not need a perfect edge start.
- Clear display and controls: makes amperage and air-pressure setup easier.
- Available consumables: nozzles, electrodes, swirl rings, shields, and retaining caps should be easy to buy.
- Real manual and support: the manual should list input current, duty cycle, air pressure, CFM, and cut ratings.
True 120V Performance
A 120V plasma cutter is best for light fabrication, brackets, auto body patches, small farm repairs, and thin mild steel. It is not the best choice for repeatedly cutting thick plate. If a dual-voltage unit claims high output, check whether that output is available on 120V or only on 240V.
Common budget examples include machines in the Lotos, ARCCAPTAIN, YESWELDER, PrimeWeld, JEGS, and Klutch classes. Treat those names as starting points for comparison, not as a reason to skip the spec sheet. Before buying, confirm current model specs, warranty terms, torch type, consumable availability, and whether the unit uses high-frequency start or blowback start.
Must-Have Features
Essentials first: prioritize dual-voltage capability if your projects may outgrow 120V. Look for a clean pilot arc, simple consumables, a clear air-pressure setup, and a duty cycle that fits your work pace. A compact frame is useful, but do not trade away air quality or circuit safety just to save weight.
- Dual voltage when you need both portability and growth room
- Pilot arc for dirty steel and expanded metal
- Published duty cycle at rated output
- Manual with clear air pressure and CFM requirements
- Easy-to-find consumables and torch parts
Midrange Picks for Intermittent Home Use
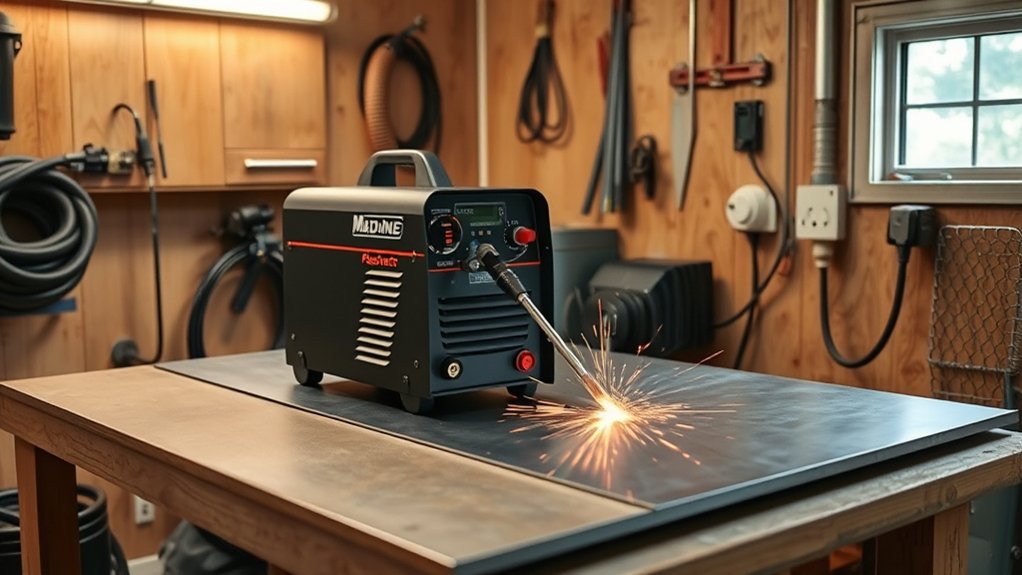
While you do not need industrial output for every weekend project, midrange plasma cutters give you more amperage, better duty cycle, and more consistent cut quality than many entry-level units. This range makes sense if you cut thicker brackets, trailer parts, frame plates, or repeated shop projects.
| Use Case | Best Machine Class |
|---|---|
| Light DIY and thin sheet | 120V or small dual-voltage cutter |
| General garage fabrication | 40–60A dual-voltage cutter on 240V when possible |
| Heavy occasional cuts | Professional 60A+ system with verified air and circuit capacity |
For a professional reference point, the Hypertherm Powermax65 SYNC lists 20–65A output, published cut capacities, and a 50% duty cycle at 65A on supported input power. That does not mean every home garage needs that machine. It shows why a published manufacturer spec table is better than relying on broad “cuts up to” marketing language.
Products Worth Considering

POWERFUL CUTTING THICKNESS: This plasma cutter handles 1/2" (12mm) steel at 120V/35A and 5/8" (16mm) at 240V/60A. Dual voltage auto-detection (10-35A@120V / 30-60A@240V) with PSI guidance (70-75 PSI / 0.48-0.52MPa). Optimized for quick, efficient cuts in automotive repairs and metal fabrication

POWERFUL CUTTING THICKNESS: This plasma cutter handles 1/2" (12mm) steel at 120V/35A and 5/8" (16mm) at 240V/60A. Dual voltage auto-detection (10-35A@120V / 30-60A@240V) with PSI guidance (70-75 PSI / 0.48-0.52MPa). Optimized for quick, efficient cuts in automotive repairs and metal fabrication

Drag-Cut Control & Faster Speed (HVAC/Art): Smooth touch-and-go tracking on thin sheet metal enables straighter lines and cleaner curves for custom ducts, stencils, and signmaking. Cuts up to 20% faster to maximize workshop productivity.
Garage Setup Steps Before Your First Cut
Once you have the machine, set up the garage before you strike the arc. A few minutes of prep prevents bad cuts, damaged consumables, and fire hazards.
- Read the manual first. Confirm input voltage, breaker size, duty cycle, air pressure, CFM, torch parts, and grounding instructions.
- Inspect the circuit. Use the correct receptacle and avoid overloaded shared circuits. Put the compressor on a separate circuit if possible.
- Prepare the air. Drain the tank, set the regulator, install a water separator or dryer, and check for leaks.
- Clear the work area. Remove sawdust, cardboard, fuel containers, solvents, oily rags, and loose clutter.
- Clamp to clean metal. Attach the work clamp to bare metal close to the cut path.
- Set amperage and travel speed. Start with the manual’s chart, then fine-tune on scrap of the same thickness.
- Make a short test cut. Check dross, bevel, arc stability, and whether the cut fully separates.
- Let the machine cool. Respect duty cycle instead of pushing through thermal shutdowns.
Warning: Plasma cutting throws sparks, hot metal, UV/IR radiation, and metal fumes. Keep combustibles away from the cutting zone, use proper eye and face protection, and do not cut coated metals without ventilation and respiratory protection suited to the hazard.
Safety, Ventilation, and Electrical Setup
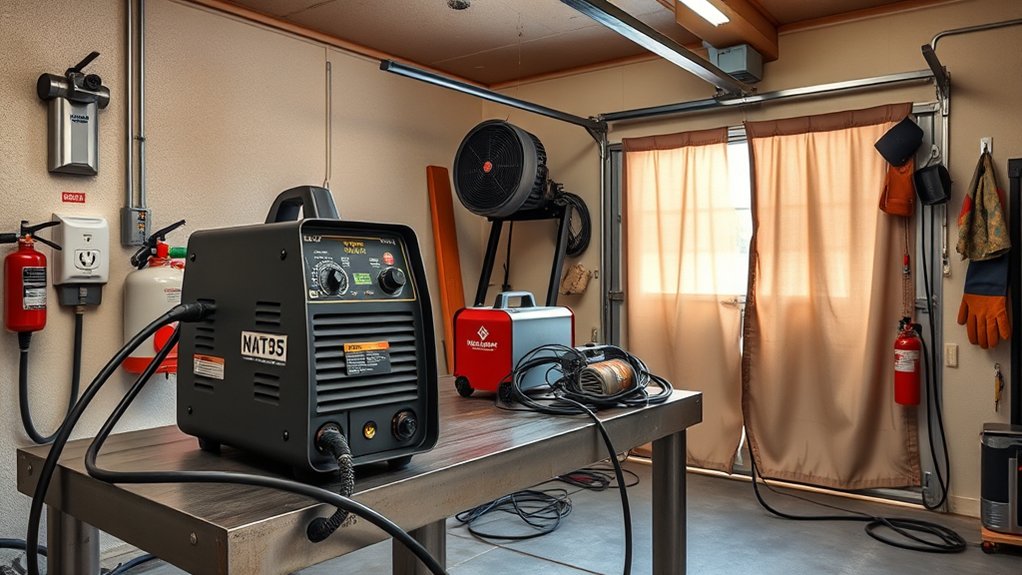
Before you pull the trigger on a cut, set up the space and power like a pro: move air, shield yourself, and size the circuit correctly. Treat safety precautions as non-negotiable.
Plasma cutting creates intense light, heat, sparks, and fumes. The OSHA eye and face protection standard lists filter-lens requirements for plasma arc cutting, including shade 8 for light plasma arc cutting under 300A when the actual arc is clearly visible. Start with a shade that is too dark, then move lighter only if you can see the work without going below the required minimum.
Wear a welding helmet or face shield with the correct shade, safety glasses, leather gloves, hearing protection, and flame-resistant clothing. Avoid synthetic clothing because sparks and hot metal can melt it into the skin.
Ventilation is just as important. The OSHA welding, cutting, and brazing standard requires local exhaust or general ventilation to keep toxic fumes, gases, and dust below allowable limits. Open doors and windows may help with airflow, but local exhaust that pulls fumes away from your breathing zone is better, especially indoors.
Fire prevention needs a real plan. Where practicable, OSHA calls for combustibles to be moved at least 35 ft from welding or cutting work, or shielded when they cannot be moved. Keep an ABC fire extinguisher nearby, watch where sparks fall, and stay in the area after cutting long enough to catch smoldering material.
- Use local exhaust or strong cross-ventilation that moves fumes away from you.
- Wear proper PPE: helmet, safety glasses, gloves, hearing protection, and FR clothing.
- Keep combustibles, solvents, fuel, and oily rags away from the work area.
- Use a dedicated circuit when the manual requires it.
- Keep the air system dry, filtered, and correctly regulated.
Cutting Painted or Galvanized Metal
You can cut painted or galvanized steel with a plasma cutter, but you should not treat it like clean mild steel. Paint, primer, zinc coating, oil, and unknown coatings can create toxic fumes and unstable arc behavior. Grind or strip the cut line first, ventilate aggressively, and use respiratory protection when the material or coating requires it.
For galvanized metal, be especially careful with zinc-bearing coatings. OSHA has specific ventilation requirements for welding or cutting zinc-bearing materials indoors or in confined spaces. If you cannot identify the coating, do not cut it indoors without proper controls.
Consumables, Maintenance, and Longevity
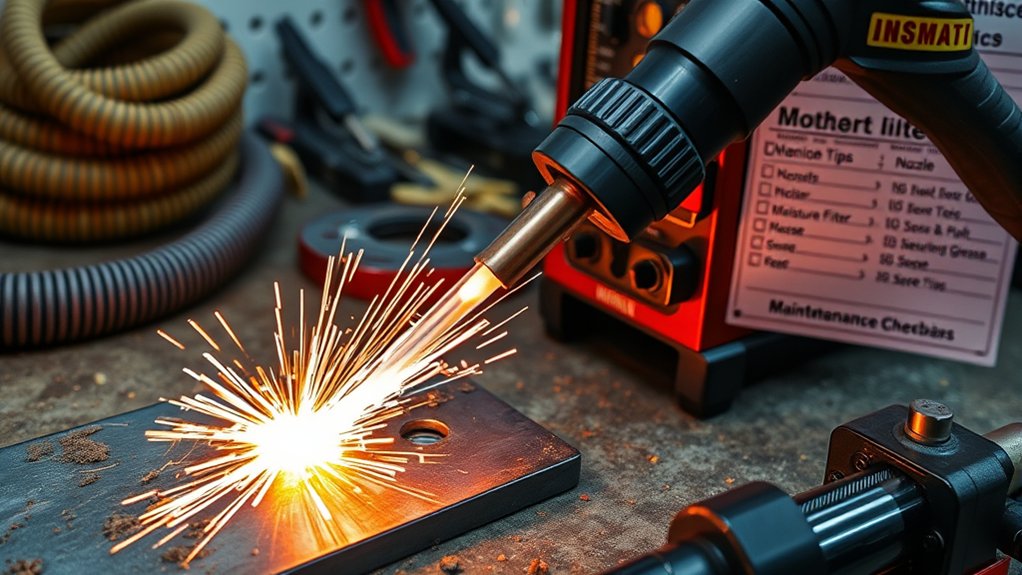
Even with perfect setup, consumables dictate arc stability and cut quality. Manage electrodes, nozzles, swirl rings, shields, and retaining caps as wear items. Use parts that match your torch model and amperage. Cheap or mismatched parts can cause double-arcing, bevel, hard starts, and extra dross.
Replace electrodes when the pit reaches the manual’s limit. Swap nozzles when the orifice grows, goes out of round, or shows keyholing. Keep O-rings clean and lightly lubricated only as the manual allows. Maintain rated air pressure and dry, filtered air because moisture erodes tips and destabilizes the plasma column.
| Task | Maintenance Tips |
|---|---|
| Air system | Drain tank, service filters, fix leaks, keep oil and water out of the torch |
| Torch | Inspect nozzle orifice, electrode pit, O-rings, shield, and retaining cap |
| Operation | Respect duty cycle, verify pressure, avoid dragging unless the torch supports it |
Stock the right spares before a weekend project. A small pack of electrodes, nozzles, and shields can save the job when cut quality drops halfway through a bracket set.
Troubleshooting Bad Cut Quality
If the cut looks rough, do not immediately blame the plasma cutter. Most garage cut problems come from travel speed, air pressure, wet air, worn consumables, poor grounding, or cutting too thick for the machine’s clean range.
| Problem | Likely Cause | Fix |
|---|---|---|
| Heavy dross on bottom | Travel speed too slow, amperage too low, or wet air | Increase speed slightly, confirm amps, drain compressor, check filters |
| Cut does not go through | Material too thick, travel too fast, poor ground, low air pressure | Slow down, clean clamp area, verify pressure, check cut rating |
| Beveled edge | Worn nozzle, wrong standoff, torch angle, or one-direction swirl effect | Replace nozzle, hold torch square, use correct standoff |
| Arc sputters or stops | Wet air, dirty work clamp, failing consumables, overloaded circuit | Dry the air, clean ground point, inspect torch, reduce load on circuit |
| Machine shuts down | Duty cycle exceeded or input power sag | Let it cool, lower amperage, shorten cuts, verify circuit capacity |
Frequently Asked Questions
Can a plasma cutter run off a portable generator safely?
Yes, but only if the plasma cutter manual allows generator use and the generator can supply the required voltage, running watts, surge capacity, grounding, and waveform quality. Inverter generators are often preferred for cleaner power, but the cutter manufacturer’s manual should be your final guide.
How loud are 120V plasma cutters during operation?
They are loud enough that hearing protection is smart, especially because the compressor may be louder than the arc during a garage job. Wear earplugs or earmuffs, maintain the torch, and reduce reflected noise where you can.
Will plasma cutting interfere with home Wi-Fi or electronics?
It can, especially with high-frequency start machines, poor grounding, long leads, or sensitive electronics nearby. Keep routers, computers, chargers, and diagnostic tools away from the cutting area. Use proper grounding, short leads, and separate circuits when possible.
What extension cord gauge is safe for 120V cutters?
The safest choice is to avoid extension cords unless the manual allows one. If you must use one, keep it short, use a heavy-gauge cord rated for the cutter’s input draw, and stop if the cord, plug, or receptacle gets warm. Undersized cords cause voltage drop and heat.
Can I cut painted or galvanized steel without special prep?
You can physically cut it, but you should prep it first. Strip paint or coating from the cut line when possible, ventilate the area, and use respiratory protection suited to the coating hazard. Galvanized steel can produce zinc oxide fumes, so do not cut it casually indoors.
Do I need a special air compressor for a plasma cutter?
You need a compressor that can supply the cutter’s required CFM at the required PSI, not just a tank with enough storage. The air must also be clean and dry. Add a regulator, water separator, and dryer if your compressor sends moisture to the torch.
Why does my plasma cutter leave so much dross?
Dross usually comes from travel speed, amperage, air pressure, wet air, worn consumables, or cutting beyond the machine’s clean range. Make a test cut on matching scrap, adjust one setting at a time, and inspect the nozzle and electrode before changing everything at once.
Conclusion
You’ve got the specs, duty cycle math, and air requirements dialed. For thin stock and light garage fabrication, a 120V or small dual-voltage plasma cutter can work well when the circuit is stable and the air is clean. For thicker steel, longer cuts, and cleaner edges, step up to 240V or a stronger machine class with enough compressor capacity. Choose reliable consumables, verify the manual’s CFM and input-power requirements, clear the work area, and cut a test piece first. Do that, and your garage plasma setup will be safer, cleaner, and far more repeatable.
Sources
- OSHA 1910.133 Eye and Face Protection — filter-lens shade guidance and eye/face PPE requirements for cutting and welding hazards.
- OSHA 1910.252 Welding, Cutting, and Brazing — fire prevention, ventilation, PPE, combustibles, and coated-metal safety requirements.
- Hypertherm Powermax65 SYNC Specifications — example manufacturer cut ratings, duty cycle, output current, and air-supply requirements.
- HobartWelders Plasma Cutters — example manufacturer category page for comparing cut capacity, input power, portability, and setup needs.