
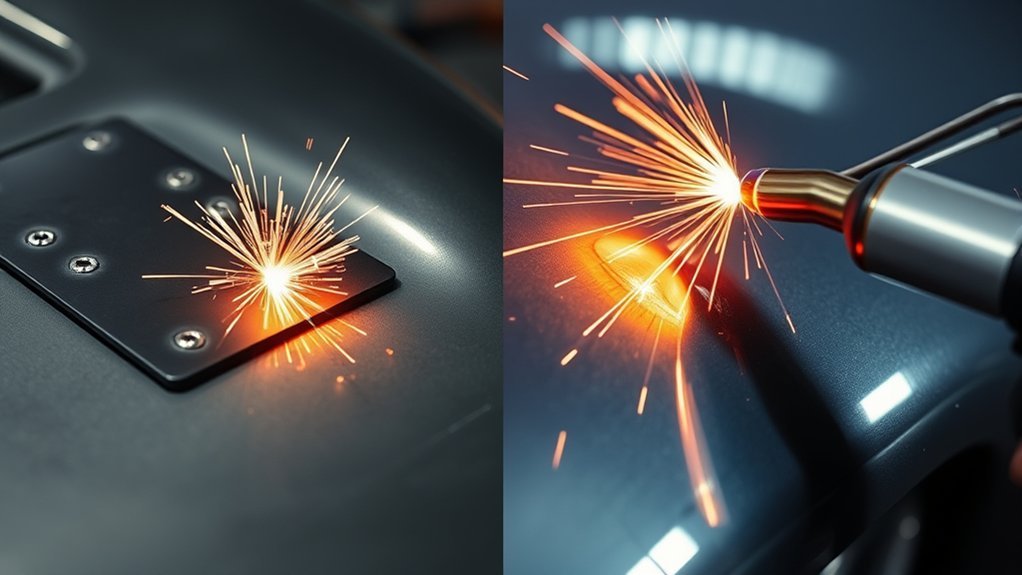
When you compare spot welding and MIG welding for auto body repair, the right choice depends on the panel, metal thickness, access, joint design, and the vehicle maker’s repair procedure. Spot welding works best on overlapping thin sheet metal where the electrodes can reach both sides. MIG welding works better for many patch repairs, plug welds, and areas where the repair procedure allows one-sided access.
Quick Answer
Use spot welding when you need clean, factory-style welds on overlapping thin panels and you can reach both sides of the joint. Use MIG welding when the repair calls for plug welds, patch panels, thicker metal, or one-sided access. For structural collision repairs, always follow the OEM repair procedure first.
Key Takeaways
- Spot welding is usually best for thin, overlapping sheet metal panels where you want low distortion and a factory-like appearance.
- MIG welding is more flexible for patch panels, plug welds, brackets, and thicker sections, but it adds more heat and may need more cleanup.
- The strongest repair is not always the weld that looks largest. It is the repair that matches the metal, joint, weld type, and OEM instructions.
- Modern vehicles may use high-strength steel, ultra-high-strength steel, adhesives, weld bonding, or MIG brazing in specific areas.
- Good weld prep, test welds, fire protection, ventilation, and corrosion protection matter as much as the welding process itself.
Choosing the Right Welding Technique for Auto Body Repairs
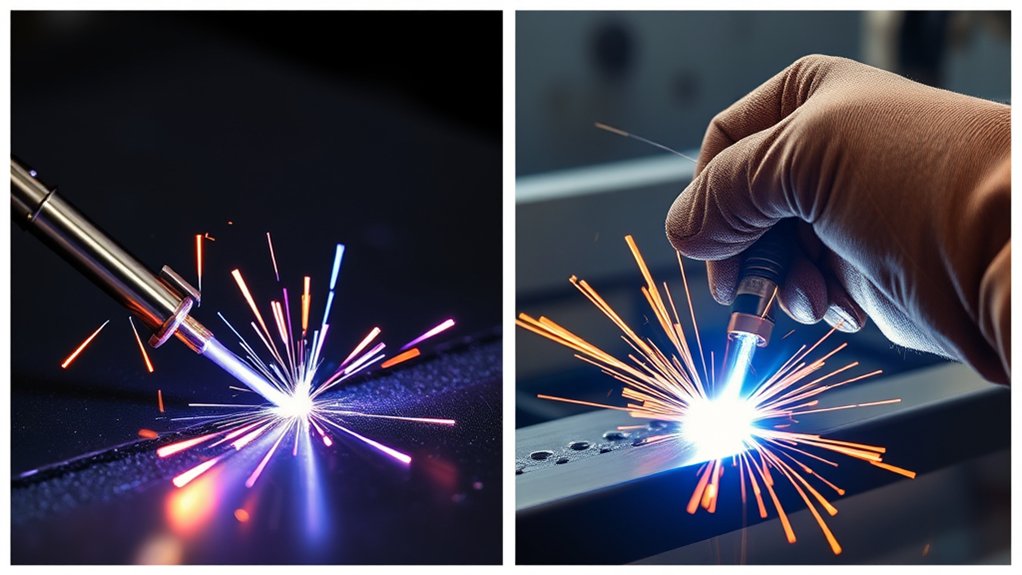
For most body repairs, the choice comes down to three questions: what does the OEM repair procedure require, how thick is the metal, and can you reach both sides of the joint? Spot welding is a form of resistance welding that clamps overlapping panels between electrodes and creates heat through electrical resistance. MIG welding, also called Gas Metal Arc Welding or GMAW, uses a continuously fed wire electrode, an arc, and shielding gas to fuse metal.
Spot welding is common on factory-style seams because it is fast, clean, and controlled on thin sheet metal. It does not need filler wire or shielding gas. It also leaves small weld marks that often look close to the factory weld pattern. MIG welding is more flexible because you can run short beads, tack welds, stitch welds, and plug welds where a spot welder cannot reach.
That flexibility does not mean MIG is always better. A large MIG bead can add too much heat to thin sheet metal, causing warping, burn-through, or a brittle heat-affected area. A poor spot weld can also fail if the panels are dirty, the pressure is wrong, or the machine is not set for the metal stack. The best repair is the one that follows the vehicle maker’s instructions and produces strong fusion without damaging nearby metal.
Warning: Do not choose a welding method for a structural collision repair by convenience alone. Check the OEM repair procedure for the exact weld type, number of welds, sectioning location, adhesive use, corrosion protection, and whether MIG welding, squeeze-type resistance spot welding, or MIG brazing is allowed.
| Repair Factor | Spot Welding | MIG Welding |
|---|---|---|
| Best fit | Overlapping thin body panels and factory-style seams | Patch panels, plug welds, brackets, and thicker sections |
| Access needed | Usually both sides of the joint | Often one side, depending on the joint and procedure |
| Heat input | Short, localized heat cycle | More operator-dependent heat input |
| Finish | Clean, small weld marks | May need grinding, sanding, or spatter cleanup |
| Main risk | Weak nugget if pressure, current, time, or panel prep is wrong | Burn-through, warping, porosity, or lack of fusion if settings are wrong |
What Is Spot Welding and When to Use It
Spot welding joins overlapping metal sheets by clamping them between electrodes and passing current through the joint. The heat forms a small weld nugget between the panels. In automotive work, this makes spot welding useful for flanges, seams, door skins, quarter-panel edges, rocker areas, and factory-style panel replacement when the machine can reach the joint.
In production, resistance spot welding is widely used in vehicle body assembly because it is quick and repeatable on sheet metal. In collision repair, it works best when the repair manual allows squeeze-type resistance spot welding and the technician can duplicate the required weld spacing, pressure, and current.
Applications of Spot Welding
Spot welding is strongest when both panels are clean, flat, tightly clamped, and properly overlapped. It is not the best method for open butt joints, large gaps, badly rusted flanges, or thick brackets unless the equipment and procedure specifically allow it.
| Application | Material Type | Ideal Use Case |
|---|---|---|
| Panel flanges | Mild steel or approved coated steel | Door skins, quarter flanges, rocker flanges, and factory-style seams |
| Overlapping seams | Thin sheet metal | Clean lap joints where both sides are accessible |
| Panel replacement | OEM-approved steel stacks | Repair areas that call for squeeze-type resistance spot welds |
Spot welding helps maintain a factory-style appearance, but it does not guarantee a correct repair by itself. You still need the right electrode tips, clean mating surfaces, proper squeeze pressure, correct weld spacing, and test welds on matching material.
Advantages of Spot Welding
Spot welding has several advantages in body repair. It is fast, uses no filler wire, creates little visible buildup, and keeps heat concentrated in a small area. That makes it helpful for thin panels where too much heat can cause distortion.
It also reduces finishing time because there is usually no bead to grind flat. That matters on visible panel edges, door openings, and seams where you want the repair to look close to original. A properly set resistance spot welder can also create consistent welds when the panel stack and metal type match the equipment settings.
The main downside is access. Spot welding usually needs the electrode arms to reach both sides of the joint. If the arms cannot reach, or if the OEM procedure calls for a different weld type, you may need MIG plug welds, MIG brazing, weld bonding, or another approved method.
Pro Tip: Before spot welding a replacement panel, make test welds on scrap pieces that match the same metal stack. Check nugget size and strength before welding the vehicle.
Understanding MIG Welding: Applications and Benefits
MIG welding is more adaptable than spot welding because it uses a welding gun, wire feed, electric arc, and shielding gas. The wire acts as both electrode and filler metal. The shielding gas protects the weld puddle from air while it cools, which helps reduce porosity and contamination. For mild steel body work, shops often use short-circuit MIG with small wire and controlled heat.
MIG welding is useful for patch panels, sectioning joints, brackets, plug welds, and areas where a spot welder cannot reach. It can also make strong repairs on thicker material when the correct wire, shielding gas, voltage, wire speed, and technique are used. If you need help matching settings to heavier steel, understanding how amperage drives heat into metal can help explain why settings matter.
For auto body work, the goal is not to run the largest bead possible. The goal is controlled fusion with the least heat needed for the joint. A series of spaced tack welds or short stitch welds is often better than one long bead on thin sheet metal because it reduces heat buildup and panel warping.
Shielding gas choice also matters. A 75/25 argon and CO2 blend is common for short-circuit MIG on mild steel, but it is not the best gas for every metal or transfer mode. Match the gas, wire, and settings to the base metal and repair procedure. For more detail on mild-steel gas choice, see this guide on the best gas for MIG welding mild steel.
Products Worth Considering
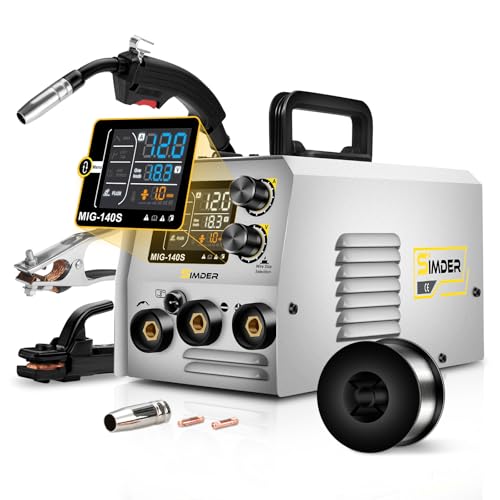
THREE-PROCESS WELDING STATION BUILT FOR FIRST-TIME USERS - Flux Core MIG, Lift TIG and Stick in one machine, so you can find the process that fits your projects without buying three separate welders. Runs on a standard 110V household outlet or 220V for heavier work - no electrician, no special wiring. Welds carbon steel, low-alloy steel, stainless steel, titanium, copper and cast iron
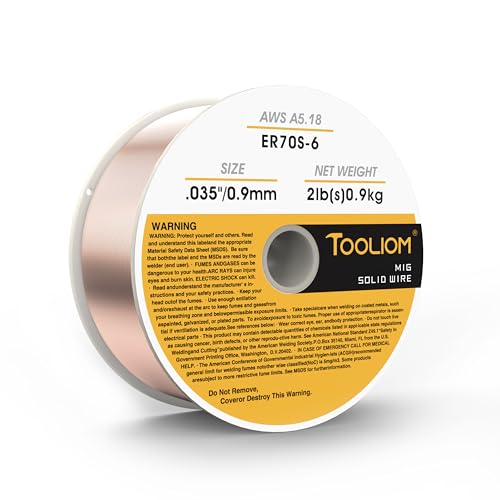
High-quality:Tooliom's .035" ER70S-6 MIG Welding Wire (2lb spool) meets all industry standards for consistent strength and performance. Enjoy smooth feeding, stable arcs, optimal penetration, and high deposition rates—everything you need for exceptional welds

Package Includes: 10ft mig gun + 1pcs nozzle +1pcs diffuser + 6 tips (.023", .030", .035" - two of each size). This mig gun uses the same consumables as the Tweco Mini/#1. 21-50 nozzle, 35-50 diffuser, 11-series contact tip.
Comparing the Strengths of Spot Welding vs. MIG Welding
The question “which weld is stronger?” does not have one simple answer. A correct spot weld can be very strong for a lap joint because the weld nugget forms between the sheets. A correct MIG weld can be very strong for plug welds, patch panels, and thicker joints. A wrong weld from either process can be weak.
Spot welding is strong when the joint is designed for it. It works best on clean overlapping panels with tight contact. If the panels are separated by rust, paint, adhesive in the wrong place, or poor fit-up, the weld nugget may be too small or inconsistent.
MIG welding can provide deeper fusion and more filler metal, but more weld metal does not automatically mean a safer repair. Too much heat can weaken thin steel, destroy coatings, warp panels, or damage nearby adhesive and corrosion protection. MIG welds can also look good on the surface while hiding poor penetration or porosity underneath. That is why test welds and destructive checks are so important.
The strongest auto body repair is the one that matches the OEM procedure, the metal type, the joint design, and the approved weld process.
Products Worth Considering

【Designed For Automotive Repair Work】Spot weld panel chisel Designed for automotive body repair work, precisely removes auto body spot welds and easily separates metal panels. It is suitable for a wide range of bodywork, include accident repairs, vehicle dismantling, door and fender replacement, and the separation of welds on frames and chassis, ensuring efficient performance to meet your needs.

Highly Durable Design: The shell of stud welder kit is made of high-quality ABS body, has good stability under high temperature conditions, withstand temperature of 93-118℃, and the movement is pure copper electrode. This welder stud kit is wear-resistant, strong and sturdy.

Professional Dent Removal: VEVOR Stud Welder Dent Puller offers a fast and efficient solution for removing dents from steel car body panels, all while providing precise dent pulling and controlled force for a professional-grade dent repair every time.
Pros and Cons of Spot Welding in Auto Body Repair
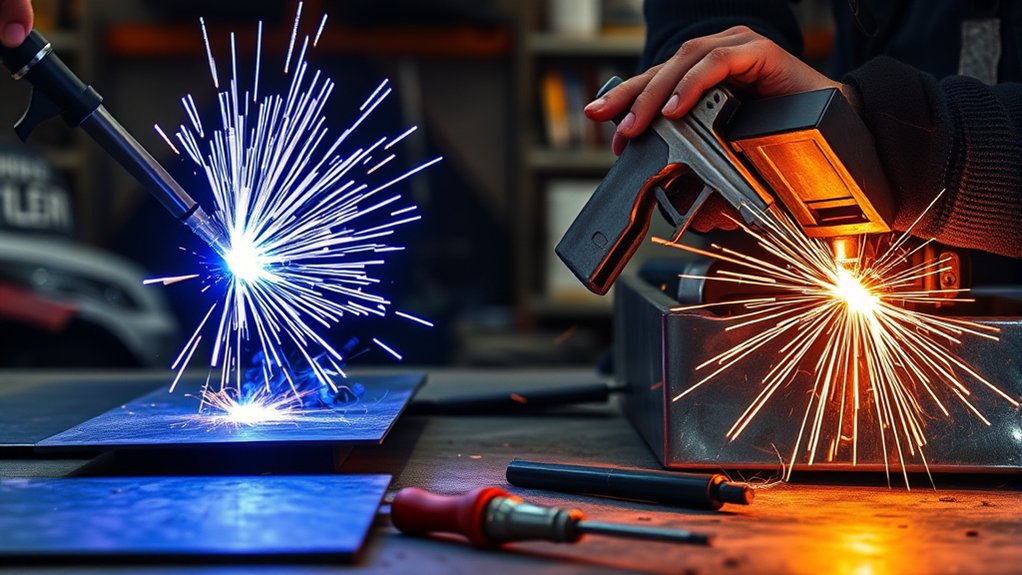
Spot welding is excellent for clean, fast, repeatable welds on thin overlapping panels. It is especially useful when the repair must look close to the factory weld pattern. Because it does not add filler metal, it usually needs less grinding and finishing than MIG welding.
The limitations are just as important. Spot welding is poor for gaps, butt joints, thick stack-ups outside the machine’s range, and areas where electrode access is blocked. It also depends heavily on electrode condition, clamp pressure, current, weld time, and panel prep. If the weld does not form a proper nugget, the joint can fail even if the surface mark looks acceptable.
| Pros | Cons | Suitable Applications |
|---|---|---|
| Fast and clean | Needs good access to both sides | Panel flanges and lap joints |
| No filler metal or shielding gas needed | Not suitable for many butt joints or large gaps | Factory-style seams |
| Low visible buildup | Requires correct pressure, current, time, and tip condition | Thin sheet metal repairs approved by OEM instructions |
Pros and Cons of MIG Welding for Collision Repairs
For collision repairs, MIG welding is valuable because it can handle many joint shapes and repair positions. It works well when you need short welds, tack welds, plug welds, or controlled patch-panel repair. With the right setup, it can make strong, consistent welds on mild steel and many repair sections.
MIG welding also helps when spot-welder arms cannot reach the joint. In those cases, the OEM procedure may allow a MIG plug weld, also called a rosette weld, to replace a factory spot weld. A plug weld uses a hole in the top panel so the weld can fuse the lower panel and fill the hole. The hole size, spacing, and grinding rules should match the repair manual.
The drawbacks are heat and cleanup. MIG welding can create spatter, burn-through, undercut, porosity, and distortion if the settings or technique are wrong. It also needs clean metal, correct shielding gas, solid ground connection, and steady travel speed. If you are troubleshooting weld defects, issues like lack of fusion should be corrected before you weld a vehicle panel.
Surface preparation is also critical. Paint, oil, seam sealer, rust, adhesive, zinc coating, or dirt can cause porosity and weak fusion. When welding coated or galvanized steel, follow the repair procedure and use proper ventilation because coatings can create hazardous fumes. This guide on MIG welding galvanized steel explains why preparation and fume control matter.
When to Choose Spot Welding vs. MIG Welding
Choose the welding process by repair procedure first, not personal preference. After that, look at metal thickness, access, joint type, appearance needs, and heat sensitivity.
Choose Spot Welding When
- The OEM procedure calls for it: Use squeeze-type resistance spot welding where the repair manual specifies it and your equipment can meet the requirement.
- The panels overlap: Spot welding works best on lap joints and panel flanges, not open butt joints.
- You can reach both sides: The electrode arms must clamp the joint properly.
- You need low distortion: The short heat cycle helps protect thin sheet metal from warping.
- You want a factory-style finish: Spot weld marks are smaller and cleaner than most MIG beads.
Choose MIG Welding When
- The repair procedure allows it: MIG may be specified for plug welds, stitch welds, sectioning joints, or brackets.
- Spot welder access is limited: MIG can often work from one side when the joint design allows it.
- The metal is thicker: MIG can provide more filler and penetration on appropriate material thicknesses.
- You are patching a panel: MIG tack welds and short stitches are common for patch-panel work.
- You need controlled buildup: MIG can fill small gaps better than spot welding, although good fit-up is still required.
What About Plug Welds and MIG Brazing?
MIG plug welds are often used to replace factory spot welds where a spot welder cannot reach, but only when the repair procedure allows that substitution. They need clean holes, tight panel contact, correct heat, and full fusion into the lower panel.
MIG brazing is different from standard MIG welding. It uses a lower-temperature filler, often silicon bronze, to join certain steels with less heat input. Some OEM procedures specify MIG brazing on high-strength steel locations to reduce heat damage. Do not substitute MIG brazing for MIG welding, or MIG welding for MIG brazing, unless the repair instructions say to do so.
Note: Advanced high-strength steel and ultra-high-strength steel can lose strength if overheated. Avoid guessing on structural parts, pillars, rails, rockers, and reinforcements. Use the exact OEM procedure and approved equipment.
Key Mistakes to Avoid in Spot and MIG Welding Techniques
Both methods can produce strong repairs, but both can also fail when basic setup is ignored. Watch for these common mistakes:
- Skipping OEM repair information: Guessing weld type or weld spacing can compromise crash performance and corrosion protection.
- Poor fit-up: Gaps between panels reduce spot-weld quality and make MIG welding harder to control.
- Dirty metal: Paint, rust, oil, coatings, adhesive, and seam sealer can cause porosity, weak fusion, and fumes.
- Wrong spot-welder pressure: Low pressure can create weak nuggets, while poor electrode alignment can make uneven welds.
- Wrong MIG settings: Too much heat burns through thin panels. Too little heat causes cold welds and lack of fusion.
- Long MIG beads on thin panels: Continuous beads can warp body panels quickly. Use controlled tacks or short stitches when appropriate.
- Wrong filler wire or gas: Match wire, gas, and polarity to the material and process.
- No weld testing: A weld that looks acceptable can still be weak. Test on matching scrap before welding the vehicle.
- No corrosion protection: Bare welded seams can rust from the inside out if you skip primer, seam sealer, and cavity wax.
Best Practices for Spot and MIG Welding
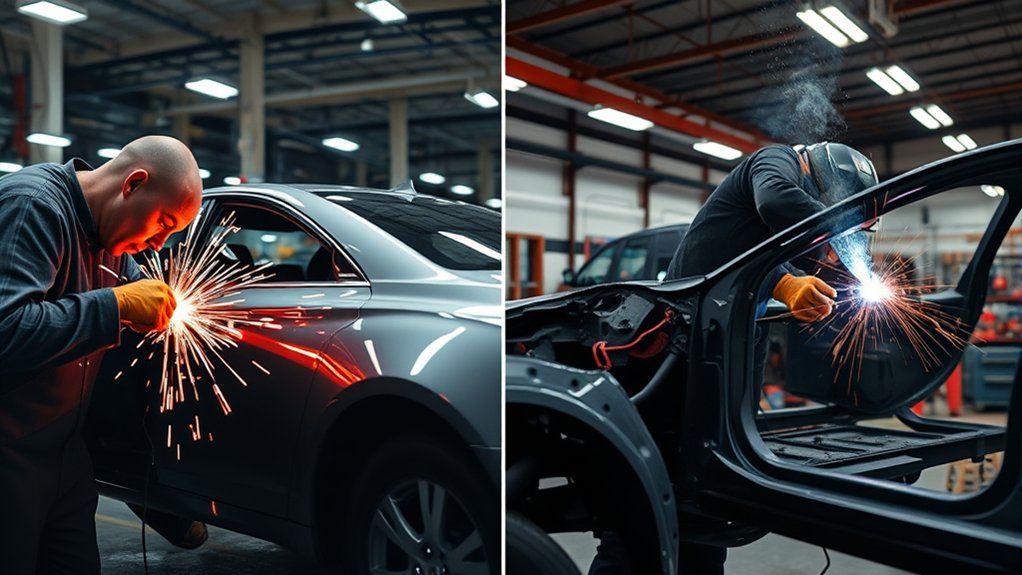
Good auto body welding starts before the arc or weld cycle begins. Clean the metal, confirm panel fit, protect nearby parts, test the settings, and plan how you will restore corrosion protection after the welds cool. OSHA notes that welding, cutting, and brazing involve hazards that require controls, and welding safety guidance should be part of the job plan.
Proper Equipment Setup
- Set the spot welder for the panel stack: Use the correct program, electrode tips, pressure, current, and weld time for the metal thickness and coating.
- Prepare the MIG welder correctly: Match wire size, gas, polarity, voltage, and wire feed speed to the metal and joint.
- Check consumables: Clean spot-welder tips, replace worn MIG contact tips, and keep the nozzle free of spatter.
- Use a solid ground: A poor ground can cause unstable arc behavior and weak welds.
- Control heat: Let thin panels cool between MIG tacks and move around the repair area to avoid heat buildup.
Safety Precautions Needed
Welding can expose you to fumes, gases, ultraviolet radiation, burns, eye injuries, electrical shock, fire, and explosion hazards. Wear a welding helmet with the correct shade, safety glasses, welding gloves, flame-resistant clothing, and hearing protection when needed. Avoid synthetic clothing that can melt from sparks.
Keep the work area clean. Remove flammable trim, carpet, sound deadener, paper, solvents, and seam sealer near the weld zone. Keep a fire extinguisher nearby and use a fire watch when sparks can reach hidden areas. OSHA’s general welding requirements call for fire hazards to be moved or guarded and for suitable fire-extinguishing equipment to be ready for use.
Ventilation is also part of safety. Welding coated steel, galvanized steel, adhesive residue, or painted panels can create hazardous fumes. Use local exhaust or mechanical ventilation where needed, and do not weld in confined spaces unless the space is properly evaluated and ventilated. OSHA also has specific resistance welding requirements that cover competent operators, guarding, shields, and maintenance.
Material Compatibility Considerations
Welding method must match the material. Mild steel is more forgiving than many modern high-strength steels, but even mild steel can warp if overheated. Aluminum, boron steel, ultra-high-strength steel, coated steel, and adhesive-bonded joints need special procedures.
- Thin mild steel: Spot welding or carefully controlled MIG tack/stitch welding may be suitable, depending on the joint.
- Overlapping flanges: Spot welding is often preferred when access and procedure allow it.
- One-sided repairs: MIG plug welds may be used when specified.
- High-strength steels: Follow OEM instructions closely because excess heat can reduce strength.
- Aluminum panels: Do not assume standard steel MIG settings apply. Aluminum needs different wire, gas, cleanliness, and technique.
Testing Welds Before the Repair Leaves the Shop
Test welds protect you from hidden failures. Before welding the vehicle, make sample welds on scrap metal that matches the same thickness, coating, and stack-up. For spot welds, check nugget size and perform a peel or chisel test when appropriate. For MIG welds, check penetration, bead shape, backside fusion, and porosity.
Record the settings that work. A simple note with wire size, gas, voltage, wire feed speed, spot-welder program, squeeze pressure, and panel stack can save time and make the repair more repeatable.
Corrosion Protection After Welding
Welding burns away coatings and exposes bare metal. After the repair cools, clean the weld area, dress the weld only as much as needed, and restore corrosion protection. Depending on the repair procedure, that may include weld-through primer before welding, epoxy primer after welding, seam sealer, undercoating, and cavity wax inside enclosed panels.
Do not grind structural welds flat unless the repair procedure allows it. Over-grinding can weaken the weld. On cosmetic sheet metal, grind slowly and keep the panel cool to avoid thinning or warping the surface.
Final Thoughts: Selecting the Right Welding Technique for Your Repair Needs
Choosing between spot welding and MIG welding is not about picking one process for every job. Spot welding is usually the better match for clean, overlapping thin panels where you can reach both sides and need a factory-style repair. MIG welding is more versatile for patch panels, plug welds, thicker sections, and one-sided access when the repair procedure allows it.
For collision repair, the OEM repair manual should guide the final decision. It tells you where to section, how many welds to use, which weld process is allowed, and how to restore corrosion protection. When you combine that information with clean metal, tight fit-up, correct equipment settings, and proper safety controls, you get a repair that is stronger, cleaner, and more reliable.
Frequently Asked Questions
When should you use spot welding instead of MIG welding?
Use spot welding when you are joining overlapping thin panels, the electrodes can reach both sides, and the OEM repair procedure allows or requires resistance spot welds. It is a strong choice for factory-style flanges and seams because it is fast, clean, and low-distortion.
What welding is best for auto body repair?
MIG welding is common for auto body patch panels because it is flexible and works from one side. Spot welding is often best for overlapping flanges and factory-style panel replacement. The best method is the one approved by the vehicle maker for that specific location and material.
Is MIG welding stronger than spot welding?
MIG welding can be stronger for some joints, especially thicker metal or plug weld repairs. Spot welding can be stronger and cleaner for the lap joints it was designed for. Strength depends on the metal, joint design, weld size, penetration, heat control, and OEM procedure.
What health risks do welders face?
Welders can face fumes, gases, ultraviolet radiation, burns, eye damage, electric shock, fire, and explosion hazards. These risks can be reduced with ventilation, clean work practices, fire protection, training, and proper PPE. Do not weld coated or contaminated metal without fume control.
What is the golden rule in auto body welding?
The golden rule is to follow the OEM repair procedure before choosing the weld type. Then clean the metal, fit the panels tightly, test your settings on matching scrap, control heat, and restore corrosion protection after welding.
Can MIG plug welds replace factory spot welds?
Sometimes, but only when the OEM repair procedure allows it. A MIG plug weld must use the correct hole size, spacing, heat, and panel fit. It must fuse into the lower panel, not just fill the hole in the top panel.
Conclusion
Spot welding and MIG welding both have a place in auto body repair. Spot welding is best for clean, overlapping thin panels where you can reach both sides and need a factory-style finish. MIG welding is better for many patch repairs, plug welds, brackets, and thicker sections where the repair procedure allows it.
Before welding, check the OEM instructions, prepare the panels carefully, make test welds, protect yourself from fumes and fire, and restore corrosion protection after the repair. That process gives you a safer, cleaner, and more durable result than choosing a weld type by habit alone.
Sources
- Canadian Centre for Occupational Health and Safety: Welding overview — welding process types, shielding basics, and welding hazards.
- OSHA: Welding, Cutting, and Brazing — federal safety topic page for welding hazards and resources.
- OSHA 29 CFR 1910.252 — fire prevention, fire watch, and ventilation requirements for welding, cutting, and brazing.
- OSHA 29 CFR 1910.255 — resistance welding equipment, guarding, operator instruction, shields, and maintenance.
- Improved Training Strategies for Physics-Informed Neural Networks using Real Experimental Data in Aluminum Spot Welding — research context on resistance spot welding in automotive body-in-white production.




