For custom car fabrication, you need to match the welder, filler metal, and process to the base material and joint. Use MIG for faster steel work and body patches, and TIG for thin sections, aluminum, and chromoly where heat control matters. Clean and fit every part carefully, then lock in alignment before final welds. Preheat thicker sections when needed, inspect every bead, and avoid contamination. The right setup makes stronger builds, and there’s more to refine.
Choose the Right Welder
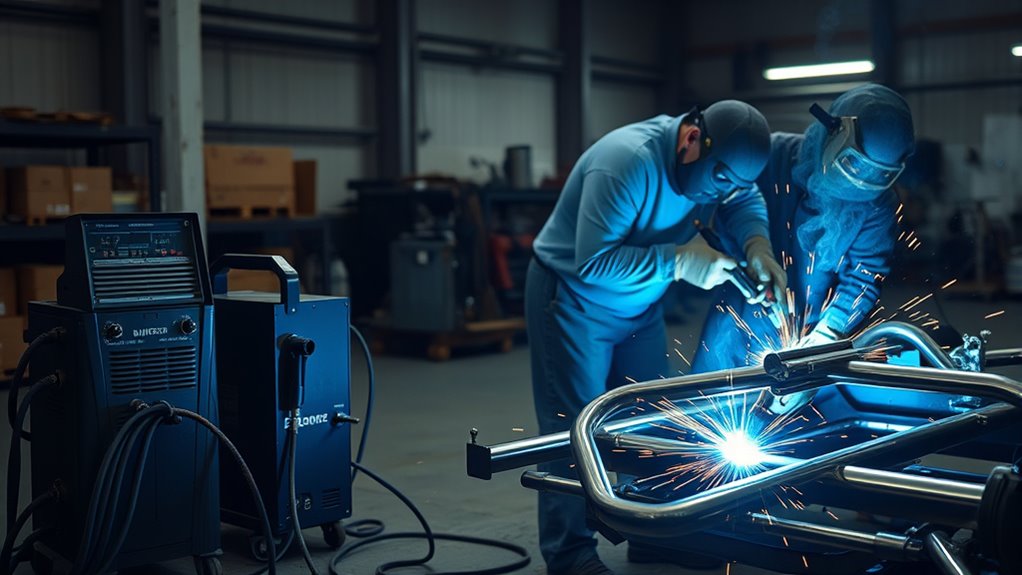
Choosing the right welder starts with matching the machine to the material you’ll fabricate most often. You need a welder that suits mild steel, aluminum, or chromoly, because each metal demands a different process, filler, and control range.
For many automotive applications, MIG welding gives you fast, consistent results, while TIG welding gives you finer control on thin sections and aluminum.
Check input power first: 120V or 240V must match your shop, and amperage must cover the thickness of the metal you’ll join. If you’re starting out, user-friendly machines simplify setup and reduce errors.
If you’re working aluminum, choose AC capability and compatible filler metals. Advanced builders should consider a multiprocess welder for flexible, independent work across projects. Additionally, consider a welder with pilot arc technology to improve performance on rusty or painted surfaces.
Prioritize safety features such as thermal protection, voltage control, and clear settings so you can fabricate with confidence and keep the process under command.
Products Worth Considering
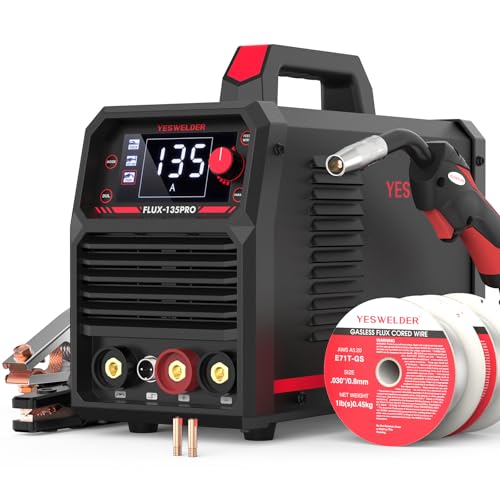
MULTI PROCESS: Experience the convenience of a high-quality, budget-friendly 3-in-1 welding machine that masterfully handles Gasless Flux Core MIG/Stick/Lift TIG(additional 10-25 lift TIG torch required). This unit caters to a wide range of welding applications and meets your various welding needs.

4-in-1 MIG Welder: This 200Amp 4-in-1 mig welder supports multiple welding functions - lift TIG, gasless MIG, gas MIG, and MMA welding. Versatile and efficient, it easily handles various materials and welding scenarios, providing a convenient and high-performance solution for your welding tasks. (Note: Lift TlG Torch is not included)

MIG vs. TIG for Custom Car Fabrication
Once you’ve matched your welder to the material and power available in your shop, the next decision is whether MIG or TIG better fits the job. In the automotive industry, you’ll use both welding processes to shape metal with purpose and freedom.
- MIG welding gives you speed, simple setup, and strong results on thicker steel, so it’s ideal for body-panel patches and chassis repairs.
- TIG welding gives you finer precision and tighter control, letting you work thin aluminum and stainless without sacrificing finish quality.
- MIG uses continuous wire feed and shielding gas; TIG uses a tungsten electrode, so you can match each process to the alloy and joint.
- If you want less distortion, TIG’s heat control helps; if you want faster fabrication, MIG often wins.
- Always consider the maximum fillet weld size based on the thickness of the material to ensure structural integrity in your fabrication projects.
Choose the process that serves your fabrication journey, not the one that merely looks advanced.
Products Worth Considering

【UPGRADED 3 IN 1 MULTIPROCESS WELDER】The AWT welding machine 110v offers 3 processes: Flux Core/gasless MIG, MMA/Stick and Lift TIG to meet your different requirements. Our MIG welder perfect for DIY projects, home repairs, farm work, automotive applications and and construction sites.

【4-IN-1 WELDER FOR MULTIPLE PROJECTS】: The AZZUNO MIG-145L combines Gas MIG, Gasless Flux Core MIG, Lift TIG, and Stick welding in one compact machine, giving you the flexibility to handle home DIY projects, automotive repair, exhaust work, farm equipment maintenance, metal fabrication, and general steel welding. [Lift TIG torch is not included. The compatible Lift TIG torch model is WP-17V (10-25).]

Welding Engines, Cooling, and Exhaust Parts
When you move from chassis work to engine, cooling, and exhaust parts, the weld has to match both the base metal and the heat it’ll see in service. In automotive repairs, you’ll rely on TIG welding for precise control on aluminum and steel components. Use AC TIG with 4043 or 4943 filler metals for intake manifolds and cylinder heads, especially cast aluminum, to preserve structural integrity. For cooling parts like radiators and tanks in 3003, 5052, or 6061, AC TIG plus 4043 or 4943 helps stop leaks. For exhaust systems and headers, switch to DC TIG and choose filler metals such as ER70S-2, 308, 347, 309, or 625. Proper joint fit-up is crucial to avoid burn-through, especially given aluminum’s thermal properties.
| Part | Process | Filler |
|---|---|---|
| Intake manifold | AC TIG | 4043/4943 |
| Radiator/tank | AC TIG | 4043/4943 |
| Header/exhaust | DC TIG | ER70S-2/308 |
For oil pans, match the process to the material: DC on steel, AC on aluminum.
Build Chassis and Roll Cage Welds That Hold
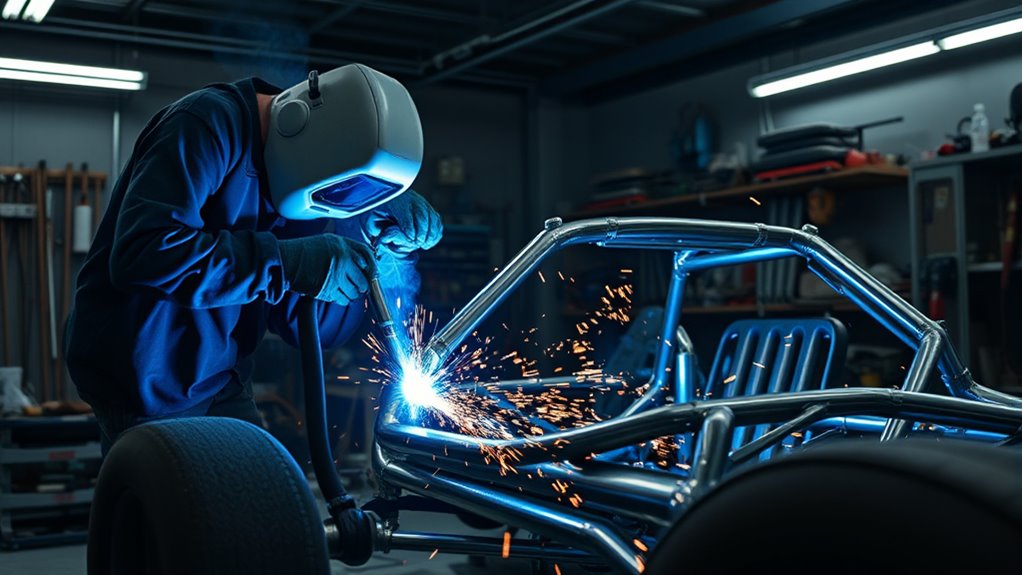
You should choose mild steel or 4130 chromoly for the chassis and roll cage, and match it with the right filler metal, such as ER70S-6 for MIG or ER70S-2 for TIG.
You’ll need to compare MIG and TIG based on joint access, material thickness, and control of heat input, because weld quality depends on consistent settings and travel speed. Proper amperage settings are essential for achieving strong welds.
Prepare every joint by cleaning the surfaces, fitting them tightly, and verifying tube size and cage geometry so the structure meets safety requirements and holds under impact.
Material And Filler Choice
For chassis and roll cage fabrication, choose mild steel or 4130 chromoly based on the build’s goals: mild steel keeps costs down and is easier to source, while 4130 offers lower weight and higher strength for performance-focused applications.
In custom car fabrication, match your filler metal to the base alloy to protect weld integrity.
- For MIG welding on mild steel, use .030-.035 ER70S-6.
- For TIG welding on mild steel, use ER70S-2.
- Keep the welding process continuous and defect-free.
- Verify every joint with post-weld inspection and dye penetrant testing.
You’ll free the chassis from weak points when you choose material and filler with precision.
For thin-walled tubes, TIG welding often gives tighter control, but your final decision should always follow the alloy, load path, and inspection results.
MIG Vs TIG Process
With your base metal and filler matched, the next choice is the welding process itself, and that decision shapes weld speed, control, and distortion in chassis and roll cage work.
MIG welding gives you speed and ease, so it’s strong for thicker mild steel and fast custom chassis fabrication. Use ER70S-6 where filler material compatibility fits.
TIG welding gives you finer heat input control, cleaner beads, and tighter control on thin tubing and complex joints. In high-stress areas, TIG welding often wins because it limits warping and supports critical strength. For chromoly, ER70S-2 or ER80S-D2 pairs well.
Choose by application suitability: MIG for rapid automotive welding, TIG for precise roll cage welds that hold.
Weld Prep And Safety
Clean metal and tight fit-up are the foundation of chassis and roll cage welds that hold. Your weld prep starts by removing rust, paint, grease, and other contaminants so the joint can fuse cleanly.
Keep gaps tight; good fit-up helps the welding process deliver uniform penetration and structural integrity.
- Clean every joint to bare metal.
- Match filler metals to the base material: ER70S-2 for mild steel, ER80S-D2 for chromoly.
- Wear safety gear: gloves, protective clothing, and a welding helmet.
- Inspect every bead after cooling for cracks, porosity, or inconsistent tie-in.
When you control prep and safety, you build stronger tubes, safer cages, and more freedom on the road or track.
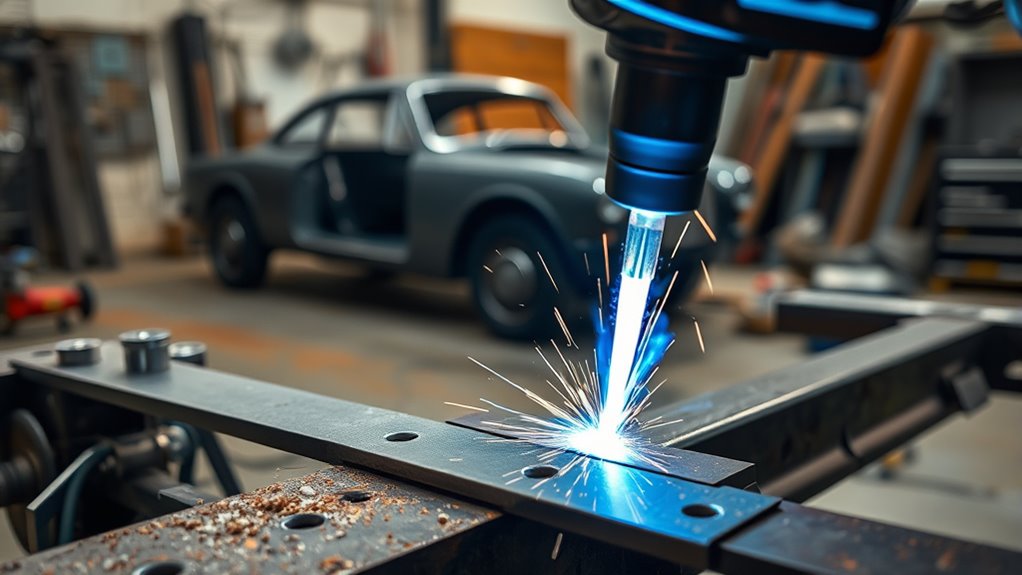
Weld Suspension Parts for Strength and Alignment
You need to choose the right process and base material first, since suspension parts demand controlled heat input and tight weld quality.
Set alignment before you make the final welds, because even small distortion can affect handling and tire wear.
For filler selection, use ER70S-2 for mild steel and ER80S-D2 for chromoly so your control arms and mounts hold strength under load. Understanding electrode selection is crucial to achieving optimal weld quality and strength in suspension components.
Material And Process Choice
Choosing the right material and welding process for suspension parts is critical to strength, alignment, and long-term durability. You should select mild steel or chromoly for strong strength-to-weight performance, then match the process to the joint. For upper control arms, DC TIG welding gives you tight control and clean alignment.
- Inspect each component first for stress points.
- Use MIG welding for faster fabrication on compatible materials.
- Use TIG welding with ER70S-2 for mild steel and ER80S-D2 for chromoly.
- Manage heat carefully to avoid warping and preserve alignment.
These welding techniques let you reinforce suspension parts without excess distortion. Choose filler metals precisely, control heat management, and you’ll build a chassis that responds cleanly, carries load reliably, and supports the freedom you want on the road.
Alignment Before Final Welding
Once you’ve selected the right material and welding process, lock in the suspension geometry before striking the final weld. You need exact alignment of suspension parts to keep handling sharp and stability intact.
Start with pre-weld checks, then use precision measuring tools like laser alignment systems or dial indicators to confirm that control arms, spindles, and mounts sit within manufacturer specifications.
Make adjustments now, not later; once the arc starts, errors can become permanent. Misalignment can cause uneven tire wear, degraded safety, and weaker performance, so treat setup as nonnegotiable.
After welding, perform post-weld inspections and verify alignment again to confirm the welding process hasn’t introduced distortions.
This disciplined sequence gives you control, protects the chassis, and lets your build move freely, accurately, and with confidence.
Filler Metals For Strength
For suspension welding, the filler metal you select needs to match the job as closely as the base material itself. You’ll protect alignment and structural integrity by choosing the right alloy for each joint.
- Use ER70S-2 for mild steel; it delivers reliable tensile strength.
- Use ER80S-D2 for chromoly; it supports stronger, cleaner suspension welds.
- In high-stress areas, pick filler metal with equal or higher yield strength than the tube.
- Apply preheating on thicker sections to cut cracking and warping.
Your welding techniques should keep heat controlled and penetration consistent.
After welding, inspect every bead for consistency, because weak filler choices can steal fatigue resistance and safety.
When you select deliberately, you build a suspension that stays aligned and lets the car move free, hard, and true.
Final Prep, Safety Gear, and Weld Cleanup
Before you strike an arc, clean and degrease every joint so the metal’s surface is ready for a strong, consistent weld. Your final prep should remove oil, rust, paint, and dust, because contamination weakens fusion and reduces adhesion.
Put on safety gear before you start: auto-darkening helmets, gloves, and a lightweight jacket shield you from sparks, heat, and UV exposure while keeping your movement free and controlled. Wearing flame-resistant clothing is crucial to protect against burns from spatter.
After welding, perform weld cleanup by removing slag, spatter, and any trapped impurities from the bead and surrounding metal. This post-weld cleanup improves both strength and finish, and it gives you a clear view for inspecting welds for uniformity, penetration, and integrity.
If you find defects, mark them for reinforcement before assembly continues.
Keep maintaining workspace order by storing tools, leads, and consumables in defined locations. A clean, organized area cuts hazards, speeds fabrication, and lets you work with precision and confidence.
Common Welding Mistakes in Custom Car Builds
Even careful custom fabrication can go sideways if you skip the fundamentals, because small mistakes quickly become structural problems.
In custom builds, the most common welding mistakes usually start before the arc: poor planning, wrong process choice, and rushed prep. Use these welding tips to keep control:
- Verify fitment and mock-ups before you strike an arc.
- Match filler and process to the base metal; improper material selection hurts MIG welding and TIG welding results.
- Remove rust, oil, paint, and mill scale; inadequate cleaning traps contamination.
- Manage heat control to prevent warping, especially on thin panels.
Additionally, ensure you clean metal thoroughly to enhance weld quality and avoid issues like cracks and porosity.
You also need practice. If you rush beads without repetition, you’ll get uneven penetration, weak joints, and ugly welds that limit your freedom to build safely.
Precision gives you leverage; discipline turns effort into durable structure.
Frequently Asked Questions
What Is the Best Welding for Car Fabrication?
MIG welding’s usually best for car fabrication: you get speed, versatility, and strong automotive repair welding. Use TIG welding precision for thin panels, and Stick welding durability for heavy repairs. Follow welding safety practices and custom fabrication techniques.
Can You Make $100,000 as a Welder?
Yes—you can; as the adage says, “skill pays.” You’ll need advanced welding techniques, industry certifications, career advancements, strict safety practices, manage equipment costs, pursue job opportunities, freelance welding, and welding schools.
What Is a Fabricator Welder’s Salary?
You’ll usually earn $39,000–$62,000 yearly as a fabricator welder; advanced fabrication techniques, welding certifications, and career advancement can raise pay above $70,000, especially where industry demand, welding equipment, safety practices, work environments, and skill development matter.
What Is the Welding Process in Automotive Manufacturing?
You use welding techniques like MIG, TIG, and spot welding to fuse metal types in automotive manufacturing, choosing equipment selection, joint designs, safety measures, repair processes, training programs, and project planning for reliable structural integrity.
Conclusion
When you weld custom car parts, your process directly affects strength, alignment, and safety. If you’re choosing between MIG and TIG, remember that TIG can be up to 25% slower, but it gives you finer control on critical joints. You should match the welder to the material, prep every surface, and inspect each bead before moving on. If you skip cleanup or rush fitment, you’ll compromise the build and the vehicle’s long-term reliability.


