
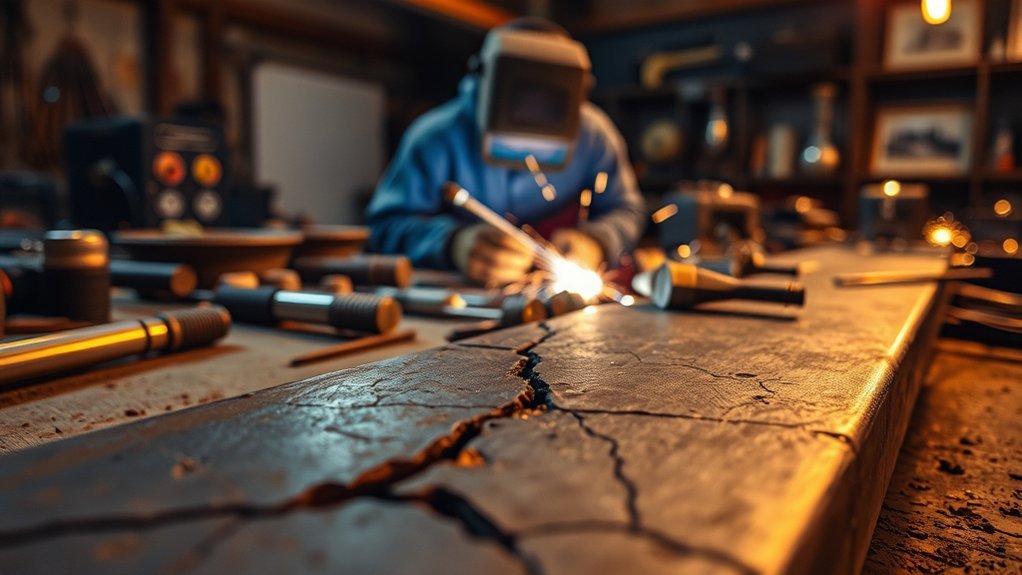
Weld cracks are serious welding defects because they can weaken the weld metal, the heat-affected zone, or the base metal beside the joint. They usually form when shrinkage stress, poor fit-up, rapid cooling, hydrogen, contamination, or the wrong filler metal overwhelms the weld’s ability to stretch as it cools. The safest approach is to prevent cracks before they start, then inspect the weld before the part goes into service.
Quick Answer
Weld cracks happen when the weld cannot handle cooling shrinkage, restraint, hydrogen, contamination, or poor joint design. Prevent them by cleaning the metal, choosing compatible filler, controlling heat input, using low-hydrogen practices when needed, preheating suitable materials, filling craters, and inspecting the weld after cooling.
Key Takeaways
- Hot cracks form while the weld is solidifying; cold cracks usually appear after the weld cools and are often linked to hydrogen, hard microstructures, and restraint.
- Cracks often start at the crater, toe, root, centerline, or heat-affected zone, so those areas need close inspection.
- Good prevention starts before welding: clean the joint, dry consumables, check fit-up, choose compatible filler, and follow a qualified welding procedure when one applies.
- Visual inspection is only the first step. Dye penetrant, magnetic particle, ultrasonic, or radiographic testing may be needed for critical welds.
At a Glance
| Best Time to Prevent Cracks | Before and during welding, not after the crack appears |
| Difficulty | Basic for visual checks; advanced for coded repair and NDT |
| Tools Needed | PPE, cleaning tools, correct filler, temperature sticks or thermometer, lighting, magnifier, and suitable inspection method |
| Critical Safety Rule | Use a qualified welder or inspector for structural, pressure, lifting, trailer, or vehicle safety parts |
Warning: Do not rely on a cracked weld in a load-bearing, pressure-containing, lifting, suspension, frame, trailer, or safety-critical part. Stop using the part until a qualified person can inspect it and decide whether it must be repaired, cut out, or replaced. Welding also creates fumes, UV radiation, burn, shock, and fire hazards, so follow proper PPE and ventilation guidance from OSHA welding safety resources.
What Are Weld Cracks and Why Do They Matter?
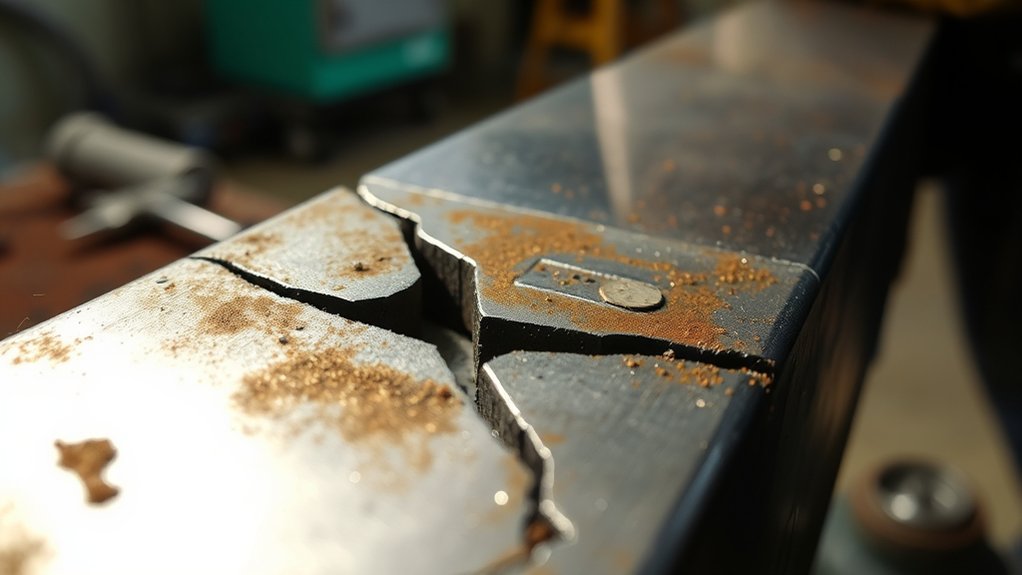
Weld cracks are linear breaks in the weld metal, base metal, or heat-affected zone. Unlike some cosmetic defects, cracks are usually treated as serious because they create stress risers. Once a crack starts, vibration, impact, corrosion, or repeated loading can make it grow.
Cracks may appear right away or later. A crater crack can show up at the end of a bead as soon as the arc stops. A hydrogen-assisted cold crack may not appear until the weld has cooled and the trapped hydrogen, hard microstructure, and residual stress combine. That delayed behavior is why critical welds often need inspection after cooling, not only while the bead still looks fresh.
Weld cracks also matter because they often point to a deeper process problem. The cause may be poor joint fit-up, wrong amperage, high restraint, moisture in the consumable, contamination on the base metal, incompatible filler, or a cooling rate that is too fast for the material. Understanding the causes of porosity also helps, because the same poor cleaning, gas coverage, and moisture problems that cause porosity can contribute to cracking.
Where Weld Cracks Usually Start
Finding the crack location helps you narrow down the cause. The same welded joint can crack in several different places, and each location tells a different story.
| Crack Location | What It Often Suggests |
|---|---|
| Crater crack | The arc ended without filling the crater, leaving a weak shrinkage point. |
| Centerline crack | The bead shape, high depth-to-width ratio, contamination, or solidification pattern caused cracking along the weld center. |
| Toe crack | Stress concentration at the weld toe, undercut, poor profile, hydrogen, or high restraint may be involved. |
| Root crack | Poor root opening, lack of fusion, low heat input, hydrogen, or high root restraint may be the cause. |
| Heat-affected zone crack | The base metal hardened beside the weld, often from rapid cooling, high carbon equivalent, or hydrogen. |
| Transverse crack | Shrinkage stress, low ductility, or hydrogen may have pulled the weld apart across the bead. |
Common Causes of Weld Cracking
Most weld cracks trace back to one or more of five problems: stress, hydrogen, poor fit-up, unsuitable materials, or poor control of the welding process. You do not always need all five. A high-restraint joint with damp low-hydrogen electrodes, for example, may crack even if the bead looks smooth at first.
Material Incompatibility Issues
Material incompatibility during welding can increase the risk of cracks, especially when the base metal and filler metal do not match in strength, chemistry, ductility, or thermal expansion. Dissimilar metals, high-carbon steels, some stainless grades, cast iron, and certain aluminum alloys can be crack-sensitive when welded with the wrong filler or procedure.
Impurities such as sulfur, phosphorus, zinc, paint, oil, and moisture can also create weak areas in the weld. On some alloys, low-melting films can form along grain boundaries during solidification, raising the risk of hot cracking. On hardenable steels, the wrong filler or missing preheat can create a brittle heat-affected zone that is more likely to crack later.
Rapid Cooling Effects
Rapid cooling is a common trigger for cold cracking, especially in thick steel, high-carbon steel, and high-strength low-alloy steel. When the weld cools too quickly, the heat-affected zone can become hard and brittle. If hydrogen and residual tensile stress are also present, the risk rises sharply.
| Factor | Impact |
|---|---|
| Rapid Cooling | Can increase hardness and residual stress |
| Thermal Expansion | Creates shrinkage stress as the weld cools |
| Hard HAZ Formation | Makes some steels less able to absorb strain |
| Joint Restraint | Prevents movement and raises tensile stress |
| Heat Management | Controls cooling rate and bead shape |
Preheating, interpass temperature control, correct heat input, and post-weld heat treatment can reduce cracking risk when the material or welding procedure calls for them. Do not guess preheat on critical parts. Use the welding procedure specification, code requirement, material data, or a qualified welding engineer’s guidance.
Poor Welding Technique
Poor technique can cause cracking even with the right filler metal. Common examples include excessive voltage, too long an arc, poor travel speed, lack of fusion, deep narrow beads, undercut, and stopping the arc without filling the crater. Incorrect amperage settings can also create poor penetration, excessive heat, or a bead shape that is more likely to crack.
Bead shape matters. A very deep and narrow bead can encourage centerline cracking because the weld solidifies in a way that concentrates shrinkage stress near the center. A flatter, properly fused bead with a suitable width-to-depth ratio is usually less crack-prone than a ropey or sharply concave bead.
Pro Tip: Before blaming the machine, check the joint. Tight fit-up, clean metal, correct root opening, and a filled crater prevent more cracks than small changes to the dial settings alone.
Understanding Weld Cracks: Hot vs. Cold Types
The two main timing categories are hot cracks and cold cracks. Hot cracks form while the weld metal is still solidifying or very hot. Cold cracks form after solidification, often after the weld cools to near room temperature. Cold cracks are also called delayed cracks, hydrogen-assisted cracks, or hydrogen-induced cracks when diffusible hydrogen is part of the mechanism.
| Type of Crack | Characteristics |
|---|---|
| Hot Cracks | Form during solidification or high-temperature cooling |
| Often appear as centerline, crater, or longitudinal cracks | |
| Cold Cracks | Develop after the weld has solidified and cooled |
| Often linked to hydrogen, hard HAZ, high restraint, and residual stress |
Hot cracking prevention focuses on clean base metal, compatible filler, good bead shape, proper joint design, and avoiding crater defects. Cold cracking prevention focuses on dry consumables, low-hydrogen practices, preheat when required, controlled cooling, suitable filler strength, and inspection after the weld cools. Proper fillet weld sizing also matters because oversized or poorly shaped welds can add unnecessary heat input and shrinkage stress.
Impact of Temperature on Weld Integrity
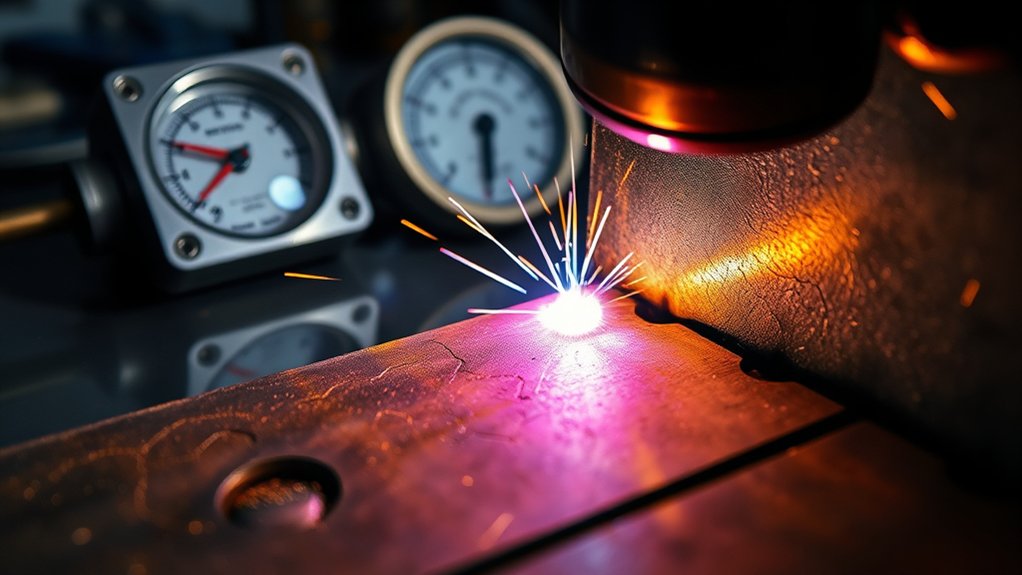
Temperature control affects weld integrity because welding heats a small area very quickly, then the metal shrinks as it cools. If the cooling rate is too fast for the material, the heat-affected zone may become hard and brittle. If heat input is excessive, the bead may become too wide, distorted, or weakened by grain growth. Good welding balances penetration, fusion, cooling rate, and bead shape.
Temperature Effects on Ductility
Ductility is the metal’s ability to stretch before it breaks. When the weld metal or heat-affected zone has low ductility, it cannot absorb shrinkage stress well. That is why brittle microstructures, contamination, and high restraint are so dangerous. The weld may look complete, but a small crack can form as soon as the joint is stressed.
On crack-sensitive steels, preheating thick cold steel can slow the cooling rate and reduce the thermal shock between the hot weld and the surrounding base metal. Preheat also gives diffusible hydrogen more time to escape before the weld becomes highly stressed.
Cooling Rate Influence
Cooling rate is one of the biggest differences between an easy weld and a crack-sensitive weld. Thin mild steel often cools quickly without cracking because it is more forgiving. Thick, restrained, high-carbon, or high-strength steel can harden quickly and trap hydrogen, which increases the risk of delayed cracking.
Control cooling rate by using the right preheat, interpass temperature, bead sequence, and heat input. Do not overcorrect by simply adding more heat. Too much heat can create distortion, burn-through, grain growth, or other defects.
Heat Input Considerations
Heat input is affected by amperage, voltage, travel speed, and process efficiency. Low heat input can cause lack of fusion or a cold root. Excessive heat input can make the weld pool too fluid, widen the heat-affected zone, and increase distortion. Both extremes can contribute to cracking.
For code work, heat input is not a guess. It is controlled by the welding procedure specification. For shop and repair work, follow the filler manufacturer’s range, use the correct electrode angle and travel speed, and make test welds on similar scrap before welding an important part.
The Role of Hydrogen in Weld Cracking
Hydrogen is a major cause of delayed cracking in hardenable steels. It can enter the weld from moisture in electrodes, flux, shielding gas problems, damp base metal, rust, oil, paint, or humid conditions. During cooling, hydrogen can move into stressed areas of the weld and heat-affected zone. If the metal is hard and restrained, cracking can follow.
Low-hydrogen welding practices reduce that risk. These include using low-hydrogen electrodes or wires when required, storing electrodes correctly, baking or holding electrodes according to the manufacturer’s instructions, cleaning the base metal, avoiding wet workpieces, and following proper flux core welding technique when using flux-cored wire.
| Factor | Impact on Weld | Mitigation Strategies |
|---|---|---|
| Hydrogen Sources | Increase delayed cracking risk | Use dry, low-hydrogen consumables when required |
| Residual Stresses | Help cracks start and grow | Use proper sequence, fit-up, and PWHT when specified |
| Cooling Rate | Affects hardness and hydrogen diffusion | Preheat and control interpass temperature when needed |
Note: “Low hydrogen” does not mean “no hydrogen.” Keep consumables dry, clean the joint, and follow the procedure. A low-hydrogen electrode left open in a damp shop can lose much of its benefit.
Best Practices for Preventing Weld Cracks
Effective crack prevention is a sequence, not a single trick. Use this checklist before, during, and after welding.
Products Worth Considering

This product features 30 Pcs 10in; ABS plastic welding rods designed for repairing ABS plastic components like car bumpers, plastic tanks, and daily household items. ABS is a durable thermoplastic commonly used in automotive and consumer goods, and these rods provide a seamless, strong repair solution for cracks or breaks in ABS surfaces.

This product features 10 Pcs 8in; ABS plastic welding rods designed for repairing ABS plastic components like car bumpers, plastic tanks, and daily household items. ABS is a durable thermoplastic commonly used in automotive and consumer goods, and these rods provide a seamless, strong repair solution for cracks or breaks in ABS surfaces.

This product features 10 Pcs 19.69in ABS plastic welding rods designed for repairing ABS plastic components like car bumpers, plastic tanks, and daily household items. ABS is a durable thermoplastic commonly used in automotive and consumer goods, and these rods provide a seamless, strong repair solution for cracks or breaks in ABS surfaces.
Before Welding
- Clean the joint to bright, sound metal where practical. Remove paint, rust, oil, grease, moisture, zinc, and mill scale that can contaminate the weld.
- Confirm the base metal. High-carbon steel, cast iron, stainless steel, aluminum, and unknown scrap may need special filler or preheat.
- Choose compatible filler metal. Match the base metal, strength requirements, and service conditions instead of choosing filler only by diameter.
- Check joint fit-up. Avoid excessive gaps, sharp notches, poor root opening, and high restraint.
- Dry and store electrodes or flux according to the manufacturer’s instructions, especially for low-hydrogen consumables.
- Preheat only when the material, thickness, code, or welding procedure calls for it.
During Welding
- Use the correct amperage, voltage, travel speed, and stickout or arc length.
- Maintain a stable arc and avoid whipping or pausing in ways that create undercut or lack of fusion.
- Keep bead size controlled. Avoid very deep, narrow beads and excessive buildup.
- Fill the crater before stopping the arc. Use a crater-fill function, back-step, or brief pause as appropriate for the process.
- Control interpass temperature on multipass welds. Do not let crack-sensitive welds cool too far between passes unless the procedure allows it.
After Welding
- Let the weld cool as required. Do not quench a crack-sensitive weld unless the procedure specifically requires it.
- Inspect the crater, root, toes, starts, stops, and heat-affected zone.
- Use post-weld heat treatment only when specified for the material or code. PWHT can reduce residual stress, but the wrong treatment can damage some alloys.
- For critical welds, schedule the required non-destructive testing before the part goes into service.
Additionally, ensure proper PPE setup before preparing, grinding, cutting, or welding metal.
Choosing the Right Materials and Joint Designs
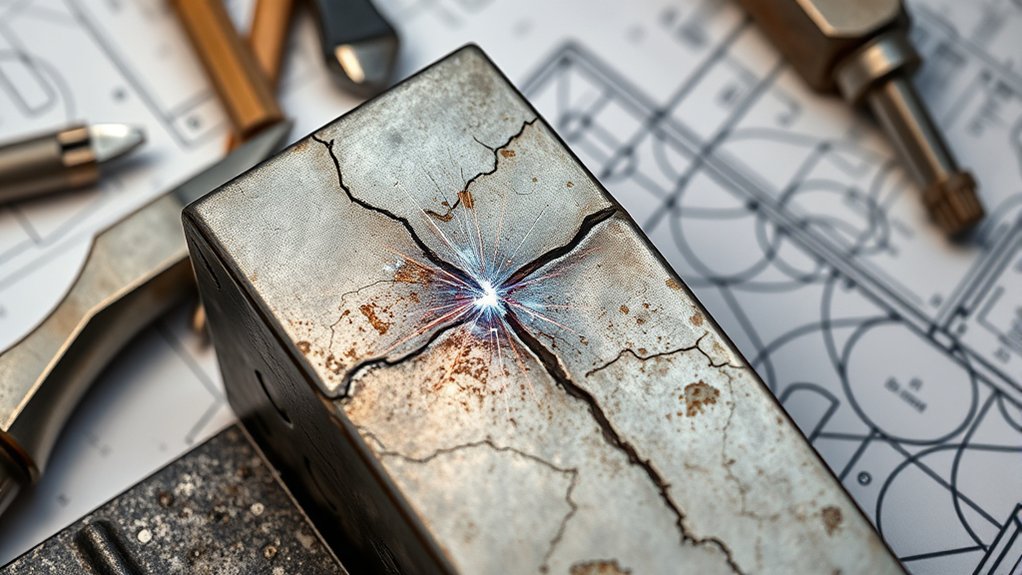
Material selection and joint design are central to crack prevention. A joint with tight, consistent fit-up and a smooth load path is less likely to crack than a joint with gaps, notches, sharp transitions, or heavy restraint. If the part will see vibration, bending, pressure, or impact, the weld design must match the service load.
For carbon and low-alloy steels, pay attention to carbon equivalent, thickness, restraint, and hydrogen control. For stainless steel, filler selection and ferrite balance may matter. For aluminum, cleanliness, filler choice, and joint design are critical because some alloys are hot-crack sensitive. For cast iron, preheat, slow cooling, and correct filler are often needed, and some castings are not good repair candidates.
Maintain a practical bead shape with adequate fusion and penetration. For many fillet and groove welds, avoid an extremely deep, narrow weld because it can concentrate solidification stress. Understanding proper filler wire selection and matching the procedure to the alloy can significantly improve weld quality and reduce cracking risk.
Products Worth Considering

Versatile welding capability on a variety of base materials

Lincoln ED030584 .035", NR-211, LB Spool, Inner Shield Flux-Core Welding Wire

Commonly used for general shop applications with poor fit-up
How to Inspect for Weld Cracks Early
Early inspection starts with good lighting and a clean surface. Look closely at weld starts, stops, craters, toes, roots, and any area with undercut, sharp profile changes, discoloration, or stop-start marks. Use a wire brush, solvent approved for the material, and magnification if needed.
Visual inspection is useful, but it cannot find every crack. Surface-breaking cracks may need dye penetrant or magnetic particle testing. Internal cracks may need ultrasonic or radiographic testing. Safety-critical welds should be inspected by qualified personnel under the applicable code or acceptance criteria.
| Inspection Method | Best For | Limitations |
|---|---|---|
| Visual Testing | Obvious surface cracks, crater cracks, undercut, poor profile | Cannot confirm internal defects |
| Dye Penetrant Testing | Fine surface cracks on nonporous materials | Surface-breaking defects only; surface must be clean |
| Magnetic Particle Testing | Surface and near-surface cracks in ferromagnetic steel | Not for aluminum or most austenitic stainless steels |
| Ultrasonic Testing | Internal flaws and planar defects in many thicker welds | Requires trained technician and suitable geometry |
| Radiographic Testing | Internal volumetric defects and permanent inspection records | Radiation controls required; some tight planar cracks can be hard to detect |
Many welds benefit from a delayed inspection. If you are welding hardenable steel, thick sections, or restrained joints, inspect after the weld has cooled. For critical work, follow the required hold time and NDT schedule in the code or welding procedure. Understanding shielding gas problems can also help you catch process issues that may lead to defects before they become repeat failures.
What to Do If You Find a Cracked Weld
Do not weld over a crack and hope it disappears. A crack usually continues under the new bead unless the full defect is removed and the cause is corrected. First, stop using the part if failure could cause injury or property damage. Next, identify where the crack starts and why it formed.
- For noncritical practice welds: cut, grind, or gouge out the crack, correct the settings or technique, and reweld on clean metal.
- For structural or coded welds: follow the approved repair procedure and inspection requirements.
- For unknown metals: identify the base metal before repair. Guessing filler metal can make cracking worse.
- For repeated cracks: check restraint, preheat, consumable storage, joint design, and cooling rate instead of only changing amperage.
A proper repair removes the crack completely, restores the joint profile, and proves the repair with the required inspection. If the part is too thin, contaminated, highly stressed, or repeatedly cracked, replacement may be safer than repair.
Frequently Asked Questions
What are the five main causes of weld cracks?
The five common causes are poor joint design, high restraint or residual stress, hydrogen contamination, unsuitable filler or base-metal compatibility, and poor welding technique. Rapid cooling, dirty metal, wrong settings, and unfilled craters often fit into those larger causes.
Why do my welds keep cracking?
Repeated weld cracking usually means the root cause has not been corrected. Check for damp electrodes, dirty base metal, high-carbon or unknown steel, poor fit-up, high restraint, too fast cooling, an unfilled crater, or a filler metal that does not match the base metal and service load.
What is the golden rule for preventing weld cracks?
Control the whole weld system, not just the machine setting. That means clean metal, correct filler, good fit-up, proper heat input, suitable preheat when needed, dry consumables, filled craters, and inspection after cooling.
Where can welding cracks be found?
Welding cracks can be found in the weld metal, weld crater, root, toe, centerline, heat-affected zone, or base metal near the weld. Surface cracks may be visible, but subsurface cracks often require non-destructive testing.
Can you weld over a cracked weld?
No. Welding over a crack usually traps the defect under the new bead. The cracked area must be removed completely, the cause must be corrected, and the repair must be inspected according to the part’s risk and applicable requirements.
Do all cracked welds need professional inspection?
Practice welds and noncritical shop projects may only need basic correction. Any weld on a vehicle frame, trailer, pressure vessel, lifting point, structural member, pipe, or safety-critical part should be inspected by a qualified person before use.
Conclusion
Weld cracks are not just appearance problems. They are warning signs that stress, hydrogen, material choice, fit-up, heat input, or technique needs attention. The best prevention starts before welding with clean metal, correct filler, sound joint design, dry consumables, and proper temperature control. After welding, inspect the crack-prone areas carefully and use the right NDT method when the part is critical. A cracked weld should never be hidden under another bead; remove the defect, correct the cause, and verify the repair before the part returns to service.
Sources
- OSHA — Welding, Cutting, and Brazing: Hazards and Solutions — supports welding safety, PPE, fumes, UV, burns, shock, and work-practice warnings.
- OSHA — Welding, Cutting, and Brazing Standards — supports the need to follow applicable welding standards and requirements.
- TWI Global — Solidification Cracking — supports hot-cracking causes and prevention concepts.
- TWI Global — Hydrogen Cracks in Steels — supports delayed hydrogen cracking, preheat, and low-hydrogen practice guidance.
- NASA Technical Reports Server — Hydrogen Embrittlement — supports hydrogen embrittlement risk in susceptible metals.
- NDE/NDT Resource Center — supports non-destructive testing method selection and inspection context.




