
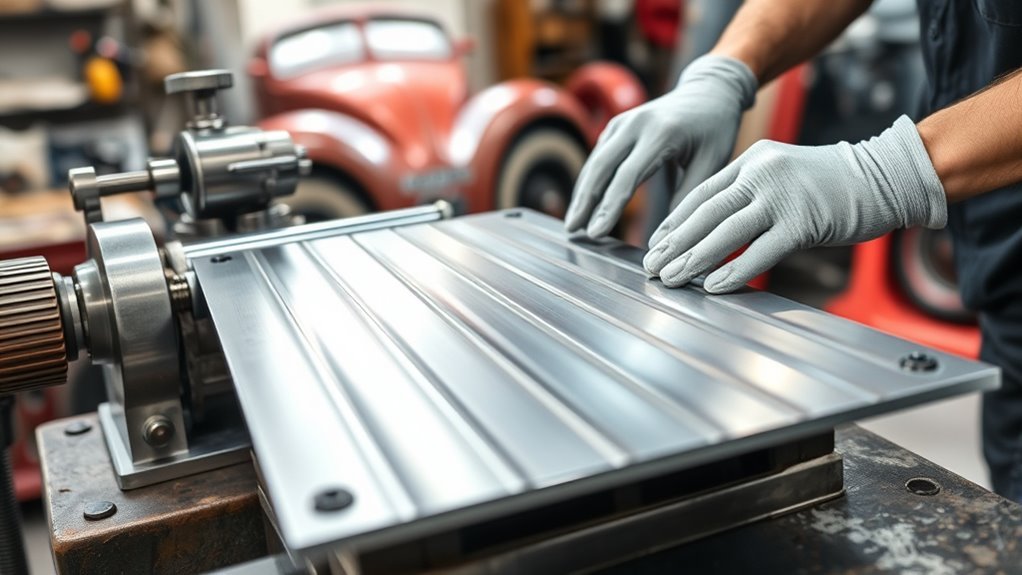
A bead roller is a sheet metal forming tool used in auto body fabrication to create raised or recessed beads, ribs, flanges, and decorative lines. Those shapes help stiffen flat panels, reduce oil-canning, guide lap joints, and recreate factory-style details on patch panels, floors, firewalls, trunks, and custom bodywork. The key is setup: choose the right dies, use light pressure, practice on scrap, and make several controlled passes instead of forcing the bead in one run.
Quick Answer
A bead roller shapes sheet metal by feeding it between matched rotating dies. In auto body work, it is used to add stiffening ribs, body lines, flanges, hems, and factory-style details. It does not magically prevent warping, but correct bead depth, die choice, and slow passes can make thin panels stronger and cleaner.
Key Takeaways
- A bead roller uses matched dies to press beads, steps, hems, or patterns into sheet metal.
- Beads add stiffness to flat panels and can reduce flex, but poor setup can still stretch or distort the metal.
- Manual bead rollers give more feel for small parts, while powered models help with long panels and steadier feed speed.
- Always check your machine’s rated capacity before choosing steel, aluminum, or stainless sheet thickness.
- Keep fingers, gloves, jewelry, and loose clothing away from the rotating dies and pinch point.
At a Glance
| Time Required | 10–30 minutes for a small practice panel; longer for large floor, firewall, or trunk panels |
| Difficulty | Beginner to intermediate, depending on panel size, bead shape, and machine type |
| Tools Needed | Bead roller, matching die set, marker or layout tape, straightedge, scrap sheet metal, clamps, deburring tool, gloves, and eye protection |
| Cost | Budget manual rollers cost much less than powered shop models; extra dies, stands, and motor kits add to the total |
What Is a Bead Roller and Its Purpose in Auto Body Fabrication?
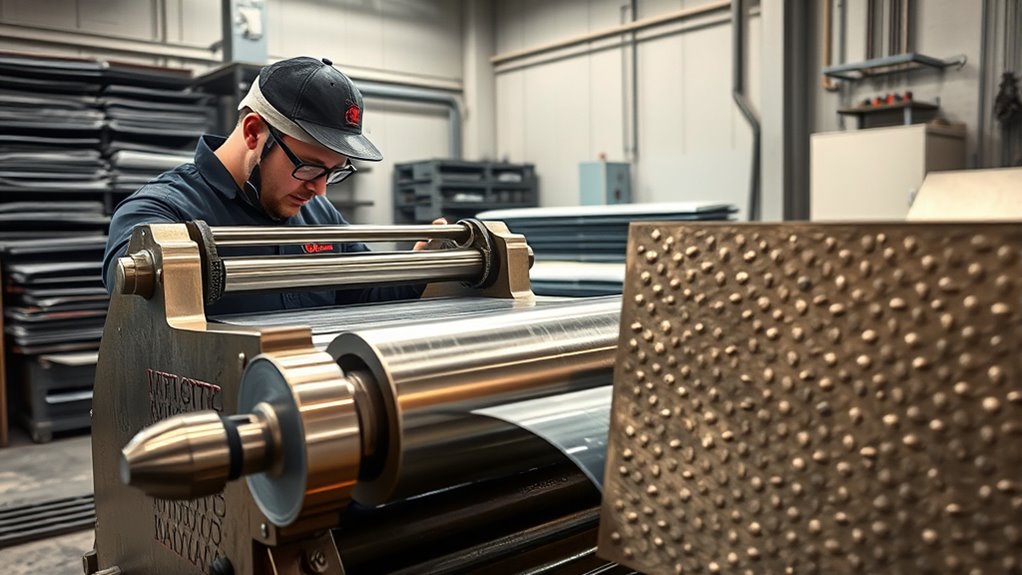
A bead roller is a metal shaping tool that forms controlled grooves, raised ribs, offsets, and rolled edges in sheet metal. In auto body fabrication, those shapes are not just decorative. They can stiffen large flat areas, help match original factory stampings, and make handmade panels look more finished.
The tool works by feeding sheet metal between two matched rotating dies. One die supports the metal while the other presses the bead shape into it. By changing the die set, you can create round beads, step beads, flanges, hems, tipping lines, and custom patterns.
A bead roller adds shape to flat sheet metal. That shape increases panel stiffness, but the quality of the result depends on die alignment, pressure, support, and feed control.
For restoration work, a bead roller helps you reproduce ribs in floor pans, trunk panels, inner fenders, firewall patches, and brackets. For custom fabrication, it lets you add clean lines that make a handmade part look intentional instead of flat and unfinished.
Warning: A bead roller has rotating dies and a pinch point where the metal enters the rollers. Keep fingers, jewelry, loose sleeves, and loose gloves away from the dies. Use eye protection when cutting, deburring, drilling, or handling sharp sheet metal. OSHA machine-guarding rules identify point-of-operation areas, ingoing nip points, rotating parts, flying chips, and sparks as machine hazards that require proper controls. OSHA 1910.212
How Does a Bead Roller Work in Shaping Metal?
A bead roller shapes metal by pulling sheet stock through matched dies. As the dies rotate, pressure forms the sheet into the profile of the dies. The deeper the die pressure and the more aggressive the profile, the more the metal stretches.
Most clean bead rolling comes from several shallow passes rather than one heavy pass. A deep first pass can pull the panel off-line, stretch the sheet, or create waves around the bead.
Bead Roller Mechanism Explained
The basic mechanism is simple: two dies rotate together while the sheet passes between them. The upper die and lower die must match the intended shape. If the dies are misaligned, the bead can wander, mark the metal, or form unevenly.
Manual bead rollers use a hand crank. They give good feel and control, but one person may need a helper for large panels. Powered bead rollers use a motor and often a foot pedal, which leaves both hands free to guide the panel. This makes long beads easier, but it also means you need more attention around the pinch point.
Types of Bead Shapes
The die set determines the bead shape. Common bead roller dies include:
- Round bead dies: Used for stiffening ribs and visible design lines.
- Step dies: Used to create offsets for lap joints, patch panels, and overlapping seams.
- Flanging dies: Used to turn an edge or form a shallow step near the panel edge.
- Hem dies: Used to fold or finish an edge in stages.
- Tipping dies: Used to start a bend line or form a flange before finishing it with other tools.
- Art or specialty dies: Used for custom patterns, decorative work, louvers, or OEM-style details.
Note: Bead rolling, flanging, hemming, and tipping are related, but they are not the same operation. Bead rolling adds a rib or groove, flanging creates an offset or edge, hemming folds an edge over, and tipping starts a controlled bend line.
Material Feeding Process
Feeding the sheet correctly is the difference between a clean bead and a crooked one. Support the panel with both hands, keep your layout line visible, and let the dies pull the sheet at a steady pace. Do not twist the sheet while it is inside the dies.
| Step | Action | Outcome |
|---|---|---|
| 1 | Mark the bead line with a marker, tape, or scribe | Clear guide path |
| 2 | Install matching dies and check alignment | Cleaner bead profile |
| 3 | Set light pressure for the first pass | Less stretching and distortion |
| 4 | Feed the metal slowly and support the panel | Straighter bead |
| 5 | Increase pressure in small steps if needed | Controlled final depth |
Key Benefits of Using a Bead Roller in Automotive Projects
Using a bead roller in automotive projects offers practical and visual benefits. It helps you move beyond flat sheet metal and create panels that look closer to stamped factory parts.
- More panel stiffness: A bead adds shape to flat sheet metal, which helps reduce flex and oil-canning.
- Better restoration detail: You can copy factory-style ribs in floors, trunk pans, firewalls, and inner panels.
- Cleaner patch panels: Step dies and flanging dies help create overlap areas for fitting patches.
- Custom styling: Round beads and specialty dies can add visual lines to custom panels and brackets.
- Repeatable layout: Once the dies and guides are set, you can repeat the same bead on matching parts.
Bead rolling does not replace good fit-up, welding technique, or panel support. It is one part of the fabrication process, and it works best when the metal is clean, deburred, and sized correctly before shaping.
Comparing Different Types of Bead Rollers for Auto Body Work
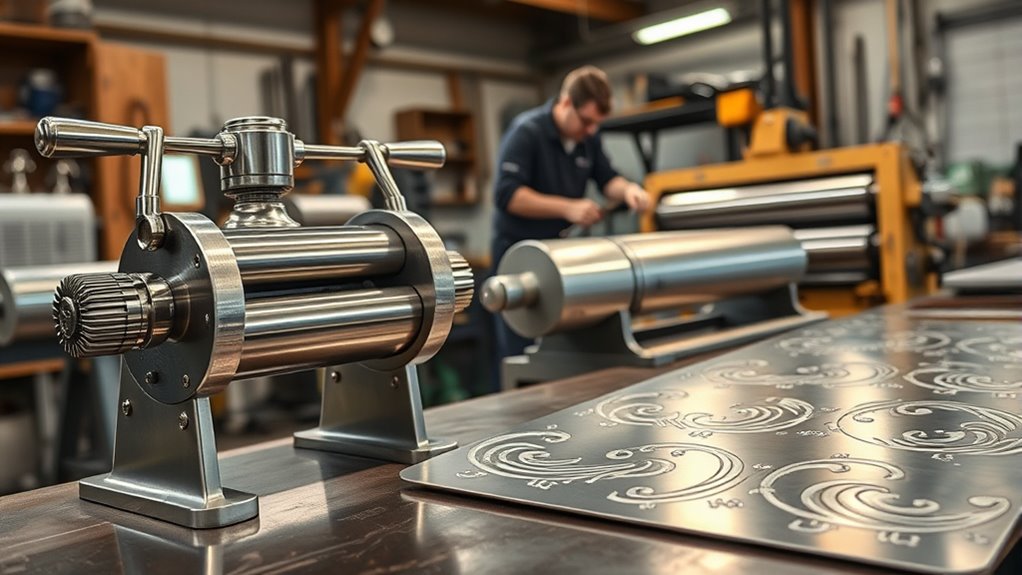
When choosing a bead roller for auto body work, compare the machine type, throat depth, frame stiffness, die availability, and rated sheet-metal capacity. A small manual machine can be enough for brackets and small patch panels, while larger floor pans and firewall panels are easier with a stiff frame and powered feed.
Products Worth Considering

For use with the 20662A Eastwood Motorized Bead Roller

High-quality materials: This wooden massage roller is made of Poaceae wood, retaining the natural wood grain and smooth surface, making every massage more comfortable. The natural texture of Poaceae wood also does not irritate the skin. Compared to plastic or metal massage tools, wooden massage rollers are gentler, making your massage experience more comfortable and enjoyable.

Versatile Material Compatibility: Designed to work efficiently with aluminum, copper, brass, thin steel, and stainless steel materials, making it perfect for a variety of automotive applications.
Manual vs. Electric Options
Manual bead rollers are affordable, simple, and useful for learning. They give direct feedback through the crank, which helps you feel when pressure is too high. The downside is that it can be hard to guide a large panel while also turning the handle.
Powered bead rollers use a motor to turn the dies. Many use a foot pedal so you can control speed while both hands guide the sheet. This is helpful for long beads and larger panels, but the machine can pull metal in quickly if you are not careful.
Pro Tip: If you are new to bead rolling, practice on scrap from the same sheet you plan to use. Mark a straight line, make one light pass, inspect the stretch, then add depth slowly.
Specialty Die Sets Available
Die sets expand what a bead roller can do. Standard round dies are useful for stiffening ribs, but auto body work often needs more than round beads. Step dies help you create lap joints. Tipping dies help start flanges. Hem dies help fold edges. Art dies create custom patterns.
Before buying dies, confirm they fit your bead roller’s shaft size and throat clearance. Also check whether the die profile is right for your material thickness. A narrow, deep die can stretch thin sheet quickly, while a wider bead is usually easier to control.
What You Need to Know About Bead Roller Dies
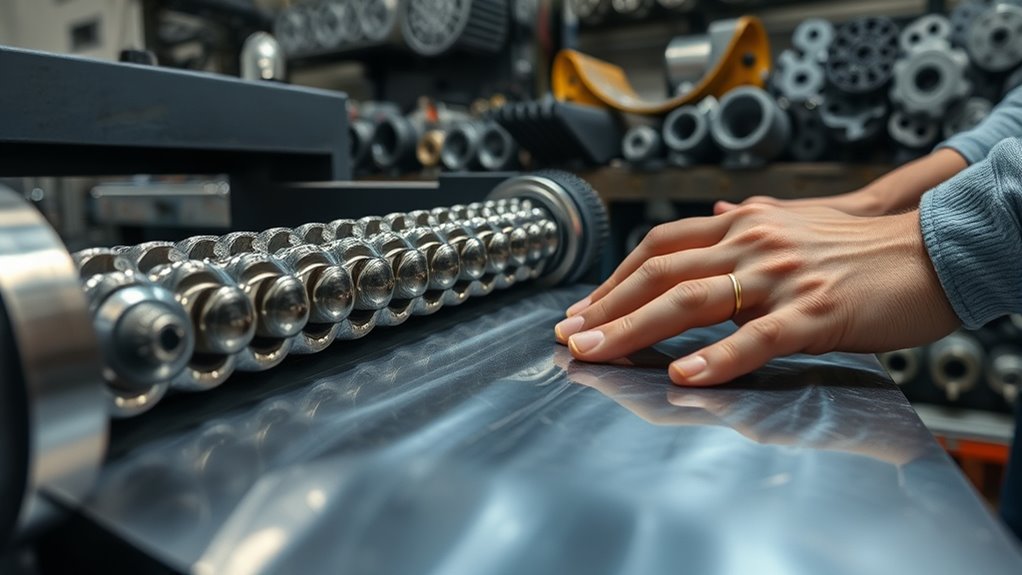
Bead roller dies are the shaped wheels that create the profile in the metal. A matched pair is required. If the upper and lower dies do not match, the bead can flatten, wrinkle, or mark the panel.
Keep these die basics in mind:
- Round dies create stiffening ribs and visual lines.
- Step dies create offsets for patch panels and lap joints.
- Tipping dies start a flange or bend line.
- Hem dies fold edges in stages for a cleaner finish.
- Guide dies or fences help keep long beads straight.
Clean dies before use. Dirt, weld spatter, or metal chips can scratch the panel. Store die sets together so matched pairs do not get separated.
Products Worth Considering

Fits most bead rollers with 7/8 in or 22mm shafts
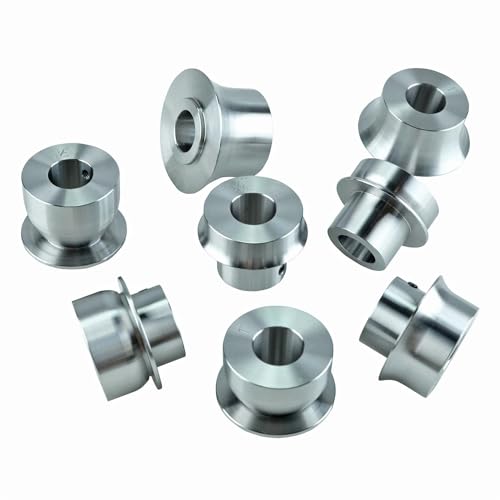
Complete Die Set Included: Includes 5/16", 1/2", 1", and 1 1/2" Radius Dies, 4 pairs total for versatile metalworking applications

Fits most bead rollers with industry-standard 7/8 in or 22mm shafts to produce professional-looking louvers
What Gauge Metal Can You Bead Roll?
There is no single ideal gauge for every bead roller. The right sheet thickness depends on the machine’s rated capacity, the material, the die shape, and how deep the bead needs to be. Mild steel, aluminum, and stainless do not form the same way, even at similar thicknesses.
Many hobby and small-shop bead rollers are used on light automotive sheet metal, but you should always follow the machine manufacturer’s capacity rating. A bead roller that handles thin mild steel may struggle with thicker steel or stainless, especially with deep dies.
- Thin sheet: Easier to form but more likely to wrinkle, stretch, or oil-can if you use too much pressure.
- Medium sheet: Often more stable, but it needs a stiffer machine and correct die setup.
- Thick sheet: May require a powered roller, stronger frame, or a different forming method.
If the panel starts to wave, the bead is too aggressive, the panel is unsupported, or the sheet is being stretched unevenly. Reduce pressure and make more passes.
How to Use a Bead Roller Step by Step
For a clean beginner result, treat bead rolling as a layout and setup job, not just a cranking job.
- Choose the bead shape. Pick the die set that matches your goal: stiffening rib, step, flange, hem, or decorative line.
- Prepare the metal. Cut the panel to size, deburr sharp edges, and clean the surface so chips do not mark the sheet.
- Mark the layout. Use a straightedge, flexible curve, tape, or template to mark the bead path.
- Install and align the dies. Tighten the dies securely and confirm they meet squarely.
- Set light pressure. Start with shallow contact. Do not try to reach full bead depth on the first pass.
- Test on scrap. Use the same material and thickness as the real panel.
- Feed slowly. Keep the line steady and support the sheet as it enters and exits the dies.
- Add depth gradually. Increase pressure in small steps and repeat the pass until the bead looks right.
- Check the panel. Look for waviness, twist, scratches, or uneven bead height before moving to the final part.
For long beads, use a helper or panel support so the sheet does not sag. A sagging panel can pull the bead off line even when the dies are aligned correctly.
Essential Tips for Beginners in Bead Rolling
Getting started with bead rolling is easier when you slow down and build confidence on scrap metal. Start with simple straight beads before trying curves, patterns, or large panels.
- Use layout marks. A visible guide line helps prevent wandering.
- Make shallow passes. Several light passes are safer than one deep pass.
- Support the panel. Large sheets need support on both sides of the dies.
- Watch the edge distance. Beads placed too close to an edge may pull or curl the panel.
- Match dies to the job. Do not use a decorative die when you need a structural rib or step flange.
- Keep the machine stable. A bead roller should be firmly mounted so it does not move while feeding metal.
Also protect yourself during layout, cutting, drilling, deburring, and rolling. OSHA eye-protection rules require suitable eye or face protection when workers are exposed to flying particles, molten metal, chemical hazards, or injurious light radiation. OSHA 1910.133
Avoid These Common Bead Rolling Mistakes
Most bead rolling problems come from too much pressure, poor support, wrong dies, or rushing the feed. Use the table below to diagnose common issues.
| Problem | Likely Cause | Fix |
|---|---|---|
| Bead wanders off the line | Panel twisted during feeding, no guide, or uneven hand pressure | Use a guide mark, reduce speed, and support the panel evenly |
| Bead depth is uneven | Die pressure changed, dies misaligned, or panel lifted during feeding | Check die alignment and make several shallow passes |
| Panel becomes wavy | Too much stretch from a deep bead or heavy first pass | Reduce pressure, use a wider bead, and practice on scrap |
| Metal gets scratched | Dirty dies, burrs, chips, or rough die edges | Clean dies and deburr the sheet before rolling |
| Bead flattens near the end | Not enough support as the panel exits the dies | Support the exit side and keep the sheet level |
Do not force a bead roller beyond its rated capacity. If the handle is hard to turn, the motor stalls, or the frame flexes badly, stop and reassess the material, dies, and pressure setting.
Maintenance Tips for Longevity of Your Bead Roller
To keep your bead roller accurate, treat it like a forming tool, not a storage shelf. Dirt, metal chips, and dry moving parts can affect bead quality.
- Clean the dies after each use. Remove metal shavings, dust, and adhesive residue from layout tape.
- Lubricate moving parts as recommended. Follow the manufacturer’s instructions for bearings, gears, shafts, and drive parts.
- Inspect set screws and shafts. Loose dies can shift and ruin a bead line.
- Store dies in matched pairs. Use a rack, drawer, or labeled holder to avoid mixing profiles.
- Check frame and stand bolts. A loose stand makes it harder to feed a straight bead.
- Protect bare metal surfaces. Light oil can help prevent rust on dies and shafts when the tool is stored.
Before each use, rotate the dies by hand and check for wobble, binding, or damage. Fix small issues before they show up as marks in the finished panel.
Frequently Asked Questions
What is the purpose of a bead roller?
A bead roller forms raised or recessed shapes in sheet metal. In auto body fabrication, those shapes can stiffen flat panels, reduce flex, create offsets for patch panels, reproduce factory ribs, and add clean custom details.
Does bead rolling add strength?
Yes, bead rolling can add stiffness by putting shape into a flat sheet. A flat panel flexes more easily than a panel with ribs or beads. The bead must be formed correctly, though. Too much pressure or poor support can stretch and distort the panel.
What gauge metal is best for bead rolling?
The best gauge depends on your bead roller’s rated capacity, material type, die shape, and bead depth. Light automotive sheet metal is common for hobby bead rolling, but you should always check the machine rating before forming steel, aluminum, or stainless.
Is a manual or electric bead roller better for beginners?
A manual bead roller is often better for learning because it gives more feel and moves slowly. A powered bead roller is better for larger panels and long straight beads because both hands can guide the metal, but it requires more attention to speed and safety.
What are common bead rolling mistakes to avoid?
Common mistakes include using too much pressure on the first pass, choosing the wrong die, failing to support the panel, feeding too fast, rolling dirty metal, and skipping practice passes on scrap. These mistakes can cause crooked beads, scratches, waviness, or uneven depth.
Can a bead roller fix warped sheet metal?
A bead roller is not a guaranteed fix for warped metal. It can add stiffness and reduce flex in a panel, but it can also stretch the sheet if used aggressively. For an already warped panel, first identify the cause, then use controlled metal-shaping methods and light bead rolling only when it fits the repair.
Conclusion
A bead roller is one of the most useful tools for shaping automotive sheet metal. It helps you add ribs, steps, flanges, hems, and custom lines that make flat panels stronger and more professional-looking. The best results come from careful layout, correct dies, light pressure, steady feeding, and practice on scrap before touching the real panel. Respect the pinch point, protect your eyes and hands, and work within your machine’s rated capacity.
Sources
- OSHA 1910.212 — General Requirements for All Machines — supports machine-guarding and pinch-point safety guidance.
- OSHA 1910.133 — Eye and Face Protection — supports eye protection guidance for flying-particle hazards.
- Schema.org Article — supports Article structured data.
- Schema.org HowTo — supports step-based HowTo structured data.
- Schema.org FAQPage — supports FAQ structured data.




