
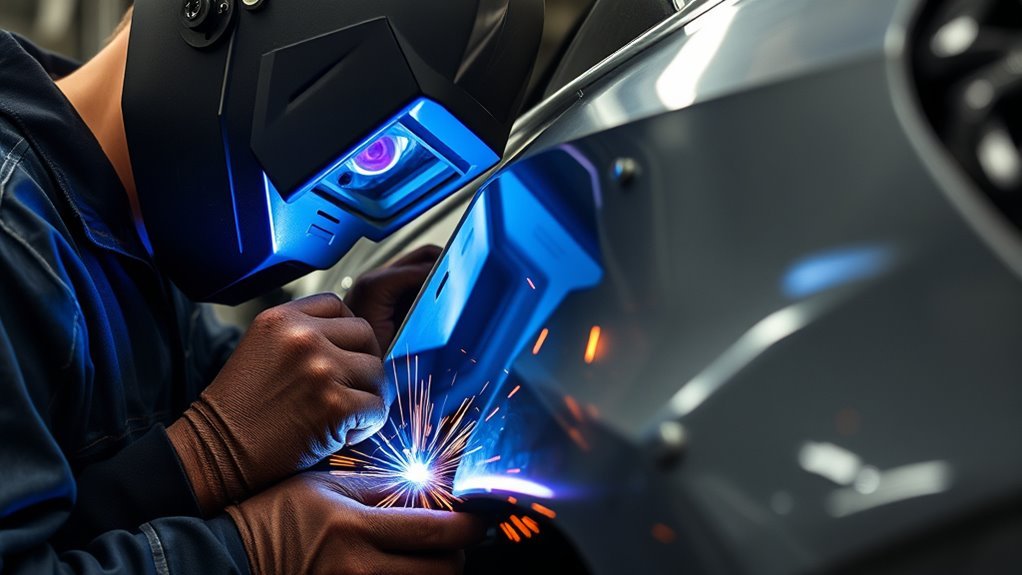
Automotive panel welding is the process of joining, repairing, or replacing vehicle body panels so the car regains proper shape, strength, fit, and finish. Most thin steel body panels are repaired with MIG welding because it is fast and practical, while TIG welding is better when you need fine heat control and a cleaner finish. The real skill is not just making a bead. It is controlling heat, fit-up, weld placement, and corrosion protection so the panel stays straight and lasts.
Quick Answer
Automotive panel welding usually means using MIG or TIG to repair thin body sheet metal. MIG is the best all-around choice for most steel patch panels, plug welds, and seam repairs. TIG is better for precise restoration work. Always follow the vehicle’s OEM repair procedure, keep heat low, and protect the weld from rust after grinding.
Key Takeaways
- MIG is the most practical choice for many thin steel auto body panels because it is fast, accessible, and easier to learn than TIG.
- TIG gives better control for visible seams, delicate patches, restoration work, and aluminum when the operator has the skill.
- Stick/MMA welding is usually a poor choice for thin body panels because it adds too much heat and makes burn-through more likely.
- Warping comes from heat buildup, so use tight fit-up, small tacks, skip around the panel, and let the metal cool between welds.
- Rust prevention is part of the repair, not an afterthought. Clean, prime, seal, and protect both sides of the weld whenever access allows.
At a Glance
| Time Required | 2 to 6+ hours for a small patch, depending on cutting, fit-up, welding, grinding, and coating access |
| Difficulty | Intermediate for cosmetic patch panels; advanced for structural panels, aluminum, or late-model collision repairs |
| Tools Needed | MIG or TIG welder, helmet, gloves, jacket, respirator as needed, clamps, magnets, copper backing, grinder, cutting wheel, wire brush, measuring tools, primer, seam sealer, and cavity wax |
| Cost | About $50 to $300 in common consumables for a small DIY patch if you already own the welder and safety gear |
Warning: Welding on a vehicle can ignite seam sealer, insulation, carpet, sound deadener, fuel vapors, brake fluid, plastic clips, and hidden foam. Remove flammables from both sides of the panel, keep an extinguisher nearby, use ventilation, protect your eyes and lungs, and follow the vehicle-specific OEM repair procedure before welding any structural or late-model panel.
What Is Automotive Panel Welding?
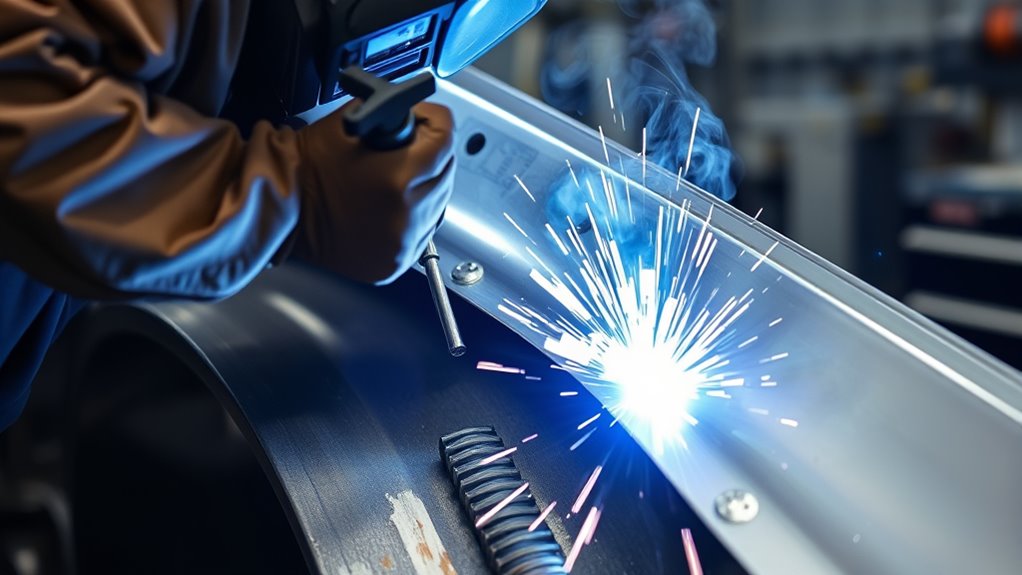
Automotive panel welding is the process of repairing or replacing damaged vehicle body panels with controlled welding techniques. You use it to restore fit, appearance, and, when the panel is structural, part of the vehicle’s crash-load path.
A clean panel weld is not just a strong bead. It is a controlled repair with correct fit-up, low heat, proper weld placement, and sealed metal on both sides.
In practice, you choose the welding method based on the panel material, thickness, joint type, vehicle design, and finish you need. A small outer skin patch on mild steel may be a MIG butt weld. A factory flange may need plug welds or resistance spot welds. A restoration seam may be better with TIG. A modern structural part may require a specific method from the OEM procedure.
Good panel welding starts before you strike an arc. You need clean metal, accurate trimming, tight clamps, a safe work area, and a plan for heat control. If you rush the setup, even a good welder can leave you with a warped panel, pinholes, poor penetration, or rust trapped behind the repair.
When Not to Weld Without OEM Procedures
Do not guess on structural panels, late-model vehicles, aluminum structures, advanced high-strength steel, airbag sensor zones, ADAS-equipped vehicles, or EV and hybrid body repairs. The safest repair method can change by year, make, model, panel location, and material grade.
Before welding, check whether the OEM calls for squeeze-type resistance spot welding, MIG plug welds, MIG brazing, rivet bonding, panel bonding adhesive, sectioning at a specific location, or complete panel replacement. Some panels must not be sectioned outside approved cut lines.
Note: Disconnecting the 12-volt battery may not be enough on hybrid or electric vehicles. Follow the OEM high-voltage disable procedure and do not weld near battery packs, orange cables, modules, sensors, or pyrotechnic parts unless the repair information says it is safe.
MIG vs. TIG for Sheet Metal
When you’re welding automotive sheet metal, MIG is usually the practical first choice. It feeds wire continuously, works quickly, and is easier for most beginners to control on thin steel patches. For many body repairs, a 120-volt or 240-volt MIG machine with solid wire and shielding gas can handle light-gauge steel when it is set correctly.
TIG takes more skill, but it gives you finer control over heat and filler. That makes TIG useful for visible seams, delicate restoration work, aluminum panels, and tight areas where a small, neat weld matters more than speed.
Do not choose the process only by what machine you own. Choose it by the panel, joint, and repair procedure.
| Method | Best Use on Car Panels | Main Caution |
| MIG / GMAW | Steel patch panels, plug welds, seam repairs, general body work | Too much voltage or wire speed can burn through thin metal fast |
| TIG / GTAW | Precise seams, restoration work, aluminum, visible weld areas | Slow travel can add heat and warp the panel if you pause too long |
| Resistance spot welding | Factory-style flange welds when equipment access and OEM procedure allow it | Requires correct equipment, electrode access, and procedure validation |
| Flux-core | Outdoor or utility work when shielding gas is not practical | More spatter, smoke, cleanup, and heat than ideal for cosmetic panels |
| Stick / MMA | Heavy brackets or thick steel away from outer body skins | Usually too hot and hard to control for thin auto body panels |
If you work with stainless steel, choose stainless filler such as ER308L only when it matches the metal and application. Do not use stainless filler as a general upgrade for ordinary mild-steel auto body panels.
Products Worth Considering
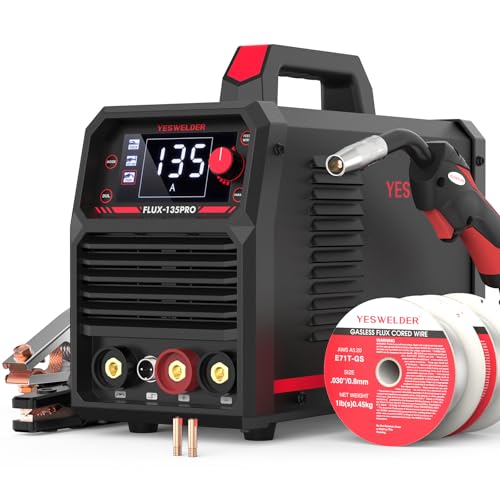
READY OUT OF THE BOX: Start welding immediately! It masterfully handles Gasless Flux Core MIG, Stick, and Lift TIG (Extra Lift TIG torch required). This budget-friendly 3-in-1 machine includes extra E71T-GS .030''&.035'' flux core wires, known for its smooth arc and high feedability. Say goodbye to heavy shielding gas cylinders—perfect for outdoor, windy, or all-position welding.

✅ Low Heat Input: Effectively minimizes metal warping and prevents burn-through on delicate, thin-gauge automotive body panels.
Tools and Settings for Panel Welding
For most mild-steel automotive panel repairs, start with a MIG welder, solid mild-steel wire, clean shielding gas, and the lowest settings that still give fusion. Thin panel work is not about a big bead. It is about small, controlled welds that do not overheat the surrounding sheet metal.
Common starting points for thin steel body panels are 0.023 or 0.024-inch wire for very thin sheet and 0.030-inch wire for slightly heavier panels. Use the machine chart as a starting point, then test on scrap from the same thickness before touching the car.
For solid-wire MIG on steel, use the polarity required by your welder and wire manufacturer, commonly DCEP for solid wire. For self-shielded flux-core wire, polarity may differ, so check the wire label and your welder manual. If you need help understanding polarity differences, review a flux-core MIG welding settings chart before welding.
For TIG on mild steel, use DCEN, a sharp tungsten, argon shielding gas, and small filler rod that matches the base metal. For aluminum, the setup changes, usually to AC TIG with proper cleaning and aluminum filler. Do not use one setting for every panel.
Pro Tip: Make three or four test welds on scrap first. Bend or pry the test piece, inspect the backside, and adjust before welding the vehicle. A test coupon is cheaper than a warped quarter panel.
Your basic tool list should include:
- Auto-darkening welding helmet with the correct shade range for the process
- Welding gloves, flame-resistant sleeves or jacket, and closed leather footwear
- Respirator or local fume extraction when fumes cannot be controlled by ventilation
- MIG or TIG welder with matching wire, filler, contact tips, and gas
- Panel clamps, locking pliers, magnets, and copper backing spoon or bar
- Angle grinder, cutoff wheel, flap disc, and wire wheel
- Scriber, straightedge, body saw, drill, and plug-weld bit if needed
- Epoxy primer, weld-through primer only where approved, seam sealer, and cavity wax
Use a lens shade that matches your process and amperage. OSHA’s eye and face protection standard lists minimum protective shades for GMAW, FCAW, and GTAW, and also recommends starting darker before moving lighter without going below the minimum.
Products Worth Considering

{Plug Weld Sheet Metal Holes In Seconds}------- This Welding Spoon Copper creates a precise spot weld without cutting scrap metal plugs

WELD ANYWHERE: Plug in the Weld-Pak 90i FC wire feed welder anywhere 120V input power is available; It’s a versatile, user-friendly welding machine that welds up to 1/4"and can be used anywhere, from home workshops to construction sites

{Plug Weld Sheet Metal Holes In Seconds}------- This Welding Spoon Copper creates a precise spot weld without cutting scrap metal plugs
How to Weld Auto Body Panels
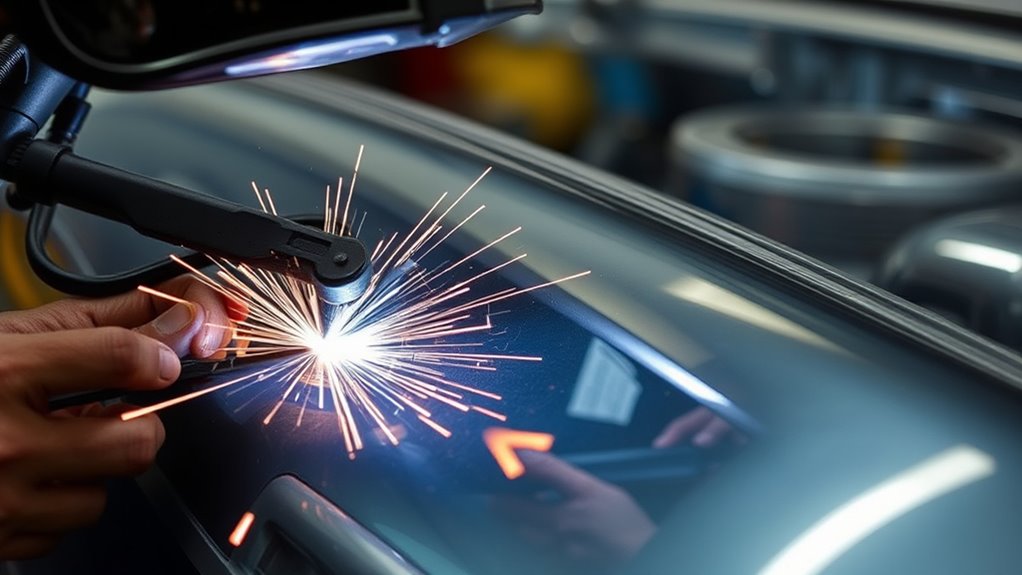
Start by inspecting the damaged area from both sides. Remove trim, carpet, insulation, seam sealer, undercoating, and anything else that can burn. Check for wiring, fuel lines, brake lines, airbags, sensors, adhesives, and foam near the weld zone.
- Confirm the repair method. Check the OEM procedure if the panel is structural, late-model, aluminum, advanced high-strength steel, or part of a collision repair.
- Cut out the damaged metal. Trim only what is needed. Avoid cutting into reinforcements, braces, or hidden panels.
- Prepare the patch. Shape the patch so it follows the panel curve. Keep the gap small and even for a butt weld.
- Clean both sides. Remove paint, primer, rust, oil, undercoating, and zinc coating near the weld zone. If you are dealing with galvanized steel, review welding challenges on galvanized steel and use strong ventilation.
- Clamp the panel tight. Use butt-weld clamps, panel clamps, magnets, or locking pliers so the edges stay flush.
- Tack first. Place small tacks around the panel, moving from one side to another instead of welding in a straight line.
- Skip-stitch the seam. Add short welds between tacks, then move to a cooler area. Let the panel cool naturally between welds.
- Check alignment often. Stop and feel the panel. If it is getting too hot to touch near the seam, slow down.
- Grind carefully. Dress the weld with light pressure. Do not thin the surrounding panel while chasing a perfectly flat surface.
- Seal the repair. Clean the weld, apply primer, seal seams, coat the backside, and add cavity wax where appropriate.
For MIG tack spacing, start with small tacks about 1 inch apart, then keep dividing the open gaps until the seam is filled. For TIG, use the smallest puddle that still fuses the joint. A setting around 45 to 50 amps can be reasonable for some thin steel TIG work, but the correct setting depends on thickness, fit-up, tungsten size, and travel speed.
Do not copy preheat habits from unrelated materials. Preheating is common in some cast-iron and thicker-material repairs, but most mild-steel body patches need less heat, not more. If you are working on cast iron, use a material-specific guide such as welding cast iron with flux core instead of applying those rules to body panels.
Prevent Warping, Rust, and Poor Fit-Up
To prevent warping, think of every tack as heat you must manage. Thin sheet metal moves fast when heat builds up, so your goal is to join the panel without soaking the surrounding area.
- Keep fit-up tight. Wide gaps need more filler, and more filler means more heat.
- Use short welds. Tack, move, cool, and repeat. Do not run a long bead on a thin outer panel.
- Skip around the seam. Work in different areas instead of moving in one direction.
- Use copper backing when possible. Copper helps support the puddle and can reduce burn-through on small gaps.
- Let the metal cool naturally. Avoid aggressive quenching unless you know the material and repair method allow it.
- Grind slowly. Grinding creates heat too. Use light pressure and let the panel cool.
Rust prevention starts before welding. Remove corrosion from the joint, avoid overlapped seams where moisture can sit, and use a butt weld where the repair design allows it. If a flange or overlap is required, protect it according to the repair procedure.
After welding, clean the area, inspect for pinholes, prime bare metal, seal the seam, and protect the backside. A nice-looking weld can still fail later if the backside is left bare inside a rocker, quarter panel, wheel arch, or lower door skin.
For more beginner-friendly preparation habits, review these flux-core welding tips for beginners, especially the parts about cleaning, fit-up, and avoiding porosity.
Common Panel Welding Problems and Fixes
Even careful panel welding can go wrong. Use the symptom to find the cause instead of turning the machine up or grinding harder.
| Problem | Likely Cause | Fix |
| Burn-through | Too much heat, large gap, slow travel, or thin rust-weakened metal | Lower heat, tighten the gap, use copper backing, and replace weak metal |
| Porosity | Paint, oil, rust, zinc fumes, poor gas coverage, or wind | Clean wider, improve shielding gas, block drafts, and cut out porous welds |
| Panel warping | Long beads, too many tacks in one area, or aggressive grinding | Skip around, cool between tacks, and grind in short passes |
| Weak welds | Cold lap, poor fit, wrong filler, or dirty metal | Retest settings on scrap, clean again, and verify backside fusion |
| Rust returns | Bare backside, trapped overlap moisture, missed pinholes, or poor sealing | Prime, seam seal, cavity-wax, and avoid moisture traps where possible |
Safety Checklist Before You Weld
Automotive welding is hot work, so treat the area like a fire risk even when the panel looks harmless. OSHA’s welding, cutting, and brazing requirements address fire prevention, guards, extinguishing equipment, ventilation, and fire-watch conditions. In a vehicle, hidden trim and seam sealer make those precautions even more important.
- Remove or shield combustible material within the spark path.
- Check the backside of the panel before every tack.
- Keep a suitable fire extinguisher within reach.
- Use a fire watch after welding, especially near cavities, insulation, and undercoating.
- Ventilate the work area and avoid breathing fumes.
- Wear a welding helmet, gloves, flame-resistant clothing, and eye protection while grinding.
- Use hearing protection when cutting or grinding.
- Keep shielding gas cylinders secured upright.
- Stop if you smell burning insulation, fuel, plastic, or seam sealer.
Welding fumes can contain metals and manganese, and confined spaces can increase exposure. Review CDC/NIOSH guidance on welding fumes and manganese if you weld often, work in poor ventilation, or weld coated metal.
Frequently Asked Questions
What welding is used for car panels?
MIG welding is the most common choice for many steel car panels because it is fast and practical on thin sheet metal. TIG is used for more precise work, visible seams, restoration repairs, and aluminum. Factory-style flanges may use resistance spot welding or MIG plug welds when the OEM procedure allows it.
Is MMA stronger than MIG?
MMA, also called stick welding, is not automatically stronger than MIG. Weld strength depends on the base metal, filler, joint design, settings, penetration, and operator skill. For thin automotive panels, MIG is usually the better choice because it is easier to control with lower heat input.
Can you stick weld auto body panels?
You can stick weld thicker brackets or heavy steel parts, but stick welding is usually a poor choice for thin auto body panels. The arc is harder to control on light sheet metal, and burn-through or warping is more likely.
Should you weld a patch panel with a butt weld or overlap?
A butt weld is often cleaner for visible patch panels because it avoids a moisture-trapping overlap. However, some factory flanges and OEM procedures require an overlap, plug weld, spot weld, adhesive, or other joint design. Match the repair method to the panel and procedure.
How do you stop sheet metal from warping while welding?
Use tight fit-up, small tacks, short stitch welds, and cooling time between welds. Skip around the panel instead of welding in one direction. Keep grinding heat low too, because aggressive grinding can warp thin sheet metal after the welding is done.
Do you need weld-through primer for auto body welding?
Use weld-through primer only where the product instructions and repair procedure allow it, usually on mating flanges that will be welded and then sealed. Do not rely on it as the only rust protection. After welding, clean the repair, prime bare metal, seal seams, and protect closed cavities.
Conclusion
Automotive panel welding is a balance of method, heat, fit-up, and protection. MIG is the practical choice for many steel body repairs, while TIG gives more control when precision matters. Neither process will save a poor setup. Clean the metal, clamp the patch tight, use short tacks, move around the seam, and protect the repair from rust afterward. Do it right, and the panel stays straight, strong, and ready for finish work.
Sources
- OEM1Stop repair procedures statement – supports following vehicle-specific OEM collision repair procedures.
- OSHA 1910.252 General Requirements – supports welding fire prevention, ventilation, extinguishing equipment, and fire-watch precautions.
- OSHA 1910.133 Eye and Face Protection – supports welding lens shade and eye protection guidance.
- CDC/NIOSH Welding Fumes and Manganese – supports fume, manganese, and ventilation safety guidance.
- Functional clustering methods for resistance spot welding process data in the automotive industry – supports the role of resistance spot welding in automotive sheet-metal joining and quality control.




