What’s in This Article
- What Is Vertical Welding?
- Why Vertical Welding Is Harder
- Best Processes for Vertical Welding
- How to Control Angle and Motion
- Vertical Welding Settings That Help
- Vertical Welding vs. Flat and Horizontal
- Vertical Welding vs. Overhead Welding
- Common Vertical Welding Mistakes
- How to Practice Vertical Welding Safely
- Frequently Asked Questions
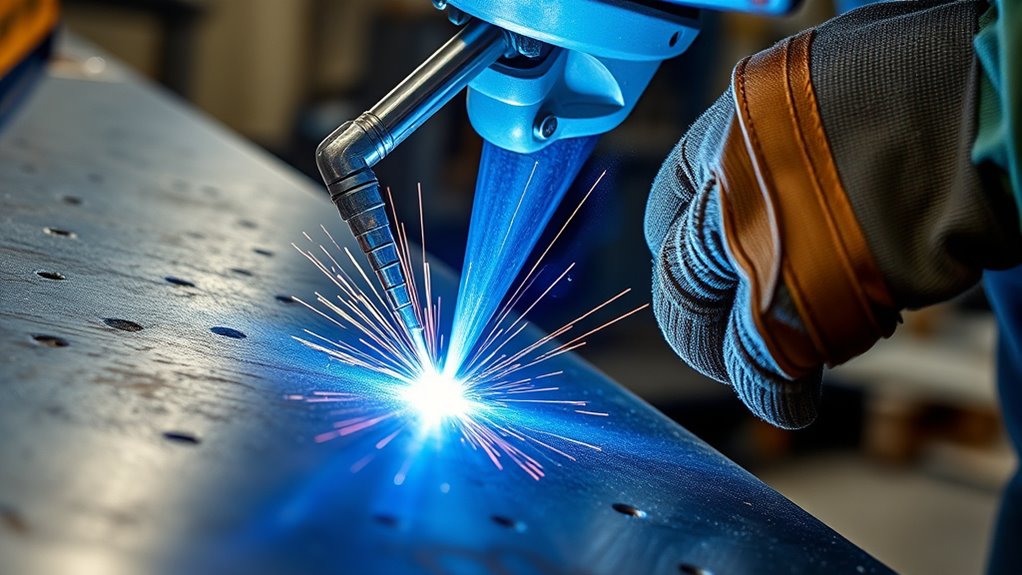
Vertical welding can turn a simple seam into a real test of control. You join metal on an upright joint, so gravity pulls the molten puddle down while you guide the arc. You’ll usually weld uphill for better penetration and bead support, using tight zigzag or triangular passes to prevent sagging. This guide explains how vertical welding works, which settings help, and how you can practice it safely.
Quick Answer
Vertical welding means welding on an upright joint while controlling the puddle against gravity. You usually get better control by welding uphill, keeping heat moderate, and using a tight weave or triangle motion. Good angle control, steady travel speed, and clean metal make the weld stronger and easier to manage.
Key Takeaways
- Use vertical-up welding when you need deeper fusion on thicker joints.
- Keep the puddle small so gravity does not pull the weld metal down.
- Match your gun, torch, or electrode angle to the process you use.
- Practice on scrap metal before welding finished parts or structural joints.
- Wear proper protective gear and keep fumes away from your breathing zone.
What Is Vertical Welding?

Vertical welding joins metal on upright joints. Gravity makes the molten puddle harder to control because it pulls the weld metal downward.
Vertical welding joins upright seams, where gravity makes puddle control a real challenge.
You work on seams that stand up and down. Your technique must keep the bead in place while you move along the joint.
You can weld uphill or downhill. You’ll usually choose uphill when you need deeper penetration and steadier control.
In MIG welding, hold the gun about 5 to 15 degrees upward to help support the puddle and reduce sagging. With flux-cored welding, uphill travel often helps protect the weld and strengthen the joint.
TIG welding gives you more control, but it also needs steady hands. Keep the torch about 60 to 75 degrees from the base metal for consistent results.
Proper cleaning of the joint before welding also helps you make a strong and reliable weld.
Vertical welding demands disciplined hand control, precise travel speed, and close attention to puddle shape. You master this position by guiding heat, metal, and movement with purpose.
Why Vertical Welding Is Harder
This weld position challenging feels harder because the puddle wants to move under gravity. You must control heat, travel speed, and torch or gun angle at the same time.
You fight the molten puddle’s downward pull during the whole pass. A long pause can cause sagging, undercut, or a distorted bead.
Use a zigzag or triangular motion to support the metal as it cools. Keep the pattern tight, not wide or slow.
You also need to tune voltage and wire feed speed for consistent weld penetration. Too much heat floods the joint, while too little heat can leave weak fusion.
In vertical work, uphill travel often helps you build fusion and limit defects. Downhill travel can work on thinner metal, but the puddle can run too fast if you lose control.
Small mistakes affect bead shape and strength quickly. Vertical welding takes practice, discipline, and a steady hand.
When you master it, you gain better control over a difficult position. Achieving proper penetration also helps you protect structural integrity in your welds.
Best Processes for Vertical Welding
Match the welding process to your skill level, joint type, and ability to control the puddle. MIG welding with solid wire works well when you keep a steady gun angle and avoid excess heat.
Flux-cored wire often suits vertical-up work because the slag helps support the bead. TIG welding gives you the most precision, but it requires better hand control and a clean joint.
Stick welding can work well in vertical positions, but it demands more practice. Use small welds or multiple passes to prevent droop and keep the bead profile even.
Proper prep of metal remains crucial for quality welds in any vertical process.
| Process | Best Use | Key Setting |
|---|---|---|
| MIG | Fast vertical work | 5-15° upward |
| TIG | Precise penetration | 60-75° torch angle |
| Stick | Experienced control | 20-45° electrode angle |
Master one process first, then add the others as your control improves. That approach helps you build cleaner and stronger vertical welds.
Products Worth Considering

E71T-GS FLUX CORE WIRE: This self-shielding, AWS E71T-GS flux-cored wire excels due to its advanced core design, delivering exceptional arc stabilization and high feedability for effortless welding. The core also incorporates powerful deoxidizing agents, ensuring clean, reliable welds even when welding through light rust or mill scale.

SMOOTH, EASY TO RUN: This ER70S-6 MIG wire runs clean and steady, helping you keep a smooth arc without constantly adjusting your machine. It handles mild steel with light rust or mill scale without giving you trouble

Do Your Best Work ... Color all your clients impressed with the precision and arc control of the ER70S-6 solid MIG welder wire. You'll love the low splatter whether you're performing single or multi-pass welds. Great for T-joints, butt welds & lap welds.
How to Control Angle and Motion
Hold the torch or gun at the correct angle for the process. Use about 5 to 15 degrees upward for MIG or flux core, or 60 to 75 degrees from the base metal for TIG.
Keep your motion steady and stay slightly ahead of the puddle. This helps you control buildup and maintain a uniform bead.
Use uphill travel for flux core and TIG when you need better penetration and less contamination. Even small angle or motion changes can cause defects.
Understanding the maximum fillet weld size can also help you keep your welds structurally sound and within common design limits.
Products Worth Considering

Extra-Long 13-FT Air Hose: Instead of moving the Argon welding cylinder tank all around, ARCCAPTAIN TIG Torch equipped with an extra-long 13-FT air hose and cables brings enormous convenience for distance welding. Meanwhile(furthermore), the cables are made of durable rubber hose with nylon over-braid, super-light, this innovative design makes the TIG welding torch keep(super) flexible under any circumstances.
Premium quality TIG welding torch power cable hose (1-pcs style) and cable adapters connectors plugs for air-cooled torch 9-series and 17-series.

Richard Finch, Welder's Handbook: A Complete Guide to MIG, TIG, Arc & Oxyacetylene Welding, "Completely Revised and Updated Edition!" paperback
Torch Angle Basics
Torch control helps you make steady vertical welds. Set your torch angle between 5 and 15 degrees upward to hold the puddle and limit sagging.
This angle gives you direct control with MIG or flux core wire. It also helps stop the metal from piling up or pulling contamination into the bead.
With TIG, angle the torch 60 to 75 degrees for sharper penetration and cleaner puddle control. Keep your motion tight, steady, and deliberate.
Don’t rush, but don’t freeze in place. You guide molten metal with precision instead of letting gravity control it.
That discipline helps you build even beads, stronger joints, and cleaner vertical welds.
Puddle Motion Control
Keeping the puddle under control starts with matching angle and motion to the weld position. Hold a MIG gun about 5 to 15 degrees upward so molten metal stays where you want it.
With TIG, keep the torch 60 to 75 degrees from the base metal for tighter control. Use zigzag or triangular motion to spread heat evenly and prevent excess buildup.
Advance the torch slightly ahead of the puddle in upward work. This helps stop the metal from sagging.
Balance wire feed speed and travel speed to keep the puddle small. A smaller puddle gives you cleaner placement and less waste.
When you control angle, speed, and movement together, vertical welding becomes easier to manage.
Uphill vs Downhill
After you control puddle motion, choose whether to weld uphill or downhill. Your direction changes heat input, bead shape, and angle control.
With uphill welding, keep your MIG gun 5 to 15 degrees upward and guide the puddle carefully. This method often works better on thicker plate because it can improve fusion.
Downhill welding also uses a controlled angle, but you move faster and stay ahead of the puddle. It can suit thin material when you need less heat input.
| Direction | Best Use |
|---|---|
| Uphill | Thick joints, deep fusion |
| Downhill | Thin joints, speed control |
Hold a steady hand, watch both edges of the bead, and stop before sagging or undercut develops.
Vertical Welding Settings That Help
Control travel speed first because a steady upward pace helps keep the puddle from sagging. Then set voltage and amperage to match the process and material thickness.
Fine-tune your gun angle so the arc stays stable and the weld profile stays even. Small angle changes can improve penetration and reduce defects.
You should test settings on scrap metal before welding the real joint. Proper surface preparation can also improve weld strength and quality.
Travel Speed Control
Travel speed controls the size and shape of the puddle. Move slowly enough to get fusion, but steadily enough to prevent sagging.
Uphill work often needs a slower pace than downhill work. Downhill passes on thin material may need a faster motion to limit heat input.
| Direction | Typical speed |
|---|---|
| Uphill | 4-8 ipm |
| Downhill | 10-14 ipm |
| MIG | Process-specific |
| TIG | Process-specific |
| Stick | Process-specific |
Use these speeds as a starting point, not a fixed rule. Your machine, joint fit-up, metal thickness, and filler choice can change the right pace.
Hold a consistent pace, and your bead will feel controlled and deliberate. Your steadiness shapes penetration and bead appearance.
Voltage and Amperage
After you set a steady travel speed, adjust voltage and amperage. These settings shape puddle size, arc stability, and penetration.
Use voltage adjustment to keep the arc length stable. Many MIG and flux-cored vertical welds fall between 18 and 26 volts, based on filler and metal thickness.
Pair that with amperage control. MIG and flux-cored vertical work often needs 90 to 160 amps, while TIG may run lower to reduce heat and sagging.
Watch heat input closely. Too much voltage can cause burn-through, while too little heat can leave poor fusion or undercut.
Tune both settings until your bead stays controlled and penetrates well.
Gun Angle Adjustment
Dial in the gun or torch angle next. This setting directly controls how the puddle behaves in vertical welding.
For MIG, hold the gun angle 5 to 15 degrees uphill so you can control the puddle and stop sagging. For flux core, keep a similar upward angle to improve puddle support.
With TIG, set the torch 60 to 75 degrees from the base metal. This helps heat spread cleanly while the pool stays manageable.
For stick, use a 20 to 45 degree electrode angle to keep arc control tight and the bead from dropping.
Match the angle to the process and keep it repeatable. Consistent gun angle gives you cleaner vertical welds.
Vertical Welding vs. Flat and Horizontal
Vertical welding places the joint upright, often in the 3G groove or 3F fillet position. Flat 1G and horizontal 2G welding usually give you a more stable puddle.
In vertical welding, gravity pulls the molten metal downward while you move. You need tighter control over heat, travel speed, and arc length.
Use welding techniques like a tight zigzag or triangular weave to hold the puddle in place. This helps keep the bead uniform.
In flat and horizontal positions, you can often use a steadier motion and more heat. In vertical welding, too much heat can cause sagging, distortion, or burn-through.
Choose processes and filler metals that support control. MIG and TIG can work well, while stick welding often demands more discipline.
Regular checks of your protective practices can also improve safety and efficiency in vertical welding.
Mastering these differences gives you better control over position, bead shape, and weld quality.
Vertical Welding vs. Overhead Welding
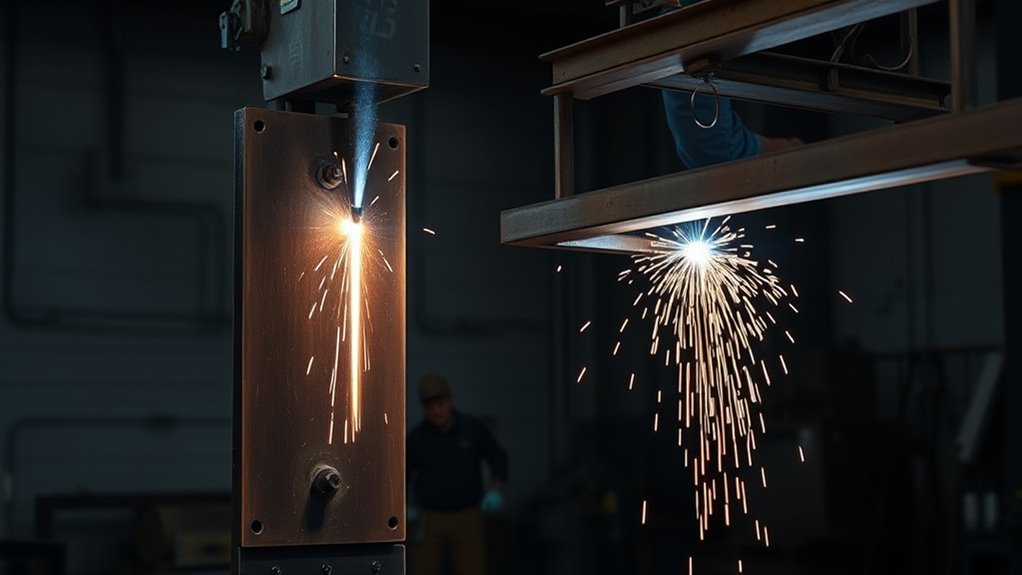
Vertical welding makes you control an upright puddle. Overhead welding puts you beneath the joint, so gravity works against you in a more direct way.
Excess heat in overhead work can cause drooping or dripping. You must keep the puddle smaller and more stable.
You’ll usually choose uphill or downhill welding techniques for vertical passes. These techniques help you manage bead shape with deliberate travel speed and focused arc placement.
Overhead work demands tighter puddle control because sparks and molten metal can fall toward you. Clean fit-up and careful joint preparation matter before you strike an arc.
Overhead welding demands tight puddle control, and clean fit-up matters before you strike an arc.
Warning: Overhead welding can drop hot metal and sparks toward your body, so wear full protective gear and keep exposed skin covered.
Vertical welding is often easier to access and can suit pipe fabrication and similar work. Stick welding techniques can also help you improve performance in both vertical and overhead positions.
Overhead welding feels more physically demanding, but you may need it when you can’t reposition the assembly. Shipbuilding and construction work often require this position.
In both positions, disciplined heat management helps you make safer and cleaner welds.
Common Vertical Welding Mistakes
A few recurring mistakes can quickly hurt vertical weld quality. Common problems include too much heat, the wrong electrode angle, poor puddle control, limited practice, and mismatched filler metal.
- Too much heat can cause sagging, burn-through, and distortion.
- The wrong angle can change penetration and bead shape.
- Poor puddle control can leave an uneven profile.
- The wrong filler can make vertical control harder.
- Limited practice can make travel speed inconsistent.
Balance amperage so the joint fuses without excess distortion or weak reinforcement. Hold the electrode at about 20 to 45 degrees for stick welding.
Prioritize puddle management. If you don’t stay ahead of the molten metal, it can sag and leave an uneven weld.
Your electrode selection also matters. Choose filler metal suited to vertical work, and don’t assume one wire fits every position.
Since vertical welding takes coordination, use repetition to build muscle memory and steady travel speed. Understanding heat input control can also help you make stronger welds.
When you control heat, angle, puddle, and filler choice, you weld with more precision and less waste.
How to Practice Vertical Welding Safely
Practice vertical welding in a controlled workspace with the right protective gear. Sparks, ultraviolet light, heat, and fumes can create immediate hazards.
Wear a welding helmet, gloves, and flame-resistant clothing every time you strike an arc. Set up strong ventilation so fumes move away from your breathing zone.
Use scrap metal for your first practice runs, not finished parts. This lets you tune voltage, wire speed, and torch angle without risking a project.
Keep a steady hand and maintain a consistent travel speed. This helps you control the weld puddle, reduce sagging, and get more even penetration.
Inspect your welding machine, torch, leads, and consumables before each session. Replace worn parts and clean connections so your equipment works reliably.
Correct amperage is also crucial for proper electrode melting and a stable arc.
When you prepare well, you weld with more control and more confidence.
Vertical Welding Practice Plan for Beginners
Start with short beads on clean scrap steel. Run several beads side by side so you can compare shape, sagging, and edge tie-in.
Next, try a simple vertical-up fillet weld with a tight triangle motion. Focus on keeping the puddle small and pausing briefly at each side of the joint.
After that, adjust one setting at a time. Change travel speed, angle, or heat, then inspect how each change affects the bead.
Pro tip: Keep a small notebook beside your welder so you can record settings that produce clean vertical beads.
Frequently Asked Questions
What Materials Are Easiest to Weld Vertically?
You’ll usually find low-carbon steel easiest for vertical welding because it handles heat well. Keep travel speed steady and avoid starting with very thin or highly conductive metals.
Which Electrodes Work Best for Vertical-Up Welding?
Low-hydrogen electrodes like E7018 often work well for vertical-up welding when your machine and joint match the rod. Choose the electrode based on the base metal, joint design, and required weld strength.
How Does Metal Thickness Affect Vertical Weld Quality?
Thicker metal needs more heat to get proper fusion. Thin metal overheats faster, so you need lower heat, faster movement, or shorter welds to avoid burn-through.
Can Vertical Welding Be Done Outdoors Safely?
Yes, you can weld vertically outdoors if you control wind, rain, and debris. Use proper personal protective equipment (PPE), protect the arc, and keep the work area stable and dry.
What Tools Help Inspect Vertical Welds Afterward?
Use a weld gauge, flashlight, mirror, angle gauge, or borescope to check vertical welds. Look for bead shape, undercut, overlap, cracks, and other visible defects.
Conclusion
Vertical welding depends on one main skill: controlling a small puddle while gravity tries to pull it down. Keep your angle steady, your travel speed consistent, and your heat low enough to prevent sagging.
Practice on scrap, inspect each bead, and adjust one setting at a time. With steady repetition, vertical welding can become one of your most reliable welding positions.
References
- Stick Welding Amperage for Metal Thickness — Garage Welding
- MIG Welding Problems and Solutions — Garage Welding
- Plasma Cutter Safety Rules, PPE, Setup Checklist — Garage Welding


