When weld gaps in auto body repair are too big, start by using filler strips or rods that match the metal thickness. Employ tack welds to stabilize the metal and prevent warping. Chamfer the edges of both pieces for a better fit, and consider using copper backing to manage heat during welding. For gaps larger than 1/8 inch, opt for stitch welding to minimize distortion. There are effective techniques and tools you can use to guarantee a smooth finish.
How to Address Large Weld Gaps
When you’re faced with large weld gaps, addressing them effectively is essential for a strong bond. Start by using filler strips or rods to bridge the gap, ensuring the filler matches the metal’s thickness for maximum strength. To stabilize the metal and prevent warping, employ tack welds at intervals along the gap before filling. This technique helps maintain alignment and integrity during the welding process.
Chamfering the edges of the metal pieces improves fit and reduces the gap size, enhancing weld penetration. If you’re working with thinner panels, consider placing a copper backing piece behind the gap to absorb excess heat and prevent burn-through. For gaps larger than 1/8 inch, stitch welding is your best bet. This method involves applying alternating short welds along the gap, distributing heat evenly and minimizing distortion while securing a reliable bond. Additionally, preheating cast iron before welding can help mitigate cracking and improve overall weld quality.
Key Tools and Materials for Effective Gap Repairs
For effective gap repairs in auto body work, having the right tools and materials is essential. Start with a MIG welder that features adjustable power settings, allowing you to manage different gap sizes. For larger gaps, use appropriate filler material, like filler rods or scrap metal strips, ensuring they match the base metal gauge for ideal adhesion. Incorporate copper backing to absorb excess heat and prevent warping during the welding process, which enhances control and precision. When working with thin sheet metal, opt for a welding wire size of .023 inches to minimize heat input and achieve cleaner welds. Additionally, ensure you are using self-shielding wire for outdoor applications to improve weld quality. Finally, utilize metal snips or plasma cutters for preparing patch panels and filler pieces, ensuring precise cuts that effectively reduce gaps. By equipping yourself with these essential tools and materials, you’ll streamline your repair process and improve the overall quality of your welds.
Products Worth Considering

Advanced Eye Protection with Blue Light Blocking Technology: This welding helmet features cutting-edge Blue Light Blocking outer lens, shielding your eyes from harmful blue light during welding, protects your eyes by filtering out most of harmful high energy blue light rays while letting through the less harmful portion of the blue light spectrum. This ensures long-lasting eye comfort and safety, making it ideal for extended welding sessions


3.64*1.67 inch clear visor viewing area equipped with true color technology and built-in low voltage alarm
Practical Steps for Filling Large Weld Gaps
When you’re filling large weld gaps, choosing the right filler materials is essential for ensuring a strong bond. Proper welding techniques, such as stitch welding and using a copper backing, can help control heat and minimize distortion. By combining effective materials with precise methods, you can achieve durable and reliable results. Additionally, using flux core aluminum welding rods can provide a cost-effective solution for repairs while ensuring a solid connection.
Effective Filler Materials
Filling large weld gaps effectively requires careful selection of materials and techniques to guarantee a strong, durable bond. For gaps larger than 1/16 inch on 18 gauge panels, consider using scrap metal strips or even coat hangers as effective filler materials to bridge the gap before welding. Employing copper backing can prevent burn-through and warping, acting as a heat sink during the welding process. Confirm that your filler rods or wire match the gap size and complement the thickness of the metals being joined for enhanced weld strength. Always tack your filler material securely to maintain alignment, and use techniques like stitch or tack welding to manage heat and avoid damaging your patch panel.
Proper Welding Techniques
Proper welding techniques are essential for achieving strong, lasting bonds in auto body repairs, especially when addressing large weld gaps. Start by using filler materials like scrap metal strips to bridge gaps over 1/16 inch. Employ spot welding by alternating locations to distribute heat and minimize warping. Consider copper backing to absorb excess heat and prevent burn-through in thin panels. Chamfer edges of both the patch and base metal for better penetration. Finally, utilize short bursts of welds with pauses to manage heat.
| Step | Description | Purpose |
|---|---|---|
| Use Filler Material | Bridge gaps over 1/16 inch | Enhance adhesion |
| Spot Welding | Alternate welding locations | Minimize warping |
| Copper Backing | Absorb heat, prevent burn-through | Protect thin panels |
| Chamfer Edges | Improve metal fit | Reduce gaps |
| Short Bursts | Manage heat with pauses | Prevent distortion |
MIG vs. TIG: Which Welding Method to Choose?
How do you decide between MIG and TIG welding for auto body repairs? If the gap is too wide—over 1/16 inch—MIG welding often stands out as the better choice. Its continuous wire feed allows for quick, efficient fills, making it ideal for larger gaps and varying metal thicknesses. Plus, MIG is generally easier for beginners, as it’s more forgiving of mistakes.
On the other hand, if you’re focusing on aesthetics or working with thin metals, TIG welding offers superior precision and control. It produces cleaner, more visually appealing welds, but it’s more time-consuming and requires manual filler rod application. Additionally, proper fillet weld sizing is crucial to ensure structural integrity, especially when managing gaps.
Ultimately, your choice depends on your skill level and the specific requirements of the job. For wider gaps, lean toward MIG; for finesse, consider TIG. Each method has its strengths, so select the one that aligns with your project’s needs.
Products Worth Considering

【LOW SPATTER & EASY CLEANUP】Minimal Spatter, Flawless Beads: Experience exceptionally low spatter and minimal post-weld cleanup. This ER70S-6 solid wire allows you to achieve smooth, visually appealing beads with ease, saving both time and grinding effort on your metal fabrication.

Made in Italy Since 1950 — Manufactured by INE SpA using European carbon steel and proprietary drawing processes — certifications used in shipbuilding, pressure vessel, and structural fabrication. Consistent diameter and copper coating on every spool

How to Manage Heat to Prevent Warping?
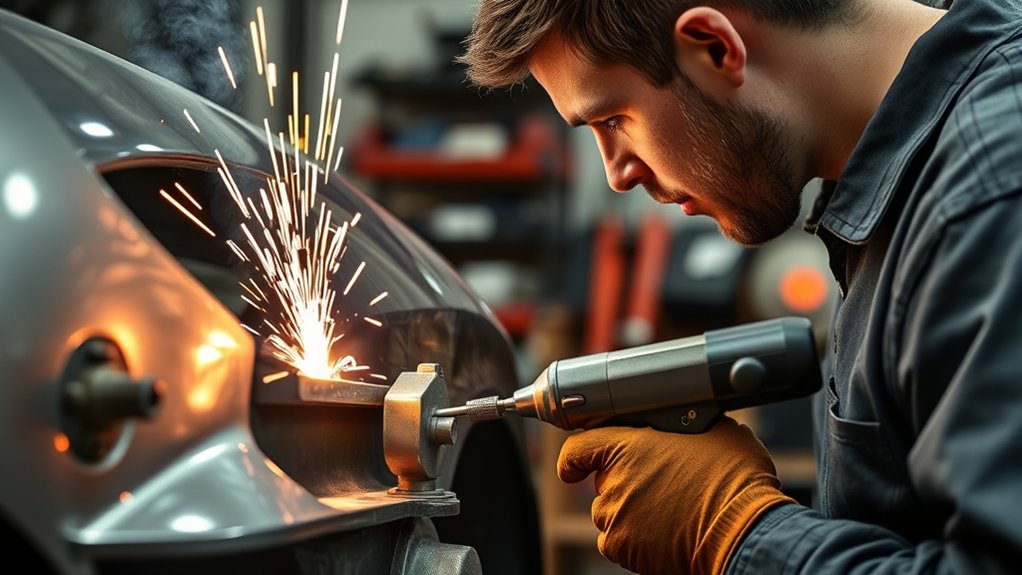
To effectively manage heat and prevent warping during auto body welding, it’s crucial to employ techniques that control temperature and distribute heat evenly. Start with the “tack and move” method, applying short welds and allowing sufficient cooling time in between. This reduces excessive heat buildup. Maintain a slight distance from the base metal to avoid blowing through, which can create concentrated heat and increase the risk of warping.
Incorporate copper backing pieces to absorb heat, acting as a heat sink that minimizes burn-through and warping. Alternating your welding locations helps distribute heat across the panel, reducing localized distortion. Always monitor heat levels closely; excessive heat can lead to cracks in thin panels. Verify tight fits to resist shrinkage during the welding process. By carefully managing heat, you can greatly reduce the chances of warping and achieve a more precise weld. Additionally, using self-shielded flux core wire can help maintain a stable arc and reduce spatter during the welding process.
Final Touches for a Polished Look
Once you’ve completed the welding, it’s vital to grind and smooth the welds for a seamless changeover. Check for any imperfections before applying body filler and sanding down to achieve a flawless surface. Additionally, ensure that you prime welds on the same day to prevent future rust and guarantee durability and a professional appearance. Finally, finish with rust-inhibiting primer and a matching paint to guarantee durability and a professional appearance.
Grinding and Smoothing Welds
Grinding welds effectively transforms rough, uneven surfaces into a smooth, polished finish that seamlessly integrates with the surrounding metal. Use a flap disc or grinding wheel for effective grinding, ensuring you achieve that flush finish. After grinding, refine the surface with a sanding pad or finer grit to eliminate any visible imperfections or weld beads. Always wear appropriate safety gear, including goggles and a dust mask, to protect against metal particles and dust. For best results, apply a rust-inhibiting primer or paint to prevent corrosion and enhance the aesthetic of your repair. Regularly inspect and maintain your grinding tools; worn tools can lead to uneven finishes, compromising the overall quality of your work.
Inspecting for Flaws
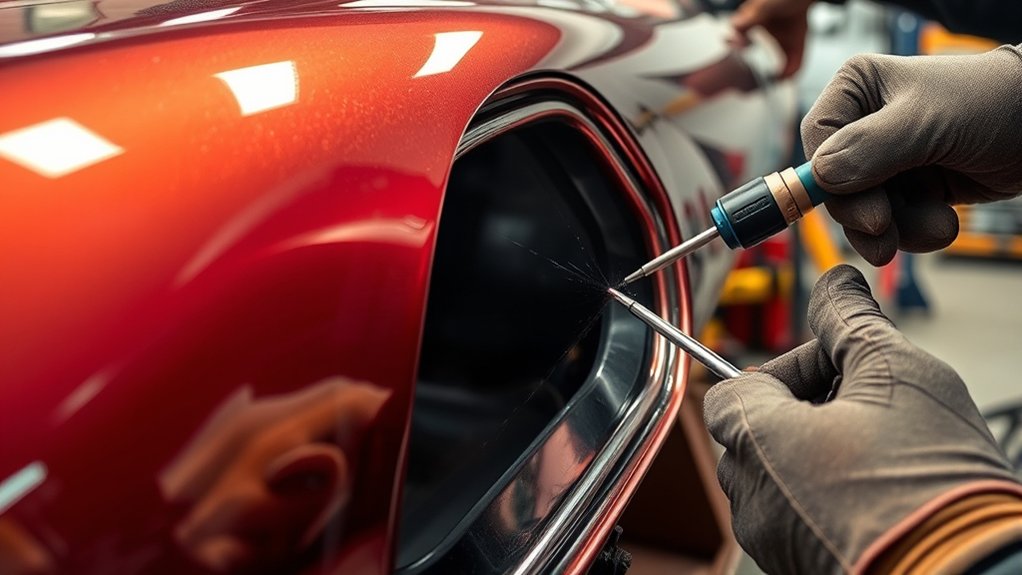
After welding, it’s essential to inspect the joints for any gaps or inconsistencies that could affect structural integrity. Look closely for unfilled areas, as these can lead to rusting and weaken the bond. Use a grinder or flap disc to smooth any irregularities, ensuring a flush finish with the surrounding metal. Check for signs of warping or distortion in the panels, which can compromise fit and function. Once you’ve addressed these issues, conduct a final visual inspection under proper lighting to catch any missed flaws. This thorough inspection process not only enhances aesthetics but also reinforces the durability of your work, laying the groundwork for the next steps in restoring your auto body.
Applying Final Coatings
Achieving a polished look involves several key steps after welding to guarantee the integrity and appearance of your auto body repair. Start by grinding down excess weld material for a flush finish that blends seamlessly with the surrounding metal. Next, apply a suitable automotive body filler to any imperfections or low spots, ensuring it’s sanded to a smooth, even surface. Clean the area thoroughly to eliminate debris, oil, or dust, which is essential for proper primer adhesion. Use a high-quality automotive primer in light, even coats to protect the welded area from corrosion. Finally, finish with a topcoat that matches your vehicle’s color, applying a clear coat for added protection and gloss, ensuring all layers are fully cured between applications.
Learning From Mistakes: Community Tips and Experiences
While mistakes in welding might seem discouraging, they often serve as essential learning opportunities, especially in the auto body community. By embracing these errors, you can enhance your skills and improve your techniques. Here are some community tips to help you grow:
- Practice on scrap metal to achieve tighter fits.
- Use filler strips or rods for wider gaps.
- Employ spot welds and tack welding for better control.
- Share your repair processes for collective learning.
- Utilize video resources to visualize effective methods.
- Always ensure surface preparation is done thoroughly to avoid contamination and improve weld quality.
Frequently Asked Questions
What Happens if Your Arc Gap Becomes Too Big?
If your arc gap becomes too big, you’ll face incomplete penetration and weak joints. Accurate gap measurement and appropriate welding techniques are essential to avoid warping, blow-through, and compromised weld integrity, leading to potential failures.
What to Do When the Gap Is Too Big to Caulk?
When the gap’s a bit too wide for caulk, embrace gap filling techniques like patch panels or filler strips. You might also consider alternative materials like rivets for a sturdy, lasting solution.
How Large of a Gap Can You Weld?
You can typically weld gaps up to 1/8 inch using standard welding techniques. For larger gaps, gap filling methods like filler material or backing strips guarantee strong bonds and mitigate issues like shrinkage and warping.
How Big a Gap Is Too Big for Caulk?
Gaps greater than 1/8 inch generally get deemed too big for caulk. For ideal caulk selection and effective gap measurement, consider using backing materials for larger openings to guarantee solid support and secure adhesion.
Conclusion
In the world of auto body repair, addressing large weld gaps is essential for a seamless finish. By employing the right tools and techniques, you can bridge those gaps effectively. Remember, it’s not just about filling voids; it’s about crafting a strong bond that stands the test of time. Like a skilled artisan shaping clay, patience and precision are key to achieving a polished look. With practice, you’ll turn challenges into triumphs in your welding endeavors.


