Before you weld a project car floor, you need a clean plan, not a rushed cut. Start by cutting out all rust to solid metal, making a cardboard template, and test-fitting the replacement panel before final trimming. Choose lap, butt, or plug welds based on your skill and joint design, then tack and stitch weld to control heat and warping. Clean and protect the metal with weld-thru primer, seam sealer, epoxy primer, and undercoating so the repair lasts.
What’s in This Article
- Plan the Floor Pan Replacement
- What You’ll Need Before You Start
- Measure, Cut, and Test-Fit the Panel
- Pick the Best Weld for Floor Pans
- Strip Rust and Apply Weld-Thru Primer
- Dial In Your MIG Welder Settings
- Tack Weld to Control Warping
- Seal and Paint the Floor Pans
- Inspect the Welds and Final Protection
- Frequently Asked Questions
- Conclusion
Quick Answer
To weld in a project car floor, remove all rust, shape the new panel, and test-fit it before welding. Use plug, lap, or butt welds based on the joint, then tack and stitch weld in short sections. After welding, seal both sides, prime the metal, and protect the underside from moisture.
Key Takeaways
- Cut back to clean metal before you fit a new floor panel.
- Use a cardboard template so the panel matches the opening.
- Choose plug, lap, or butt welds based on your joint and skill level.
- Tack and stitch weld in short sections to reduce heat warping.
- Seal, prime, paint, and undercoat both sides to slow future rust.
Plan the Floor Pan Replacement
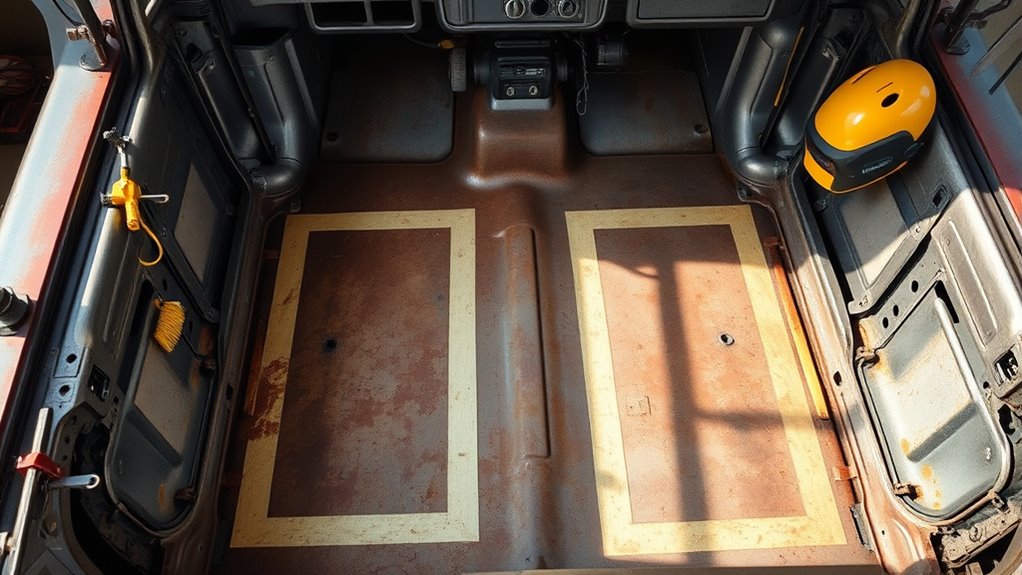
Before you cut or weld anything, assess how far the rust has spread. Remove damaged metal until you reach solid, clean edges. That gives you a sound base for the new floor and keeps the repair honest.
Build a cardboard or poster board template first. Then transfer it to sheet metal that matches the original floor as closely as you can. Many older floor repairs use thin automotive sheet metal, but you should match the vehicle and panel design when possible.
Compare the template to the opening, and make sure your replacement panels sit flush without forcing the body. Do a test fit before final welding, then mark any spots that need attention with yellow crayon.
Clean every edge fully, because scale and loose rust invite failure. Coat overlapping surfaces with weld-thru primer to help protect trapped metal. Also, remember to prepare your metal thoroughly so the weld has a cleaner surface.
When you plan carefully, you control the repair instead of letting rot dictate it.
What You’ll Need Before You Start
Set up your tools and safety gear before you cut the floor. You’ll work faster, and you’ll avoid stopping with sharp metal or open seams exposed.
- MIG welder with thin sheet metal settings
- Welding helmet, gloves, jacket, eye protection, and hearing protection
- Angle grinder, wire wheel, drill, clamps, and cutting tools
- Cardboard or poster board for the template
- Replacement sheet metal or a formed floor pan panel
- Weld-thru primer, seam sealer, epoxy primer, paint, and undercoating
- Fire extinguisher and a clean, well-ventilated workspace
Warning: Remove carpet, insulation, fuel vapors, and flammable debris before welding on a car floor.
Products Worth Considering

Model Number: 1CR
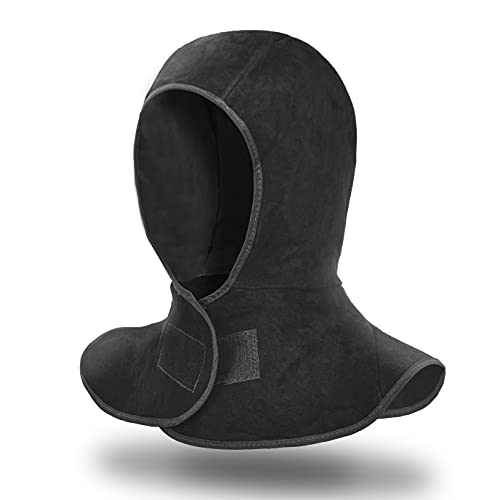
HIGH QUALITY LEATHER: Made from the durable and pliable, abrasion and heat resistant selected split cowhide leather, this hood is durable, stable for long time use.

Full Protection: our quality cowhide outer layer and neck/shoulder pendant prevents dangers such as welding spatter, grinding sparks, sawdust and drilling debris, providing you with full protection during welding work
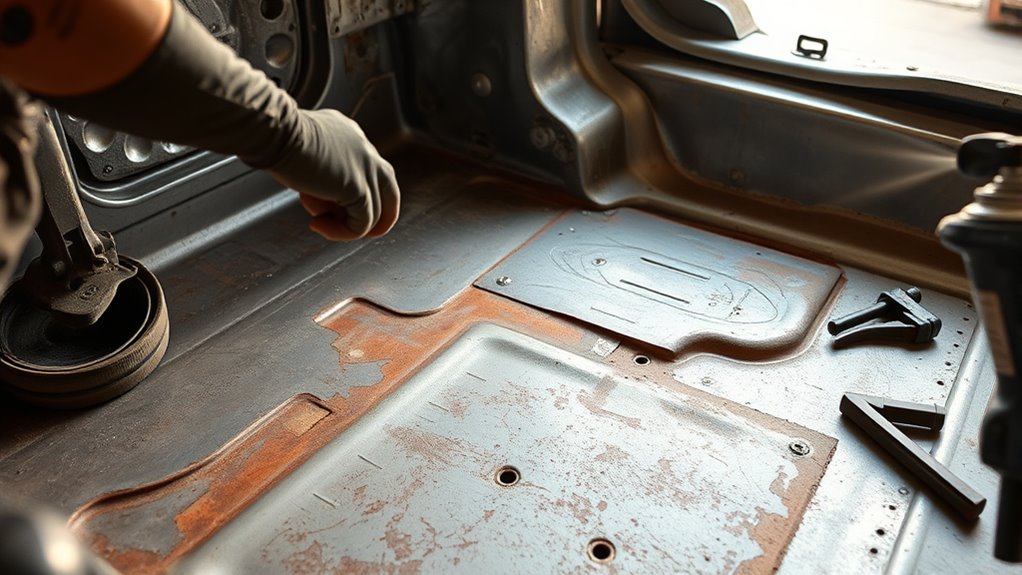
Measure, Cut, and Test-Fit the Panel
With your template in hand, trace the damaged floor and measure the opening. Replace only the rusted section you need, but leave enough clean metal for a strong joint.
Check the surrounding metal, mark weak spots with a yellow crayon, and set the exact boundaries before you cut. Use cardboard or poster board to refine the shape, then transfer those dimensions to the new panel. For a lap joint, aim for about 1 inch of overlap so the piece lands on solid metal.
- Trace, measure, and verify every edge before you cut.
- Keep the new panel slightly oversized, then trim it down.
- Test-fit the panel before any final cuts to the old floor.
Slide the panel into place and test-fit it until it sits snug without force. If a corner binds, trim a little and try again. Good fitment also helps you follow maximum fillet weld size principles where lap seams or flanges need a controlled weld.
When the fit feels right, you’ll know the panel follows the opening and respects the structure you’re rebuilding.
Pick the Best Weld for Floor Pans
Once the panel fits, choose the weld that matches the joint and your skill level. For many floor pans, plug welding works well because you can overlap the panels, drill holes in the top piece, and fuse through to lock both layers.
If you’re newer to welding, lap welding gives you more room for alignment. Butt welding can look cleaner, but it demands tight fitment. Any gap can weaken the seam, so don’t rush it.
Use tack welding often to hold the panel in place and keep movement low while you check alignment. When you’re ready for final welding, stitch welding helps control heat. You weld short sections, move across the panel, and let the metal cool between passes.
Pro tip: Practice on scrap metal with the same thickness before you weld the floor pan.
Pick the method that keeps the floor strong, flat, and ready for the road ahead.
Products Worth Considering

Meet or Exceed OEM Specifciation.

【Aftermarket Replacement Plug】The floor plugs fit for 2007 - 2018 Jeep Wrangler JK ( 2-door model need 10 pack drain plugs, 4-door model need 12 pack drain plugs ); 2018 - 2021 Jeep Wrangler JL ( 2-door model need 6 pack drain plugs, 4-door model need 8 pack drain plugs ); 2020 / 2021 Gladiator JT Truck.

✅【Complete Pro Welding Kit: 36 Plugs in 3 Precision Sizes】:This all-in-one 38-piece professional kit is engineered for ultimate versatility. It includes 12 plugs of 0.75", 12 of 1.00", and 12 of 1.375" diameter, covering the most common hole sizes in auto and metal work. Paired with a high-speed drill bit and a strong square magnetic holder, it delivers a complete, ready-to-use solution for permanent repairs.
Strip Rust and Apply Weld-Thru Primer
After you choose the weld method, clean the joint so it can hold. Strip rust from both the original floor and the replacement panel until you reach bare metal. Clean at least 1 inch past the seam when you can.
Use POR-15 Metal Prep on the cleaned surfaces if that matches your repair system. Then apply weld-thru primer to both sides where overlap will happen. This helps improve corrosion resistance in areas you can’t coat after welding.
Use metal prep as directed, then coat both overlap sides with weld-thru primer for added corrosion protection.
- Bare metal matters because paint and scale weaken the bond.
- Let primer dry before welding because wet coating can hurt weld quality.
- Check coated areas later so moisture doesn’t reclaim the patch.
Keep the primer thin and even, and don’t skip the surrounding area. That extra coverage protects the seam where you can’t easily reach once the floor is in. Also, make sure you remove rust fully before you weld or seal the panel.
Dial In Your MIG Welder Settings
Set your MIG welder up for thin sheet metal before you strike an arc. For 20-gauge sheet metal, .023-inch wire often gives you better control than thicker wire.
Use your welder’s chart as the starting point for voltage and wire feed speed. On thin automotive sheet metal, lower heat and steady travel help you fuse the panel without burning through it. Make small test welds on scrap before you touch the car.
Check your gas flow and use enough shielding gas for your workspace. If the puddle feels harsh, lower the voltage a little. If the arc stutters, raise wire feed speed slightly.
You’re tuning the machine to match the material, not forcing the panel to obey. That’s how you keep sheet metal honest, preserve strength, and stay in charge of the repair. Also, monitor gas flow rates to reduce porosity and keep the weld cleaner.
Tack Weld to Control Warping
Tack weld the floor panel at small, temporary points around the perimeter. This locks the panel in place before you weld the final seams. Place tack welds about every 6 inches so you can control the panels without trapping heat in one area.
Keep each tack small and quick. That limits heat input and helps prevent warping in the metal. Work methodically and alternate from one side to the other, letting each spot cool before you move on.
- Space tack welds evenly for stable fitment.
- Jump sides to spread heat and reduce warping.
- Keep each tack brief so adjacent metal stays cool.
Once all tack welds are set, you can stitch weld in short sections with more confidence. You’re not fighting the panel anymore. You’re guiding it. Also, learn basic cutting setup if you use a plasma cutter to remove the damaged floor section.
Seal and Paint the Floor Pans
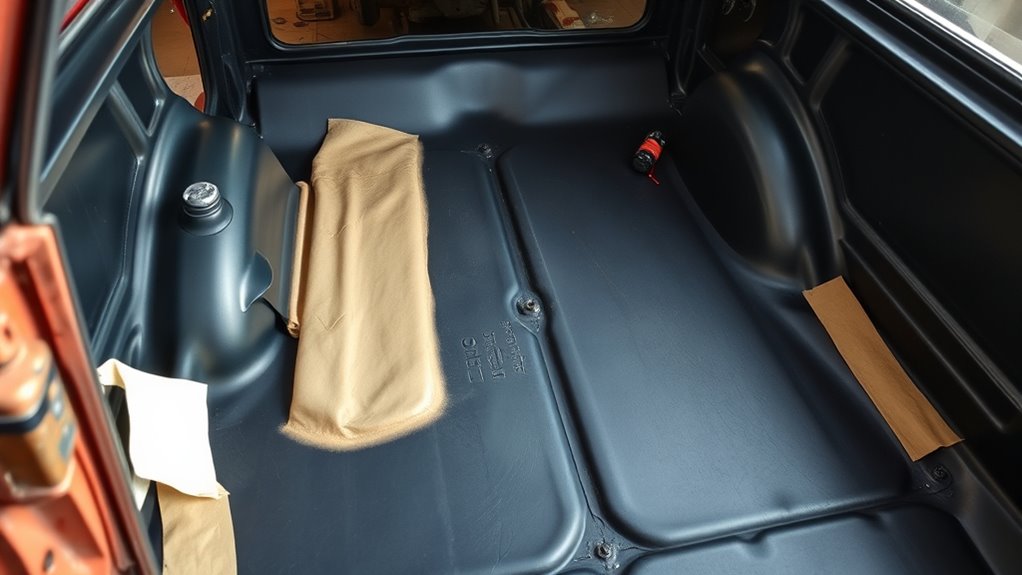
After welding, inspect every seam and weld for full coverage before you seal anything. Apply a durable urethane seam sealer on both sides of the floor pan. Then coat the bare metal with a high-quality epoxy primer for adhesion and corrosion resistance.
Finish with rust-inhibiting paint to add a strong barrier against moisture and future rust. Clean the metal well before coating it, just as you would clean a weld area to prevent common issues such as rod sticking in stick welding.
Seam Seal Both Sides
Once the welds are complete, seal both sides of the new floor panel. This keeps moisture out and improves long-term durability.
After welding, clean any exposed weld-through primer so your seam sealer bonds tight and stops moisture infiltration. Use urethane seam sealer on both sides for flexibility where the body shifts or vibrates.
Then coat the panel with rust-inhibiting primer to add a barrier against corrosion. Inspect every seam carefully because missed gaps invite rust and weaken the repair.
- Wipe surfaces clean before sealing.
- Pack seams evenly, not heavily.
- Check corners, overlaps, and flanges.
Prime and Paint Protection
With the welding done, seal and protect the new floor pans. Apply seam sealer to both sides, then lay down a high-quality epoxy primer over welded and bare-metal areas. This creates a durable corrosion barrier and helps paint stick.
If you prep overlapping joints before welding, weld-thru primer adds extra rust protection where you can’t reach later. After the epoxy cures, prime any missed spots. Then paint with an automotive-grade coating made for metal.
For the underside, you can add a rubberized undercoating or bed liner to block road debris and water. Do this work carefully, and your floor pans stay sealed, strong, and ready for the road ahead.
Inspect the Welds and Final Protection
Check each weld for even bead patterns, solid fusion, and no gaps, burn-through, or heavy spatter. Feel the panel for tight fitment and confirm every seam is secure before final assembly. Wear proper personal protective equipment during inspection so sharp edges, fumes, dust, and debris don’t catch you off guard.
Finish by sealing both sides with seam sealer and coating exposed welds with rust-inhibiting primer. A final check now can save you from trapped moisture later.
Weld Integrity Check
After welding, inspect each seam visually for uniformity and full coverage. Look for gaps, missed spots, pinholes, and defects that could invite rust later.
This weld integrity check should confirm your spot welds tie in cleanly and hold the floor solid under load. Brush or grind away residue so you can spot weak areas, porosity, or poor penetration before they grow into failure points.
If you can, pull-test a few scrap practice joints before trusting your settings on the car. The joints should not separate under normal test pressure.
- Check both sides of every seam.
- Clean off residue before moving on.
- Rework anything that looks thin or cracked.
Once the welds pass, seal the seams to block moisture intrusion and improve corrosion resistance.
Final Sealing Protection
Once the welds pass inspection, seal every seam on both sides of the panel. This blocks moisture and slows corrosion.
Your final sealing protection starts with a clean surface, then a continuous seam sealer bead along every joint. Choose a urethane seam sealer if you want flexibility. Work it into gaps so you build a true moisture barrier, not just a cover-up.
After the sealer cures, spray epoxy primer over the welded areas before paint. That layer improves adhesion and helps lock out rust.
Recheck the underside, edges, and overlaps for missed spots. Watch the sealed areas over time, and repair any wear fast so your floor stays solid.
Frequently Asked Questions
What Is the Golden Rule in Welding?
The golden rule in welding is to fit pieces tightly before you strike an arc. You’ll get stronger joints by using proper welding technique, safety gear, clean metal, and the right joint design.
What Should You Do Before Starting to Weld on Any Project?
Start with safety and preparation. Check your material, clean the workspace, remove flammable items, gather your tools, and test your welder settings on scrap metal before you weld the project.
Can You Weld Floor Pans With a Flux Core Welder?
You can weld floor pans with flux core, but MIG with shielding gas often gives you cleaner control on thin sheet metal. If you use flux core, practice first and keep the heat low to reduce burn-through.
What Is the Best Welder for Car Projects?
A MIG welder often works best for car floor projects because it gives you good control on thin sheet metal. Choose a welder with adjustable voltage, wire speed control, and support for small wire sizes.
Do You Need to Seal Both Sides of a Welded Floor Pan?
Yes, you should seal both sides when you can reach them. Moisture can attack the underside, overlaps, and interior seams, so seam sealer, primer, paint, and undercoating all help the repair last longer.
Conclusion
A strong project car floor repair starts with clean metal, careful fitment, and controlled heat. Plan every cut, fit the panel dry, and choose the weld that matches your joint. Clean the metal, use weld-thru primer, and dial in your MIG settings before you strike an arc. Tack slowly, stitch in short sections, then seal, paint, and inspect your work. Take your time now, and the new floor will feel solid every time you drive the car.


