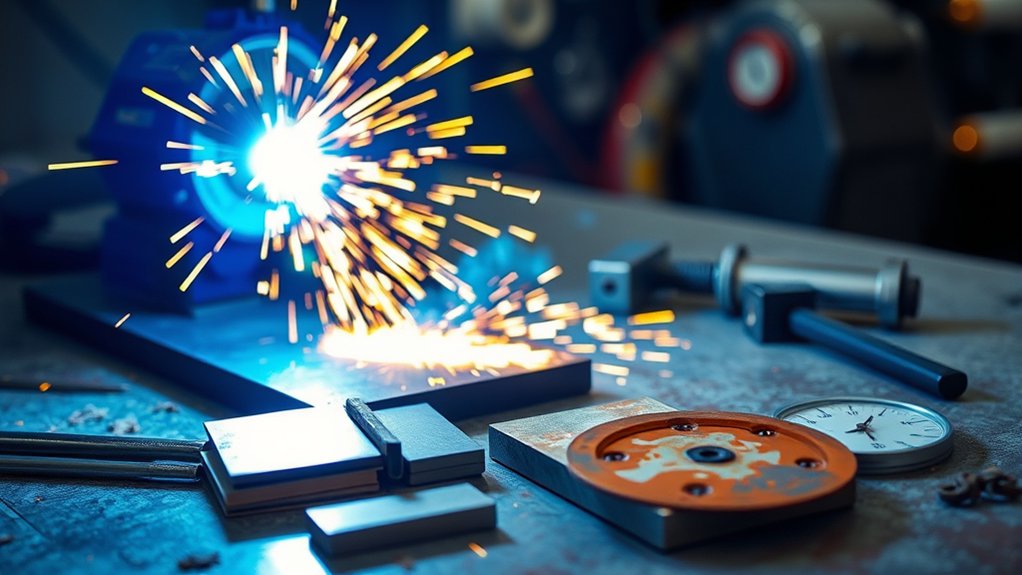
You can cut most electrically conductive metals with a plasma cutter—mild steel, stainless, aluminum, brass, and copper—but results hinge on thickness, surface condition, and the machine’s amperage. Handheld units handle moderate gauge; automated systems reach heavy plate. Clean, dry air, correct consumables, and stable work grounding matter for cut quality and safety. Match amps to thickness to avoid dross and warping. If you want crisp edges on thin sheet, there’s a specific setup you shouldn’t skip.
Metals You Can Cut With a Plasma Cutter
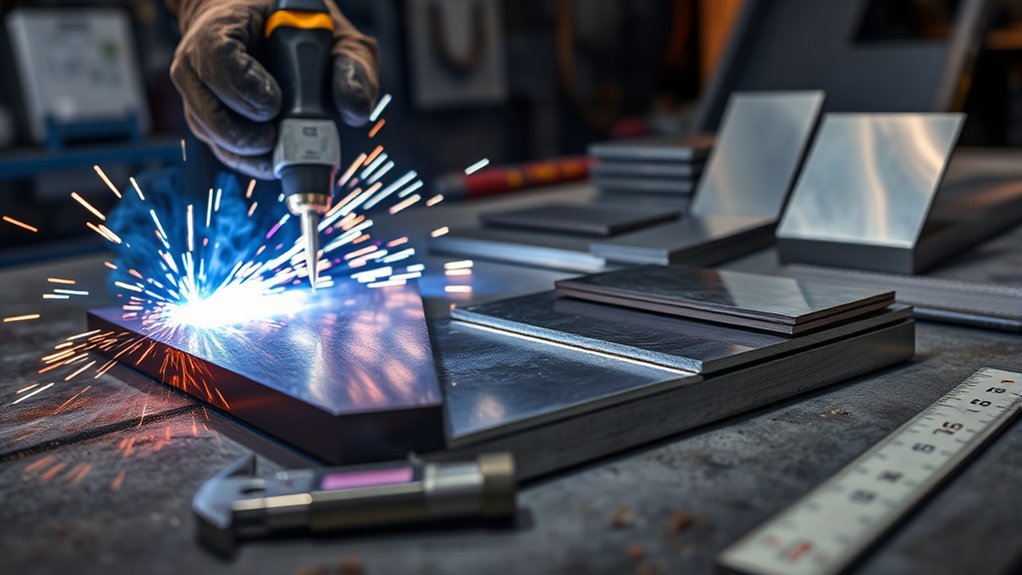
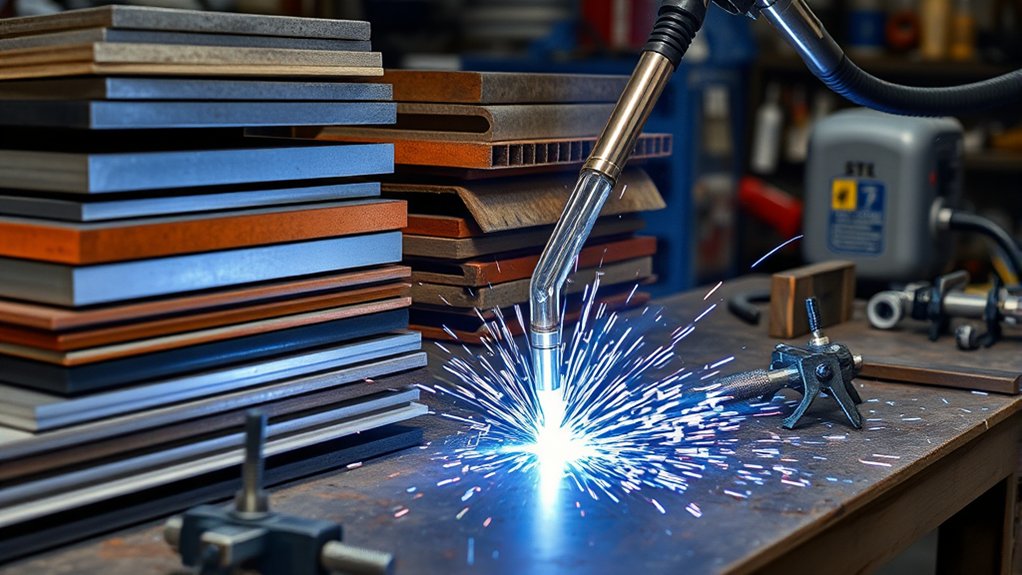
Even though a plasma cutter looks compact, it reliably slices through electrically conductive metals, including mild and stainless steel, aluminum, brass, and copper. You’ll leverage this metalworking versatility in fabrication, repair, and production where clean edges and quick throughput matter.
Focus on conductive alloys: stainless and aluminum cut efficiently thanks to favorable thermal properties; brass and copper also cut well with appropriate settings and consumables.
Match the process to the material. Select amperage that supports your target alloy and thickness to maintain arc stability, kerf quality, and travel speed. Keep work clamps on bright metal for a solid return path.
Avoid nonconductive or unsafe materials like wood, plastics, and lead—these don’t suit plasma cutter applications and can produce hazardous fumes.
Use dry, clean air or specified gas, verify torch swirl ring and nozzle size, and maintain correct standoff.
With proper parameters and PPE, you’ll achieve precise cuts on the metals plasma cutting was designed for.
How Thick Can a Plasma Cutter Cut?
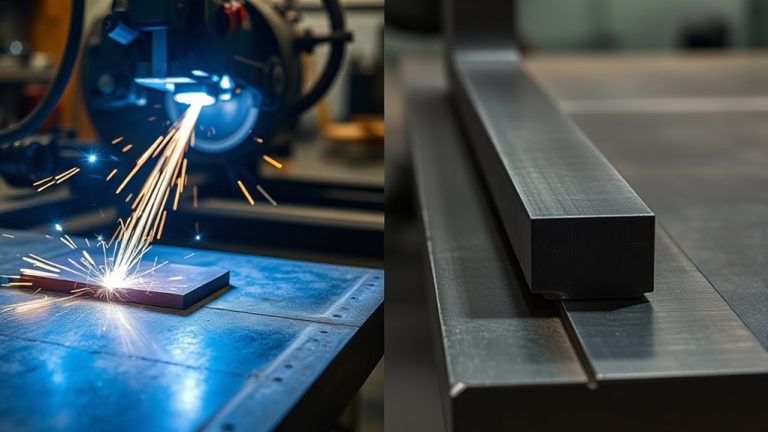
You should match the cutter type to the job: handheld units handle up to about 38 mm for shop and field work, while automated systems reach roughly 150 mm for industrial plate.
Verify power capacity, because higher amperage—around 100 A—supports cuts near 40 mm, and inadequate power risks slow travel, taper, and excessive dross.
Factor in material properties too; high-thermal-conductivity metals like stainless and aluminum generally cut cleaner and safer at a given thickness than tougher, lower-conductivity alloys.
Handheld Vs Automated
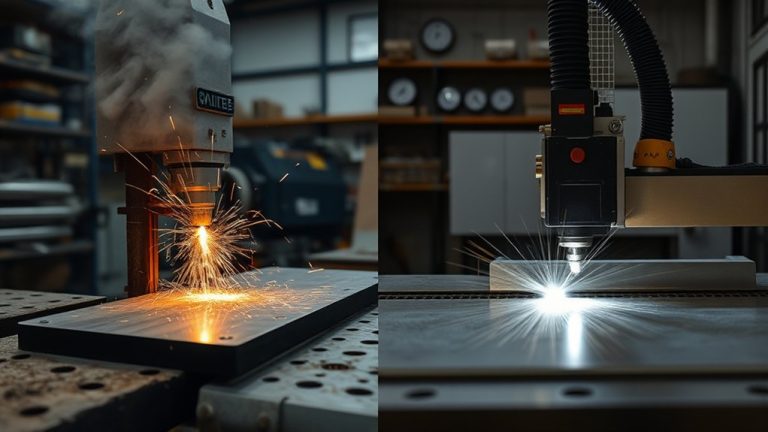
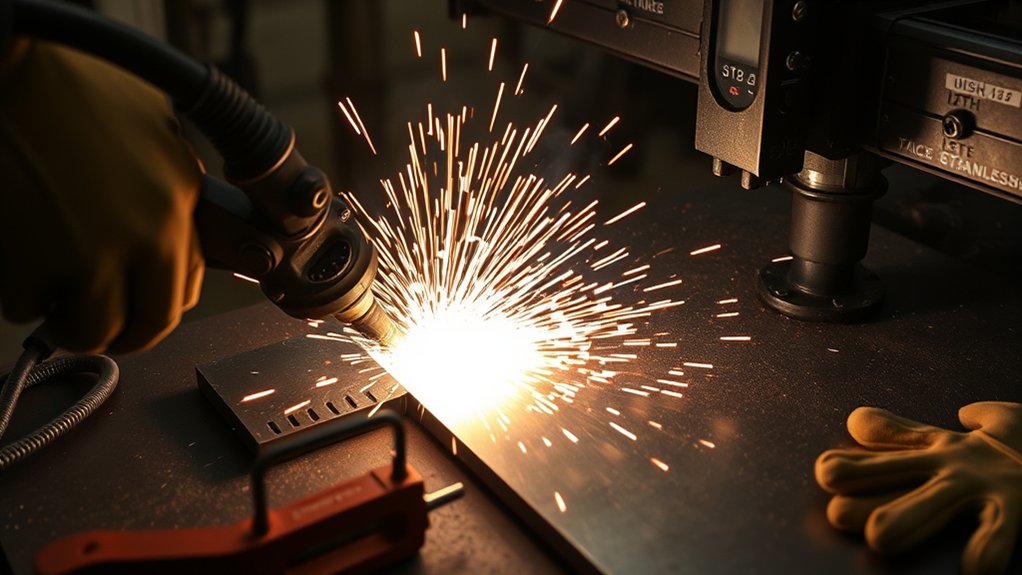
While both handheld and automated plasma cutters use the same arc-and-gas process, their practical cutting limits differ sharply.
You’ll see handheld advantages in portability, quick setup, and control on thin to medium stock—typically up to 38 mm—ideal for maintenance, DIY, and on-site fabrication.
Automated efficiency shines on thick plate and repeatable runs, reliably cutting up to 150 mm in industrial settings with guided motion for consistent kerf, squareness, and minimal dross.
Match tool to thickness and throughput. A 50 A handheld unit handles about 20 mm; a 100 A machine reaches roughly 40 mm, though mechanized systems maintain speed and accuracy at these loads.
Prioritize proper grounding, clean consumables, and correct standoff. Use fume extraction, eye and skin protection, and secure workpieces before initiating the cut.
Power and Material Factors
Because cutting thickness hinges on both power and metal type, start by matching amperage and conductivity to your job.
Prioritize amperage selection: higher amperage increases arc energy, kerf stability, and travel speed on thicker stock. As a rule, a 50-amp unit handles about 20 mm; a 100-amp machine reaches roughly 40 mm. Handheld systems typically top out near 38 mm. For heavy sections up to 150 mm, move to automated cutters with robust duty cycles and motion control.
Account for material conductivity during power optimization. Stainless steel and aluminum transfer energy efficiently, requiring less current per millimeter than poor conductors like lead.
Never attempt to cut plastics; they’re non-conductive and hazardous when heated. Match power source capacity, duty cycle, and gas selection to your thickness target to maintain cut quality and safety.
Handheld vs. Automated Plasma Cutters
Although both tools harness the same arc technology, handheld and automated plasma cutters serve very different roles. You’ll weigh handheld advantages—portability, quick setup, and flexibility—against automated precision—repeatable paths, tighter tolerances, and higher throughput. Handheld units typically cut up to 38 mm, fitting DIY and maintenance tasks. Automated systems on CNC gantries push to about 150 mm and excel in industrial duty cycles. Consider duty cycle ratings, torch consumable life, and motion control accuracy. For safety, manage arc glare, fumes, and hot slag; use PPE and verified grounding on both systems.
| Factor | Handheld Cutter | Automated Cutter |
|---|---|---|
| Max thickness | ~38 mm | Up to ~150 mm |
| Best use | Repair, onsite fit-up | Production, nested parts |
| Accuracy | Operator-dependent | Programmable, repeatable |
| Cost profile | Lower initial cost | Higher investment, lower per-part cost |
| Mobility | High, portable | Fixed, gantry/table integrated |
Choose based on project scale, tolerance targets, and budgeted throughput.
Material Properties That Affect Cut Quality
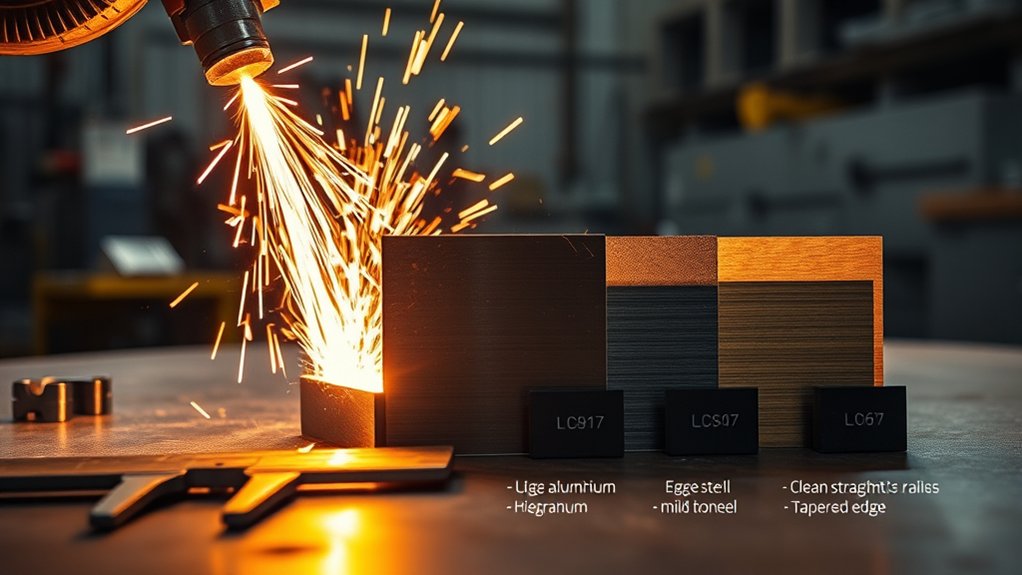
You should account for thermal conductivity, since metals like aluminum wick heat fast and support cleaner kerfs, while poor conductors can overheat and char.
Verify electrical conductivity and adjust amperage and consumables accordingly, because current transfer affects arc stability, cut speed, and achievable thickness within the machine’s rating.
Inspect and prep the surface—remove rust, paint, oil, and scale—to maintain consistent arc initiation, minimize dross, and reduce safety hazards from fumes and spatter.
Thermal Conductivity Effects
While amperage and thickness drive capacity, thermal conductivity largely dictates cut quality and speed. High thermal conductivity metals—like aluminum and stainless steel—wick heat from the kerf, stabilizing the molten pool and boosting cutting efficiency.
You’ll see smoother edges and faster travel rates when you match amperage to thickness and maintain dry, clean air. Low thermal conductivity materials—lead, plastics, wood—absorb and trap heat. They char, smear, or outgas, degrading cut quality and creating safety hazards; avoid plasma on nonconductive combustibles and toxic metals.
For metals within your machine’s range, adjust settings by alloy and thickness. Handheld units typically handle up to 38 mm; automated systems reach about 150 mm.
Stainless steel may need higher current density and slower travel than aluminum. Use tight standoff control, correct consumables, and vigilant cooling to prevent warping.
Electrical Conductivity Impact
Heat flow sets the stage, but the arc only behaves if the workpiece conducts electricity well. Plasma cutting relies on a stable electrical circuit, so your material selection drives cutting efficiency and cut quality.
High-conductivity metals—stainless steel and aluminum—carry current reliably, letting the arc constrict, transfer heat efficiently, and maintain a narrow kerf. Poor conductors—lead, plastic, wood—won’t sustain the arc; expect erratic starts, excessive dross, or no cut at all.
Match amperage to conductivity and thickness. As you increase current, you can sever greater sections in conductive metals—100 A systems can pierce and sever up to about 40 mm.
High thermal and electrical conductivity together promote cleaner edges at thickness, but monitor distortion. Use proper clamping and grounding to keep the circuit stable and safe.
Surface Condition Influence
Although amperage and conductivity set the limits, the metal’s surface condition often decides whether the cut stays clean or degrades into dross and wander. You’ll see polished stainless and aluminum fight you: slick surfaces reduce torch traction and rigidity, so the arc can skate, widening kerf and causing bevel.
Mild steel with mill scale actually stabilizes travel. Prioritize surface preparation—degrease, remove oxide only where needed, and secure the work to prevent warping.
Low-speed passes on thin stock propagate heat; increase travel speed or reduce amperage to control distortion. On thin metals, FineCut consumables narrow the kerf and focus the arc, protecting the face.
Adjust cutting techniques by thickness: thicker plate needs slower speed and higher amperage, but constant clamping and cooling intervals.
Power and Amperage: Matching Machine to Thickness
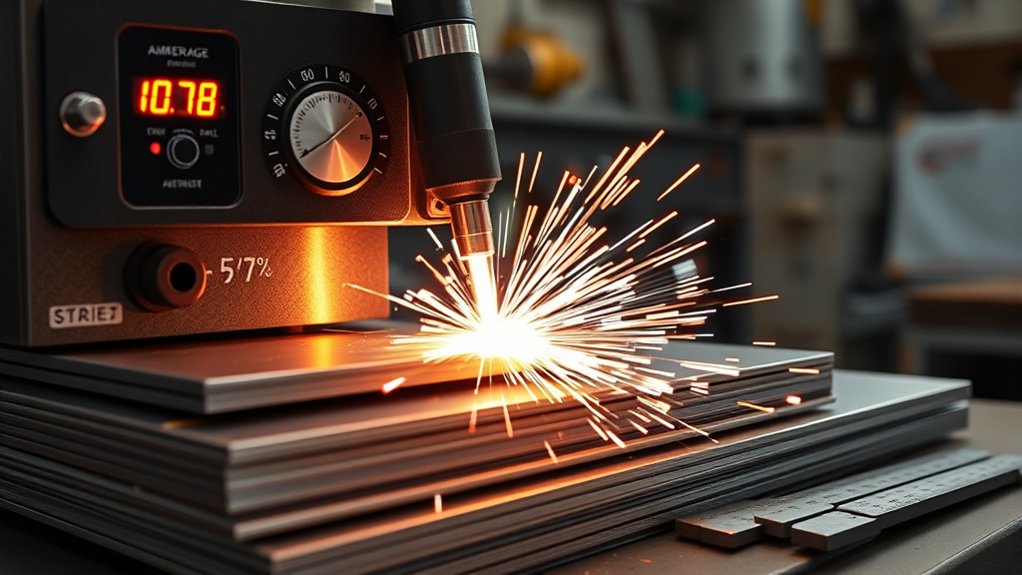
Because plasma cutting capacity hinges on electrical output, you need to match machine amperage to material thickness with intent and caution. Start with the manufacturer’s cutting chart, then fine-tune amperage adjustments and voltage settings to balance kerf quality, speed, and consumable life. Remember: output power = amperage × voltage; more current delivers greater cutting force for thicker stock.
| Machine Amps | Typical Max Thickness |
|---|---|
| 50 A | Up to ~20 mm |
| 100 A | Up to ~40 mm |
| Check Chart | Material-specific limits |
Choose a machine that exceeds your target thickness so you’re not running at the ragged edge of capacity. Undersized units force slow travel and dross; oversized current risks excessive kerf width and heat input. Maintain proper standoff and steady travel speed as you test cut, watching for full penetration and a slight trailing arc angle. If the arc lags, increase amperage or reduce speed. Wear PPE, verify duty cycle, and allow cooldown to protect torch components and guarantee consistent results.
Tips for Cutting Thin Sheet Metal Without Warping

Even on thin sheet, plasma can distort panels fast, so control heat input and mechanical stability from the start.
Use material clamping across the cut path so the sheet can’t flutter or slide; add backing slats close together to support small offcuts.
Clamp across the cut path and tighten support: close slats stop flutter and save small offcuts.
Favor cutting techniques that keep the torch moving—set high travel speeds to push heat away and shorten dwell.
Choose FineCut consumables for a narrow kerf and a stiff, focused arc that sheds less heat into the work.
Match amperage to thickness; too much current widens the heat-affected zone and invites buckle.
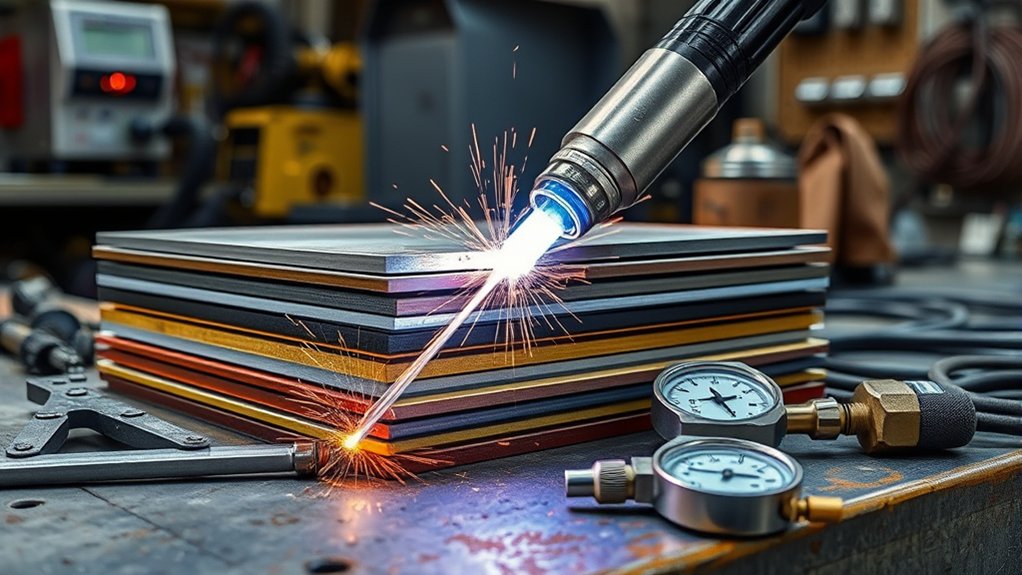
Avoid stacking sheets—lower layers see a larger kerf and lose cut quality.
If you must pierce inside the part, program a minimal pierce delay and lead-in outside critical geometry.
Keep cables strain-free and your stance stable to prevent hesitation.
1) Protect the panel—clamp it like it matters.
2) Keep it moving—speed fights heat.
3) Choose precision—consumables and settings dictate flatness.
Techniques and Settings for Clean, Precise Cuts
You’ve managed heat and stability; now set the machine to cut clean. Dial amperage to match thickness—use the Hypertherm Viper 45’s charts as your baseline precision settings for stainless. Aim for the lowest amperage that maintains a continuous, stiff arc; excess amps widen kerf and overheat edges.
For thin sheet, switch to FineCut consumables: their narrow orifice and focused plume deliver a tight kerf and crisp edge geometry.
Adopt cutting techniques that prioritize speed and consistency. Run high travel speeds to limit heat propagation and prevent panel distortion, especially on polished stainless or aluminum.
Watch arc lag and dross: forward-leaning sparks indicate you can go faster; heavy backside dross means you’re too slow or too hot. Maintain a steady standoff with a drag shield or height control to keep arc voltage stable.
When stack-cutting, add a brief pierce delay so the arc fully establishes, minimizing bottom-layer kerf growth and preserving dimensional accuracy.
Safety Essentials for Plasma Cutting
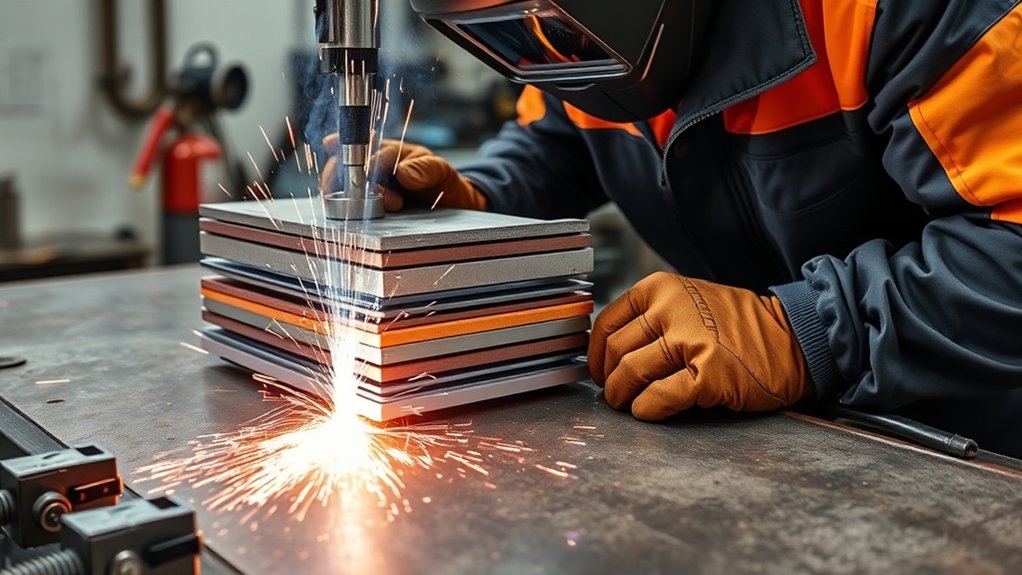
Although plasma cutting feels straightforward once the arc is dialed in, safety starts with disciplined PPE and hot-work habits.
Treat plasma cutter safety as a system: arc intensity, molten spatter, and sharp, freshly cut edges demand protective gear and careful handling.
Wear heavy-duty gloves rated for cut resistance to move parts and coupons without lacerations. Shield your eyes with safety glasses to block bright arcs and flying debris. Use reinforced boots to deflect hot slag and protect toes from heavy drop-offs.
Assume every part you cut is still hot—verify with a light tap, then handle with pliers or clamps.
When working thick plate, follow team lift and pinch-point protocols; mass plus heat equals higher burn and crush hazards. Respect electrical risks: keep leads dry, inspect torch cables, and maintain solid work clamps.
1) Protect your hands—no shortcuts.
2) Guard your eyes—every cut, every time.
3) Defend your feet—hot metal falls fast.
Choosing the Right Plasma Cutter for Your Projects
Safe habits set the baseline; the next variable is matching the cutter to your material and workflow.
Start plasma cutter selection with thickness: handheld units reliably cut up to about 38 mm, while automated systems reach roughly 150 mm. Map that to amperage—50 A is realistic for clean cuts near 20 mm; 100 A extends capacity to about 40 mm with higher cutting efficiency and speed.
Check duty cycle for your production rhythm. A 35% duty cycle, like on the Hypertherm Viper 30 XP, suits intermittent work; stepping up to a Viper 65 delivers faster rates and higher uptime for longer runs.
Confirm input power early. Dual-voltage machines (115/230 V) simplify fieldwork and shop use, but verify your circuit rating and plug configuration.
Choose consumables deliberately. FineCut tips tighten kerf and stiffen the arc on thin sheet, improving edge quality and reducing dross.
Finally, match torch style, lead length, and air quality to your process to maintain consistent results.
Frequently Asked Questions
Can a Plasma Cutter Engrave or Pierce-Start Small Holes Accurately?
Yes—you can, but it’s challenging. Use fine-tip consumables, low amperage, high travel speed, and tight standoff for plasma engraving techniques. For pierce start precision, pilot arc, high-frequency start, proper gas flow, and fixtured guides improve accuracy and safety.
How Does Altitude or Outdoor Wind Affect Plasma Cutting Performance?
Altitude effects reduce arc density about 3% per 1,000 ft; you’ll notice weaker cut energy. Wind resistance disrupts shielding gas, causing dross and wander. Use wind screens, increase gas flow, shorten standoff, derate amperage, and wear eye/respiratory protection.
What Consumables Wear Out Fastest and How Often Should They Be Replaced?
Electrodes and nozzles wear fastest; you’ll schedule electrode replacement every few hours of arc time and pair it with strict nozzle maintenance. Replace swirl ring and shield less frequently. Monitor arc quality, kerf width, and start misfires; prioritize safety.
Can a Plasma Cutter Be Powered by a Generator, and What Specs Are Needed?
Yes. You can power a plasma cutter with a generator if generator specifications match the machine’s input. Verify wattage/VA, continuous duty, voltage stability (<5% THD inverter preferred), surge capacity, correct receptacle, grounding, and plasma cutter compatibility. Prioritize ventilation and PPE.
How Do You Manage Fumes and Ventilation for Indoor Plasma Cutting?
You manage fumes by using local fume extraction at the torch and balanced ventilation systems; hexavalent chromium can exceed limits in 30 seconds. Position capture hoods, seal gaps, maintain negative pressure, add HEPA filtration, monitor air, and wear appropriate respirators.
Conclusion
By now, you can see how plasma arcs and metal thickness coincide like lightning meeting a ridge—clean, controlled, and predictable when you set it right. Match amperage to thickness, choose the correct consumables, and your cut path will align with your plan. Keep surfaces clean, clamp solidly, and shield yourself—PPE on, ground secure, sparks directed. Whether you’re slicing thin stainless or gouging thick steel, your settings, setup, and safety habits converge to deliver repeatable, precise results.