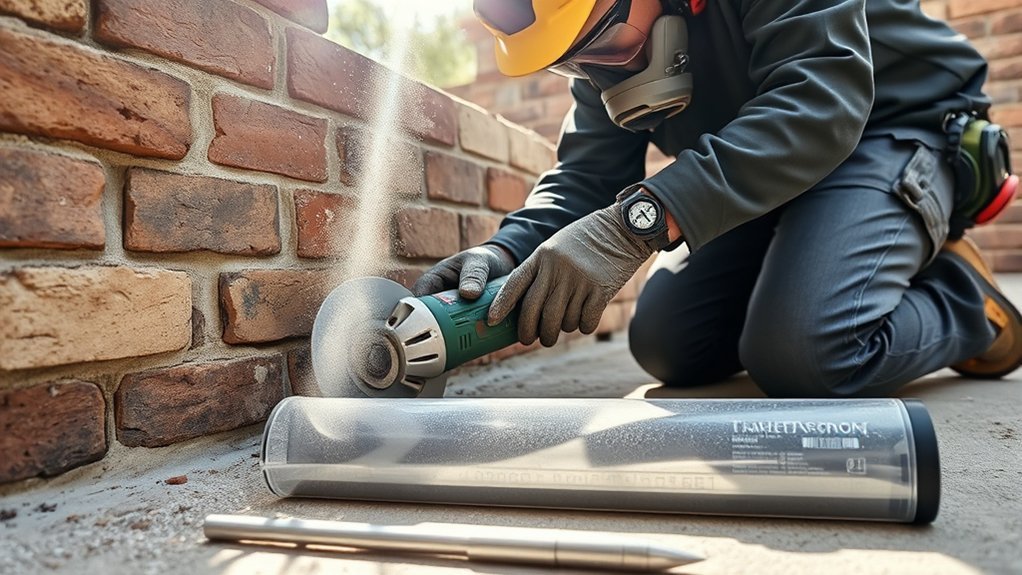
Use a tuckpointing blade when deteriorated mortar must be removed before repointing and the masonry is hard, stable, and suitable for controlled power-tool work. The blade is only one part of the setup: you also need a compatible grinder, a fitted dust shroud, effective vacuum dust collection, proper protective equipment, and a mortar that matches the wall.
Quick Answer
Use a tuckpointing blade to remove loose or crumbling mortar from straight, wide joints in sound, hard masonry before repointing. Do not grind soft brick, historic masonry, narrow vertical joints, painted surfaces, or moving walls without professional review. Always pair the blade with a compatible shroud and vacuum dust collector.
Key Takeaways
- Use a grinder only when the wall is stable and the blade can stay inside the joint without touching brick or stone edges.
- Remove failed mortar to at least 2 to 2.5 times the joint width, or farther where loose material remains.
- Match the blade, wheel diameter, arbor, rated speed, grinder, shroud, and vacuum as one approved system.
- A shroud alone is not enough. Dust collection, ventilation, safe cleanup, and correctly selected respiratory protection are also needed.
- Fix leaks and choose compatible replacement mortar before repointing, or the repair may damage the masonry or fail early.
At a Glance
| Time Required | Plan 1 to 2 hours for setup, a test panel, and cleanup. A larger wall section may take a full day or longer once mortar placement and curing protection are included. |
| Difficulty | Intermediate to advanced. Historic, soft, bulging, cracked, chimney, or high-access masonry belongs with a qualified mason. |
| Tools Needed | Compatible tuckpointing blade, angle grinder with side handle, fitted dust shroud, vacuum dust collection system, suitable respirator, eye and hearing protection, gloves, joint raker or chisels, brush, pointing trowel, compatible mortar, spray bottle, and curing cover. |
| Cost | Varies widely with tool compatibility, dust collection, access, mortar testing, and project size. Professional work costs more but is the safer choice for structural, historic, painted, or difficult-to-reach masonry. |
Warning: Grinding mortar, brick, concrete, or stone can release respirable crystalline silica. Use engineering controls, suitable respiratory protection, eye and hearing protection, and safe cleanup. Do not dry sweep, blow dust with compressed air, or let dust enter windows, doors, air intakes, or occupied areas.
Signs Your Mortar Needs Attention: When Should You Use a Tuckpointing Blade?
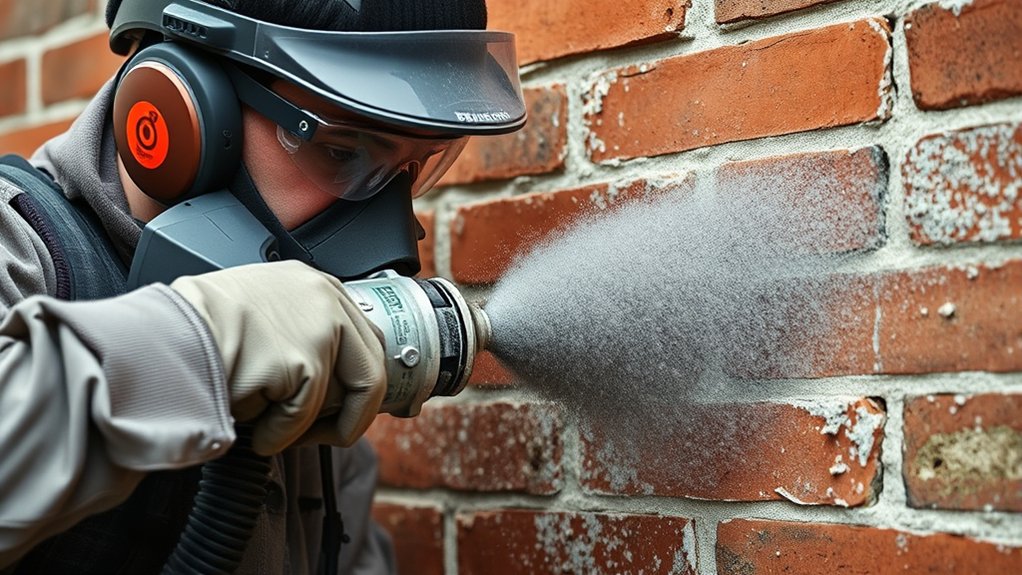
Use a tuckpointing blade only when mortar has failed enough that it must be removed before new mortar can bond. Suitable signs include mortar that is loose, powdery, deeply recessed, missing, or cracked through the joint. Damp interior finishes or repeated water entry can also point to failed joints, but they may come from flashing, roofing, gutters, caps, plumbing, grade, or wall movement instead.
Efflorescence and mold show that moisture is present; they do not prove that grinding is the correct repair. Find and correct the moisture source first. The National Park Service advises addressing leaks, settlement, rising damp, and other root causes before repointing because new mortar will deteriorate again if the underlying problem remains.
A grinder is most appropriate on straight, fairly wide horizontal joints in sound, hard masonry. Use hand tools or professional methods for soft historic brick, old lime mortar, narrow joints, glazed terra cotta, fragile stone, decorative profiles, and tight vertical head joints. A small hairline crack may only need monitoring, while a spreading stair-step crack, bulging wall, leaning chimney, or separated brickwork needs inspection before any mortar is removed.
Note: Removing mortar does not correct structural movement. Stop if the wall is bulging, leaning, separating, or shedding masonry, or if cracks continue to grow.
Tuckpointing vs. Repointing: Why the Difference Matters
Many people use tuckpointing as a general name for mortar-joint repair. Technically, repointing means removing deteriorated mortar and replacing it with new mortar. Traditional tuckpointing is a decorative finish that places a fine contrasting line over a broader mortar joint to create the look of narrow, crisp joints.
- Repointing: The repair process of removing failed mortar and packing compatible new mortar into the joint.
- Tuckpointing: Often used casually to mean repointing, but technically a decorative pointing treatment.
- Grinding or raking out: The joint-preparation step, which may use a tuckpointing blade only where the masonry and joint geometry can tolerate it.
The distinction matters because a decorative finish, a water-entry repair, and a structural masonry problem require different decisions. It also matters when selecting mortar. Replacement mortar should generally be softer and at least as vapor-permeable as the masonry units, and no harder or less permeable than the existing historic mortar. An overly hard or dense repair can shift stress and moisture into the brick or stone, leading to spalling or cracking.
Before You Grind: Five Go-or-No-Go Checks
Complete these checks before choosing a blade. A successful repointing job starts with the wall, not the grinder.
- Check stability. Do not grind a wall, parapet, chimney, arch, or veneer that is bulging, loose, leaning, separating, or actively cracking.
- Identify the masonry and mortar. Hard modern brick and portland-cement mortar may tolerate controlled grinding. Soft brick, lime-rich mortar, terra cotta, and many historic materials usually require hand removal and a test panel.
- Fix the water source. Repair failed flashing, gutters, downspouts, caps, roof edges, sealant joints, plumbing leaks, or poor drainage before repointing.
- Check coatings. Painted or coated masonry—especially at a pre-1978 property—may create a lead-dust hazard when disturbed. Follow EPA lead-safe guidance for DIY renovations or use a lead-safe certified contractor where required.
- Make a representative test panel. Test removal, mortar color, texture, joint profile, tooling, and curing in a small, less visible area before committing to the whole wall.
How to Choose the Best Tuckpointing Blade for Your Project
Measure several joints because their widths may vary. Select a blade or manufacturer-designed blade assembly that can remain centered without touching the masonry edges. Do not assume that a common 1/4-inch, 3/8-inch, or 1/2-inch blade fits every wall.
| Joint or Wall Condition | Safer Tool Choice |
| Wide, uniform horizontal joints in hard, stable brick | Compatible tuckpointing blade, grinder, dust shroud, and vacuum system, followed by careful hand-tool cleanup |
| Thin or irregular vertical head joints | Joint raker, hand chisel, or skilled professional removal |
| Soft brick, historic brick, terra cotta, soft stone, or lime-rich mortar | Hand tools and an approved test panel; avoid power grinding unless a preservation mason specifies it |
| Bulging wall, unstable chimney, displaced units, or active cracking | Professional structural and masonry inspection before mortar removal |
| Painted or coated joint | Hazard assessment and coating-specific containment before disturbance |
Segmented diamond tuckpointing wheels remove hard mortar quickly. Manufacturer-designed sandwich wheels can create a wider cut, but they also remove more material and demand precise control. Never improvise a wider cutter by stacking unrelated wheels.
Confirm every compatibility point before installation:
- The blade diameter and arbor fit the grinder and tuckpointing shroud.
- The blade type is approved for mortar removal and for the guard or shroud being used.
- The wheel’s rated speed is at least the grinder’s no-load speed.
- The shroud is designed for that grinder family and wheel size.
- The side handle, flanges, locknut, depth stop, and other required parts are installed as the manufacturer directs.
- The blade has no cracks, missing segments, warping, glazing, or other damage.
Follow the grinder, shroud, blade, and dust-extractor instructions as a complete system. For example, the Bosch TG503 tuckpointing-guard instructions limit the guard to specified grinder and wheel types and warn against using water with a dry-only electric setup.
The target removal depth is generally at least 2 to 2.5 times the joint width, or until sound mortar is reached. For many brick joints, that is about 1/2 to 1 inch. Remove loose or disintegrated material beyond the minimum depth, but do not hollow out sound mortar merely to make the joint deeper. Leave the back of the cut square rather than creating a shallow V-shaped groove.
Pro Tip: Make the first cut in a low-visibility test area. Stop immediately if the wheel chips arrises, widens the joint, wanders into brick, exposes hidden metal, or throws dust outside the shroud.
Products Worth Considering

Soft brushes prevent dust from escaping and help move the tool over the surface

★Single Screw Depth Adjustments - Quickly adjusts and maintains desired depth of cut.Maximum cutting depth:32mm

For Makita 4-1/2" and 5" Grinders Only (except 9005B)
Why a Dust Shroud Is Essential for Tuckpointing
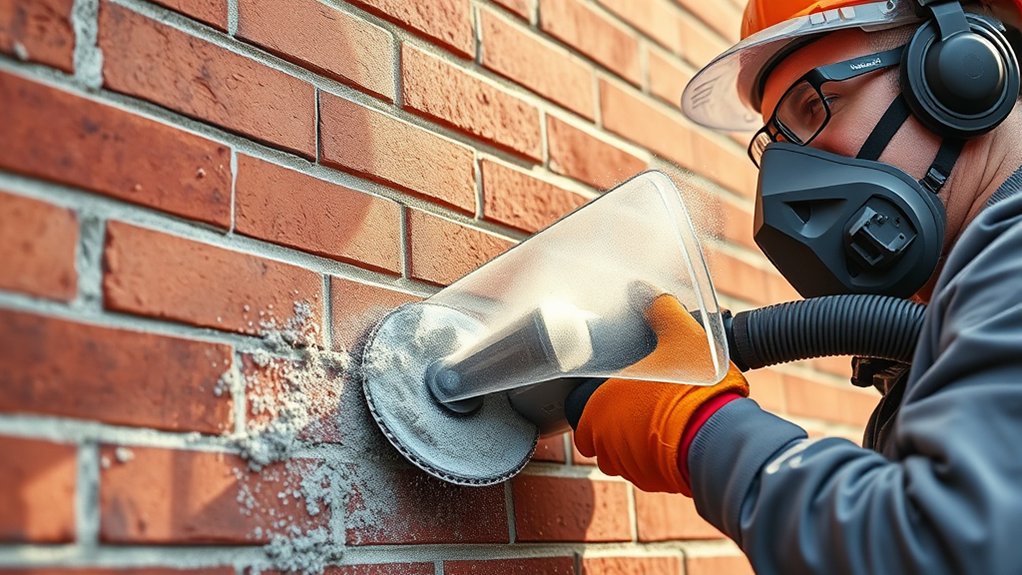
A dust shroud captures dust close to the cut, improves visibility, and reduces contamination of nearby surfaces. It does not make mortar grinding dust-free, and it does not replace ventilation, respiratory protection, housekeeping, or work-area control.
For covered construction work, OSHA Table 1 specifies a commercially available shroud and dust collection system for handheld grinders used in mortar removal. The dust collector must provide at least 25 cubic feet per minute of airflow per inch of wheel diameter, use a filter with at least 99% collection efficiency for respirable-sized particles, and include a cyclonic pre-separator or filter-cleaning mechanism. A 5-inch wheel therefore requires at least 125 cfm under that specification.
The related OSHA mortar-removal fact sheet also emphasizes keeping the shroud against the surface, moving in one controlled direction, maintaining airflow, and preventing kinks or clogs in the hose.
- Match the shroud to the grinder and wheel size.
- Place the shroud against the wall before entering the joint.
- Keep its leading edge flush with the masonry while cutting.
- Move in the direction recommended by the tool manufacturer instead of sawing back and forth.
- Ease off cutting pressure before lifting the wheel so the vacuum can clear remaining dust.
- Keep hoses short enough for airflow and free of debris, kinks, and tight bends.
- Empty collection bags before they overfill and service filters without releasing captured dust.
- Use extra ventilation indoors or in enclosed spaces and direct contaminated air away from people and air intakes.
OSHA’s Table 1 lists a minimum assigned protection factor of APF 10 for mortar grinding lasting 4 hours or less per shift and APF 25 for more than 4 hours per shift when employers use that compliance method. Those values apply within an occupational respiratory-protection program, which includes proper respirator selection, medical evaluation, training, and fit testing where required. Homeowners should not treat a disposable mask as a substitute for dust control. Choose a NIOSH Approved respirator appropriate to the hazard and make sure it seals and is worn correctly.
Dust control is part of the cutting system, not an optional accessory. Mortar and brick can contain crystalline silica, and grinding can create particles small enough to reach deep into the lungs.
Products Worth Considering

High Compatibility:Suitable for Angle Grinder under main brand 4-1/2''/5",adapt to 48-51mm Angle grinder front cap and easy to install.Allows collection of harmful dust suface grinding application.
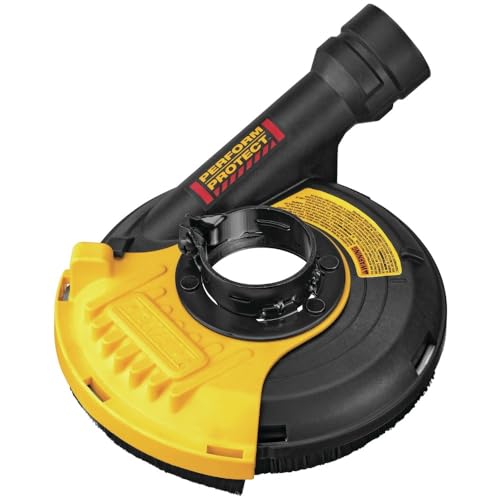
Designed to contain grinding dust

Angle grinder dust extraction suitable for the front cover of most 48-51mm angle grinders. Can be installed on most 5"/4.5" angle grinders.The thickness of Diamond Grinding Disc should not more than 25mm or less than 15mm.
How to Set Up the Work Area
Plan dust containment before connecting the grinder. Move vehicles, furniture, plants, food, and other items away from the work zone. Close nearby doors and windows, cover or shut down air intakes where safe to do so, and keep children, pets, tenants, and bystanders away.
Outdoors, use ground covering where debris could contaminate soil, landscaping, roofs, or walkways. Indoors or in an enclosure, isolate the area and provide exhaust ventilation that moves dusty air away from occupied spaces and the worker’s breathing zone. Do not point a fan through the cut in a way that defeats the shroud or sends dust toward another person.
Check the weather before repointing. Avoid freezing conditions, heavy rain, strong wind, direct hot sun, and weather that will dry fresh mortar too quickly. Provide shade and curing protection. Follow the mortar manufacturer’s temperature limits and the preservation professional’s specifications when working with historic mortar.
Caution: Do not introduce water at a grinder unless the grinder, guard, wheel, electrical protection, and manufacturer instructions specifically permit wet operation. Many tuckpointing systems are designed for dry cutting with vacuum extraction.
Step-by-Step: How to Safely Tuckpoint Your Masonry
Use this sequence only after confirming that the masonry is stable and suitable for power-tool mortar removal.
- Inspect and mark the failed joints. Identify loose, recessed, powdery, cracked, or missing mortar. Mark structural movement, damaged brick, utilities, flashing, anchors, and other areas that must not be cut.
- Correct the cause of deterioration. Repair leaks, flashing, drainage, caps, gutters, downspouts, or other moisture sources before repointing.
- Confirm mortar compatibility. Match the replacement mortar’s physical properties, color, aggregate, texture, and joint profile to the wall. Get professional analysis for significant historic masonry.
- Measure and select the system. Choose a blade that stays within the joint, then verify wheel, arbor, speed, grinder, shroud, flanges, hose, and dust collector compatibility.
- Set up containment and airflow. Protect nearby surfaces, close openings, control access, connect the dust collector, and confirm that the hose will not kink or pull the grinder off line.
- Inspect the equipment and put on PPE. Check the wheel and shroud, install the side handle, and use eye protection, hearing protection, gloves, protective clothing, and suitable respiratory protection.
- Make a test cut. Start the tool clear of the wall, let it reach operating speed, then make a short cut in a low-visibility area. Stop if the wheel vibrates, chips masonry, wanders, or cannot remain centered.
- Remove mortar in controlled passes. Keep the shroud sealed against the surface and follow the manufacturer’s cutting direction. Remove mortar to at least 2 to 2.5 times the joint width or until sound mortar is reached.
- Finish edges and vertical joints by hand. Use a joint raker or chisel near brick arrises, corners, openings, and head joints. Do not overcut past the ends of the joint.
- Clean without redistributing dust. Use a suitable HEPA-filtered vacuum or wet-cleaning method. Do not dry sweep, use a leaf blower, or use compressed air unless a system effectively captures the dust cloud as permitted by applicable rules.
- Dampen the joint correctly. Remove loose particles, then dampen absorbent masonry so the joint is moist but has no standing water when mortar is placed.
- Pack the new mortar. Press mortar firmly against the back and sides. Where the joint is deeper than 1 inch, fill it in compacted layers and allow each layer to become thumbprint hard before adding the next.
- Tool the joint at the right time. Match the existing profile when the final layer is thumbprint hard. Brush excess mortar with a natural-bristle or nylon brush; avoid metal brushes on historic masonry.
- Cure and protect the repair. Shield the wall from direct sun, freezing, wind, and rain. Lime-rich mortar may need light misting and damp coverings for several days according to the mortar specification and site conditions.
- Inspect after curing begins. Look for shrinkage cracks, hollow spots, poor bond, staining, smeared brick faces, or recurring dampness. Correct the cause rather than coating over a failed repair.
Good repointing depends as much on joint preparation, mortar compatibility, compaction, tooling, and curing as it does on the removal tool.
Tuckpointing Troubleshooting Guide
| Problem | Likely Cause and Corrective Action |
| Dust escapes around the shroud | Stop. Check shroud contact, hose kinks, filter loading, bag fill level, airflow, wheel direction, and system compatibility before continuing. |
| Brick edges chip or the joint gets wider | The blade is too wide, the joint is irregular, the masonry is too soft, or the operator cannot hold the line. Switch to hand tools or call a mason. |
| Wheel wanders, binds, or vibrates | Stop and disconnect power. Inspect the wheel, flanges, arbor, shroud alignment, joint geometry, and grinder bearings. Replace damaged parts; never force a binding wheel. |
| New mortar develops hairline cracks | Possible causes include excess water, poor compaction, tooling too early, rapid drying, or an incompatible mix. Review the mortar and curing method before repeating the repair. |
| Repair is much lighter or darker than expected | Sand, water content, batch proportions, tooling time, joint depth, and curing can change appearance. Stop and approve a cured test panel before continuing. |
| Moisture or efflorescence returns | The water source may still be active, or the replacement mortar may be too dense. Inspect flashing, drainage, caps, roof edges, grade, and mortar compatibility. |
Common Tuckpointing Tool Mistakes to Avoid
- Using a blade that is too wide: It can cut brick edges, widen the joint, and make the repair visually obvious.
- Using mismatched parts: An incorrect wheel, arbor, flange, shroud, or grinder can reduce control and create a serious tool hazard.
- Skipping the dust shroud or using weak dust collection: A shroud without adequate airflow and filtration cannot capture dust effectively.
- Grinding soft or historic masonry: Fast power tools can permanently damage arrises, glazed surfaces, and fragile units.
- Overcutting vertical joints: The wheel can run past the head joint and scar the brick above or below it.
- Removing sound mortar unnecessarily: Extra depth creates more dust, labor, and risk without improving the repair.
- Using hard modern mortar on soft old masonry: The repair may trap moisture or transfer stress into the brick or stone.
- Adding water to a dry-only grinder: This may create an electrical hazard and violate the tool instructions.
- Cleaning with compressed air, a blower, or dry sweeping: These methods can put settled silica-containing dust back into the air.
- Ignoring the water source: Repointing will fail again if gutters, flashing, roof details, caps, or grade continue to wet the wall.
- Rushing tooling or curing: Poor timing and rapid drying can cause weak bond, cracks, color variation, and reduced durability.
Top Tips for Tuckpointing Tool Maintenance
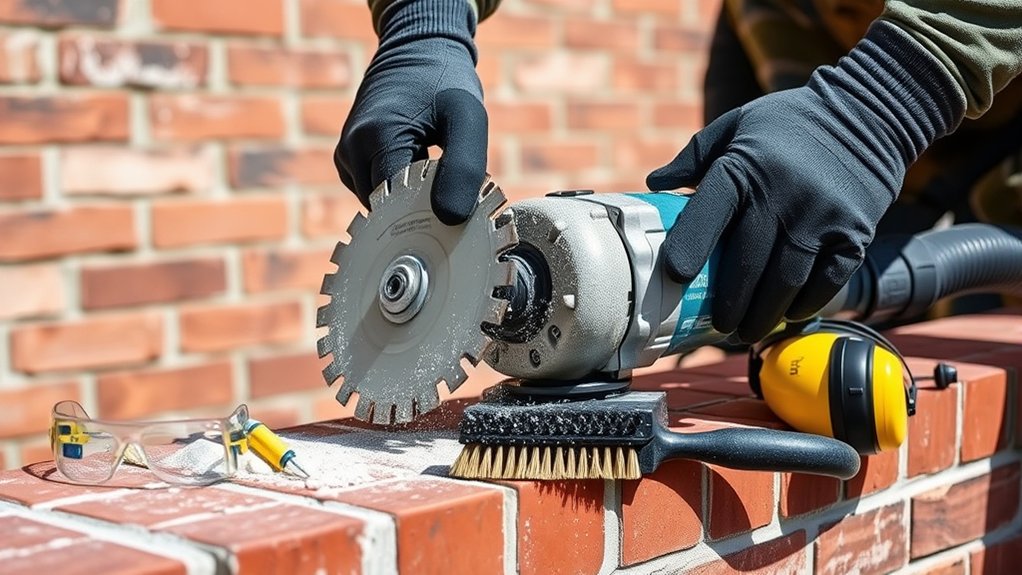
Inspect the tuckpointing wheel before every use. Replace it if it is cracked, warped, glazed, missing segments, badly worn, or cutting poorly with normal pressure. Check the flanges, locknut, spindle, guard attachment, side handle, cord or battery housing, and switch before work begins.
After the job, clean the shroud, hose, pre-separator, dust collector, and filters according to their manufacturers’ instructions. Use methods that keep captured dust contained. Do not blow out filters, clothing, or equipment with compressed air.
Check that the shroud sits flat against the wall and that its depth adjustment locks securely. Store blades flat or as the manufacturer directs in a dry, protected location. Keep hand chisels and joint rakers sharp so they cut cleanly instead of bouncing or crushing mortar.
Never remove, trim, or modify a guard or shroud to force incompatible parts together. Replace damaged components and use only the washers, flanges, locknuts, adapters, and accessories approved for the tool system.
When to Stop and Call a Mason
Stop work and call a qualified mason, preservation specialist, or structural professional when the project involves:
- Bulging, leaning, separated, or displaced masonry
- Long stair-step cracks, cracks that keep growing, or repeated movement
- Loose chimney bricks, a failing crown, roofline work, or falling-material risk
- Soft historic brick, glazed terra cotta, carved stone, landmark masonry, or unusual joint profiles
- Mortar that is much harder than the surrounding old brick or stone
- Repeated water damage that remains after visible leaks are repaired
- Painted or coated masonry that may contain lead or another hazardous material
- Scaffolding, lifts, public walkways, occupied interiors, or difficult dust containment
- Large-area mortar matching or repairs where appearance and compatibility are critical
A professional should also review walls where previous hard-cement repairs have caused brick faces to crack or spall. Replacing the mortar alone may not address damaged units, corroded embedded metal, failed ties, or concealed water paths.
Frequently Asked Questions
What are tuck point blades used for?
Tuck point blades remove deteriorated mortar from masonry joints before repointing. They work best on straight, uniform joints in hard, stable masonry and should be used with a compatible grinder, dust shroud, vacuum dust collection, and proper protective equipment.
What is a tuck pointing trowel used for?
A tuck pointing trowel places, packs, and shapes fresh mortar in a cleaned joint. The blade or joint raker removes failed mortar; the trowel rebuilds the joint after dust and loose material are removed.
How often should you tuck point?
There is no fixed schedule. Inspect exposed masonry at least yearly and after severe weather. Repoint when mortar is loose, powdery, deeply recessed, missing, or allowing water through, after correcting the source of moisture or movement.
What is the difference between repointing and tuckpointing?
Repointing removes deteriorated mortar and replaces it with compatible new mortar. Tuckpointing is often used as a general name for that work, but technically it is a decorative method that uses a fine contrasting line to create the appearance of narrow joints.
Can I use an angle grinder for all mortar joints?
No. A grinder can damage soft brick, historic masonry, thin vertical joints, irregular stone, and fragile glazed materials. Use it only when the wall is stable, the masonry is hard enough, and the blade can stay centered without touching the units.
Do I need a dust shroud for a small tuckpointing job?
Yes, use effective dust control even for a short cut. A fitted shroud and compatible dust collector reduce airborne dust, but they must be combined with safe work practices, suitable respiratory protection, and careful cleanup.
How deep should mortar be removed before repointing?
Remove old mortar to a minimum depth of about 2 to 2.5 times the joint width and continue until sound mortar is reached. Many brick joints require about 1/2 to 1 inch, while wide stone joints may require more.
Can I use a regular shop vacuum for tuckpointing dust?
Only if the complete system meets the tool and task requirements. For covered construction work, OSHA specifies airflow based on wheel diameter, at least 99% filter efficiency for respirable particles, and a cyclonic pre-separator or filter-cleaning mechanism. An ordinary household vacuum may clog or release fine dust.
What mortar should I use after grinding out the joint?
Use mortar that is physically and visually compatible with the wall. For historic masonry, the new mortar should generally be softer and more vapor-permeable than the masonry units and no harder or less permeable than the existing mortar. A mason or mortar laboratory can help with significant buildings.
Conclusion
Using the right tuckpointing blade and dust shroud can make mortar removal faster and more controlled, but only when the wall, joint, blade, grinder, shroud, and vacuum are all suitable for the task. Inspect the masonry first, correct water problems, test the method, protect against silica dust, finish delicate areas by hand, and use compatible mortar with careful curing. When the wall is soft, historic, painted, unstable, high, or actively cracking, professional masonry work is the safer choice.
Sources
- CDC/NIOSH: Silica and Worker Health — health risks from respirable crystalline silica and silica-containing materials.
- OSHA: 29 CFR 1926.1153, Respirable Crystalline Silica — Table 1 controls and respirator requirements for covered construction work.
- OSHA: Handheld Grinders for Mortar Removal Fact Sheet — shroud, airflow, filtration, work-practice, ventilation, and cleanup guidance.
- National Park Service: Preservation Brief 2 — mortar compatibility, joint depth, power-tool limits, filling, tooling, and curing guidance.
- U.S. EPA: Lead-Safe Renovations for DIYers — precautions when renovation disturbs possible lead-based paint.
- Bosch: TG503 Tuckpointing Guard Operating and Safety Instructions — manufacturer compatibility, wheel, guard, and dry-cutting instructions.