What Is Cold Lap in Welding?
What’s in This Article
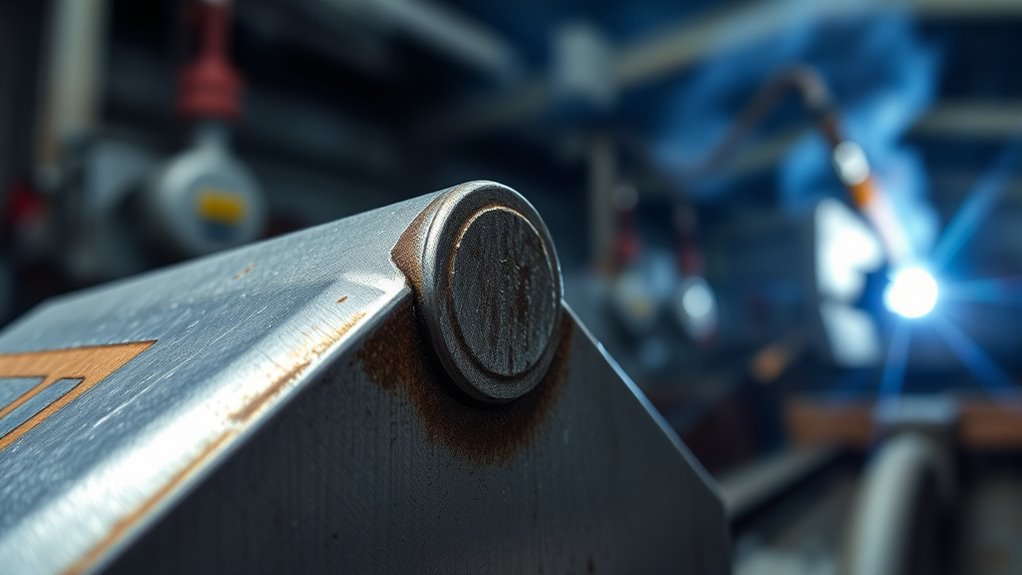
A weld can look smooth and still hide a serious fusion problem. Cold lap in welding is an incomplete fusion defect where the weld metal doesn’t bond well to the base metal, even when the bead seems clean from the outside.
You need to watch for edge lines, toe bulges, and stubborn slag because this defect creates weak zones and stress risers that can crack under load. This guide shows you how cold lap forms, how to spot it, how to prevent it, and how to repair it before the joint fails.
Quick Answer
Cold lap happens when weld metal rolls over the base metal without fully fusing into it. You can often spot it by a thin line, edge bulge, or poor tie-in at the weld toe. You prevent it by using enough heat, steady travel speed, correct torch or electrode angle, and clean joint preparation.
Key Takeaways
- Cold lap means the weld metal overlaps the base metal without proper fusion.
- Low heat, fast travel, poor angle control, and excessive weaving can cause cold lap.
- A cold lap defect can weaken the joint even when the bead looks smooth.
- You can spot cold lap by checking weld toes, edge lines, bulges, and slag behavior.
- You should remove the defect and reweld on clean, sound metal before the joint carries load.
What Cold Lap Means in Welding
Cold lap is a welding defect where the weld metal fails to fuse with the base metal. It often leaves a visible line, edge bulge, or other sign of incomplete fusion along the joint.
Cold lap occurs when weld metal fails to fuse properly, leaving a visible line or edge bulge along the joint.
You’ll usually see it when your welding techniques don’t deliver enough heat or when you move too fast for the puddle to tie in. In MIG welding and stick welding, poor heat management and the wrong electrode angle can let metal sit on top instead of bonding below.
You can identify cold lap by a light fusion line at the weld edge, uneven buildup, or slag that feels harder to clear than it should. That visible boundary warns you that the weld process isn’t joining the materials as intended.
If you want clean and reliable work, inspect each pass closely. Hold a consistent travel speed, set your arc and angle well, and make the weld grow from true fusion instead of surface buildup along the joint line. Proper fillet weld sizing also helps you reduce cold lap risk and support effective bonding.
Why Cold Lap Weakens Welds
When you get cold lap, the molten metal doesn’t fully fuse with the base metal. The weld then loses a continuous load path.
That incomplete fusion creates stress concentrations at the weld edge, where visible overlap or bulging can start a crack under load. The joint weakens and loses the strength and durability you need for structural service. Understanding proper metal preparation helps you reduce cold lap and make stronger welds.
Fusion Failure
Fusion failure occurs when molten weld metal doesn’t fuse to the base metal. This leaves a cold lap that weakens the joint.
You lose fusion quality, and weld integrity drops because the bead sits on top instead of joining as one continuous metal structure. You may see a thin line at the weld edge, but that visual cue can mislead you if you don’t inspect closely.
Low heat input, excessive travel speed, and poor technique in MIG or stick welding often create this defect. To prevent it, increase heat input, steady your travel speed, and control your settings so the weld fully bonds.
Stress Concentration
Cold lap may look minor at the surface, but it creates incomplete fusion between the weld metal and base metal. This produces localized weak zones that concentrate stress.
You can see this as visible lines or bulges along the weld edge, where adhesion stays poor and stress spreads unevenly. Those loads don’t move smoothly through the joint. They collect at the lap area and raise the chance of crack start and crack growth.
In high-stress service, that imbalance can trigger unexpected failure because the weld can’t transfer force evenly.
Joint Weakening
Cold lap weakens a weld because the molten metal doesn’t fully fuse to the base material. This leaves an incomplete bond that can’t carry load well.
You’ll often see light fusion lines at the weld edge. They signal poor bonding and reduced strength.
When you use too little heat, travel too fast, or hold the wrong electrode angle, you invite this defect and weaken joint integrity. Under stress, the weld can separate or crack where fusion never formed.
You protect your work by inspecting every pass, checking penetration, and following welding standards without shortcuts. Precision gives you freedom from preventable failure and helps your welds withstand real service loads.
Warning: Do not leave cold lap in a load-bearing weld because the joint can crack at the unfused edge.
Common Causes of Cold Lap
You’ll usually see cold lap when you run too little heat, so the base metal doesn’t fully melt and fuse with the weld metal.
Incorrect travel speed can also create the defect, especially if you move too fast or combine low voltage with high wire feed in MIG welding.
Poor technique control, including excessive weaving or inconsistent torch angle, can reduce heat penetration and leave a clear lack of fusion at the weld edge. Controlling heat input helps you make a stronger weld and avoid cold lap defects.
Low Heat Input
You need to control heat distribution through your welding parameters. The arc must deliver enough energy to melt both edges and create a full bond.
In MIG welding, low voltage paired with high wire feed speed can outrun melting and leave cold metal sitting on the surface. In stick welding, excessive weaving can spread heat too thin and weaken fusion.
If you run low amperage, penetration drops and the defect can form. Raise voltage and amperage to match the base metal’s thickness and composition, and you’ll restore fusion and improve integrity.
Incorrect Travel Speed
Travel speed matters as much as heat input because fast movement gives the arc less time to melt the base metal. If you outrun the puddle, the filler sits on the surface instead of fusing into it.
That creates visible edges, weakens the joint, and signals poor heat distribution across the bead. In MIG welding, low voltage paired with high wire speed can make this imbalance worse.
In stick welding, excessive weaving can spread heat unevenly and block full fusion. Use a steady, suitable travel speed so the arc can do its work and create sound fusion.
Poor Technique Control
Technique control decides whether heat reaches the joint or just washes over it. When you rush your travel speed, the weld metal can sit on the base material instead of bonding with it.
In MIG welding, low voltage paired with high wire speed often leaves the edges unmelted. In stick welding, an overly wide weave spreads heat too thin and blocks fusion at the toes.
Your welding techniques must stay disciplined. Keep a consistent travel speed, match amperage and voltage to the joint, and control the puddle with purpose. Precise technique helps you create full fusion, while sloppy motion locks in cold lap and weakens the weld.
How MIG Welding Causes Cold Lap
In metal inert gas (MIG) welding, cold lap forms when the arc doesn’t supply enough heat to fully fuse the molten weld metal to the base material. The weak joint can still look deceptively sound.
You control this through welding parameters. If you run low voltage with a high wire feed speed, you crowd metal into a puddle that can’t wet the base properly. That imbalance distorts heat distribution, so penetration stays shallow and fusion stops short at the edges.
Low voltage and high wire feed can crowd the puddle, limiting wetting and leaving shallow penetration.
You may see light fusion lines that suggest a neat bead, but they often signal incomplete bonding. To avoid that trap, keep travel speed steady, angle the gun correctly, and watch the puddle so it ties in fully.
Inspect the weld during and after deposition. Early detection lets you correct the setting before the defect spreads and the joint loses integrity. Proper welding parameters help you achieve a strong and reliable weld.
Products Worth Considering

Compatible with CGA-580 tanks: Easily attach this Gas Pressure Regulator/Flowmeter to your Argon, Helium, and CO2 tanks with its CGA-580 inlet connector

Application: This Gas Pressure Regulator/Flowmeter Can Be Used with Argon, Helium and CO2 Gas tanks

APPLICATION: The ARCCAPTAIN gas pressure regulator can be used with argon, helium, and carbon dioxide gas tanks.
Why Stick Welding Gets Cold Lap
Stick welding can produce cold lap when heat and bead placement don’t let the weld metal fuse fully into the base plate. You create this defect when you use an excessive weave, which spreads the arc too wide and weakens fusion at the toe.
If your amperage is too low, your welding parameters won’t deliver enough penetration, and the puddle will sit on top instead of tying in. A slow travel speed can also worsen the issue by adding metal faster than it can fuse, especially when heat spreads unevenly.
In out-of-position work, gravity pulls the molten metal away from the joint, so you need tighter control and a steadier hand. When you tune current, reduce weave, and keep motion consistent, you give the arc a cleaner path to bond. This discipline helps you manage heat absorption issues and prevent wasted effort from defective reinforcement.
Products Worth Considering

Comprehensive Welding Package: our package comes with 24 low temperature universal welding rods available to meet your welding requirements; Whether you are a novice or an experienced welder, this kit of welding rods ensures you have things you need for your welding projects; Material is relatively brittle, received with breakage is a normal phenomenon, does not affect the use
Filler Metal Storage: These rod storage tubes are designed to hold 10 lbs of stick welding electrodes. Each tube comes with a plastic key tag to keep your electrodes organized.

Filler Metal Storage: These rod storage tubes are designed to hold 10 lbs of stick welding electrodes. Each tube comes with a plastic key tag to keep your electrodes organized.
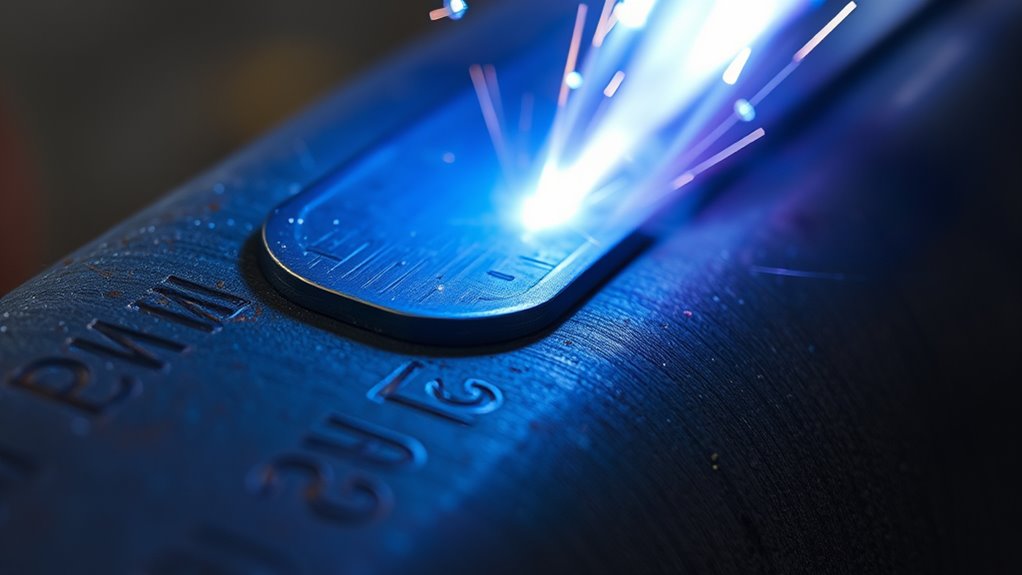
How to Spot Cold Lap in a Weld
Start your weld inspection by tracing the weld edges under strong light. You’ll often see visible lines or small bulges where the weld metal hasn’t bonded cleanly to the base metal.
Those edge cues matter because cold lap can look acceptable at first glance. Check the weld toes closely. Light fusion marks in that area can signal cold lap, and new welders may miss them.
If slag resists removal, treat that as a warning sign and recheck the area with a critical eye.
- Check for edge lines, ridges, and toe irregularities.
- Watch slag behavior during cleanup.
- Compare the bead profile with nearby fusion zones.
- Look for overlap that sits on the base metal instead of tying into it.
You should also question any weld that seems smooth but hides shallow overlap. Consistent heat input and travel speed help prevent these defects, so spotting them early lets you correct your process and protect your work. Proper gas flow settings can also support overall weld quality and reduce defect risk.
Pro tip: Use bright side lighting when you inspect weld toes because low-angle light makes edge laps easier to see.
Cold Lap vs. Incomplete Fusion
Cold lap is often confused with incomplete fusion, but the terms don’t always describe the same visible pattern. You should read the joint geometry carefully.
Cold lap often shows a rolled-over bead where molten metal fails to bond at the edge, leaving a line or bulge that can mask weakness. Broader incomplete fusion may show an unbonded region inside the weld, where filler metal hasn’t joined itself or the base metal fully.
You’ll often trace cold lap to low heat input and travel speed that’s too fast. Incomplete fusion can also come from poor heat control, poor joint access, or contaminated surfaces.
Incomplete fusion can show up as an unbonded region inside the weld, often from poor heat control, poor access, or contamination.
Both defects reduce load-carrying capacity, yet cold lap can fool you because it may look finished to the eye. Proper zinc removal techniques before welding can help reduce contamination-related fusion problems.
If you evaluate weld quality, use the defect pattern, location, and bonding loss to tell them apart. That careful check helps you protect the structure from preventable failure.
How to Prevent Cold Lap
Preventing cold lap starts with controlling heat input so the weld puddle fully wets and bonds to the base metal. You should set heat by matching voltage and amperage to the material, joint, and process.
If the arc runs too cold, metal stacks up instead of fusing, and you lose integrity. Keep travel speed steady because uneven movement can starve the puddle or overheat edges.
In MIG welding, balance voltage with wire feed speed so deposition and penetration stay in sync. With stick welding, limit weaving so you don’t create cold zones that block fusion. Understanding amperage settings based on metal thickness helps you achieve proper fusion for different materials.
Inspect each bead for lines, laps, or bulges. Correct your technique before the defect spreads.
- Set heat for the joint and material thickness.
- Hold a uniform travel speed.
- Keep the torch or electrode angle consistent.
- Clean the joint before welding.
- Watch bead shape and surface continuity.
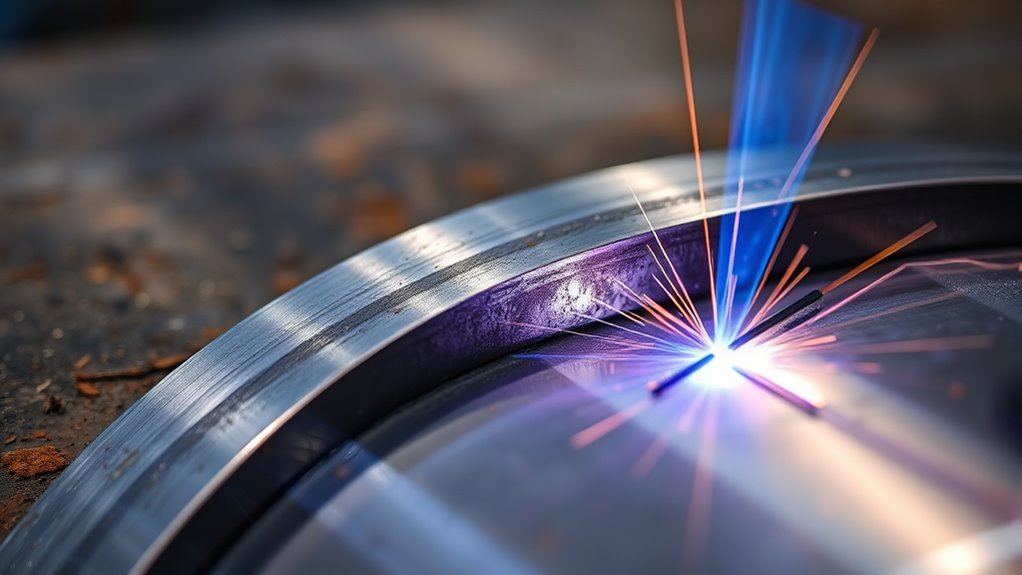
How to Repair Cold Lap Before Failure
Once you spot cold lap, act before the joint fails. Use inspection methods to map the defect. Look for edge bulges, dark lines at the fusion boundary, and overlap where the weld metal hasn’t bonded to the base metal.
Mark the full affected zone. Then remove it with grinding or another controlled rework method until you expose clean, sound material.
Mark the full affected zone, then grind away the defect until clean, sound material is exposed.
Next, correct the cause, not just the symptom. Increase heat input by raising voltage or reducing travel speed so the arc can melt both sides of the joint. For better penetration, use the right amperage settings for the base metal.
Keep your angle steady, maintain a consistent pace, and avoid excessive weaving, especially in stick welding. Poor motion can keep the puddle cold.
Reweld the area with disciplined repair techniques, then inspect again for complete fusion. Clean the base material and manage cooling to keep the defect from returning.
Note: If the weld supports a critical load, have a qualified welding inspector review the repair before service.
Frequently Asked Questions
What Causes Cold Lap Welding?
Cold lap welding usually comes from too little heat, incorrect travel speed, low voltage, high wire feed, or excessive weaving. Poor material preparation can also limit fusion and leave weld metal sitting on the surface.
How Do You Fix Cold Lap in Welding?
Grind out the cold lap until you reach clean, sound metal. Then adjust heat input, travel speed, and electrode or torch angle before you reweld and inspect the repaired area.
How Do You Prevent Cold Lap?
You prevent cold lap by using enough heat, holding a steady travel speed, and keeping the correct angle. You should also clean the joint and match MIG voltage, wire feed, or stick amperage to the job.
What Is the Difference Between Overlap and Cold Lap?
Overlap means excess weld metal rolls onto the base metal without proper tie-in. Cold lap describes the unfused edge condition that often appears with that overlap. Both defects can weaken joint integrity.
Can Cold Lap Hide Under a Smooth Weld Bead?
Yes, cold lap can hide under a bead that looks clean from a quick glance. You need to inspect the weld toes, edge lines, and bead profile to catch signs of poor fusion.
Is Cold Lap Dangerous in Structural Welding?
Cold lap can become dangerous in structural welding because it creates an unfused area that can crack under load. You should remove and repair the defect before the weld enters service.
Conclusion
Cold lap matters because it turns a smooth-looking bead into a weak joint that may fail under stress. You prevent it by controlling heat, travel speed, torch or electrode angle, and joint cleanliness.
You verify fusion by reading the bead, checking the weld toes, and inspecting every pass before you trust the joint. If you find cold lap, remove the defect, fix the cause, and reweld on clean metal.
Careful setup and inspection give you stronger welds and fewer avoidable repairs.


