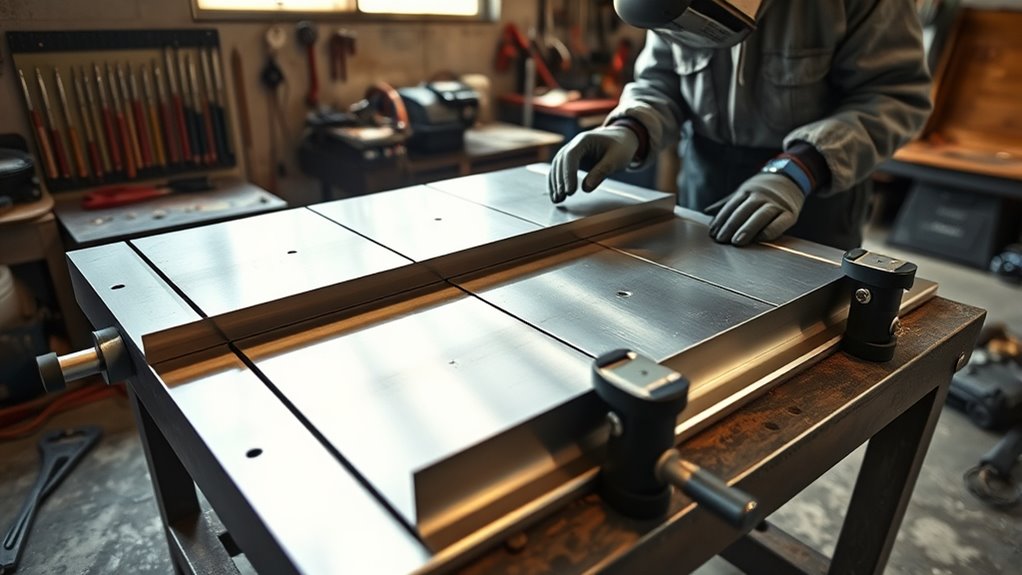
Panel fit-up can make or break a welding repair before the arc starts. If the patch sits too tight, too loose, or out of shape, heat can pull the panel out of line. To fit panels before welding, mark the cut line, remove coatings, shape the patch, test-fit it often, clamp it evenly, and inspect every gap before tacking.
How to Ensure Proper Panel Fit-Up Before Welding
What’s in This Article
- How to Ensure Proper Panel Fit-Up Before Welding
- Quick Answer
- Key Takeaways
- Steps to Prepare the Host Panel for Replacement
- Removing Coatings From Replacement Panels
- How to Choose Effective Clamping Techniques for Panel Stability
- Why Use NVH Dampening Material Before Welding?
- Inspecting Panel Fit-Up Alignment and Gaps
- Avoid These Common Panel Fitting Mistakes
- Best Practices for Finalizing Your Panel Fit-Up
- Frequently Asked Questions
- Conclusion
Quick Answer
For proper panel fit-up before welding, cut the patch slightly large, trim it slowly, and test-fit it until the gaps stay even. Remove coatings from weld zones, apply weld-through coating where needed, clamp the panel evenly, and tack in short stages to limit heat distortion.
Key Takeaways
- Mark your cut line clearly before you trim the host panel or patch panel.
- Round patch corners to reduce stress points and help control distortion.
- Remove shipping primer and coatings from areas that will receive welds.
- Clamp the panel with even pressure so the patch stays aligned during tacking.
- Check gaps after each tack because thin panels can move as heat builds.
Start by marking the opening with masking tape and a scribed line. Round the corners of the patch to reduce stress points and help limit distortion during fitting.
Next, create a starter hole for aircraft shears with a step drill. Make an initial rough cut to remove excess material, then refine the shape for a precise fit.
Shape the patch metal with a hammer and dolly when you need a butt-welded connection. This helps the patch match the host panel contour without overlaps.
Test-fit the patch often and look for gaps around the full perimeter. If the fit isn’t right, use magnets or tape to hold the patch in place while you make small trims.
A good fit lets the patch stay in place without falling through. This careful preparation gives you a stronger weld, much like preheating cast iron to 400-600°F can help reduce cracking during welding.
Steps to Prepare the Host Panel for Replacement
After you achieve a proper patch fit-up, prepare the host panel for replacement. Start by cleaning and checking the mounting area so the new steel panel can sit snugly.
Apply a weld-through coating to areas that need corrosion protection, and mask nearby surfaces to prevent overspray. Make final checks before installation so the host panel stays ready for clamping and welding.
Remove any shipping primer from the replacement panel where you plan to weld. Primer can reduce weld quality and keep the weld from bonding cleanly.
Apply weld-through coating to protected mating areas after cleaning. Before you clamp the new panel, check that NVH dampening material sits in the correct place and adhesive surrounds the factory hinge areas when the repair calls for it.
This preparation helps the replacement panel fit cleanly and last longer. Also, remove zinc residues from weld areas to reduce weld contamination.
Removing Coatings From Replacement Panels
Before you weld, identify the coatings on the replacement panel. Shipping primer often protects parts during transport, but it can hurt weld quality if you leave it in the weld zone.
Use proper preparation methods to clean both the front and backside of each weld area. After cleaning, apply weld-through coating where the repair procedure calls for corrosion protection.
Self-shielded wire such as flux core MIG wire may help in some repair settings, but clean metal still gives you the best weld conditions.
Coating Types Overview
Different coatings serve different purposes, so you need to know what to remove and what to protect. Remove shipping primer from weld areas because it can interfere with fusion and adhesion.
Keep weld-through coatings only where they belong. These coatings help protect hidden mating surfaces from corrosion after the repair.
For closely spaced welds, remove coatings fully from the weld path to support clean fusion. For plug welding, spot cleaning may be enough when the weld area itself stays clean.
Good coating control helps you create a stronger bond and reduce future corrosion risk.
Preparation Techniques Explained
When you prepare replacement panels, remove shipping primer from the areas that will receive welds. Clean both sides of the panel where heat and fusion will occur.
After cleaning, apply weld-through coating only to approved areas that need corrosion protection.
| Preparation Step | Description | Application Type |
|---|---|---|
| Remove Shipping Primer | Clean coatings that can hurt weld adhesion | All welding types |
| Spot Clean | Clean the weld area for plug welding | Plug welding |
| Complete Removal | Strip coatings from tight weld zones | Squeeze welding and close weld spacing |
Before installation, confirm the panel is clean, dry, and free of loose coating in each weld zone. This step helps improve weld quality and repair durability.
Warning: Do not weld through unknown coatings because fumes and poor fusion can create safety and repair risks.
How to Choose Effective Clamping Techniques for Panel Stability
When you choose clamps for panel stability, match the clamp type to the panel shape and thickness. The goal is firm contact without crushing or bending the panel.
Adjustable C-clamps or locking pliers can hold panel edges securely when you use controlled pressure. Always check that the clean metal stays aligned before you tack.
Products Worth Considering

Specifications of Jhanw C Clamp: The Jhanw 2 Pack C Clamp is designed with a clip range of 0.36 inches (9mm) to 2 inches (51mm), providing the flexibility you need for crafting or DIY tasks. Each C clamp features four screw holes measuring 0.16 inches (4mm) at the top for secure mounting.

C-Clamps Specifications: The desk clamp can clip range: 0.5 Inch To 1.9 Inch; Jaw Width: 2 Inch; Throat Depth: 2 Inch; Minimum Opening: 0.5 Inch. The panel clamp has four 0.2" screw holes on the back, so you can also fix your panel to this adjustable clamp as keyboard tray under desk clamp.

Strong Stability- The c-clamp has non-slip pads in the contact area with the desktop, which protects the desktop from damage and makes the clamping more secure. Widely used in do-it-yourself, woodworking, metalworking, assembly, household clamping projects and automotive applications.
Types Of Clamps Available
Choosing the right clamps helps you keep the panel stable during welding. C-clamps work well on flat surfaces because they apply strong, steady pressure.
For curved or uneven panels, strap clamps can help follow the panel shape. Locking pliers give you quick adjustment in tight areas, but they can mark thin metal if you overtighten them.
Panel clamps made for automotive work help maintain gaps and alignment on common sheet metal thicknesses. Space clamps about 4 to 5 inches apart when the panel shape allows it.
Clamping Pressure Considerations
Proper clamping pressure keeps the panel stable without warping it. Space your clamps evenly to spread pressure across the repair area.
Select clamps that hold the panel firmly without denting the surface. Keep each clamping surface clean so the panel contacts the host structure properly.
Adjust clamping pressure based on material thickness. Thin panels need lighter pressure, while thicker panels may need a stronger hold.
Check the panel fit and clamp placement throughout the tack-welding process. Small movements can create gaps before you notice them.
Why Use NVH Dampening Material Before Welding?
NVH means Noise, Vibration, and Harshness. In vehicle repairs, NVH dampening material helps reduce cabin noise and vibration when you reinstall panels correctly.
This material can also reduce rattles between repaired panels. Use it only where the repair design calls for it, and keep it away from direct weld zones.
Correct placement supports a cleaner repair and helps the vehicle feel closer to its original condition. Materials that follow stringent safety standards can support reliable performance in demanding repairs.
| Benefit | Description | Impact |
|---|---|---|
| Noise Reduction | Helps absorb sound inside the cabin | Improves comfort |
| Vibration Control | Helps reduce vibration through panels | Improves feel and finish |
| Rattle Control | Helps limit movement between panel areas | Supports a cleaner repair |
Use NVH dampening material to help match original repair quality when the panel design requires it.
Note: Keep dampening material out of the weld path because heat can damage it and contaminate the joint.
Products Worth Considering

REDUCES NOISE: Reduces the vibration between panels, braces, and intrusion beams

Superior Acoustic Treatment: These sound-absorbing foam panels effectively dampen echoes and reverberations for enhanced audio clarity and quality

【Excellent Quality】: This wall soundproofing foam board is made of high-quality 100% polyester, odorless and flame retardant. There are no risks associated with spending long periods of time in a room with acoustic foam panels. And compared with traditional sound-absorbing panels, our products have higher thickness (25% thicker) and density (35% denser),which means better durability and sound absorption.
Inspecting Panel Fit-Up Alignment and Gaps
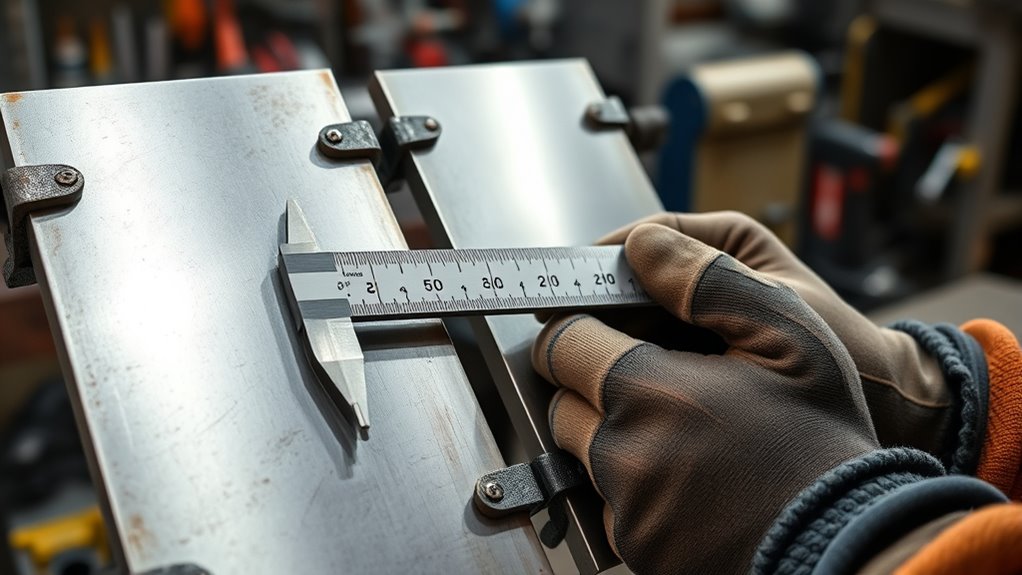
Correct panel fit-up helps you create a stronger weld and a cleaner finish. Inspect the panel carefully before you start tacking.
Precise panel fit-up helps prevent weld defects, distortion, and poor alignment during the repair.
- Check gaps: Look for even gaps around the perimeter. Keep tack spacing tight enough to control movement without adding too much heat.
- Use temporary supports: Use magnets or tape to hold the patch in place. Keep checking the fit as you trim and align the panel.
- Inspect the final shape: Confirm the patch contour before you tack. Check for high spots, low spots, and edges that sit proud of the host panel.
Flux core welding can handle some outdoor or dirty-work conditions better than gas-shielded MIG, but clean fit-up still matters.
Check for movement after each tack and correct gaps early. A secure patch gives you a better starting point for final welding.
Avoid These Common Panel Fitting Mistakes
A solid panel fit-up requires careful checks before welding. Avoid sharp corners on your patch panel because they can create stress points and poor edge alignment.
Make a rough cut first, then make a precise final cut. This helps you avoid removing too much metal too soon.
Don’t skip test-fits. Use magnets or tape to hold the panel in place while you inspect gaps and contour.
Watch your tack placement and heat control. Place tacks in a balanced pattern and pause between them so the panel does not warp.
Use hammer and dolly techniques between tacks when the panel needs minor correction. This helps you create a cleaner butt-weld connection and reduces filler work later.
By avoiding these mistakes, you build a better base for a strong repair. Proper fillet weld sizing also supports structural integrity when your project uses fillet welds.
Best Practices for Finalizing Your Panel Fit-Up
Final panel fit-up works best when you slow down and check each detail. Careful preparation improves alignment and reduces distortion during welding.
Use these steps before you commit to final tacking:
- Shape the patch panel: Round the patch corners to reduce stress points and improve fit.
- Use masking tape: Mark the opening with a clear scribed line for accurate cutting.
- Perform test fittings: Test-fit the patch several times and trim small amounts as needed.
- Check the contour: Compare the patch surface with the host panel before you tack.
- Confirm clean weld zones: Remove coatings, dirt, and residue from each weld area.
Use magnets or tape to hold the patch in place while you check that it supports itself. The right welding process during installation also helps create a more durable and cleaner repair.
Pro tip: Trim less than you think you need, then test-fit again before removing more metal.
Frequently Asked Questions
What Are the 5 C’s of Welding?
The 5 C’s of welding are clearances, clamps, coatings, contouring, and consistency. These points help you control fit-up, reduce defects, and improve joint quality.
What Is the Golden Rule in Welding?
A useful golden rule is to make the parts fit well before you weld them. A snug, clean, and aligned joint gives you a stronger weld and reduces post-weld repair work.
What Are Common Welding Mistakes?
Common welding mistakes include poor preparation, wide gaps, misaligned tack welds, leftover coatings, and skipped surface checks. Each mistake can reduce weld strength and increase corrosion risk.
What Is the Rule of 33 in TIG Welding?
The Rule of 33 in TIG welding means you weld one inch, then skip about two inches before welding again. This pattern helps control heat buildup and reduce warping on thin materials.
How Tight Should a Panel Gap Be Before Welding?
A panel gap should stay even and small enough for the welding method you plan to use. If the gap changes around the patch, trim and shape the panel before you tack it.
Should You Remove Primer Before Welding a Replacement Panel?
Remove primer from areas that will receive welds. Clean metal helps improve fusion, while weld-through coating can protect hidden mating surfaces when the repair procedure allows it.
Conclusion
Precise panel fit-up gives your weld a stronger base before heat enters the metal. Mark carefully, trim slowly, clean each weld zone, and test-fit the panel before you tack.
Check alignment after each tack so small gaps do not turn into larger repair problems. When you take the time to prepare the panel well, your final weld has a better chance to stay strong, clean, and reliable.


