To perform a destructive weld test at home, gather metal samples and a compatible welding machine, ensuring you have protective gear. Set up in a well-ventilated area, free from flammable materials. Choose the right technique based on the metals you’re welding, then create a test weld. After cooling the weld for at least 30 minutes, apply force to assess its strength. Finally, analyze the failure points to improve your welding skills further. More insights await.
Gather Your Materials for a Successful Test
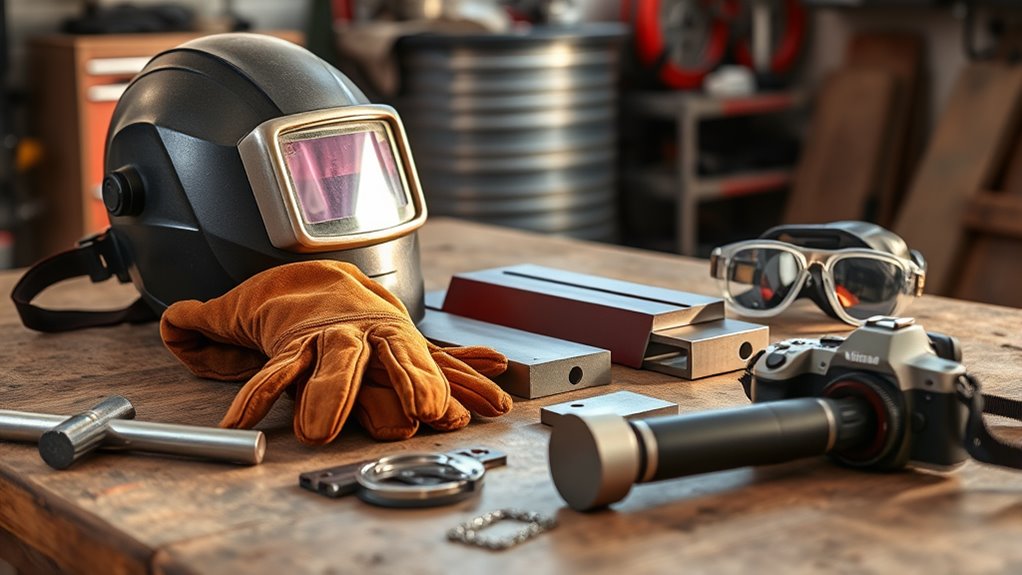
To conduct a successful destructive weld test, you’ll need to gather essential materials that guarantee accuracy and safety. Start by collecting a variety of metal samples, such as mild steel and stainless steel, to explore different welding techniques.
A reliable welding machine is vital; make sure it’s compatible with your chosen electrodes or filler rods. Don’t forget your protective gear: gloves and a welding helmet are non-negotiable for your safety.
You’ll also need measuring tools like calipers and a scale to assess the dimensions and weight of your test pieces before and after welding. Prepare a sturdy work surface and use clamps to secure your materials, preventing any movement during the process.
Additionally, ensure that you have a means to test for leaks in your setup, as this is crucial for maintaining safety during the welding process.
Finally, allocate a dedicated area for conducting the test, ensuring proper ventilation and implementing safety measures to mitigate hazards. With these materials in place, you’re set to achieve accurate and reliable test results.
Products Worth Considering
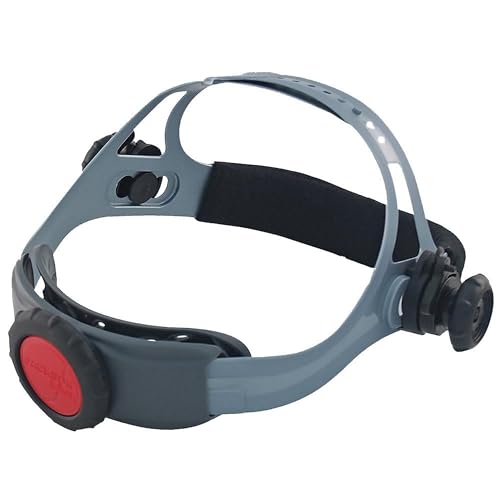
REPLACEMENT WELDING HELMET HEADGEAR - Jackson Safety's Premium 370 Speed Dial Replacement Headgear offers a perfect fit and secure hold for your welding hood

HIGH QUALITY: The welding cap made of 240GSM flame resistance Martin fabric and 100% cotton lining, making its thickness almost twice that of other ordinary welding hats, allowing you to stay dry, cool, and comfortable in every shift. The entire hat weighs only 8 oz, and its presence is almost imperceptible even under the helmet. Both experienced welders and DIY enthusiasts can easily enjoy a 24/7 wearing experience

Function: Genuine leather welding hoods are heat and fire resistant and protect your head, face and neck from shooting sparks, debris, sawdust and welding slag.
Set Up a Safe Welding Environment
Creating a safe welding environment is essential for both the integrity of your test and your personal safety.
First, verify your workspace is well-ventilated to minimize exposure to harmful fumes—consider using a fan or working outdoors.
Ensure your workspace is well-ventilated to reduce harmful fume exposure; consider using a fan or working outdoors.
Next, clear the area of any flammable materials and debris; you need to make this a priority to prevent fire hazards during specific welding processes.
Set up a sturdy workbench that can withstand high temperatures, providing stability for your projects.
Don’t underestimate the importance of personal protective equipment (PPE).
Wear a welding helmet, gloves, and fire-resistant clothing to guard against sparks and heat.
Finally, keep a fire extinguisher nearby, specifically rated for metal fires (Class D), to quickly address any accidental flare-ups. Additionally, ensure that you have a reliable grounding system in place to avoid electrical shocks during the welding process.
Choose the Right Welding Technique for Your Test
Choosing the right welding technique is essential for accurate results in your destructive weld test. Depending on the material and thickness, techniques like MIG for mild steel or TIG for aluminum may be more suitable. Additionally, understanding joint configurations and safety measures will enhance both the quality of your weld and the reliability of your test outcomes. Proper fillet weld sizing is crucial to ensure structural integrity and prevent issues during testing.
Products Worth Considering
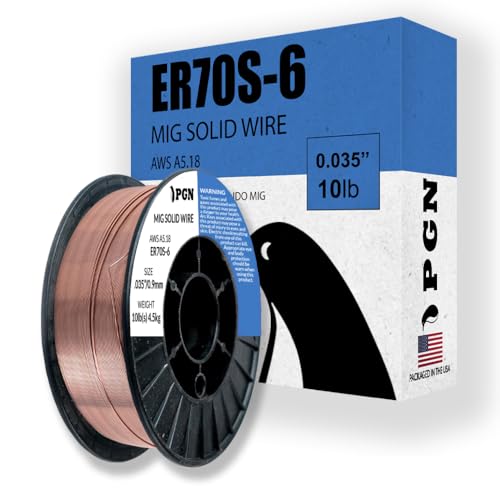
Do Your Best Work ... Color all your clients impressed with the precision and arc control of the ER70S-6 solid MIG welder wire. You'll love the low splatter whether you're performing single or multi-pass welds. Great for T-joints, butt welds & lap welds.

E71T-GS FLUX CORE WIRE: This self-shielding, AWS E71T-GS flux-cored wire excels due to its advanced core design, delivering exceptional arc stabilization and high feedability for effortless welding. The core also incorporates powerful deoxidizing agents, ensuring clean, reliable welds even when welding through light rust or mill scale.
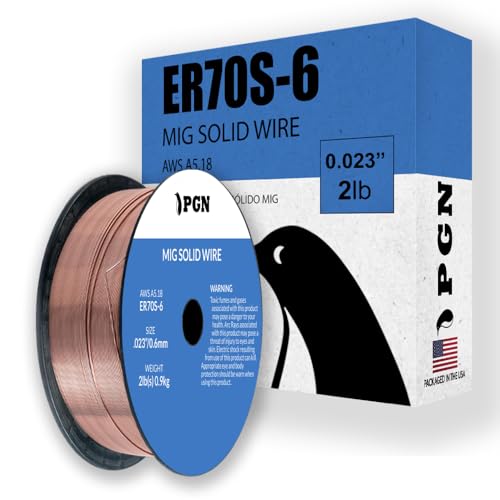
Consistent Welding Performance ... ER70S-6 solid MIG welding wire is designed to provide stable arc characteristics and reduced spatter during single-pass and multi-pass welding applications. Suitable for T-joints, butt joints, and lap joints.
Common Welding Techniques Overview
When determining the most suitable welding technique for your destructive test, consider the specific requirements of your materials and the desired weld characteristics.
MIG Welding stands out for its speed and ease of use, making it ideal for beginners and quick setups.
If you need superior weld quality and control, TIG Welding is your best bet, especially for tests requiring fine detail and strength.
Conversely, Stick Welding is versatile for outdoor applications, capable of handling rusty or dirty metals, though it demands more skill for consistent results.
Additionally, Flux-Cored Arc Welding (FCAW) is practical for thicker materials and operates without shielding gas.
Ultimately, your choice should align with the material properties and strength requirements you aim to achieve.
Technique Suitability for Materials
Selecting the right welding technique is crucial for guaranteeing ideal results in destructive testing. Your choice depends on the material type; for instance, MIG is best for thin metals, while TIG suits precise work on stainless steel or aluminum.
Understanding the thickness and composition of your materials allows you to adjust amperage and select appropriate filler material, which is critical for strong welds. A robust bond is essential for informative results during destructive testing, as it directly affects weld integrity under stress.
Additionally, different welding techniques can alter the heat-affected zone (HAZ), which you must monitor to guarantee the weld’s strength accurately reflects the overall material performance. Choose wisely to achieve meaningful insights from your tests.
Safety Measures During Welding
While welding techniques vary considerably in their applications, ensuring safety is paramount regardless of the method you choose. First, select an appropriate technique—MIG, TIG, or Stick—based on your materials and skill level.
Next, always adhere to established safety protocols. Use personal protective equipment (PPE), including a welding helmet, gloves, fire-resistant clothing, and safety boots, to shield yourself from sparks and heat.
Proper ventilation is essential; conduct your welding in a well-ventilated area to limit exposure to harmful fumes. Additionally, prepare your workspace by removing flammable materials and ensuring all equipment is in good condition.
Familiarize yourself with specific guidelines relevant to your technique to minimize electrical hazards and enhance overall safety during the welding process.
Create a Test Weld on Metal Samples
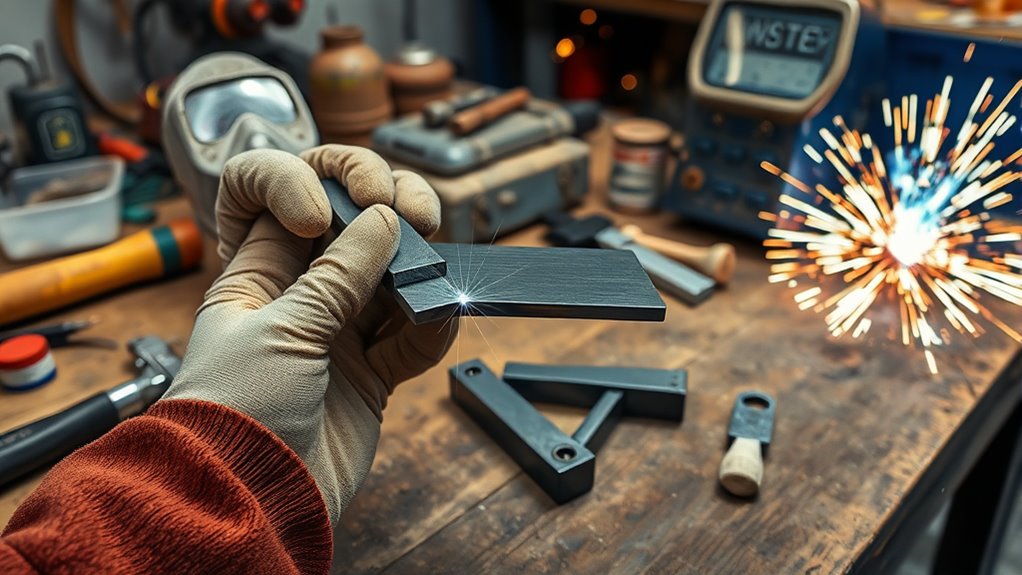
To create a test weld on metal samples, start with two clean pieces of metal, ideally mild steel or aluminum, ensuring they’re free from rust, paint, and contaminants. This cleanliness is essential for ideal weld quality.
Next, select a suitable welding technique, like MIG or TIG. Make sure to adjust your heat settings and filler material according to the metal type. As you start cutting your samples to the desired size, take a look at the edges; they should be smooth for better fusion.
Once you’ve set up, proceed with the welding, paying attention to the parameters you’re using. Document these settings and the weld’s appearance, as this data will be invaluable for evaluating your work later. Additionally, ensure your workspace is properly organized to facilitate efficiency and safety during the welding process, as a proper setup is crucial for achieving high-quality welds.
After the weld is complete, let it cool thoroughly before moving on to the destructive testing phase, where you’ll assess its strength and integrity.
Allow Your Weld to Cool Before Testing
After completing the weld, it’s vital to let it cool for at least 30 minutes to achieve a stable temperature before testing its integrity. This cooling period is important because:
Allowing a weld to cool for at least 30 minutes is essential for accurate integrity testing and to prevent thermal stress.
- Rapid cooling can introduce thermal stress and warping, compromising the weld’s strength.
- Testing while the weld is still hot may yield inaccurate results due to altered metal properties.
- A well-cooled weld guarantees more reliable data during destructive testing methods, like bending or tensile tests.
- Additionally, ensuring proper cleaning of surfaces before welding can enhance the weld’s overall integrity.
While you can accelerate cooling by placing the weld in a cooler environment, avoid water quenching, as it may induce additional stress.
Apply Force to Assess Weld Strength
To assess weld strength, you’ll need to apply specific types of forces, such as tensile or shear loads. Use a scale or load cell to measure the force accurately, ensuring you capture the exact point of failure. This data will provide essential insights into the weld’s integrity and inform your future welding practices, particularly regarding amperage settings based on metal thickness.
Types Of Forces Applied
In evaluating weld strength, understanding the types of forces applied during destructive testing is essential. Each force type reveals different aspects of weld integrity:
- Tensile: This test pulls the welded material apart, measuring the maximum load the weld can withstand before failure, thereby indicating strength characteristics.
- Shear: By applying force parallel to the weld, this test assesses the weld’s ability to resist sliding forces between materials.
- Bending: A load applied at the center of a welded specimen evaluates how well the weld can handle flexural stress without cracking or breaking.
Ensure your weld specimens are properly prepared and cleaned for accurate results, as these factors greatly influence the assessment of weld strength.
Measuring Weld Failure Point
Before you begin measuring the weld failure point, guarantee that your specimen is securely mounted to a stable surface; this prevents any movement that could skew your results.
Gradually apply force to the weld using a hydraulic jack or a manual lever, ensuring a steady increase to accurately determine the weld’s failure point. If available, utilize a load cell or tensile testing machine to precisely measure the force applied until failure occurs.
Record the maximum load reached just before failure, as this value indicates the weld strength and can be compared to industry standards.
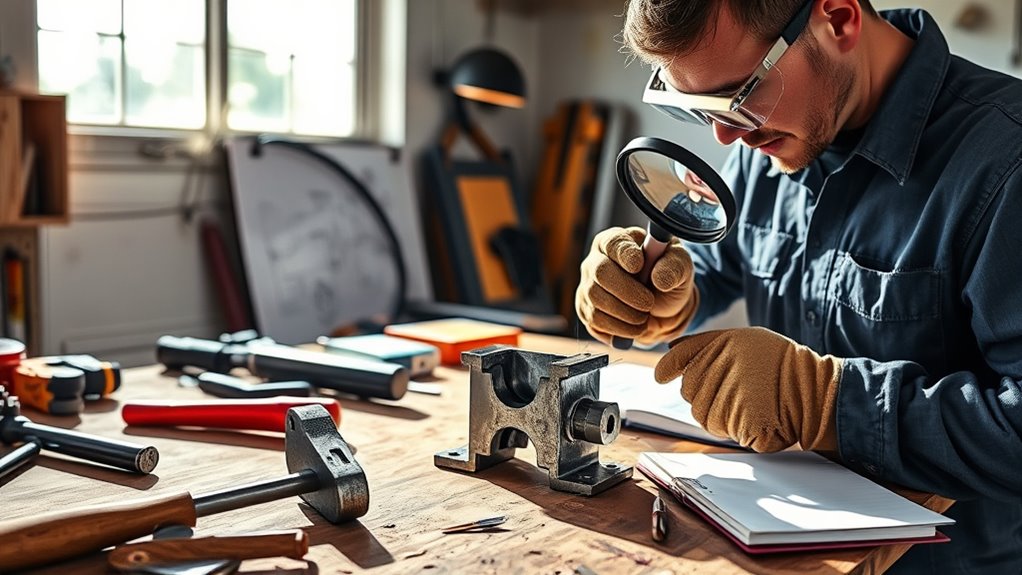
After the failure, inspect the fracture surface to assess weld quality, noting any signs of incomplete fusion or porosity that may have contributed to the failure.
What to Look for When Documenting Failure Points?
When documenting failure points during a destructive weld test, focus on five key aspects to guarantee thorough analysis. Pay attention to the following:
- Exact Location: Mark the precise failure points on the welded piece for accuracy.
- Visual Evidence: Capture close-up photographs to illustrate the nature and extent of defects.
- Test Conditions: Note the conditions under which the test was conducted, such as temperature and humidity, which can impact weld integrity.
Using a consistent method for documentation, like a standardized form or checklist, will streamline your analysis and facilitate comparisons across tests.
Additionally, record the type of weld and materials used, as these details provide valuable context for understanding the failure points. Ensuring that all zinc residues are removed before testing is crucial for accurate results.
Analyze Weaknesses to Improve Future Welds
Analyzing weaknesses identified during destructive weld tests allows you to refine your welding techniques and enhance overall quality.
Begin by documenting welding parameters, such as heat settings and travel speed, to correlate these with observed weaknesses. Visual inspection of fracture surfaces reveals critical defects like porosity, inclusions, or undercut, which serve as indicators for necessary adjustments.
Documenting welding parameters and inspecting fracture surfaces reveals critical defects, guiding necessary adjustments for improved weld quality.
As you analyze weaknesses, consider how different materials and joint configurations influence weld strength. Additionally, applying plasma cutting techniques can provide insights into managing heat input effectively during the welding process.
Implement a consistent practice routine, experimenting with these variables to better understand their impact. By systematically testing and documenting, you’ll gain insights that guide your refinement process.
Ultimately, apply what you learn to improve your welding methods, ensuring adherence to OEM specifications.
This iterative approach not only elevates your skill but also fosters a deeper understanding of the welding process, empowering you to achieve more robust and reliable welds in future projects.
Proven Techniques for Enhancing Your Welding Skills
Here are some effective strategies:
- Dedicate time blocks each week to specific welding techniques, ensuring consistent practice routines.
- Utilize a variety of materials, such as steel and aluminum, to grasp different welding properties and refine your methods.
- Regularly evaluate your welds for consistency, penetration, and bead appearance to identify areas needing improvement.
Don’t overlook troubleshooting common issues. By reviewing your technique and adjusting settings, you can prevent problems like porosity or undercutting from recurring.
Implementing proper settings on your welding machine—like voltage and wire feed speed—is essential for high-quality welds. Additionally, consider the importance of flux-cored wire when practicing gasless MIG welding to enhance your understanding of aluminum welding techniques.
Following these proven techniques will enhance your skills and liberate you from frustration in your welding journey.
Frequently Asked Questions
How Do You Perform a Destructive Test on a Weld?
To perform a destructive test on a weld, use appropriate testing equipment to apply force until material failure occurs, analyzing weld strength through observed failure types, ensuring results meet industry standards for quality evaluation.
How to Test Welds at Home?
To test welds at home, guarantee you prioritize welding safety and conduct thorough weld inspections. Maintain equipment properly, apply force to your samples, and analyze results to refine your skills and achieve liberation in your craft.
What Does God Say About Welding?
God values spiritual craftsmanship in your work, urging you to practice ethical welding with divine precision. By honing your skills, you reflect His creativity, demonstrating integrity and dedication in every weld you make.
What Are Three Basic Types of Destructive Testing in Welding?
In welding, three basic destructive testing types are tensile, bend, and Charpy impact tests. Each evaluates material properties while ensuring safety precautions are taken, revealing the weld’s durability, ductility, and overall quality.
Conclusion
By performing a destructive weld test at home, you’re not just bending metal; you’re releasing the full fury of engineering! Each crack and failure point tells a story, revealing your weld’s hidden strengths and weaknesses like a detective unmasking a criminal mastermind. Embrace this hands-on experience, and watch your skills soar as you transform those failures into triumphs. With practice, your welding will evolve from basic to breathtaking—like turning a simple spark into a roaring inferno of craftsmanship!


