Flux core welding can work on thin sheet metal, but it needs low heat, short welds, and clean metal. Keep a standoff distance of 3/8 to 1/2 inch, hold a 5 to 15 degree travel angle, and weld in short bursts of 1 to 2 seconds. Set your welder to DC electrode negative polarity when your wire requires it, and tune voltage and wire speed for the metal thickness. Use tack welds often so the panel stays stable and flat.
Quick Answer
To flux core weld thin sheet metal, use low heat, short trigger pulls, clean metal, and the right wire. Start with tack welds, move around the joint, and let each area cool before adding more weld.
Key Takeaways
- Use short weld bursts to reduce burn-through and panel warping.
- Keep the metal clean so the weld has fewer pores and defects.
- Check wire polarity before you weld because flux core wires do not all use the same setup.
- Practice on scrap metal with the same thickness before welding the real part.
- Wear proper safety gear because flux core welding creates sparks, smoke, heat, and ultraviolet light.
How to Effectively Use Flux Core Welding on Thin Sheet Metal
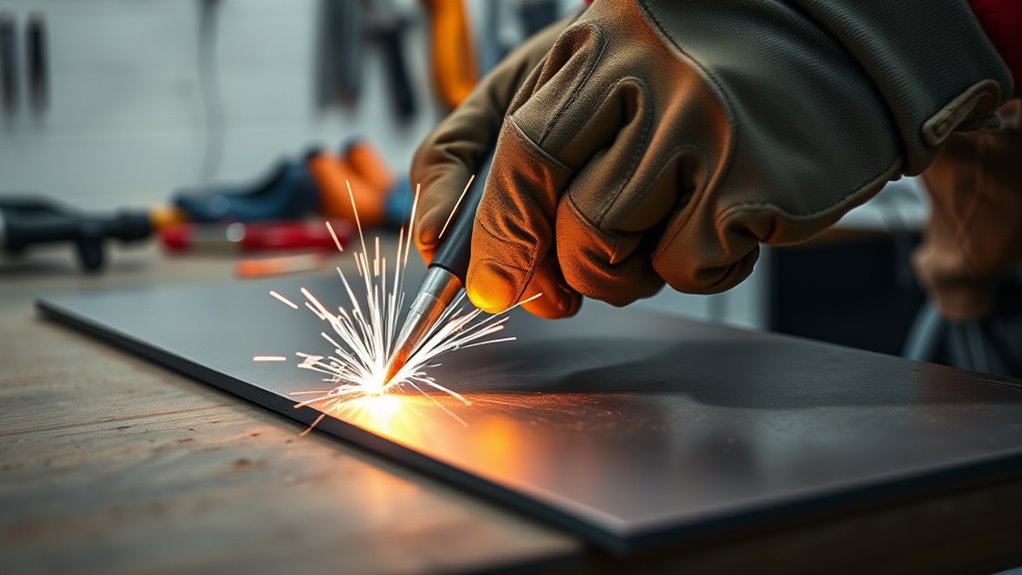
Thin sheet metal burns through fast when you add too much heat. Flux core welding gives you strong welds, but you need steady control and small weld deposits.
Maintain a standoff distance of 3/8 to 1/2 inch from the material. This distance helps the arc stay stable and lowers the risk of burn-through.
Use E71T-GS flux core wire when it suits your welder and project. Many welders use this wire for thin mild steel, but you should still check the wire label for polarity, thickness range, and machine settings.
To control heat input, use short bursts during welding. Short welds help prevent warping, blowouts, and weak butt welds.
Tack weld in different spots around the workpiece instead of welding one long bead. This spreads heat across the panel and helps the metal keep its shape.
Keep the surface clean and free of contaminants. Dirt, paint, oil, rust, and mill scale can cause porosity and weak welds.
Proper gas flow settings matter when you use gas-shielded wire or compare flux core problems with MIG issues.
Products Worth Considering

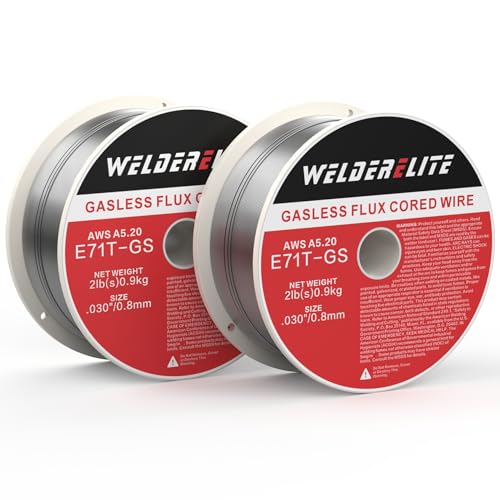
E71T-GS FLUX CORE WIRE: This self-shielding, AWS E71T-GS flux-cored wire excels due to its advanced core design, delivering exceptional arc stabilization and high feedability for effortless welding. The core also incorporates powerful deoxidizing agents, ensuring clean, reliable welds even when welding through light rust or mill scale.

E71T-GS FLUX CORE WIRE: This self-shielding, AWS E71T-GS flux-cored wire excels due to its advanced core design, delivering exceptional arc stabilization and high feedability for effortless welding. The core also incorporates powerful deoxidizing agents, ensuring clean, reliable welds even when welding through light rust or mill scale.

Welding Easy and Quick: AWS E71T-GS 030” Flux Core welding wire (The actual Net Weight of Wire is 2LB), no need for shielding gas, install it then you can welding all positions, single and multi pass welding. Great for T-joints, butt welds & lap welds.
Before You Begin: Time, Tools, and Safety
Estimated total time: Plan for 30 to 60 minutes for setup, practice, welding, and cleanup. Larger panels or long seams can take more time because you need cooling breaks.
You should gather every tool before you start. A clean setup helps you avoid rushed choices once the metal heats up.
What You’ll Need
- Flux core welder that supports the wire size you plan to use
- Flux core wire suited to thin mild steel, such as E71T-GS when compatible
- Clean sheet metal and matching scrap pieces for practice
- Wire brush, grinder, or sanding disc for surface prep
- Ground clamp attached to clean bare metal
- Welding helmet with the right shade setting
- Welding gloves, flame-resistant clothing, and closed-toe boots
- Clamps or magnets to hold the joint in place
- Anti-spatter spray, if you need easier cleanup
Warning: Flux core welding creates fumes, sparks, ultraviolet light, and hot metal, so weld only with proper ventilation and safety gear.
Prepare Your Welder: Key Settings and Equipment
To get better results with flux core welding on thin sheet metal, focus on setup before you strike an arc.
Start by checking your wire label for polarity. Many self-shielded flux core wires use DC electrode negative, but some wires and machines may call for another setup.
Then adjust voltage and wire speed based on the metal thickness. Start low, test on scrap, and raise settings only when the weld sits cold or lacks fusion.
Understanding the differences between self-shielded vs. gas-shielded options helps you choose the right method for your project.
Products Worth Considering
[High-Efficiency Gasless Welding]: WelderElite E71T-GS 0.030'' welding wire is specifically designed for gasless welding, applicable to all positions. It facilitates single or multiple pass welding without the need for shielding gas, ready for use right out of the box, enhancing welding efficiency.
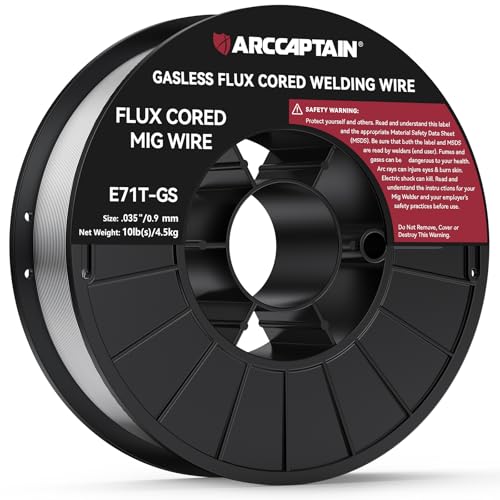
Effortless and Efficient Welding: Hassle-free experience with our AWS E71T-GS 0.035" Flux Core welding wire (Net Weight: 10lbs). No shielding gas needed, install and weld in any position. Perfect for strong T-joints, butt welds, and lap welds.

MAKE WELDING FAST AND EASY: SONNLER welding wire is made of Premium quality AWS E71T-GS mild steel, which helps you easily finish the welding project. Suitable for Great for T-joints, butt welds & lap welds.
Key Settings Overview
Prepare your welder with small changes first. Thin sheet metal gives you less room for error than thicker steel.
Use your machine chart as the starting point, not the final answer. Metal condition, wire type, joint fit-up, and travel speed can all change the best setting.
| Setting | Recommended Starting Point | Purpose |
|---|---|---|
| Flux Core Wire Diameter | 0.030″ or smaller when your welder supports it | Helps control heat on thin metal |
| Voltage | Start low and test on scrap | Reduces burn-through risk |
| Wire Speed | Use the welder chart, then fine-tune | Keeps feeding smooth and stable |
| Wire Stick-Out | About 1/4 inch to 1/2 inch | Supports arc control |
Essential Equipment Checklist
A successful flux core welding project on thin sheet metal starts with the right equipment.
Check polarity, load the right wire, and set the wire tension before you weld. Too much tension can deform the wire, while too little tension can cause feeding problems.
Choose the proper drive roll for flux core wire. A knurled drive roll often grips flux core wire better than a smooth roll.
Use a flux core nozzle when it improves visibility. You should also wear welding gloves that protect your hands without making torch control difficult.
Safety Gear Requirements
Safety gear protects you from burns, eye injury, fumes, and flying sparks. Do not weld thin sheet metal in casual clothing.
Start with a quality welding helmet with the correct shade. The helmet should protect your eyes and face from ultraviolet radiation and sparks.
Wear flame-resistant clothing, welding gloves, long pants, and closed-toe leather boots. Avoid synthetic fabrics because heat can melt them onto your skin.
Keep a fire extinguisher nearby. Remove paper, solvents, sawdust, and other flammable items from the work area before you weld.
Step-by-Step Flux Core Welding Method for Thin Sheet Metal
Follow a short, controlled process instead of trying to run one long bead. Thin sheet metal rewards patience.
- Clean the metal: Remove paint, rust, oil, and coating from both sides of the joint when possible.
- Fit the joint tightly: Clamp the pieces so gaps stay small and even.
- Set the welder low: Use the machine chart, then start at the low end for thin material.
- Test on scrap: Weld on scrap with the same thickness before touching the real panel.
- Make tack welds: Place small tacks along the seam to hold alignment.
- Weld in short bursts: Pull the trigger for 1 to 2 seconds, then stop and let the area cool.
- Move around the joint: Add weld in different areas so heat does not build in one spot.
- Clean between passes: Remove slag before you inspect or add more weld.
- Check the finished weld: Look for holes, gaps, poor fusion, and high spots before grinding.
Pro tip: If the panel starts to glow or warp, stop welding and let the metal cool.
Techniques for Flux Core Welding
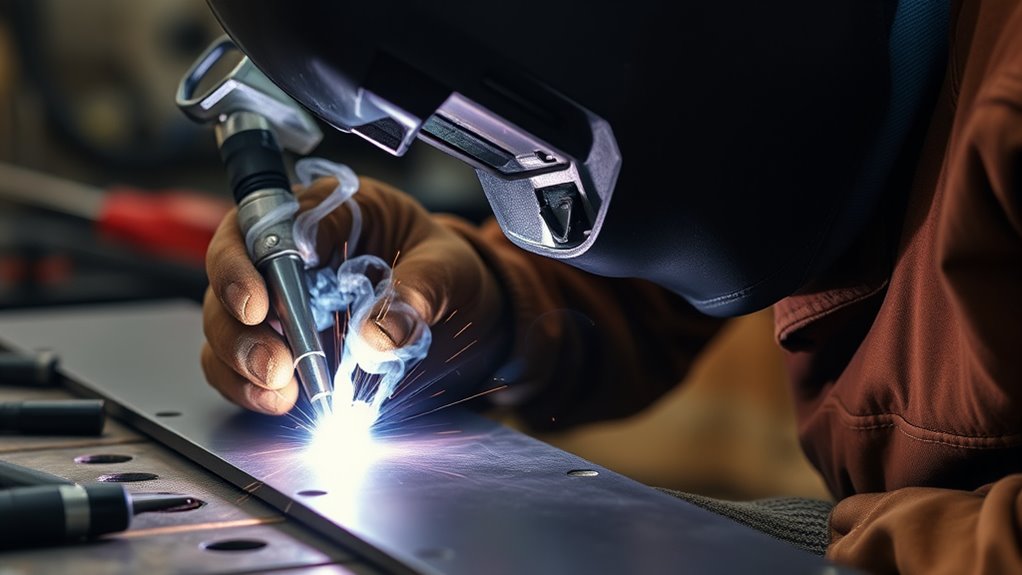
Good flux core welds on thin sheet metal depend on heat control. Your torch angle, standoff distance, and travel pattern all matter.
Hold a 5 to 15 degree travel angle so you can direct heat into the weld pool. Keep the motion steady and avoid weaving on very thin metal.
Use short weld bursts to control heat input. This lowers the chance of warping and helps you fill the joint slowly.
Understanding correct polarity also helps you avoid weak welds, excess spatter, and unstable arcs.
| Technique | Description | Purpose |
|---|---|---|
| Standoff Distance | 3/8 to 1/2 inch | Controls arc stability and heat |
| Angle | 5 to 15 degrees | Directs heat into the weld pool |
| Bursts | 1 to 2 seconds per trigger pull | Limits heat input |
| Tack Welding | Small weld spots along the seam | Holds the joint in place |
| Voltage and Wire Speed | Adjust based on thickness and joint fit | Improves weld control |
Identifying and Overcoming Common Flux Core Welding Challenges
When you use flux core welding on thin sheet metal, you may face burn-through, spatter, rough welds, and porosity. Most problems come from too much heat, dirty metal, poor settings, or uneven travel speed.
By finding the cause, you can fix the weld instead of guessing. Understanding welding techniques for thin materials can help you prevent many of these issues.
Common Issues Encountered
Flux core welding on thin sheet metal creates several common problems. Burn-through, porosity, and rough welds often show up first.
| Issue | Description | Solution |
|---|---|---|
| Burn-through | Excess heat cuts through the metal. | Use lower heat and shorter bursts. |
| Porosity | Small holes form inside the weld. | Clean the metal and check your technique. |
| Slag buildup | Flux leaves a coating over the weld. | Remove slag before inspection or more welding. |
| Excess spatter | Metal droplets scatter around the weld. | Tune settings and keep the arc stable. |
To reduce these problems, tack weld in small sections. This gives you better control and helps stop blowouts.
Keep the standoff distance near 3/8 to 1/2 inch. This also helps reduce spatter and improve weld quality.
Effective Solutions Available
To tackle flux core welding problems on thin sheet metal, use simple checks before you change every setting.
- Maintain a standoff distance of 3/8 to 1/2 inch to help prevent burn-through.
- Use short weld bursts so you control heat input.
- Attach the ground clamp to clean bare metal to reduce resistance problems.
- Clean slag before you inspect the weld or add another weld.
- Practice on scrap pieces of the same material before welding the final panel.
Anti-spatter spray can reduce cleanup time, but it does not replace good settings. Keep it away from the weld joint if it causes contamination.
When you tack weld, pull the trigger for only a second or two. This helps hold the joint without overheating the panel.
Tips for Improvement
To improve, watch how the metal reacts while you weld. A stable puddle, steady sound, and even bead shape tell you more than one fixed setting.
| Challenge | Solution |
|---|---|
| Burn-through | Use short bursts and let the panel cool. |
| Poor weld quality | Clean the workspace and base metal. |
| Excessive spatter | Adjust voltage, wire speed, and stick-out. |
| Inadequate fusion | Test settings on scrap and check your travel speed. |
Adjust voltage and wire speed based on material thickness. If the weld piles up and does not tie in, you may need more heat or slower travel.
If you keep burning through, use shorter bursts, lower heat, tighter fit-up, or a copper backing bar when the joint allows it.
How to Clean Up and Check Your Weld Quality
After welding, let the workpiece cool completely before you handle it. This prevents burns and gives you a better chance to inspect the weld quality.
You can use a fan to move air across the work area, but avoid forced cooling that shocks the metal. Let the weld cool in a controlled way when the part needs strength or shape accuracy.
Once the metal cools, clean off spatter and slag with a wire brush, chipping tool, or grinder. Clean metal makes defects easier to see.
Use these checks before you call the weld finished:
- Evaluate penetration: Check the joint for gaps, holes, or loose edges.
- Inspect consistency: Look for an even bead with no missing spots.
- Check for porosity: Look for tiny pinholes on the weld surface.
- Remove slag: Clean every welded area before adding more weld.
- Compare results: Use practice welds to spot changes in quality.
Adjusting your wire feed speed can help you improve the arc and weld shape.
These steps help your welds look better and perform better. They also help you catch weak spots before grinding or painting.
Tips for Improving Your Flux Core Welding Skills
Improving your flux core welding skills depends on control, practice, and clear feedback from your welds.
Start by maintaining a standoff distance of 3/8 to 1/2 inch when welding thin sheet metal. This helps you control the arc and reduce burn-through.
Use short bursts of welding to manage heat. This lowers the risk of warping, blowouts, and uneven bead shape.
Always adjust your welder settings for the metal thickness. Begin with the welder chart, then fine-tune after a scrap test.
Before continuous welding, make tack welds by pulling the trigger for just a second or two. These stable points help hold the joint and reduce distortion.
Clean your metal surfaces before welding. Clean metal greatly improves the overall quality of your welds.
Using low splatter techniques can also improve workflow and reduce cleanup time.
Practice small changes one at a time. If you change wire speed, voltage, angle, and travel speed together, you won’t know which change helped.
Common Mistakes to Avoid
Thin sheet metal gives you fast feedback. Small mistakes can turn into holes, warped panels, or rough welds.
- Running long beads: Long welds build heat too fast and can warp the panel.
- Skipping metal prep: Paint, oil, and rust can cause pores and weak welds.
- Ignoring polarity: Wrong polarity can create poor arc control and weak welds.
- Using too much wire stick-out: Long stick-out can make the arc unstable.
- Grinding too aggressively: Heavy grinding can thin the metal and weaken the repair.
Note: Flux core can weld thin metal, but MIG with shielding gas often gives cleaner results on auto body panels.
Frequently Asked Questions
Can I Use Flux Core on Thin Metal?
Yes, you can use flux core on thin metal if you control heat well. Use short weld bursts, low settings, clean metal, and frequent tack welds to reduce burn-through.
What Is the Best Flux Core Wire for Thin Sheet Metal?
E71T-GS flux core wire often works well for thin mild steel when your welder supports it. A smaller wire size, such as 0.030 inch, usually gives you better control than thicker wire.
How Thick of Metal Can I Weld With Flux Core?
Many small flux core welders can weld thin sheet metal and mild steel up to about 1/4 inch, depending on amperage, wire, and joint type. Check your welder manual because each machine has different limits.
How Do You Weld Really Thin Sheet Metal?
Clean the metal, clamp the joint tightly, and use tack welds instead of a long bead. Pull the trigger for 1 to 2 seconds, move to another spot, and let the metal cool between welds.
Why Does My Flux Core Weld Burn Through Sheet Metal?
Burn-through usually means the metal got too hot. Lower the voltage, shorten your weld bursts, improve fit-up, and let each tack cool before you weld near it again.
Safety Disclaimer: This article gives general information only and does not replace hands-on training, your welder manual, or local safety rules. Get help from a qualified welding instructor or professional if you are unsure about equipment setup, ventilation, fire risk, or structural weld quality.
Conclusion
Strong flux core welds on thin sheet metal come from heat control, clean prep, and short welds. Start with safe gear, test on scrap, and tune one setting at a time.
Use tack welds to hold the joint, then fill the seam slowly so the panel stays cool. With steady practice, you can make cleaner welds and avoid the most common thin-metal problems.


