To use a stitch weld pattern for controlling heat, alternate short welds with gaps. This technique reduces heat input, limits the Heat Affected Zone (HAZ), and prevents warping in thin materials. Adjust settings like stitch length, Start Offset, and cooling time to optimize results. Regularly inspect for incomplete fusion and verify proper electrode storage. By mastering these adjustments, you’ll enhance joint strength and minimize distortion. Explore further for advanced techniques and troubleshooting insights.
How Stitch Welding Prevents Warping in Thin Materials
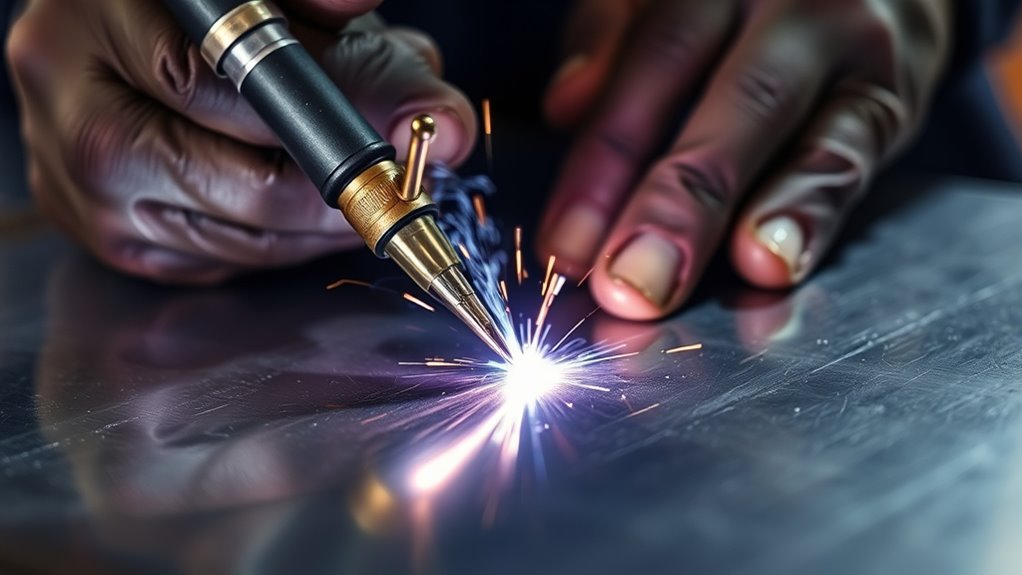
When you’re working with thin materials, stitch welding is essential for preventing warping. This technique reduces heat input by alternating short welds with gaps, effectively managing thermal expansion.
By limiting the size of the Heat Affected Zone (HAZ), stitch welding maintains the integrity of the base material, preventing distortion and ensuring tight tolerances.
Limiting the Heat Affected Zone with stitch welding preserves material integrity, preventing distortion and ensuring precise tolerances.
Controlled cooling between welds is vital for thin materials, as it minimizes thermal distortion during the welding process. For example, using a 4 cm weld followed by a 4 cm gap enhances stress distribution while reducing overall thermal impact. Additionally, controlling heat input is crucial to avoid burn-through, especially when welding thinner gauges.
Proper application of stitch welding not only preserves material quality but also considerably decreases the need for costly rework due to warping, making it an efficient choice for fabricating lightweight structures.
Essential Techniques for Mastering Stitch Welding
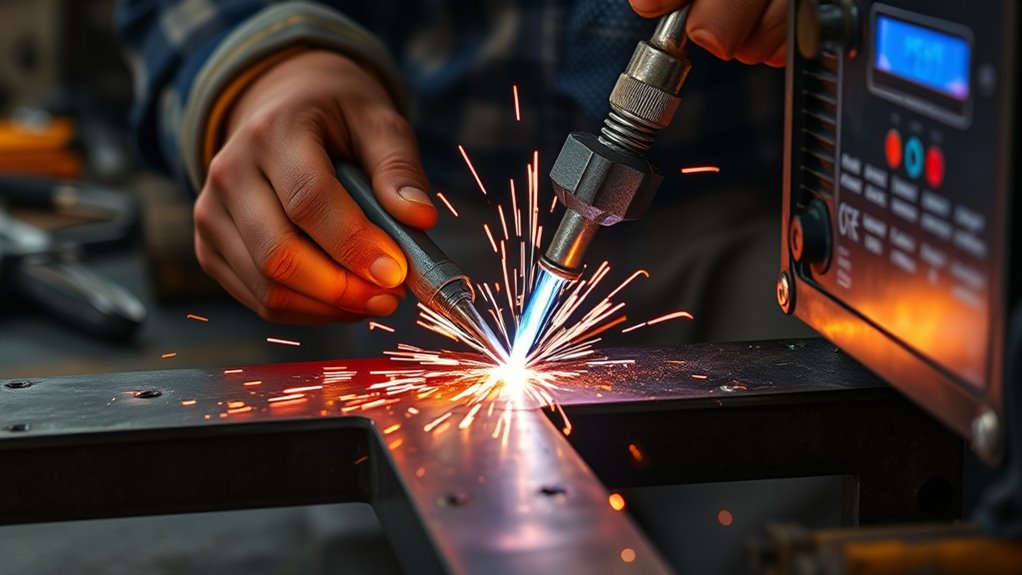
Mastering stitch welding requires a solid grasp of essential techniques that enhance both quality and efficiency. Start by utilizing the Stitch Pattern feature in SmoothTool to customize your weld lengths and gaps. This not only aids in heat control but also reduces distortion in thin materials.
Implement a staggered Start Offset to guarantee even heat distribution, minimizing localized warping. Adjust parameters like Retraction and Airspeed to optimize cooling time between welds; this effectively lowers the overall heat input into the parent metal.
Experiment with different stitch lengths, such as 4 cm welds followed by 4 cm gaps, to find the ideal balance between joint strength and heat management. Regularly monitor and fine-tune your machine settings based on the welding position and material thickness. Understanding flux core welding will further enhance your ability to manage heat effectively.
This diligence will help you achieve consistent, high-quality stitch welds while minimizing thermal distortion.
Troubleshooting Common Stitch Welding Issues
Even with the best techniques, issues can arise during stitch welding that affect the quality of your work. One common problem is incomplete fusion (IF) between stitches, which can weaken joints. To mitigate this, regularly inspect your welds and confirm you’re maintaining proper machine settings, like airspeed and retraction.
Consider utilizing staggered stitch patterns with varied start offsets; this method enhances heat dissipation and prevents excessive thermal buildup. Monitor the length of your welds and gaps—aim for a pattern of 4 cm weld followed by a 4 cm gap to balance strength and heat input. Additionally, ensure your electrodes are properly stored to avoid contamination and maintain weld quality. Don’t overlook cooling strategies; allow sufficient time between stitches to minimize warping effects.
Setting Up Your Welding Machine for Great Results
To achieve great results in stitch welding, you must carefully set up your welding machine by accessing the Parameters tab. Here, locate the Stitch Pattern under Weaving settings to customize your weld length and gap effectively.
Adjust the Start Offset to stagger your stitch patterns, enhancing heat distribution and minimizing distortion. Enabling the Allow Merge option is essential for smooth changes at corners or edges, which aids in ideal heat control.
Adjusting the Start Offset and enabling the Allow Merge option ensures optimal heat distribution and minimizes distortion at corners.
Next, fine-tune the Retraction and Airspeed settings to balance cooling and welding speed, ensuring effective heat management for your specific materials and thickness. Additionally, maintaining the proper wire speed and voltage is crucial for achieving optimal weld quality.
Finally, turn OFF the Drop Cut feature to improve stitch weld results, providing smoother changes and reducing heat input during stop-and-go operations.
This meticulous setup empowers you to control heat and achieve high-quality stitch welds, fostering liberation in your welding processes.
Products Worth Considering

【Portable Welder with Advanced IGBT Inverter Technology】The Saker 110V Portable Welding Machine utilizes advanced IGBT inverter technology, designed to deliver high no-load voltage and improved arc compensation. It maintains stable current output for consistent performance on carbon steel and iron, while reducing spatter and supporting operational efficiency. Engineered for easy arc starting and smooth welds, this compact unit is ideal for home DIY and professional repair projects.
★ Aluminum-Ready With Spool Gun Included - Weld aluminum out of the box for auto-body, trailer/RV, boat work, and DIY; spool feed helps prevent bird-nesting for cleaner beads.
Comparing Stitch Welding and Seam Welding: Which Is Better?
How do you determine the best welding technique for your project? When comparing stitch welding and seam welding, consider your specific requirements.
Stitch welding, with its alternating lengths of weld and gaps, excels in controlling heat input, making it ideal for thin materials. This method minimizes the heat-affected zone (HAZ), reducing distortion, but may lead to incomplete fusion points.
On the other hand, seam welding provides continuous welds, delivering greater structural integrity and root penetration essential for applications needing watertight seams or increased stiffness.
In chassis fabrication, continuous seam welds are often preferred for critical components, while stitch welding may suffice for non-structural applications or areas with fit-up challenges.
Ultimately, the choice hinges on joint strength, material thickness, and the potential for thermal distortion. Assess these factors carefully to determine which technique will best serve your welding needs. Additionally, understanding the heat input control techniques can further enhance your welding precision.
Products Worth Considering

150W RAPID HEATING: The upgraded 150W plastic welder adopts advanced ceramic heating core, which can be heated to the desired temperature within 15 seconds. The body of the plastic welding gun is designed with upgraded tube, which is sturdy and durable. And with 6 ventilation holes, it helps to dissipate heat quickly, which can reduce the temperature conducted from the soldering iron tip to the handle, which greatly improves your working efficiency compared to the old plastic welding kit

Must-Have Soldering Iron Kit: wide application tools for soldering projects, home DIY fixing jobs, electrical, electronics, appliance repairs, circuit board welding, do-it-yourself DIY solder applications, crafts/jewelry making. Perfect gift for all occasions

Comprehensive Welding Package: our package comes with 24 low temperature universal welding rods available to meet your welding requirements; Whether you are a novice or an experienced welder, this kit of welding rods ensures you have things you need for your welding projects; Material is relatively brittle, received with breakage is a normal phenomenon, does not affect the use
Best Practices for Enhancing Your Stitch Welding Skills
While mastering stitch welding requires practice and attention to detail, implementing best practices can greatly enhance your skills. Here are four essential techniques to refine your approach to stitch welds:
- Utilize the Start Offset: Stagger your stitch patterns to increase joint strength and minimize weak points.
- Enable Allow Merge: This allows for smoother shifts on continuous corners or edges, improving the overall quality of your welds.
- Adjust Retraction and Airspeed: Balance these settings to control cooling rates and welding speed, vital for maintaining weld integrity.
- Practice Varied Patterns: Regularly work on different stitch patterns, like circular or zig-zag, to enhance joint fusion and achieve complete penetration.
Always pay attention to machine settings according to the welding position—flat, vertical, or overhead—to guarantee consistency across applications. Additionally, understanding the impact of gas flow rates can help optimize the heat distribution during the welding process.
Implementing these strategies will elevate your stitch welding proficiency.
Additional Resources for Learning Stitch Welding
What resources can you tap into to enhance your stitch welding skills? Start by exploring online welding forums and instructional videos that demonstrate practical stitch welding techniques across various materials. These visual aids can clarify complex concepts.
Next, immerse yourself in welding textbooks and manuals that focus on stitch welding principles, particularly heat management and joint design, to solidify your theoretical understanding.
Immerse yourself in welding textbooks that cover stitch welding principles, emphasizing heat management and joint design for a solid theoretical foundation.
Consider attending local workshops or classes that emphasize advanced stitch welding techniques, offering hands-on experience with expert guidance. Additionally, joining professional welding associations grants you access to exclusive training materials and webinars, connecting you with experienced welders who can share invaluable best practices.
Finally, experiment with simulation software that lets you visualize and adjust stitch welding parameters, reinforcing your grasp of heat control and distortion management. Engaging with these resources will empower you to master stitch welding effectively. Understanding amperage control is crucial for managing heat input during the welding process.
Frequently Asked Questions
When to Use Stitch Weld?
You should use stitch welds when working with thin materials or galvanized parts. Monitor your weld timing carefully to control heat input, ensuring minimal distortion while maintaining tight tolerances in non-structural applications.
How to Control Heat Input in Welding?
To control heat input in welding, you’ll need effective heat management. Employ techniques like stitch welding, adjust parameters, and guarantee proper cooling times. Balancing these factors keeps distortion at bay and maintains weld quality.
What Is the Stitch Welding Technique Used For?
Stitch welding enhances weld efficiency by creating controlled, short welds with gaps. This method minimizes distortion, reduces heat input, and prevents corrosion, making it ideal for applications requiring precision and structural integrity in thin materials.
What Is the Rule of 33 in TIG Welding?
The Rule of 33 in TIG welding guarantees welding efficiency by recommending a 1-second pause for every 3/32 inch of material thickness. This method optimizes heat control, enhancing weld quality and minimizing defects in thin materials.
Conclusion
By mastering stitch welding, you’re not just welding; you’re wielding a superpower against warping in thin materials. With precision and technique, you can turn potential disasters into flawless creations, making heat distortion a distant memory. Your welding machine becomes an extension of your will, producing seamless results that will leave onlookers in awe. So, immerse yourself in the world of stitch welding and unleash your inner artisan, transforming every project into a masterpiece of engineering excellence!


