To use the TIG foot pedal for better heat control, start by aiming for 1 amp per 0.001 inches of material thickness. Gradually adjust amperage while monitoring the weld pool’s appearance. Use gentle pressure to avoid stomping, and lift your foot to reassess if needed. Set your preflow for 1-2 seconds, and adjust post flow according to material thickness. Mastering these techniques guarantees ideal results, and you can uncover further tips to enhance your skills.
How to Use the TIG Foot Pedal for Optimal Heat Control
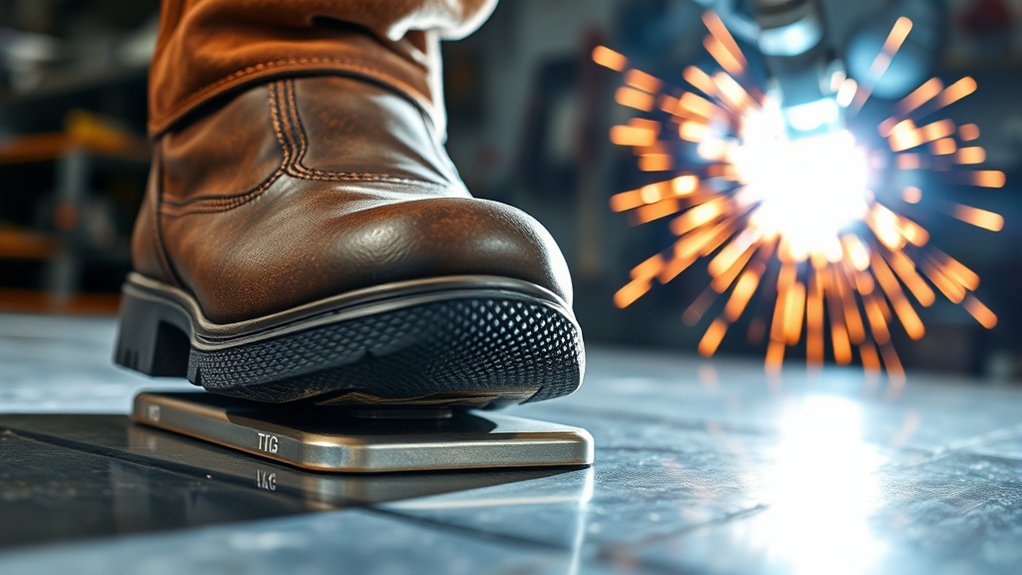
Using a TIG foot pedal effectively can greatly enhance your heat control during welding, especially when you’re working with varying material thicknesses. The foot pedal serves as an essential ON/OFF switch, letting you intuitively adjust your amperage to match the material—aim for about 1 amp per .001 inches. Start with a soft ramp-up in amperage, avoiding sudden full throttle to maintain better control over the weld pool. As you weld, consistently make fine adjustments based on the appearance of the weld pool, which will help prevent defects like blowouts and sagging beads. Remember, using the correct filler rod is crucial for achieving optimal results in your welding projects.
Don’t forget to practice periodically lifting your foot from the pedal. This reassessment improves your reflexes and troubleshooting skills, ensuring ideal heat management. Keep your travel speed consistent while monitoring the weld pool, as this synergy will elevate your welding quality and liberate you from common pitfalls. Embrace the foot pedal’s potential for a smoother, more controlled welding experience.
Products Worth Considering

Wide Compatibility: This TIG welding foot pedal switch is specially designed for ARCCAPTAIN TIG welders, compatible with TIG200, TIG200P, TIG200P ACDC, TIG205 Pro, and...
Techniques for Controlling Amperage With Your TIG Foot Pedal
Mastering amperage control with your TIG foot pedal is essential for achieving high-quality welds. Start gently on the pedal, gradually increasing amperage to respond effectively to the weld pool’s appearance. Aim for about 1 amp per 0.001 inches of material thickness to avoid blowouts and sagging beads. Make fine adjustments multiple times throughout the process, and avoid full throttle to maintain consistent heat input. Additionally, understanding the impact of gas type on cut quality can help you make informed decisions about your welding setup.
| Technique | Description |
|---|---|
| Gentle Start | Begin with a light touch to gauge the weld pool. |
| Target Amperage | Use 1 amp per 0.001 inches for ideal heat. |
| Fine Adjustments | Make small changes to keep control over amperage. |
| Visual Feedback | Lift your foot off to reassess if issues arise. |
| Practice Before Welding | Keep the pedal up until ready to promote good habits. |
These techniques offer you the freedom to adapt your welding approach confidently.
Products Worth Considering
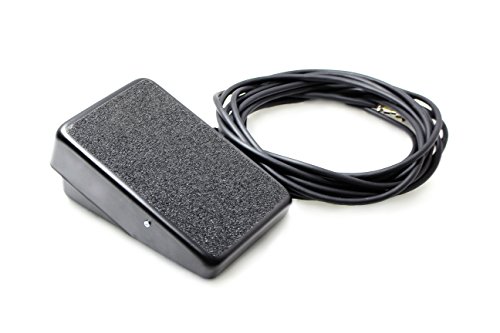
Works with any Miller TIG welder equipped with a 14-pin remote receptacle for foot controls. For Miller solid-state power sources AFTER serial number JK674521. Miller...
Preflow and Post Flow Settings Explained
Understanding preflow and post flow settings is essential for achieving high-quality TIG welds. Preflow typically needs to be set to 1-2 seconds, ensuring a protective gas atmosphere is established before the arc ignites. This minimizes gas wastage while enhancing your welding performance. The amount of preflow can greatly impact the efficiency of your process, so keep it minimal.
On the other hand, post flow duration is important for preventing oxidation and ensuring ideal weld quality. Adjust this setting based on the materials and their thickness; it’s critical for allowing the weld to cool properly. Effective use of both preflow and post flow settings contributes to cleaner welds and reduces contamination risks during the welding process. By mastering these adjustments, you’re not just welding; you’re liberating your craft and elevating your skills to a higher level. Additionally, proper shielding gas flow is crucial for protecting the weld pool from contamination and achieving consistent results.
What You Shouldn’t Do With the Foot Pedal
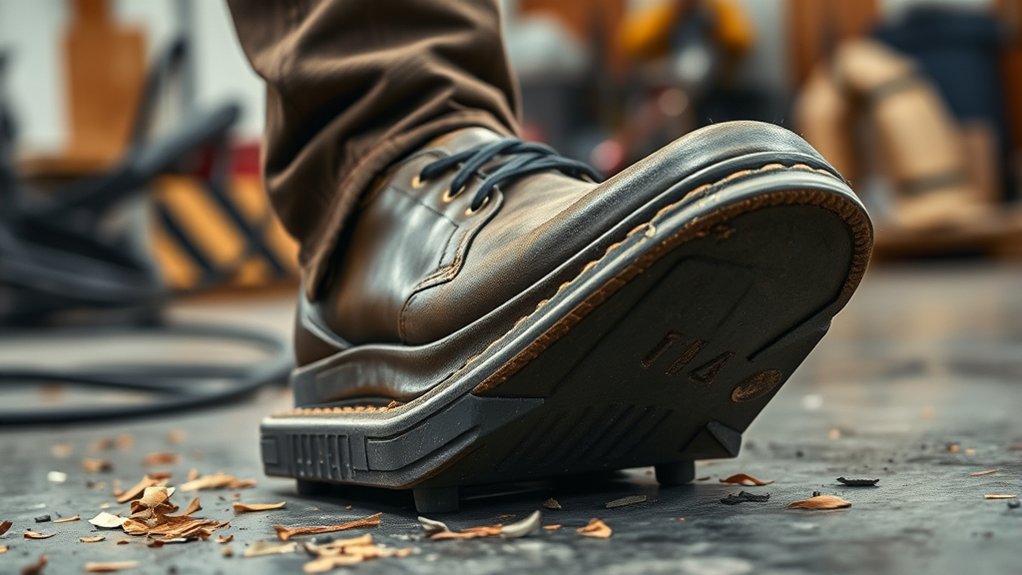
While it might be tempting to stomp on the foot pedal to quickly adjust amperage, doing so can lead to poor control over the weld pool. Instead, make gradual adjustments to maintain a steady arc length and a consistent heat input on the base metal. Keeping the pedal fully loaded can cause excessive amperage, resulting in blowouts or sagging beads—definitely not what you want. Additionally, remember that flux core welding techniques emphasize the importance of keeping a steady hand and monitoring your settings for optimal results.
Don’t let the foot pedal distract you; keep your eyes on the weld to make immediate corrections based on the weld pool’s appearance. If you notice issues, don’t hesitate to lift your foot off the pedal and reassess. This practice is essential for troubleshooting. Finally, avoid relying on static amperage settings; focus on dynamic adjustments throughout the welding process for best results. Mastering these techniques will liberate you from common pitfalls and enhance your TIG welding experience.
How to Troubleshoot Common TIG Foot Pedal Issues?
If you encounter issues with your TIG foot pedal, troubleshooting effectively can make all the difference in achieving high-quality welds. Here are some quick tips to get you back on track with your TIG welding:
- Check Your Foot Position: Make certain you’re not fully loading the pedal. This can lead to poor amperage control and inconsistent heat.
- Reassess Your Weld Pool: If adjusting amperage is difficult, take your foot off the pedal temporarily to analyze the weld pool.
- Inspect Connections: Confirm the foot pedal is properly connected and calibrated to your machine settings for peak performance.
- Observe Weld Pool Width: If the pool is too wide or narrow, adjust amperage gradually with the pedal, avoiding abrupt changes.
Additionally, maintaining proper amperage control is essential for achieving stable arc performance and preventing issues like rod sticking.
Using these strategies can help you maintain better control and improve your overall welding quality. Embrace the liberation of mastering your TIG foot pedal!
Frequently Asked Questions
How to Control Heat With TIG Welding?
To control heat with TIG welding, use precise techniques. Adjust amperage dynamically with your foot pedal, monitor the weld pool closely, and practice proper filler rod application for improved welding precision and peak results.
What Is the Rule of 33 in TIG Welding?
The Rule of 33 suggests using 1 amp for every 0.001 inches of material thickness. With pedal adjustments, mastering this TIG technique guarantees precise heat control, preventing blowouts while achieving solid, clean welds.
How Much Does Spacex Pay TIG Welders?
SpaceX pays TIG welders between $20 to $40 per hour, influenced by skill and experience. In the aerospace industry, these competitive welding salaries often come with benefits and overtime opportunities, boosting your overall earnings substantially.
What Are Two Benefits for Using the Foot Pedal When Using the GTAW Process?
“Smooth seas never made a skilled sailor.” Using foot pedal techniques in TIG welding offers precise amperage control and enhances weld quality, allowing you to adapt effortlessly while avoiding burn-through or sagging beads. Embrace the TIG welding advantages!
Conclusion
Mastering the TIG foot pedal transforms your welding experience, letting you dance between heat and precision like a conductor leading an orchestra. With each subtle press, you control the rhythm of your welds, ensuring molten metal flows just as you envision. Remember, practice makes perfect—embrace the learning curve. As you gain confidence, you’ll find yourself creating clean, beautiful seams that not only hold strong but also look stunning. So, step on that pedal and let your artistry shine!


