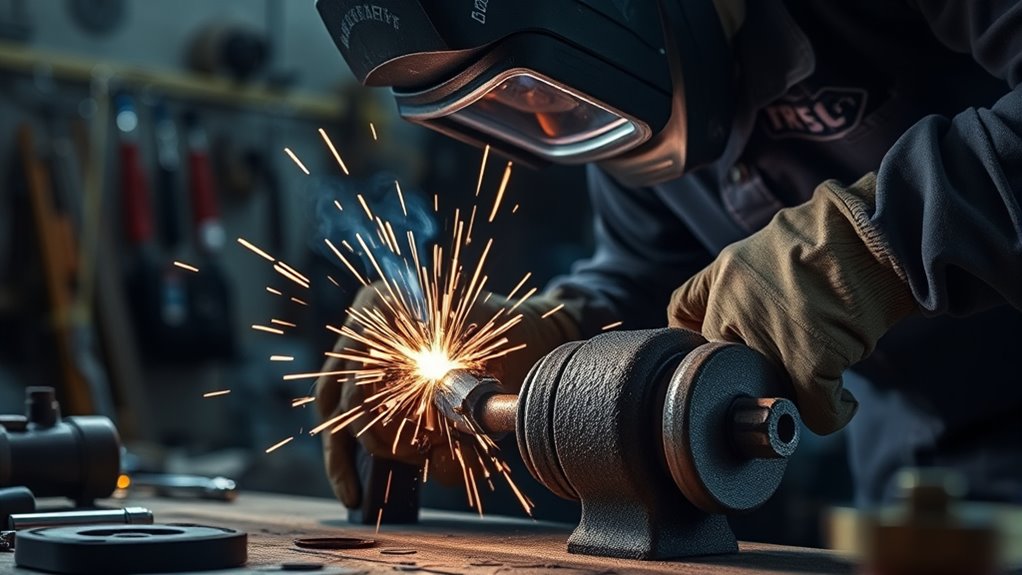
Welding cast iron automotive parts requires precise control to prevent cracking. Start by preheating to 400°F-600°F and using low-hydrogen electrodes for better ductility. Keep your weld segments short—around 1 inch—to minimize heat buildup. After welding, cool the joint slowly by burying it in sand to relieve stress. Always wear appropriate PPE and guarantee your workspace is well-ventilated. Mastering these techniques will enhance your welding skills and secure lasting repairs. More techniques await you next.
Understanding Welding Cast Iron Properties
Welding cast iron requires a solid understanding of its unique properties to prevent issues like cracking. Cast iron, especially gray cast iron, contains 2% to 4% carbon, which gives it strength but also makes it brittle.
To achieve a successful weld, start with preheating the material to between 400°F and 600°F. This step minimizes thermal stress and reduces the risk of cracking during the welding process.
Preheating cast iron to 400°F-600°F minimizes thermal stress and significantly reduces cracking risks during welding.
Selecting the appropriate filler material is essential, as it should complement the high carbon content of the cast iron. Additionally, controlling the cooling rate after welding is important. Rapid cooling can exacerbate brittleness in the heat-affected zone, leading to potential fractures.
Using nickel-based flux core can improve ductility and reduce brittleness, making your welds more reliable.
Understanding these factors not only enhances your welding technique but also empowers you to handle cast iron effectively, ensuring durability and reliability in your projects.
Common Challenges in Welding Cast Iron Parts
Welding cast iron presents unique challenges due to its high carbon content, which increases the risk of cracking. To manage this, you’ll need to focus on precise heat control and employ techniques like preheating and short weld segments. Additionally, understanding gas choices can help improve the quality of your welds by minimizing oxidation and heat-affected zones.
High Carbon Content
Although cast iron’s high carbon content provides strength and durability, it also introduces significant challenges during the welding process. The 2% to 4% carbon in cast iron makes it a brittle cast iron, increasing the risk of cracking due to thermal stress.
To mitigate this, preheat the cast iron to between 400°F and 1500°F, which helps minimize thermal gradients. Use a welding technique that manages the heat, ensuring you don’t exceed 1450°F, as this can reach vital temperature and worsen brittleness.
Employ a nickel-based filler to enhance weld integrity. After welding, slow cooling is essential; utilize insulation or bury the part in sand to prevent rapid cooling and further cracking.
Prioritize these steps to achieve a successful weld.
Cracking Risks
Managing the high carbon content in cast iron is vital, but understanding the risks of cracking is equally important. Properly addressing these cracking risks can save you time and effort:
- Control heat input: Excessive heat raises the risk of brittleness in the heat-affected zone (HAZ).
- Preheat the part: This helps reduce thermal shock and residual stresses during welding.
- Slow cooling: Use techniques like slow cooling in sand or insulation to mitigate rapid temperature changes.
Using nickel rods can enhance weld quality, but remember, if you exceed critical temperatures (around 1450°F), you exacerbate cracking risks.
Opt for short weld segments (about 1 inch) to further avoid cracking and guarantee a successful weld on your cast iron parts.
Heat Management Techniques
When tackling the challenges of heat management in cast iron welding, it’s essential to maintain a consistent temperature to prevent cracking.
Start with preheating your material to between 400°F and 1200°F to reduce thermal stress. Avoid rapid heating above 1450°F, as this can lead to brittleness.
During the welding process, use low amperage settings to limit heat input, helping keep the heat-affected zone crack-resistant. Opt for short weld segments, ideally 1 inch, to minimize heat buildup and residual stresses.
After welding, practice controlled cooling methods—slow cooling by burying the weld in sand or employing insulation materials can alleviate internal stresses, considerably lowering the risk of new cracks.
Prepare Effectively for Welding Cast Iron
To prepare effectively for welding cast iron, start by thoroughly cleaning the surface to eliminate rust, oil, and other contaminants. Impurities can compromise weld quality, so make this your first step.
Thoroughly clean the surface of cast iron to remove rust and contaminants for optimal weld quality.
Next, preheat the cast iron to a temperature range of 400-600°F to minimize cracking risks during welding.
Consider these essential tips:
- Use low-hydrogen electrodes, like nickel-based rods, to enhance ductility and reduce fractures.
- Maintain a controlled welding technique with short passes (about 1 inch) to manage thermal expansion.
- Allow for slow cooling by insulating the joint or burying it in dry sand to relieve residual stresses. Proper preparation is crucial for achieving quality welds across all thicknesses.
Products Worth Considering

MODEL: E7018 is a low-hydrogen iron powder type electrode that produces high quality x-ray welds. It can be used in all positions on AC or DC reverse polarity welding current.

MODEL: E7018 is a low-hydrogen iron powder type electrode that produces high quality x-ray welds. It can be used in all positions on AC or DC reverse polarity welding current.

MODEL: E7018 is a low-hydrogen iron powder type electrode that produces high quality x-ray welds. It can be used in all positions on AC or DC reverse polarity welding current.
How to Choose the Best Welding Techniques for Cast Iron?
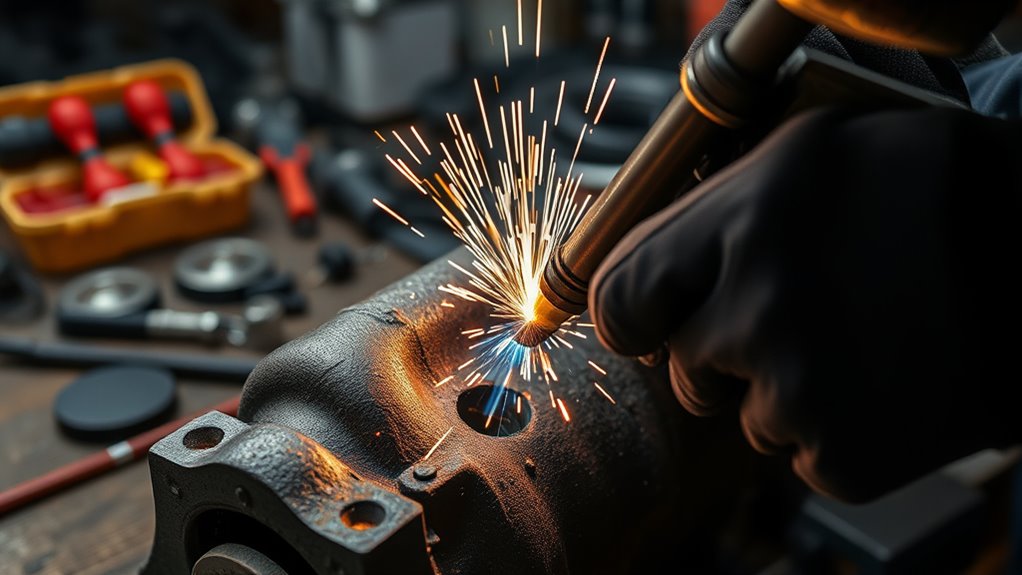
Choosing the best welding technique for cast iron often hinges on the specific type of cast iron and the application at hand. For larger components like engine blocks, stick welding is your most reliable option due to its control over heat input.
Start by preheating the cast iron parts to 400-600°F to minimize thermal stress and cracking. Use nickel-based electrodes, such as Tech-Rod® 99 for single-pass welds or Tech-Rod® 55 for multi-pass welds, to enhance ductility and reduce cracking risks.
When welding, employ short segments of about 1 inch to manage heat buildup effectively. This helps control cooling and prevents distortion.
After welding, use slow cooling techniques like insulating the joint with sand or blankets to relieve residual stress. This approach guarantees a strong, lasting bond in your cast iron parts, maintaining structural integrity throughout the process. Additionally, consider using flux-cored wire types that are suited for thicker materials to improve overall welding effectiveness.
Products Worth Considering

Premium Specification: Package includes 10 Pcs ENiFe-CI welding electrodes, size 1/8" diameter × 14" length, ready for immediate industrial and maintenance use.


Material: The package includes ENiFe-CI 7pcs 12 * 3/32'' Welding Electrode Rods
Cooling and Cleaning After Welding
After welding cast iron, it’s vital to manage the cooling process carefully to prevent cracks and guarantee a strong joint. Implement controlled cooling methods, like wrapping the joint in insulation or burying it in dry sand. Avoid rapid cooling techniques, as they can induce thermal shock and lead to cracking in the weld area.
Before cooling, confirm thorough cleaning of the weld area to remove any slag or contaminants. This step is significant for a robust bond and to prevent corrosion later. Additionally, ensuring the use of flame-resistant clothing can protect against potential burns during the cooling process.
Here are some practical tips:
- Gently use a ball-peen hammer around the weld area while it’s still warm to aid in stress redistribution.
- Inspect the joint after it cools for hairline cracks or other defects.
- If necessary, apply sealing compounds to guarantee water-tightness.
Stay Safe While Welding Cast Iron Parts
Welding cast iron can be rewarding, but safety must always come first. Start by guaranteeing proper ventilation in your workspace to minimize exposure to harmful fumes. Use appropriate exhaust systems or opt to work outdoors when possible.
Equip yourself with heat-resistant personal protective equipment (PPE), including gloves, flame-resistant clothing, and safety goggles to protect against burns and eye injuries. Don’t forget to wear a welding helmet with a suitable shade to shield your eyes from intense light and UV radiation.
Regularly check and maintain your welding equipment to prevent electrical hazards; verify all connections are secure and properly grounded. Familiarize yourself with the Material Safety Data Sheets (MSDS) for the materials and electrodes you’re using, so you understand potential hazards and safety precautions. Additionally, remember to implement effective ventilation to further reduce the inhalation of toxic fumes.
Frequently Asked Questions
Do You Need a Special Welder to Weld Cast Iron?
You don’t need a special welder for cast iron, but using a stick or TIG welder with proper filler materials and preheating methods guarantees better results. Prioritize safety precautions and equipment maintenance for ideal outcomes.
Can You Use 7018 to Weld Cast Iron?
Using 7018 to weld cast iron is like using a hammer on a delicate vase—it’s risky. Opt for nickel-based electrodes, focus on joint preparation, and prioritize crack prevention through proper cooling rates and post-weld treatment for safety.
What Is the Best Welding for Cast Iron?
The best welding for cast iron involves using nickel-based filler materials, preheating effectively, employing proper joint design, and applying post-weld treatment. Always prioritize crack prevention, thermal expansion management, and welding safety during the process.
Why Is Cast Iron so Hard to Weld?
Cast iron’s welding challenges stem from its properties, like thermal expansion and brittleness. Use preheating techniques, appropriate filler materials, and proper joint design to guarantee crack prevention, stress relief, and effective post-weld treatments for safety.
Conclusion
In summary, mastering the art of welding cast iron automotive parts is both a skill and an adventure. By understanding its properties, preparing effectively, and choosing the right techniques, you’ll not only overcome the common challenges but also guarantee a strong, lasting repair. Remember, safety isn’t just a precaution; it’s your best ally in this journey. So, gear up, stay focused, and transform those cast iron parts into a demonstration of your craftsmanship!


