You should cut and bevel the frame horns for a snug fit, then strip every mating surface to bare metal. Use the factory centerline and a stock bumper or fixed reference points to align both sides, and clamp them level before tacking. Preheat thick sections, then weld with steady travel for full penetration. Add sleeves or patches where needed for strength. Inspect bead quality and alignment before any road test, and you’ll see the details that make the repair hold.
Prep Frame Horns for a Clean Weld
Start by measuring and cutting the frame horns so they fit snugly and stay aligned, since any gap or mismatch can weaken the structure.
Then bevel each cut edge to open the joint and help the weld penetrate deeper.
Bevel each cut edge to open the joint and help the weld penetrate deeper.
Clean every mating surface until you’ve removed rust, paint, grease, and scale; a clean joint gives you better fusion and less contamination.
If you’re using a stock bumper as a reference, set it in place now to verify that the frame horns sit where they should before you weld.
Take your time and check both sides for equal fit.
You can also preheat the area around the welds to reduce thermal shock and lower the risk of warping. Heat input management is crucial for achieving optimal weld quality.
Wear gloves, eye protection, and respiratory protection, because liberation from bad repairs starts with safe, disciplined prep.
When you prepare the frame horns correctly, you give your weld the best chance to hold strong and carry the load.
Products Worth Considering

Product Type :Auto Accessory

Efficient Chamfering and Deburring: Pneumatic Deburring Tool is a powerful and efficient tool for chamfering and deburring metal edges. With a rotational speed of 30000RPM and adjustable depth of 0.1-0.9mm, this tool can quickly and easily remove burrs and sharp edges from metal surfaces. It is perfect for use in metalworking, welding, and other industrial applications
How to Align Frame Horns
With the frame horns cut, beveled, and cleaned, the next step is to set their position with exact measurements.
In frame repair, you align frame horns by measuring from symmetrical points on both sides of the chassis, then comparing each reading to the factory centerline. Use a stock bumper as a reference so the horns track with the body and front structure.
Because you cut the ends at 45 degrees, they should nest more naturally than a square cut and resist pull during fit-up.
Clamp each horn, check that both sit level, and confirm they meet the original surfaces snugly without gaps or twist.
Recheck every dimension twice, then document them before you move on. This disciplined process helps you preserve structure, avoid costly correction, and weld the seam with confidence. Remember to size welds according to the thinner plate to ensure structural integrity.
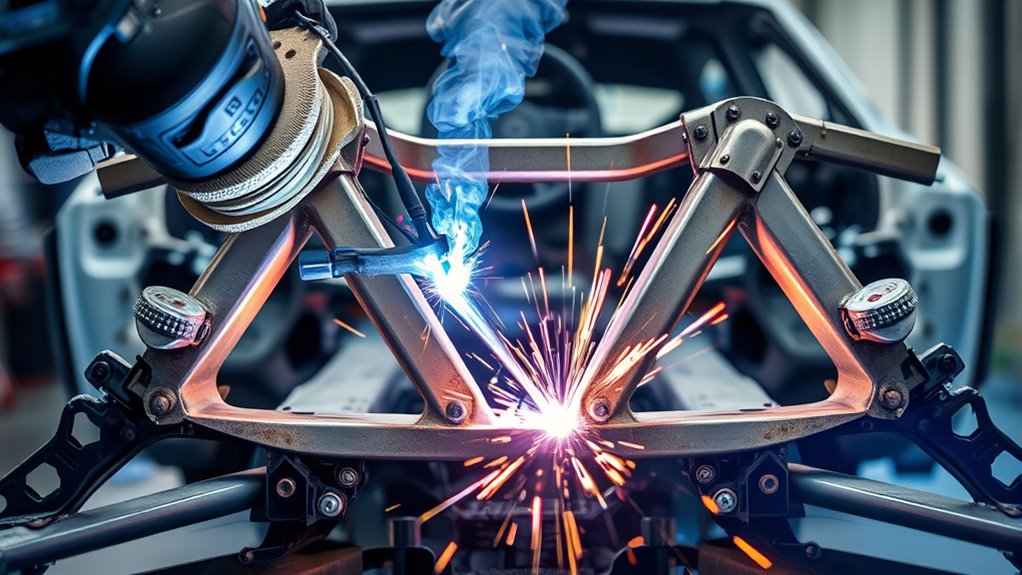
Weld Frame Horns for Full Penetration
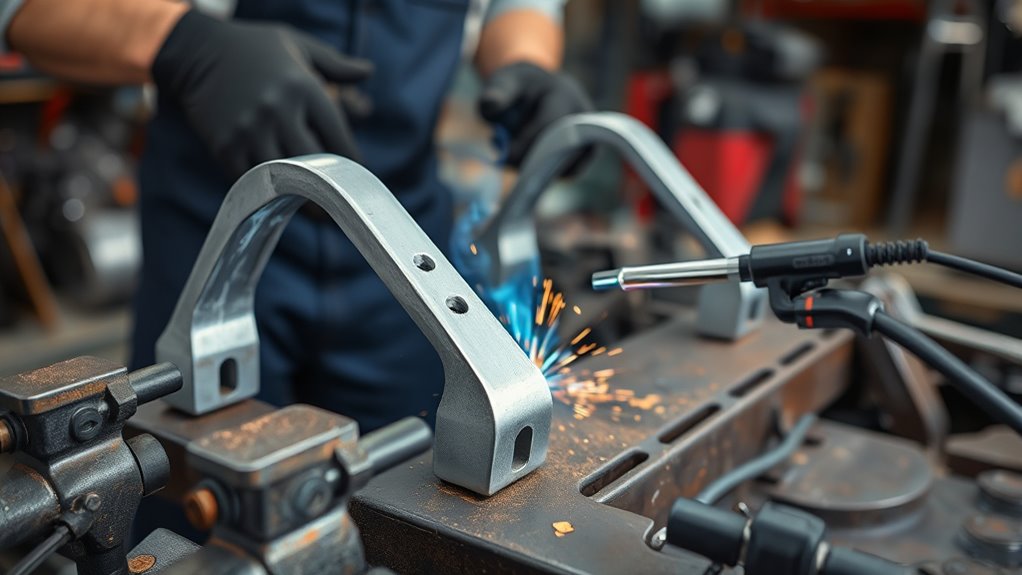
Once the frame horns are clamped in alignment, you can weld them for full penetration by keeping every mating surface clean and bare metal, so rust, paint, and scale don’t weaken the bond. Bevel the edges of both front pieces to form a tight V-groove, giving your weld more access and deeper fusion through the frame joint. If the material is thick, preheat it evenly so you reduce warping and improve arc stability in these high-stress areas. Run your bead with a steady travel speed, correct angle, and consistent heat so you drive for 100% penetration without undercut or cold lap. Keep your front frame secure, watch the puddle closely, and stop if the metal starts to distort. Where the design calls for extra reinforcement, add plug welds to share load across the frame horn connection and help your weld hold the road with strength and freedom. Additionally, ensure you have a properly set MIG welder to achieve optimal results in your welding process.
Products Worth Considering

Gel eliminates erratic operation with a film that will not clog orifices and threads on MIG nozzles and contact tips
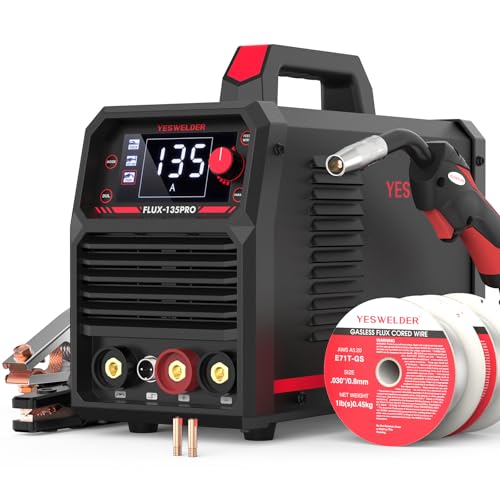
MULTI PROCESS: Experience the convenience of a high-quality, budget-friendly 3-in-1 welding machine that masterfully handles Gasless Flux Core MIG/Stick/Lift TIG(additional 10-25 lift TIG torch required). This unit caters to a wide range of welding applications and meets your various welding needs.

A brand new 150Amp 10ft Replacement Mig gun for YESWELDER MIG-205DS Welder.
Add Sleeves and Patches for Strength
After you’ve got full-penetration welds in place, you can strengthen the repair by adding 1/8-inch steel sleeves inside the frame horns for a snug internal fit.
Bevel the ends of the frame and sleeve pieces so your weld can bite deep and fuse cleanly. Align the sleeves with the original frame, because any twist or offset can compromise vehicle integrity and straight-line tracking.
Then plug weld all sides of each sleeve, spacing the welds to lock the reinforcement into the parent metal and spread load across the joint.
If you need external reinforcement, fit patches that follow the horn profile and avoid square ends where possible.
Triangle cutouts at patch ends help you dodge perpendicular welds, which can create stress risers and invite cracking.
Keep every patch and sleeve tight, clean, and properly located before you weld. Additionally, ensure to preheat the material to prevent quench cracks, promoting a stronger bond.
Done right, these reinforcements help you reclaim strength without surrendering safety, control, or the freedom to drive with confidence.
Inspect the Repair Before Road Testing
Before you road test the repair, inspect the welds closely for consistent bead profile, full fusion, and any visible defects that could compromise strength.
You should inspect every joint on the frame section with a bright light and a clean mirror if needed, looking for porosity, undercut, cracks, or gaps that signal weak penetration.
Measure horn alignment against fixed reference points so you know the parts sit true and secure.
Measure horn alignment against fixed reference points to ensure the parts sit true and secure.
Check the weld toes and adjacent metal for heat-affected cracking, distortion, or stress marks.
If you find any misalignment, stop and correct it before you move on; freedom on the road starts with disciplined verification in the bay.
After the first low-speed test, stay alert for vibration, pull, or odd steering feel, because those symptoms can reveal hidden damage in the structure. Additionally, ensure your protective clothing is in good condition to maintain safety while assessing the repairs.
Frequently Asked Questions
What Kind of Welding Is Used for Car Frames?
You usually use MIG welding for car frames, as you watch frame materials fuse cleanly. Choose welding techniques that match the joint, and follow safety precautions—your structure won’t fail when you need freedom and strength.
What Is the Best Welder for Car Frame Repair?
You’ll usually get the best car frame repair results with a 230V, 160A MIG welder; it gives strong penetration. TIG welding offers precision, and Flux core welding works, but you’ll need proper shielding and PPE.
Can a Car Subframe Be Welded?
Yes, you can weld a car subframe, but you’ve got to protect structural integrity with precise alignment, proper welding techniques, and careful prep. You’ll need clean surfaces, heat control, and post-weld inspection for safe frame modifications.
Can a Cracked Car Frame Be Welded?
Yes, you can weld a cracked car frame, but you’ve got to treat it like a wounded spine: inspect alignment, use frame repair techniques, protect structural integrity, and follow welding safety tips before you drive.
Conclusion
When you finish welding the front frame horns, you’re not just joining steel—you’re restoring the car’s backbone. If you’ve cleaned, aligned, welded, reinforced, and inspected every seam, the repair can carry load like a solid bridge under tension. Still, treat the work as a promise, not a guarantee: check your welds, confirm measurements, and road-test carefully. A straight, strong frame horn is the compass that helps the vehicle track true and stay safe.


