Repairing trunk drop-off panels on a 1967-style classic car body is a fitment, welding, and corrosion-control job. You need to expose the rust, test-fit the replacement drop-offs against the quarter panels and tail panel support, weld in short controlled passes, then seal every hidden edge before the trunk is closed up again.
Quick Answer
To weld trunk drop-off panels, remove or shield fire hazards, expose the rusted area, cut back to solid metal, trim the new drop-offs to match the quarter panels, clamp them tight, plug-weld or tack-weld in short sections, grind carefully, then epoxy-prime, seam-seal, and protect the backside from moisture.
Key Takeaways
- Do the safety setup first: remove the fuel tank or isolate it safely, clear combustibles, ventilate the area, and keep fire protection ready.
- Trim reproduction trunk drop-off panels slowly because the lower and rear edges often need small fitment corrections.
- Use tight clamping, plug-weld holes, weld-through primer on hidden overlap faces, and short welds to reduce warping.
- Grinding should flatten the welds without thinning the surrounding sheet metal.
- Epoxy primer, seam sealer, open drain paths, and cavity protection decide how long the repair lasts.
At a Glance
| Time Required | Plan for a full afternoon per side if the trunk floor and tail panel support are mostly solid; severe rust or poor reproduction-panel fit can take longer. |
| Difficulty | Intermediate to advanced sheet-metal welding. |
| Tools Needed | MIG or flux-core welder, clamps, long vise grips, spot-weld cutter, drill, punch, jigsaw or cutoff tool, grinder, flap discs, wire wheel, straightedge, marker, PPE, extinguisher, epoxy primer, seam sealer, and cavity wax. |
| Cost | Varies by vehicle, panel supplier, rust severity, and whether you already own welding and refinishing tools. |
Set Up the Trunk Area for Safe Hot Work
Before you cut or weld, treat the trunk area as a hot-work zone. Remove the battery ground cable, trunk mat, insulation, loose seam sealer, undercoating, cardboard, wiring clips, and anything else that can burn. If the fuel tank, filler neck, vent hose, or fuel lines are close to the work area, remove them or isolate the area according to safe shop practice before you strike an arc.
Warning: Do not weld near fuel vapors, old undercoating, hidden insulation, or trapped seam sealer. OSHA hot-work guidance calls for moving fire hazards when possible, shielding hazards that cannot be moved, keeping extinguishing equipment ready, and using a fire watch when conditions require it.
Use proper welding PPE, including a welding helmet with the correct shade, safety glasses under the helmet, welding gloves, flame-resistant clothing, and hearing protection when grinding. OSHA’s eye and face protection standard lists filter lens guidance for arc welding and cutting. Also keep air moving through the trunk area because NIOSH notes that welding fumes can contain metal fumes, and tight or confined spaces can increase exposure.
Keep a charged extinguisher close, check the backside of every weld area, and inspect again after welding stops. Sparks can hide inside seams and braces long after the visible weld looks cool.
Inspect and Prep the Trunk Drop-Off Area
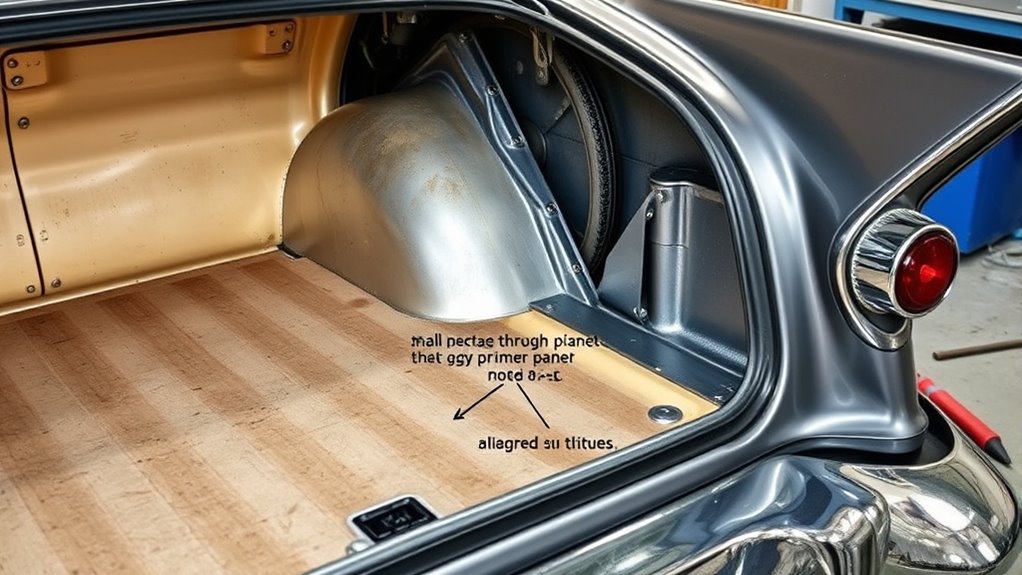
Start by inspecting the trunk drop-off area, lower quarter edges, trunk floor edge, wheelhouse flange, and tail panel support. Rust is often worst where panels overlap, where factory seam sealer failed, and where dirt stayed trapped behind the quarter panel.
Remove only the quarter panel skin or access metal needed to reveal the hidden damage. Keep reference points intact whenever you can, including the trunk floor edge, wheelhouse edge, tail panel edge, and any original drain openings. These areas help you position the new drop-off panel correctly.
Use a spot-weld cutter, drill, wire wheel, scraper, and abrasive disc to expose the seams. A wire wheel removes loose scale, but it can polish over pitted rust, so cut back to truly solid steel before you weld. Clean the interior-facing side to bare metal, then inspect for thin spots, pinholes, separated spot welds, and soft flanges.
Mark every area that needs repair. If the tail panel support is thin, separated, or crushed, repair or replace it before you commit the drop-off panel. The drop-off needs a solid structure to weld to, or the new metal will only hide the problem.
Once the damaged metal is removed, clean the weld zones and nearby flanges. Proper mild steel cleaning helps the weld fuse cleanly and reduces porosity, spatter, and contamination.
Decide Whether to Patch or Replace the Drop-Off
You can patch a trunk drop-off if the damage is small, the flange is strong, and the surrounding metal still has full thickness. Replace the full drop-off when rust runs along the lower quarter edge, the drain area is gone, the panel has multiple pinholes, or the trunk floor flange is too weak to hold a clean weld.
- Patch repair: Best for one small rust hole with solid metal around it.
- Full drop-off replacement: Best when the lower panel, drain area, or quarter-panel edge is rotten.
- Tail panel support repair: Needed when the drop-off has no solid rear structure to attach to.
Note: Do not use body filler, seam sealer, or undercoating to hide structural rust. Cut back to sound metal first, then weld in new steel.
Trim the Drop-Off Panels to Match the Quarters
Set the replacement drop-off panel against the quarter panel, trunk floor, wheelhouse, and tail panel support before making final cuts. Use the existing body lines as your guide so you can keep the contours tight and avoid a stepped or wavy joint at the quarter edge.
Many reproduction panels need small adjustments. Mark the excess on the lower edge, rear edge, and any flange that interferes with the 1967 body lines. Do not remove too much at once. Trim a little, refit the panel, then repeat until the edges sit evenly.
A jigsaw with the right blade can give you good control on curved sheet metal. A cutoff wheel also works, but it removes metal faster and can drift if you rush. Keep the panel clamped or held firmly, and check its fit against the quarter often as you work.
Trim slowly and test-fit often. A tight drop-off panel is easier to weld, easier to grind, and much easier to seal.
If the drain holes are missing, punch new ones before final welding. Match the original drain path when possible, deburr the holes, and plan to prime the raw edges later so water can escape without starting new rust.
Your goal is a precise fit with consistent spacing, solid contact at the flanges, and no forced alignment. Good metal preparation helps prevent porosity and weak welds.
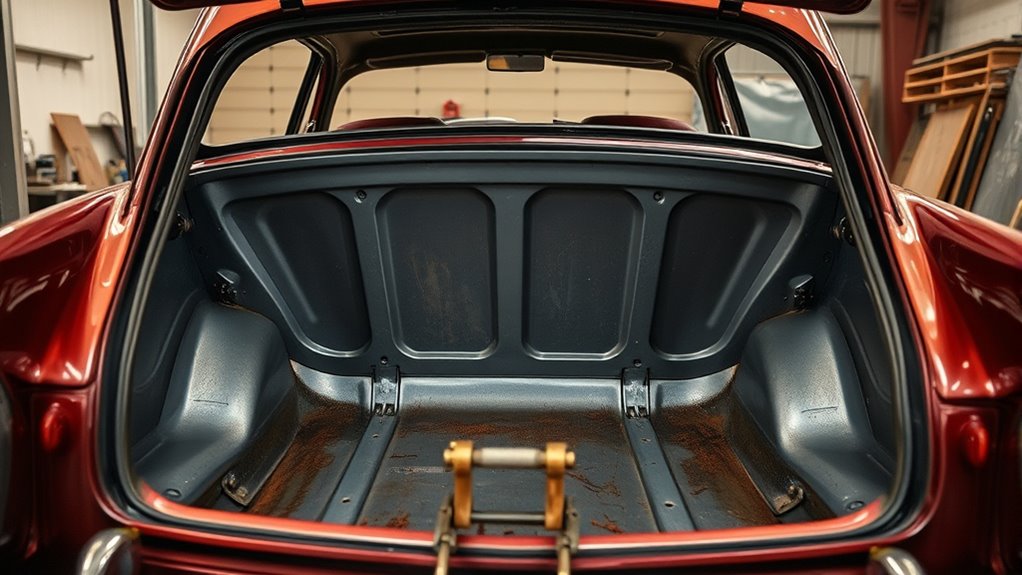
Test-Fit the Quarter, Tail Panel, and Trunk Floor
Before final welding, clamp the drop-off in place and test-fit the surrounding parts. Check the quarter panel skin, trunk floor edge, tail panel support, lower rear corner, bumper bracket area, and any trim or valance mounting points that depend on the same body line.
Use sheet-metal screws, panel clamps, or locking pliers only as temporary holders. Step back and sight along the quarter panel. If the drop-off pushes the quarter outward or pulls it inward, stop and correct the flange before welding. Welding will lock that shape in place.
Pro Tip: Scribe or mark reference lines before removing old metal. Simple marks across the trunk floor flange, tail panel support, and quarter edge help you return the new panel to the same position.
Weld the Trunk Drop-Offs in Place
With the drop-offs trimmed to fit, align each panel tightly against the quarter and lock it in place with clamps, long vise grips, or temporary sheet-metal screws. The seams should stay true while you weld.
Check every edge for a gap smaller than your weld wire. A tight fit gives you stronger fusion and lowers the chance of burn-through. If you are replacing factory spot welds, drill or punch plug-weld holes in the replacement flange so you can weld through the new panel into the structure below.
Apply weld-through primer only on hidden mating faces where steel will overlap steel, and follow the product’s drying and topcoat instructions. Keep the actual weld edge clean enough to avoid contamination. Weld-through primer helps protect hidden overlaps, but it does not replace epoxy primer, seam sealer, or cavity wax after the repair.
Set your welder on scrap metal that matches the trunk drop-off thickness before welding the car. If you use flux-core wire, confirm the polarity required by your wire and machine. The wrong polarity can cause heavy spatter, poor fusion, and weak welds, so use the correct flux-core MIG welding settings before starting.
Start with short tack welds, moving from one area to another to hold alignment and manage heat. For plug welds, fill each hole from the center outward until the weld ties into the edge of the hole. Let each weld cool before adding more heat nearby.
Keep the panels pinned solidly so they do not walk or warp as you build the seam. After the welds cool, inspect each joint for full attachment, visible fusion, missed spots, pinholes, and cold lap. If a weld looks tall, ropey, or sitting on top of the metal, grind a small test area and confirm it fused into both panels.
Grind the Welds Smooth
Use a flap disc or grinding wheel to knock the trunk drop-off welds down until they sit close to the surrounding metal. Wear safety glasses, a face shield, hearing protection, gloves, and a respirator or dust protection suited to the job. Grinding throws sharp metal particles, and the repaired area may still contain primer, coating, or old residue.
Begin with a coarse grit only where you need to remove weld buildup quickly, then switch to finer grits to refine the surface. Do not grind the parent sheet metal thin just to make the weld disappear.
Start with a coarse grit to remove weld buildup quickly, then finish with finer grits for a smoother surface.
As you grind the welds smooth, check the area often for high spots, pits, pinholes, or uneven transitions. Keep the tool moving and use light pressure near the edges of the quarter panel and trunk floor flange.
Your goal is a flat, continuous joint with no sharp edges and no thin spots. Clean settings, good fit-up, and a wire that produces low splatter can make this step faster because you will have less cleanup after welding.
Finish by wiping the area with a wax-and-grease remover or compatible degreaser. Remove dust from both sides of the repair so the primer and seam sealer can bond to clean metal.
Prime and Seal the Finished Joints
Once the welds are ground smooth, scuff both sides of the repaired joints so the primer and sealer can bite into clean metal. Blow out trapped dust from seams, plug welds, and drain paths.
Prime the trunk drop-offs and tail panel support with a high-quality epoxy primer according to the primer manufacturer’s technical data sheet. Coat both the trunk side and the hidden backside where you can reach it. Bare welds and ground edges rust quickly if they are left exposed.
After the primer flashes or cures as directed, run seam sealer along the joint edges, plug-weld lines, and overlaps you created during fitting. Press it into the seams so moisture cannot creep underneath. Keep the sealer smooth enough to shed water, and do not block drain holes.
After the seam sealer cures, add the correct topcoat, trunk coating, underbody coating, or cavity wax for the area. Cavity wax is especially useful inside hidden seams and boxed sections where paint coverage is limited. Keep your passes controlled and even, and do not leave pinholes or dry spots.
Wear the right protective clothing for arc welding and grinding through the whole process. Sparks, hot metal, and abrasive dust can injure you even during short cleanup steps.
Troubleshooting Common Trunk Drop-Off Welding Problems
If the repair does not look right during test-fit or welding, stop before you seal it. Most trunk drop-off problems are easier to correct before the panel is fully welded.
- Panel gap is too wide: Refit the panel, add clamps, or make a small filler strip from matching sheet metal. Do not try to bridge a large gap with weld.
- Burn-through keeps happening: Lower heat, shorten the weld time, use backing copper where possible, and confirm the old metal is not too thin to save.
- Panel warped: Let the area cool, spread welds farther apart, and avoid long beads on thin sheet metal.
- Plug welds sit high: Clean both layers better, increase contact pressure, and make sure the weld ties into the edge of the hole.
- Pinholes appear after grinding: Reclean the area, add small tacks, and regrind lightly. Pinholes must be fixed before primer and seam sealer.
- Drain holes do not line up: Reopen or correct them before sealing so trapped water can leave the drop-off area.
Frequently Asked Questions
Do you have to remove the fuel tank before welding trunk drop-offs?
If the tank, filler neck, vent hose, or fuel lines are close to the work, removing them is the safest choice. At minimum, the fuel system must be isolated from heat, sparks, and vapors. Never weld near fuel vapors or old undercoating that can ignite.
Should trunk drop-off panels be butt-welded or plug-welded?
Use the joint style that matches the repair area. Factory-style flanges are commonly plug-welded where one panel overlaps another. Visible patch edges may be butt-welded when you need a flush repair. Either way, clean metal, tight fit-up, and heat control matter most.
Can you weld trunk drop-offs with flux-core wire?
You can, but MIG with shielding gas is usually cleaner on thin automotive sheet metal. Flux-core can create more spatter and heat, so practice on matching scrap first, verify polarity, and use short welds to reduce burn-through.
Why do trunk drop-off panels need drain holes?
Drain holes let trapped water escape from the lower trunk and quarter-panel area. If you block the drain path with weld, seam sealer, or undercoating, moisture can sit inside the panel and start the same rust problem again.
What if the 1967 replacement drop-off panel does not match the quarter panel?
Do not force it into place. Reproduction panels often need trimming, flange correction, or small reshaping. Clamp the quarter, trunk floor, and tail panel support together during test-fit, then trim slowly until the body line and gaps sit naturally.
When should the tail panel support be replaced too?
Replace or repair the tail panel support when it is thin, cracked, separated at the spot welds, crushed, or too rusty to hold a plug weld. A new trunk drop-off needs solid structure behind it, not weak metal hidden by fresh primer.
Conclusion
After you fit, weld, and grind the trunk drop-offs, do not close the repair until every seam is inspected. Check for weak welds, open pinholes, blocked drains, bare metal, and hidden gaps. Then prime the joints, seal every overlap, and protect the backside so moisture cannot creep back into the repair. That final corrosion-control work is what keeps the trunk structure strong, sealed, and ready for the next stage of the build.
Sources
- OSHA 1910.252 General Requirements — hot-work fire prevention, combustible-material control, fire watch, and welding/cutting precautions.
- OSHA 1910.133 Eye and Face Protection — eye protection and welding filter-lens shade guidance.
- NIOSH Welding Fumes and Manganese — welding fume exposure risks and confined-space exposure concerns.
- American Welding Society Free Resources — AWS/ANSI Z49.1 and welding safety fact sheets.


