You use a lap weld in auto body work when you join two sheet metal panels by overlapping them and welding along the seam. This joint works well for floor pans, patch panels, and mixed-gauge repairs where edge fit-up feels difficult or access stays tight. Lap welds give strong shear resistance, but they can trap moisture between panels, so you need clean metal, controlled heat, and careful seam sealing.
Quick Answer
A lap weld joins two metal panels by overlapping one panel over another and welding along the shared seam. In auto body repair, you use it when a butt weld would take too much fitting or when panel access feels limited. The joint can stay strong, but you must seal it well to reduce rust risk.
Key Takeaways
- Use a lap weld when overlap helps panel fit, alignment, and repair access.
- Clean both mating surfaces before welding so the seam can fuse well.
- Control heat with short stitch welds to reduce warping on thin panels.
- Seal the overlap after welding because lap joints can trap moisture.
- Choose a butt weld instead when you need a flatter exterior finish.
What Is a Lap Weld?
A lap weld joins two pieces of metal by overlapping them and welding along the shared edge. This joint design works well for sheet metal repair when material thickness can vary. You use it when you need solid alignment without complex edge-to-edge fitting.
In auto body work, you can form lap joints for floor pans, body panels, patch panels, and hidden repair areas. The overlap helps you control spacing and keep the repair stable while you weld.
Good weld preparation matters. Clean both surfaces, remove paint and coatings near the weld area, and shape the edges so the arc can reach the overlap. If you leave contamination or wide gaps, you weaken the joint and raise the chance of rust.
You also need to manage heat input, since excess heat can distort thin panels. A lap weld may not give you the cleanest visible seam, but it gives you a durable, accessible repair path for many fabrication jobs. It also lets you restore structure with more control when tight access limits your options. Ensuring proper techniques during the welding process can improve the integrity of the joint.
When to Use a Lap Weld in Auto Body
You’ll often choose a lap weld when the panels don’t match in thickness. The overlap gives you solid fit-up without demanding perfect edge-to-edge alignment. Use it on floor pans, frame tabs, and patch sections where access stays tight and full penetration feels hard to control.
You also gain lap weld advantages when shear loads matter, because the joint resists lateral force well. For a cleaner finish, you can grind the seam and hide it under sealer or filler. Keep corrosion in check by sealing the joint and preserving drainage paths.
Proper preparation and clean surfaces help you create strong welding connections that support durable repairs.
| Condition | Why it fits | Example |
|---|---|---|
| Mixed gauge metal | Easier fit-up | Patch panel |
| Lateral loading | Strong shear resistance | Auto frame tab |
| Limited access | Practical weld access | Floor pan |
These lap weld applications help you work efficiently, reduce setup stress, and keep your repair structurally sound.
Lap Weld vs. Butt Weld for Panels
When you choose between a lap weld and a butt weld for panels, focus on how the metal meets. Lap welds overlap two panels and are easier to align. Butt welds join panels edge to edge for a cleaner, flatter seam.
You’ll usually pick a lap weld when you need quick fit-up, limited access, or a patch on irregular bodywork. Those lap weld advantages include less prep and reliable joining of thin sheet when full seam fusion does not need to stay invisible.
Butt welds demand tighter edge control, so setup takes more time and skill. A butt joint can give you a smoother exterior, cleaner finishing work, and less hidden overlap where moisture can collect.
Lap seams can trap moisture between layers, so you must weigh convenience against corrosion risk. For exterior panels, a butt weld often gives you the cleaner finish you want. For hidden repair patches, a lap weld can keep the job moving with less disruption. Using proper joint design techniques can also improve the strength and durability of your welds.
Note: Use lap welds for practical hidden repairs, but consider butt welds for visible exterior panels.
Products Worth Considering
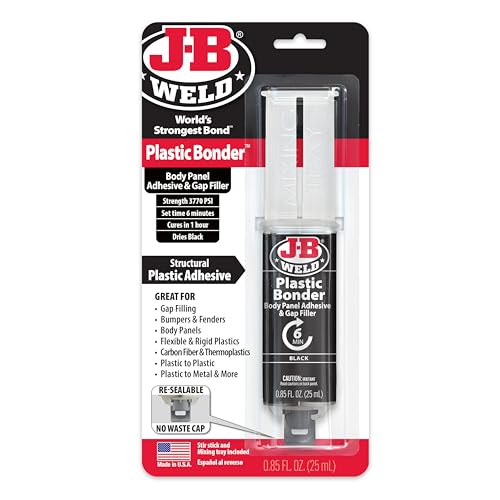
Plasticbonder: Is A Quick-Set, 2 Part, Urethane Adhesive System That Provides Strong, Lasting Repairs And Works On Thermoset, Carbon Fiber Composites, Thermoplastics, Coated Metals, Concrete & More.

Professional Dent Removal: VEVOR Stud Welder Dent Puller offers a fast and efficient solution for removing dents from car body, all while providing precise dent pulling and controlled force for a professional-grade dent repair every time.

Easy to use windshield repair system that allows for Do-It-Yourself repairs of windshield damage
What You Need Before Making a Lap Weld
Before you start, gather the basic tools and materials that help you weld cleanly and safely. Your exact setup depends on the metal thickness, welder type, and repair location.
- Welder set for the metal thickness and wire size
- Clean sheet metal panels with paint and coatings removed near the weld area
- Clamps, magnets, or sheet metal screws for tight fit-up
- Grinder, wire brush, or abrasive disc for surface prep
- Weld-thru primer, seam sealer, and protective coating for rust control
- Helmet, gloves, jacket, eye protection, and ventilation support
Set up the panels before you strike an arc. A tight, clean overlap gives you a better chance of making a strong seam with less grinding later.
Products Worth Considering

Value Pack: The package includes 24 packs of butt welding clamps, enough quantity to meet your daily needs and replacements. Each butt welding clamps is individually wrapped in a small bag, convenient to carry and use.

【High Quality & Sturdy】The c-clamp locking pliers are constructed from high-grade,heat-treated carbon steel,designed to withstand heavy-duty use and resist wear and tear.
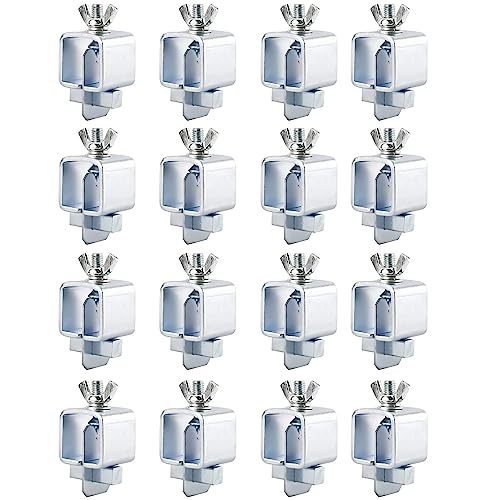
Butt Welding Clamps includes 16 welding corner square welder clamps; Used to make precision butt welds and edge-to-edge welds for patch repairs in floors, wings, door skins, fabricating, and re-skinning projects
How to Make a Strong Lap Weld
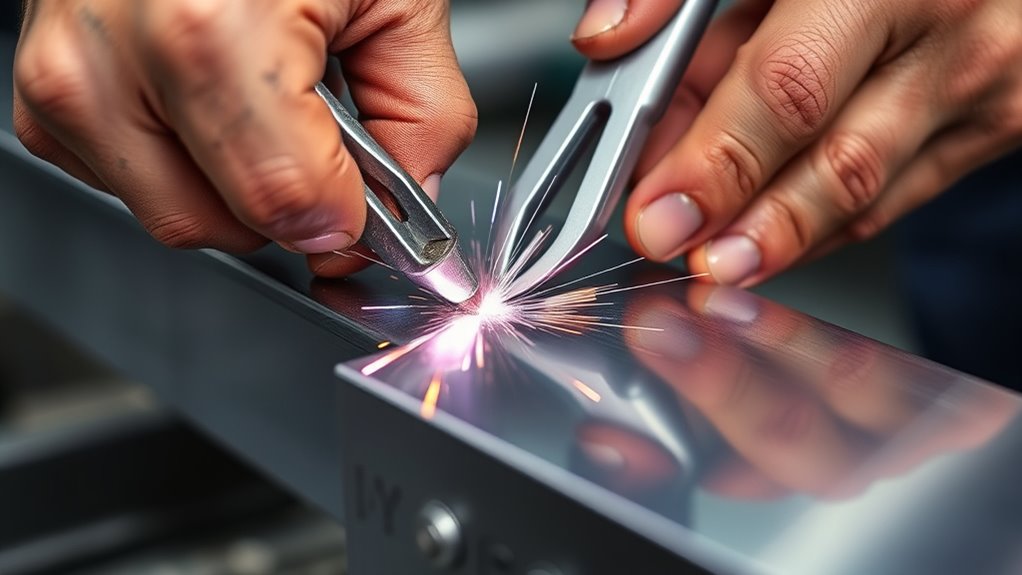
Start by fitting the overlapping panels so they sit flat and stay aligned. Keep the overlap modest, often about 1 inch or less, to reduce heat buildup and corrosion risk. Set your heat for the metal thickness and wire size, then test on scrap before welding the repair.
Use controlled welding techniques so you spread heat evenly and fuse both edges. Properly size your weld to help avoid distortion and cracking.
| Step | Action | Result |
|---|---|---|
| 1 | Align panels tightly | Stable joint |
| 2 | Stitch weld in short bursts | Less distortion |
| 3 | Inspect each tack | Stronger fusion |
You should stitch weld along the seam and space each pass so the metal cools between shots. That keeps the joint strong and helps you avoid cold lap defects. Keep your travel steady and watch for full tie-in at the overlap edges.
After welding, grind the seam smooth only as much as needed. Heavy grinding can thin the panel and weaken the repair. Apply metal filler only when you need a cleaner surface.
Pro tip: Test your settings on scrap metal from the same panel before welding the car.
Common Lap Weld Mistakes to Avoid
Most lap weld problems start before the arc begins. Dirty metal, loose fit-up, and too much heat can make the repair harder to finish and protect.
- Welding over paint, primer, rust, or undercoating
- Leaving a wide gap between the overlapping panels
- Using long weld beads on thin sheet metal
- Grinding too much metal from the finished seam
- Skipping seam sealer inside or along the overlap
Fix these issues early and you’ll spend less time correcting warping, pinholes, and rust-prone seams.
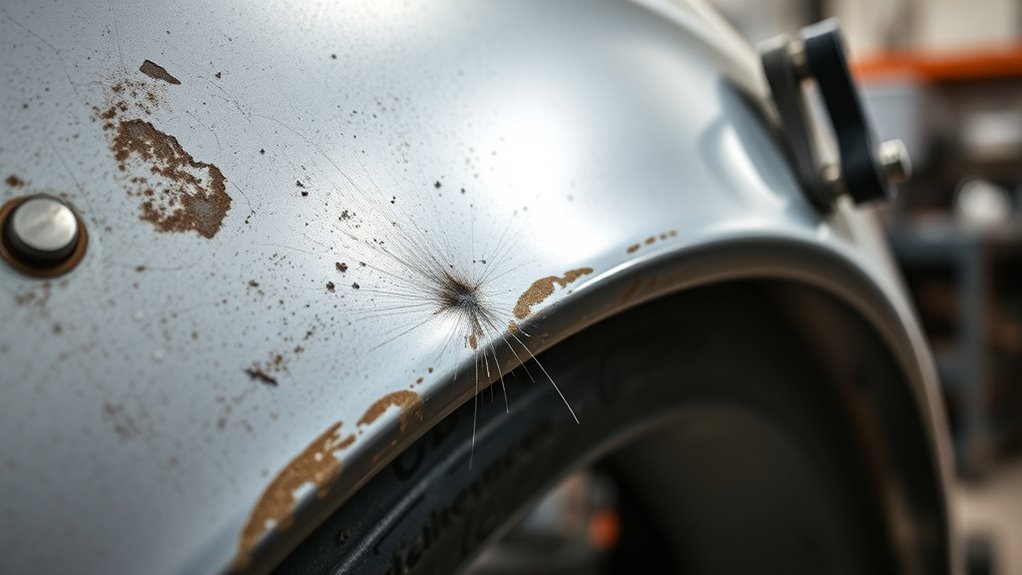
How to Protect Lap Welds From Rust
Once the weld is complete and the seam is cleaned up, protect the lap joint before moisture gets a chance to work in. Grind the weld smooth only where needed, then use a metal filler if you need to level the surface and reduce corrosion traps.
In the overlap, apply weld-thru primer before welding when the product suits your process and repair area. Keep the overlap tight, ideally no more than 1 inch, because excess overlap can trap water and invite rust.
Next, brush on a quality seam sealer to mimic factory seams and block water intrusion. After that, finish with durable protective coatings matched to the repair. Using a product like Rust-Oleum can further enhance rust protection for the lap welds.
Brush on a quality seam sealer to mimic factory seams and block water intrusion, then finish with durable protective coatings.
Make inspection part of your preventive maintenance routine. Check for cracks, chips, or lifted edges, and reapply coatings when needed. If you stay disciplined, you keep the joint sealed, the panel strong, and the repair protected from corrosion.
Warning: Welding can create fire, fume, burn, and eye hazards, so use proper protection and ventilation.
Frequently Asked Questions
What Is Lap Welding Used For?
You use lap welding for joining overlapping sheet metal in automotive applications, especially body panels, floor pans, and patch sections. It lets you align parts more easily, handle thin material, and create strong repairs in tight areas.
What Are the Disadvantages of Lap Welding?
You can face corrosion concerns, visible seams, and limited access to the hidden overlap after welding. Uneven heating can also cause warping, weak fusion, and extra finishing work if you rush the process.
Is a Lap Weld Stronger Than a Butt Weld?
A lap weld can handle shear loads well because the panels overlap. A butt weld can give a cleaner and flatter seam when you fit and weld it correctly. The better choice depends on the repair location, finish needs, and rust risk.
How Much Should Sheet Metal Overlap for a Lap Weld?
For many auto body patches, a modest overlap works best. Keep it tight and usually near 1 inch or less so you reduce trapped moisture and heat buildup.
Do You Need to Seal a Lap Weld?
Yes, you should seal a lap weld after cleaning and finishing the seam. Seam sealer and protective coating help block moisture from entering the overlap.
Safety Disclaimer: This article is for informational purposes only and does not replace hands-on welding training or professional repair advice. Consult a qualified welding or auto body professional before making structural repairs or working near fuel, wiring, or safety systems.
Conclusion
A lap weld can give you a strong, practical seam when overlap helps panel fit and repair access. Use it where a butt weld feels impractical, but don’t ignore the hidden rust risk between the panels. Clean the metal, control heat, inspect the seam, and protect every edge with sealer and coating. When you choose the joint wisely and weld carefully, you build a repair that stays stronger for longer.


