In automotive repair, a weak structural weld can put the whole vehicle at risk. You need structural welds when a damaged part carries load or affects crash safety, such as frame rails, chassis sections, suspension mounts, crossmembers, or reinforcements. You must follow OEM weld procedures, clean and fit metal carefully, remove zinc when needed, and choose the correct MIG or TIG process for the material. Inspect the weld for size, fusion, and defects, then check the repair against the correct code, OEM procedure, or shop standard.
What’s in This Article
- What Makes a Structural Weld Required?
- Which Vehicle Parts Need Structural Welding?
- How Do You Prep Metal for a Strong Weld?
- How Do MIG and TIG Work for Frame Repairs?
- What AWS Standards Apply to Structural Welds?
- How Do You Inspect a Structural Weld?
- What Mistakes Weaken Auto Structural Welds?
- Frequently Asked Questions
- Conclusion
Quick Answer
You need a structural weld when a vehicle part carries weight, controls alignment, or helps manage crash forces. Frame rails, chassis sections, suspension mounts, crossmembers, reinforcements, and some body structures can need structural welding. Before you weld, match the repair to the OEM procedure, prepare bare metal, control heat, and inspect the finished joint carefully.
Key Takeaways
- Use structural welding only when the part carries load, controls geometry, or affects crash safety.
- Follow OEM repair procedures before you choose a weld type, filler, or welding process.
- Clean the metal to bare material and remove coatings that can contaminate the weld.
- Use MIG for many steel frame repairs and TIG when you need more heat control.
- Inspect each structural weld for cracks, undercut, fusion, size, and proper tie-in.
What Makes a Structural Weld Required?
A structural weld becomes necessary when a repair involves load-bearing vehicle components. These parts include the chassis, frame rails, reinforcements, and other sections that absorb crash energy or support the vehicle’s weight.
You must protect structural integrity because these critical components handle dynamic loads. They also affect safety, compliance, and vehicle performance. When you repair advanced high-strength steel, use welding techniques that match the material’s strength and heat sensitivity.
Follow OEM specifications exactly. They define weld type, filler choice, placement, and procedure, so your repair can meet factory-level requirements. MIG or TIG methods can create durable joints when you control heat input, penetration, and alignment.
If you ignore procedure, you risk distortion, fatigue, or catastrophic failure. Your work should restore the vehicle’s original load path and preserve reliability. Understanding cast iron welding challenges can also help you avoid weak repairs when you work with difficult materials.
Warning: Structural welding affects crash safety, so you should not weld critical vehicle parts without the right training, procedure, and inspection plan.
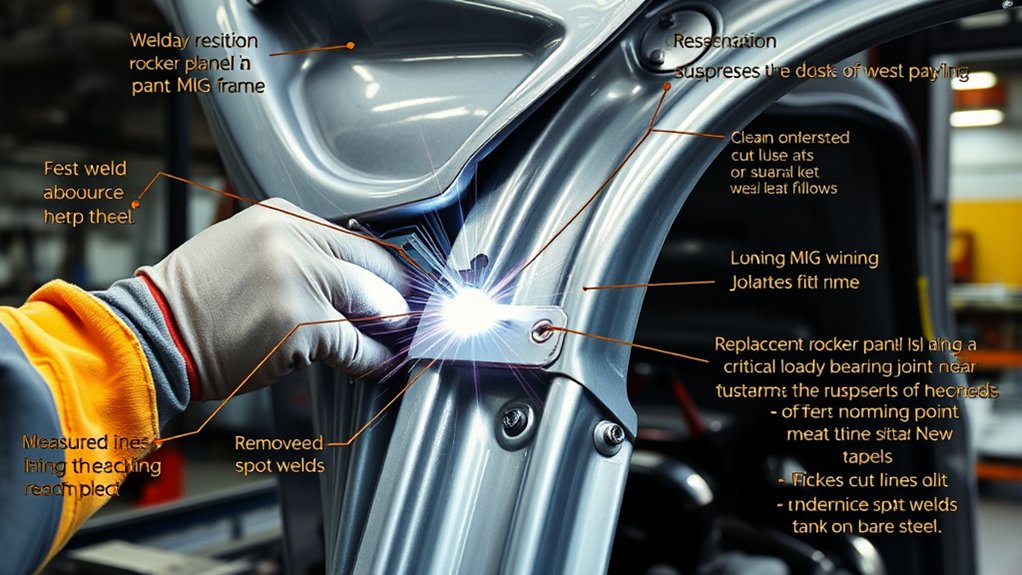
Which Vehicle Parts Need Structural Welding?
Structural welding applies to vehicle parts that carry load, control geometry, and manage crash forces. You need to identify these parts before you make any repair. Focus first on the chassis and frame, because they define the vehicle’s structure.
You also need to inspect suspension components such as control arms and strut assemblies. If you weld these parts, you affect alignment, handling, and vehicle safety. Check engine mounts next, since secure mounting helps prevent movement that can damage nearby systems.
Crossmembers and reinforcements often demand structural welding because they transfer loads between frame sections. They can also stabilize collision-damaged areas. Body panels, including roofs, doors, and fenders, may need structural welding when they support the body structure rather than simple appearance.
You should also follow the specified weld size for the joint. The maximum fillet weld size can affect strength, fit, and heat control. Treat each repair decision as structural first, then cosmetic second.
How Do You Prep Metal for a Strong Weld?
Start by cleaning both weld surfaces until you remove rust, oil, grease, paint, and other contaminants. Then check the joint fit-up and align the parts with a small, controlled gap if the repair procedure allows it. For thicker metal, bevel the edges to form a V-groove and improve penetration.
You should remove coatings and contaminants before you weld because they can cause porosity, weak fusion, and poor bead shape. Proper cleaning also helps prevent weak fusion during welding.
Products Worth Considering
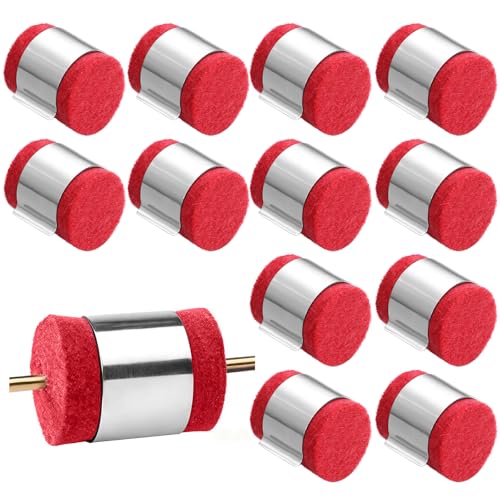
Steady Material: crafted from felt and metal, our welding wire cleaner pads promise steadiness; Specifically designed for rigorous environments like welding workshops, these pads withstand heavy usage and maintain their shape and efficiency over time; This product cleans wires and reduces scorching by 50%, ensuring smooth feeding of poorly cast, spiral, rusted, or excessively long wire feed bushings


Neutralize SURFOX-T and SURFOX Renew, and clean SURFOX-G.
Clean Surface Preparation
Before you strike an arc, clean the metal down to bare, sound material. Remove rust, paint, oil, dirt, and oxidation that could weaken the weld. Use wire brushes, grinders, or approved chemical cleaners to expose solid base metal.
Create a light profile for better mechanical grip, and keep joint preparation exact so your welding settings can work as intended. If the part uses thick metal, bevel the edges only as needed for proper fusion. Don’t overwork the joint or remove more metal than the repair needs.
After cleaning, let the piece dry fully. Trapped moisture can trigger weld defects, especially porosity. Careful surface prep gives the weld a stronger base and lowers the chance of hidden failure.
Joint Fit-Up And Beveling
With the metal cleaned to bare, sound material, set up the joint so the weld can fuse properly. Verify joint fit-up first. You need a tight connection or a controlled gap that matches the repair procedure.
For thicker stock over 1/4 inch, use beveling to expose more edge and improve penetration. A bevel angle between 30 and 45 degrees works for many general welding joints, but OEM repair procedures should guide automotive structural repairs. Recheck alignment before you weld.
Lock the parts with clamps or fixtures so they don’t shift under heat. Keep surface cleaning strict because leftover impurities can spoil strong welds and reduce joint integrity. When you fit and prep the metal correctly, you build a safer repair.
Pro tip: Test fit the part after clamping, because heat movement can change alignment before the final weld.
How Do MIG and TIG Work for Frame Repairs?
You’ll usually choose MIG when you need fast, strong welds on steel frame sections. It feeds a continuous wire and helps you build efficient structural joints. You’ll use TIG when you need precise control on thin or high-strength materials.
Set voltage, amperage, and travel speed correctly for the material thickness. Both processes depend on proper parameter control for optimal weld quality in frame repair work.
Products Worth Considering

High-quality: ARCCAPTAIN's ER70S-6 mig welding wire .030" meets industry standards(Net Weight: 10lbs), ensuring consistent performance, superior strength. With its smooth feeding and stable welding parameters, you can achieve optimal penetration, high deposition rates, and exceptional overall welding performance.

Welding Easy and Quick: AWS E71T-GS 030” Flux Core welding wire (The actual Net Weight of Wire is 2LB), no need for shielding gas, install it then you can welding all positions, single and multi pass welding. Great for T-joints, butt welds & lap welds.

Lincoln ED030584 .035", NR-211, LB Spool, Inner Shield Flux-Core Welding Wire
MIG For Frame Strength
Metal inert gas (MIG) welding often works well for frame repairs because it delivers fast, continuous welds on many common frame materials. You use a continuous wire feed to keep the arc stable, control heat, and support structural integrity in automotive repairs.
- Set voltage and amperage to match thickness.
- Select shielding gas to protect the puddle.
- Clean joints before you strike the arc.
- Maintain steady travel speed for weld quality.
- Verify joint strength after cooling.
With the right settings, MIG welding gives you efficient penetration and dependable fusion without unnecessary distortion. It also supports repeatable results when the joint design and repair procedure match the material.
TIG For Precision Repairs
Tungsten inert gas (TIG) welding gives you the fine control needed for precision frame repairs. It works best when you handle thin materials, tight joints, or high-strength steel and aluminum. With TIG welding, you guide a non-consumable tungsten electrode to create the arc.
You add filler material only when the joint needs it. That separation lets you manage heat control and reduce warping on critical automotive components. Argon gas shielding protects the puddle from contamination, which helps create cleaner welds.
Use TIG when fit-up is exact and access limits movement. Its precision supports delicate frame repairs where MIG’s speed may not give you enough control. For repair work that demands accuracy, TIG helps you manage the metal carefully.
What AWS Standards Apply to Structural Welds?
For structural welds in automotive repair, AWS D1.1 applies to welding structural steel. It covers design, qualification, and workmanship requirements that can affect joint strength and safety. You may apply AWS D1.2 when you weld aluminum structures.
Use AWS D1.3 for sheet steel, where tight quality control matters on body panels and other thin-gauge parts. AWS D1.6 applies when stainless steel appears in structural or safety-related work. Always confirm the exact code, OEM repair procedure, and local shop requirements before you weld.
AWS standards help you match the right code to the base metal, joint type, and repair goal.
Understanding heat input management also helps you protect weld integrity in automotive applications.
- Match the code to the base metal.
- Verify procedure compliance before you weld.
- Confirm welder qualification for the task.
- Control heat input on thin materials.
- Document each step for accountability.
When you follow the correct AWS standard and OEM procedure, you reduce failure risk and support safe, repeatable work.
Note: OEM procedures may limit or override general welding choices, especially on advanced high-strength steel and crash-zone parts.
How Do You Inspect a Structural Weld?
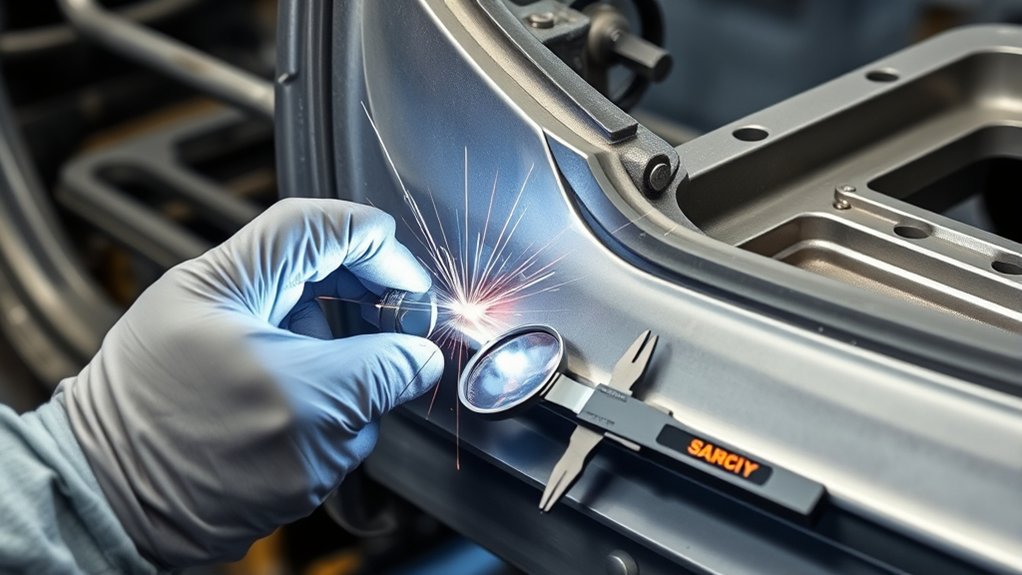
After the weld cools, inspect it against the repair specification and safety requirements. Begin with visual inspection of the structural components. Check for cracks, undercut, incomplete fusion, porosity, and uneven bead shape.
Compare weld size and profile to the stated dimensions. Confirm proper tie-in to the base metal. Check the repair against AWS D1.1, the correct AWS code, and OEM criteria where they apply.
If the joint needs deeper verification, use non-destructive testing such as ultrasonic or radiographic inspection. These methods can find internal flaws without cutting into the repair. Then examine the heat-affected zone for hardness changes or altered structure that may reduce strength.
Remove zinc residues before welding when the repair involves coated steel. Removing zinc coating helps reduce contamination and supports weld integrity. Record every measurement, method, and result so you keep a clear compliance trail.
What Mistakes Weaken Auto Structural Welds?
Common mistakes can weaken auto structural welds, even when the bead looks acceptable at first glance. In automotive repair, you protect structural integrity by correcting these failure points before you strike an arc.
Common weld mistakes can compromise structural integrity before the repair even begins.
- Poor material preparation leaves contamination and poor fit-up.
- Incorrect heat settings cause burn-through or weak penetration.
- Weak joint design creates stress risers in joint configurations.
- Poor welding technique causes lack of fusion and inconsistent weld quality.
- Rushed cooling can add distortion and residual stress.
You should clean, align, and clamp parts before you weld. Then verify voltage, amperage, and travel speed. Use the proper bevel and joint geometry so the weld can carry load across the section.
Keep a steady angle and aim for full fusion, not just a clean surface bead. Control cooldown so the joint doesn’t warp or harden in an unsafe way. Understanding correct amperage helps you improve weld quality and reduce avoidable defects.
Frequently Asked Questions
What Certs Do I Need to Weld Structural?
You may need welding certifications from bodies such as the American Welding Society (AWS), plus code-specific training for structural materials. You also need to follow the OEM repair procedure and any shop, insurer, or local requirements that apply to the vehicle.
What Welding Process Is Used for Automotive Repair?
You’ll usually use MIG for many steel repairs, TIG for precision work, and resistance spot welding for some panels. Match the process to the material, joint design, and repair procedure before you weld.
What Counts as Structural Welding?
Structural welding means you join or repair parts that carry load, manage crash forces, or control vehicle geometry. Frame rails, chassis sections, suspension mounts, crossmembers, and reinforcements often fall into this group.
What Is the ISO Standard for Welding?
ISO 3834 covers quality requirements for fusion welding of metallic materials. It can help shops manage welding quality, but you still need the correct OEM repair procedure and applicable welding code for the job.
Can You Weld Over Paint or Galvanized Coating?
You should not weld over paint, rust, oil, or galvanized coating on a structural repair. These contaminants can create porosity, fumes, weak fusion, and poor weld quality.
Safety Disclaimer: This article is for informational purposes only and does not replace OEM repair procedures, professional welding training, or a qualified vehicle inspection. Always follow the vehicle maker’s repair instructions and applicable safety rules before working on structural parts.
Conclusion
Structural welding matters because one weak joint can change how a repaired vehicle handles load and crash force. You need clean metal, correct fit-up, the right welding process, and a careful inspection before the vehicle leaves the bay. Follow the OEM procedure first, then match your code, settings, and inspection method to that repair. Stay methodical, inspect every joint, and verify strength now, because the real test may come later on the road.


