To master TIG walking the cup, visualize guiding a heavy barrel side to side. Focus on controlled wrist movements rather than your shoulder or elbow for precision. Use a 2% lanthanated tungsten electrode, extending 1/8 to 1/4 inch from the cup, and maintain argon flow at 30-35 psi. Dedicate at least 35 minutes daily to practice, ensuring your filler rod stays centered in the puddle for consistent beads. There’s much more to explore to enhance your welding technique effectively.
Understanding the Walking the Cup Technique
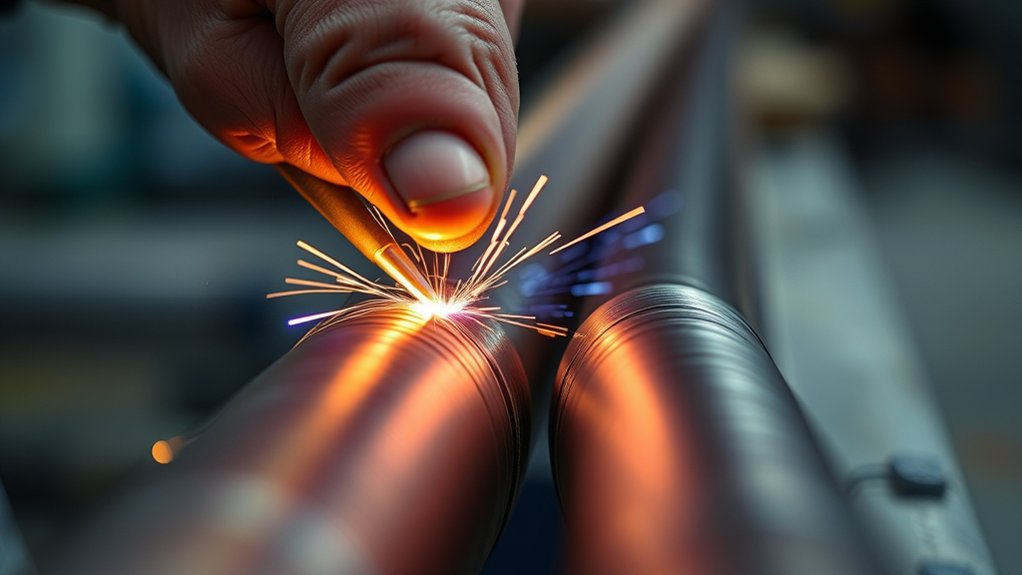
To master the Walking the Cup technique, you must visualize the movement of a heavy barrel swaying side to side. This approach emphasizes wrist movement for precision, avoiding reliance on your shoulder or elbow. Keep your wrist light to enhance control and fluidity during TIG welding, especially in vertical or overhead positions. Practicing on surfaces like a BBQ pit can build muscle memory, reducing unnecessary overthinking as you weld. Aim for consistent practice of at least 35 minutes daily with the TIG torch; this commitment will guarantee straight, uniform bead placement. Experimenting with a 10-20 degree angle for your filler rod can greatly improve both control and aesthetic appeal. By embracing these techniques, you’ll find liberation in your welding skills, transforming what once felt challenging into a seamless, skillful process. Additionally, understanding proper joint preparation is essential for achieving strong and consistent welds.
Essential Equipment for TIG Welding
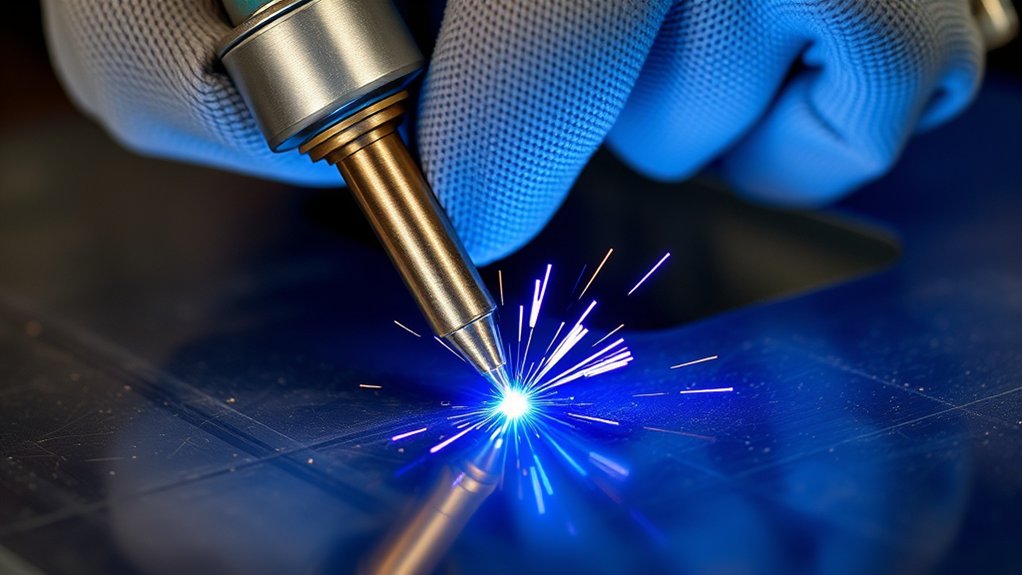
Essential equipment plays a pivotal role in achieving high-quality results in TIG welding. Start with a 2% lanthanated tungsten electrode, extending it 1/8 to 1/4 inch out of the cup for personal preference. Set your Miller XMT 304 to approximately 175 amps for effective performance. Maintaining proper argon flow is vital; calibrate it between 30-35 psi to guarantee ideal shielding during your welds.
Regularly sharpen your tungsten electrode, especially after any impact, to assure consistent bead quality and effective puddle formation. As you work, keep your filler wire centered within the puddle. This practice promotes even distribution and minimizes the risk of overlap, enhancing the integrity of your weld. By using the right equipment and techniques, you can achieve the liberation and precision you seek in your TIG welding projects. Additionally, ensure proper gas pressure is maintained to prevent issues with shielding and arc stability.
Products Worth Considering
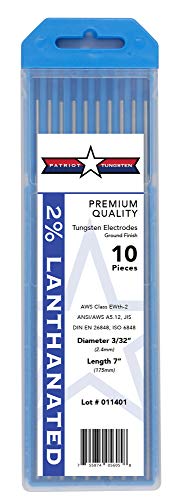
Tungsten Electrodes: 2% Lanthanated TIG welding electrodes for AC and DC applications

TOP QUALITY: This 10-pack of 2% Lanthanated tungsten electrodes 3/32"x7"(Blue, WL20/EWLa-2) adhere to Standard AWS A5.12M/A5.12:2009 and DIN EN 26848 GB/T 31908-201. All our tungsten has 100% traceability.

BLUE-2% LANTHANATED: Lanthanated electrodes are popular due to the relative ease of striking an arc and lower amperage required. They perform exceptionally well in both AC and DC applications
How to Achieve Consistent Beads in TIG Welding
Achieving consistent beads in TIG welding hinges on practice and technique. Dedicate at least 35 minutes daily to various flat surfaces; this builds muscle memory and guarantees high-quality bead consistency. Focus on filler rod positioning by keeping the rod centered in the puddle to prevent overlap. Experiment with angles between 10-20 degrees for better control and precision during the welding process.
Maintain your tungsten sharp and extend it 1/8 to 1/4 inch out for ideal puddle formation. This adjustment is essential for achieving uniform beads. Aim for a 50/50 stacking ratio of beads to create guidelines for straight, consistent welds. Selecting the correct filler rod family is crucial for ensuring strong and reliable welds in your projects.
Incorporating these bead consistency techniques and puddle control tips into your practice will empower you to produce high-quality welds with confidence. Consistency is key, so stay committed to refining these skills for liberation in your welding journey.
Products Worth Considering

ER308L TIG WELDING ROD: ER308L is a low -carbon stainless steel tig welding rod, which has excellent anti -crystal interval corrosion properties and full -location welding performance.

ER70S-6 TIG WELDING ROD: The main alloying elements of ER70S - 6 welding wire are C, Mn, Si, etc. Moderate carbon content ensures weld strength. Mn and Si, as deoxidizers and alloying elements, enhance weld's mechanical properties, crack resistance, toughness and strength

ER70S-6 is a gas shield copper coated carbon steel welding rod for fabrication of mild steel.
Essential Tips for Enhancing Control and Precision in TIG Welding
Mastering control and precision in TIG welding can elevate your skills considerably. Focus on light wrist movement rather than relying on your shoulder or elbow. Visualize moving a heavy barrel side to side to perfect the “walking the cup” technique. Keep the filler rod centered in the puddle, and don’t hesitate to experiment with angles between 10-20 degrees; this will enhance both control and precision.
Practice consistently for at least 35 minutes daily on various flat surfaces. Establish guidelines for consistent beads, aiming for a 50/50 stacking ratio for uniformity. Make sure your tungsten remains sharp, with a 1/8 to 1/4 inch protrusion for best puddle quality. Use 175 amps and a 30-35 psi argon flow for the finest results. Additionally, ensure you have proper shielding gas to maintain a clean weld pool and prevent defects while you work. Explore different welding styles, like the butterfly effect, to discover what enhances your control and aesthetic preferences while you work.
Troubleshooting Common Welding Issues in TIG
When troubleshooting common TIG welding issues, it’s crucial to recognize that even minor adjustments can greatly impact your results. Focus on key areas to enhance weld quality and prevent defects.
- Confirm proper tungsten preparation techniques; a sharp tungsten promotes arc stability and improves puddle formation.
- Check argon flow adjustments; maintaining a flow rate above 30 psi prevents contamination and porosity in your welds.
- Maintain consistent filler rod placement; misalignment can lead to overlap or undercut, compromising weld strength and appearance.
- Monitor heat settings; excessive amperage can cause burn-through, while insufficient amperage results in weak penetration and poor bead formation.
Additionally, understanding welding current is essential for achieving optimal results, as it directly influences heat generation during the welding process.
Regularly clean your work surface to eliminate contaminants like oils or rust, which can hinder the welding process. By addressing these aspects diligently, you can achieve effective weld defect identification and guarantee your TIG welding results are ideal.
TIG Welding Styles: Which One Fits You?
When it comes to TIG welding styles, each technique offers distinct advantages that cater to different skill levels and project requirements. Experimenting with the Butterfly Effect, Tight Weave, and Super Tight techniques can help you discover which method aligns with your personal welding identity. Understanding these styles not only enhances your versatility but also elevates the quality of your work. Mastering TIG welding settings can significantly improve your results and adaptability across various projects.
Exploring Welding Techniques
Exploring various TIG welding styles can greatly influence your results, as each technique offers unique advantages suited to different projects. Here are some options to evaluate:
- Butterfly Effect: Broad side-to-side motions promote personal expression while creating visually stunning welds.
- Tight Weaves: Integrated with “walking the cup,” this style enhances control and aesthetic precision through narrower movements.
- Super Tight Technique: Favored by experienced welders, it focuses on tight side-to-side motions, improving puddle control and weld quality.
- Angle Experimentation: Adjusting your filler rod angle between 10-20 degrees can considerably enhance control and precision.
Consistent practice, aiming for at least 35 minutes daily with these advanced welding techniques, will refine your unique welding style and elevate your creative welding approaches.
Finding Your Unique Style
Don’t hesitate to engage in technique experimentation; practicing across all three styles helps you build versatility and adaptability. Your journey through these styles is a process of style evolution, enabling you to refine your skills and develop your unique welding identity. Discover what feels best for you, and let your creativity shine through your welds.
Join the Welding Community for Support and Growth
Joining a welding community can greatly enhance your skills and knowledge, as it connects you with experienced welders who share valuable resources, tips, and techniques. Engaging with others not only fosters skill sharing but also opens doors to mentorship opportunities, essential for your growth in TIG Walking the Cup.
- Constructive Feedback: Participate in forums and social media groups for insights on your technique.
- Hands-On Learning: Attend local workshops to practice alongside passionate peers.
- Community Challenges: Engage in competitions that motivate you to refine your skills and explore new styles.
- Lasting Connections: Share your progress to build friendships and collaborative learning experiences. Additionally, understanding welding challenges like porosity can help you better navigate discussions within the community.
Frequently Asked Questions
How Do You Walk the Cup in TIG Welding?
To walk the cup in TIG welding, focus on wrist movement, using various cup types. Experiment with angles and practice in different welding positions to achieve consistent, precise beads while enhancing your TIG techniques.
What Size TIG Cup for Walking the Cup?
For walking the cup, use a 17 or 20 series TIG cup. This choice enhances your welding technique, ensuring ideal gas coverage. Pair it with the right electrode size for precise results and smooth operation.
Can You Walk the Cup With an Aluminum TIG?
Yes, you can walk the cup with aluminum TIG. Make sure you use the right cup size for ideal aluminum conductivity, and practice this welding technique to achieve smooth, consistent beads and effective heat control.
What Is the Rule of 33 in TIG Welding?
The Rule of 33 in TIG welding means you should travel at 33 inches per minute. Adjust your cup angle and electrode positioning to maintain consistency, enhancing bead quality and overall control in your welds.
Conclusion
In mastering the “walking the cup” technique, you’re not just welding; you’re orchestrating a symphony of heat and precision. By practicing consistently and applying the tips provided, you’ll create flawless beads that resonate like a well-tuned guitar. Remember, every welder was once a beginner, so don’t hesitate to reach out to the community for guidance and support. With dedication, you’ll elevate your skills and become a true artisan in the world of TIG welding.


