
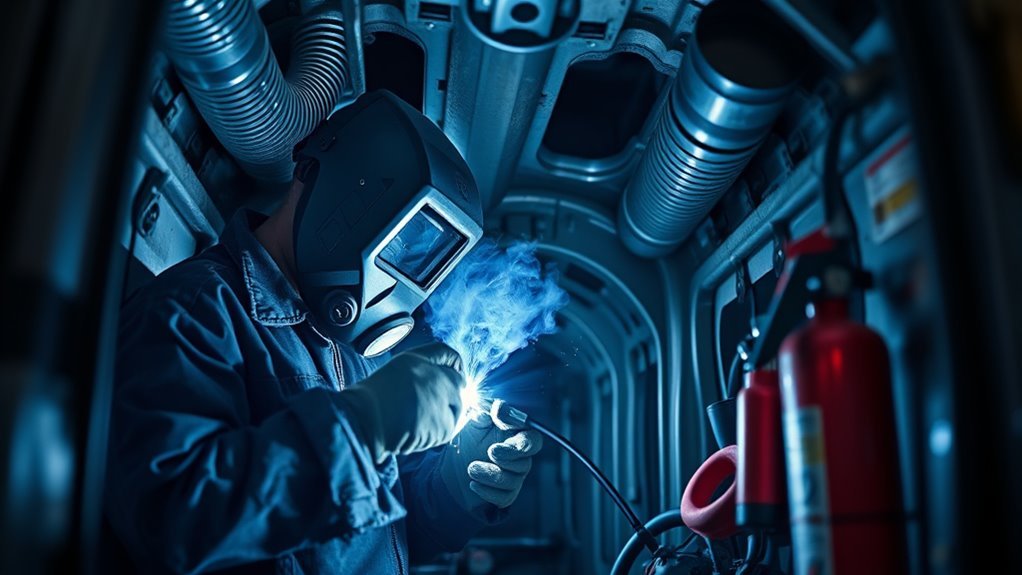
When you weld in a confined space, treat the job as high risk before you strike an arc. You need a confined-space entry permit when the space meets permit-required criteria, a hot-work authorization, calibrated atmospheric testing, clean mechanical ventilation, the right respiratory protection, fire controls, and a rescue plan. If the atmosphere is not proven safe, the weld is not safe.
Quick Answer
Before welding in a confined space, confirm the permit, test oxygen, flammables, and toxic gases with a calibrated monitor, keep oxygen between 19.5% and 23.5%, ventilate continuously with clean air, keep cylinders and welding machines outside, assign an attendant, and have rescue equipment ready.
Key Takeaways
- Do not enter until the space has been evaluated, the permit is approved, and the atmosphere is tested.
- Safe oxygen for entry is normally 19.5% to 23.5%; lower oxygen is oxygen deficient, and higher oxygen increases fire risk.
- Ventilation must use clean air. Never use oxygen for ventilation.
- A P100 filter may help with particulates, but it does not supply oxygen or protect against every gas.
- A trained attendant, communication method, and rescue plan must be ready before welding starts.
At a Glance
| Time Required | Plan for 30 to 90 minutes of setup, testing, ventilation, and permit review before welding. Larger spaces, coated metals, or poor readings may take longer. |
| Difficulty | Advanced safety task. Confined-space welding should only be done by trained workers under an approved confined-space and hot-work procedure. |
| Tools Needed | Calibrated gas monitor, mechanical ventilation, local exhaust if needed, welding PPE, NIOSH-approved respirator when required, fire extinguisher, fire-resistant covers, retrieval gear, and two-way communication. |
| Cost | Varies by site and equipment. Do not substitute guesswork for monitors, ventilation, permits, or rescue equipment. |
Warning: Do not weld in a confined space if oxygen is below 19.5%, above 23.5%, the gas monitor alarms, ventilation fails, the permit is not approved, the attendant is absent, or the rescue route is blocked.
Confined Space Welding Hazards
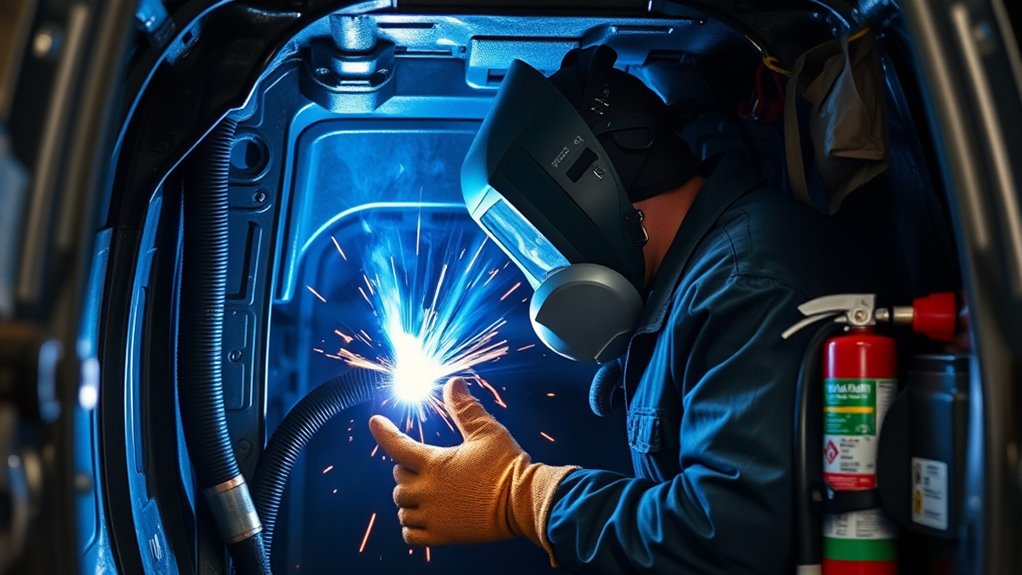
A confined space is large enough to enter, has limited or restricted entry or exit, and is not designed for continuous occupancy. Examples include tanks, enclosed vehicle compartments, pits, vessels, ductwork, and small compartments where fumes or gases can collect.
Confined-space welding hazards escalate quickly because heat, fumes, gases, and sparks cannot disperse as easily as they do in open air. Shielding gases such as argon can displace oxygen. Carbon monoxide and welding fumes can build up. Flammable vapors can ignite. Heat and slag can start hidden fires. Damp surfaces and cramped body position can also increase electrical shock risk.
You cannot judge confined-space air by smell or comfort. Test it, ventilate it, monitor it, and stop work when readings move out of the approved range.
Welding fumes can contain metals such as iron, manganese, zinc, chromium, nickel, or lead, depending on the base metal, filler, coating, and paint. NIOSH notes that confined-space welding can significantly increase exposure to manganese fumes, so air monitoring and exposure controls matter even on a short weld.
Your safety depends on disciplined controls: permit approval, atmospheric testing, ventilation, respiratory protection when needed, fire prevention, communication, and rescue planning.
Decide if the Space Requires a Permit
Before you weld, decide whether the space is a permit-required confined space. A confined space becomes permit-required when it has, or could have, a hazardous atmosphere, engulfment hazard, trapping or asphyxiation shape, or another serious safety or health hazard.
Welding can create or worsen those hazards because it adds heat, fumes, gases, sparks, electrical equipment, and possible fire. If the space is permit-required, the entry permit must identify the space, the task, the hazards, acceptable entry conditions, test results, attendants, communication methods, rescue services, PPE, and any additional hot-work permit.
Note: A hot-work permit and a confined-space entry permit are not the same thing. Many welding jobs in confined spaces need both: one for entry control and one for ignition/fire control.
Inspect the Space and Get Permit Approval
Before you enter, inspect the confined space for hazardous materials, flammable residues, coatings, trapped liquids, loose parts, energized systems, fuel vapors, sharp edges, and blocked exits. Remove or isolate anything that could affect welding safety.
You also need a written Confined Space/Hot Work permit that defines the task, acceptable atmosphere, ventilation, PPE, fire watch, rescue method, and supervisor approval. Do not start work until the permit is complete and approved.
Wear appropriate flame-resistant clothing, welding gloves, eye and face protection, and other PPE required for the exact welding process.
Hazard Check Before Entry
Start with the hazards that can kill fastest: atmosphere, fire, electricity, and exit access. Use a calibrated direct-reading gas monitor before entry and again as conditions change. Check that oxygen is between 19.5% and 23.5%, flammable gases or vapors are below the permit limit, and toxic gases are below the limits set by the entry procedure.
Follow the correct atmospheric testing order:
- Oxygen first: confirm the space is not oxygen deficient or oxygen enriched.
- Flammables second: check combustible gases and vapors, often controlled below 10% of the lower flammable limit.
- Toxic gases third: check carbon monoxide, hydrogen sulfide, solvent vapors, or other expected contaminants.
Then check for hot-work hazards. Move combustibles at least 35 feet from the weld zone where practical. If they cannot be moved, protect them with fire-resistant shields, blankets, or guards. Close or shield openings that could let sparks travel to hidden material.
Confined Space Permit
The permit should show who is entering, who is the attendant, who is the entry supervisor, what hazards are present, what controls are required, and how rescue will be handled. It should also show the initial and periodic gas test results, including the time of each reading and the person who took it.
Before the permit is signed, confirm these items:
- The space is isolated from fuel, electrical, hydraulic, pneumatic, or stored-energy sources.
- Ventilation is installed and tested before entry.
- Lighting, cords, leads, hoses, and tools are routed so they do not block exit.
- The attendant can maintain contact with the welder.
- Rescue equipment is staged outside the opening.
- Fire protection and extinguishing equipment are ready.
If you are working on a vehicle, also consider fuel lines, fuel tanks, batteries, airbags, interior trim, sound-deadening material, adhesives, and coatings. Follow the vehicle maker’s repair procedure when the work involves structural parts, hybrid or EV components, or safety systems.
Atmospheric Testing Steps
With the permit in hand, verify the workspace by conducting atmospheric testing before entry. Do not assume air is safe because the space looks clean or the job seems short.
- Calibrate or bump-test the gas monitor according to the employer’s procedure and the monitor maker’s instructions.
- Test from outside the space before opening or entering when possible.
- Test oxygen, then flammables, then toxic gases.
- Start mechanical ventilation and retest before entry.
- Record readings on the permit.
- Continue monitoring during welding and after pauses, especially if ventilation changes or the work shifts deeper into the space.
If readings change, stop work, exit, improve ventilation, and retest before anyone re-enters.
Set Up Ventilation and Monitor Air
Set up mechanical ventilation to move clean air into the space and contaminated air out. Use local exhaust or spot extraction close to the weld whenever possible, because source capture removes fumes before they cross your breathing zone.
OSHA’s general welding ventilation rule calls for mechanical ventilation in confined spaces and, where that general mechanical ventilation approach applies, a minimum rate of 2,000 cubic feet per minute per welder. Local exhaust hoods use a different target: enough airflow to maintain capture velocity in the welding zone. Do not mix up cubic feet per minute with linear feet per minute.
It is also crucial to assess workplace safety with air monitoring and ventilation checks before the arc starts.
Products Worth Considering

Powerful & Energy-Efficient: Equipped with a high-performance 585W AC motor, it delivers outstanding ventilation performance, achieving an airflow volume of 3198CFM. Quickly and thoroughly eliminate smoke, odors, and hot air.

Fume-Free Workspace in Minutes: The KQZ B1 Fume Extractor equips a high-efficiency centrifugal motor with 168 m³/h airflow. Strong instant suction captures fumes and fine particles. H13 HEPA filter with coal-based activated carbon delivers full purification for a safer working environment
Powerful & Energy-Efficient: Equipped with a high-performance 585W AC motor, it delivers outstanding ventilation performance, achieving an airflow volume of 3198CFM. Quickly and thoroughly eliminate smoke, odors, and hot air.
Mechanical Ventilation Setup
To control fume buildup, position supply and exhaust so air moves through the area where the welder is working. Do not short-circuit the airflow by putting the blower and exhaust too close together.
- Place the fresh-air supply so it reaches the welder’s work area.
- Place the exhaust so it pulls contaminated air away from the breathing zone.
- Put the fume extractor or hood as close to the weld as practical without interfering with the arc.
- Keep ventilation running until all workers leave the space.
- Use only clean, respirable replacement air.
Never use oxygen for ventilation. Oxygen enrichment makes clothing, dust, grease, and other materials ignite more easily and burn more intensely.
Pro Tip: Put the exhaust pickup close to the weld and keep your head out of the fume path. A strong fan behind you is not enough if it pushes fumes across your face.
Continuous Air Monitoring
Once ventilation is running, keep checking the air. Welding can change the atmosphere as coatings heat, shielding gas flows, metal fumes build, or airflow gets blocked.
| Reading or Condition | Action |
|---|---|
| Oxygen below 19.5% or above 23.5% | Stop work, exit, ventilate, and retest before re-entry. |
| Flammable gas or vapor rises toward the permit limit | Stop hot work, remove ignition sources, ventilate, and find the source. |
| Toxic gas or fume trend increases | Improve source capture, reassess respiratory protection, and retest. |
| Ventilation stops or hose/ducting shifts | Stop welding until airflow is restored and readings are acceptable. |
Do not rely on smell, eye irritation, or comfort as your warning system. Gas monitors and written limits are the control points.
Choose the Right Respirator
Choosing the right respirator matters because confined-space welding can expose you to metal fumes, gases, and oxygen hazards. Respirators must be selected through a respiratory protection program, not by guesswork.
A NIOSH-approved respirator with P100 filters may be suitable for known particulate welding fumes only when the atmosphere has safe oxygen, contaminants are identified, and exposure assessment shows that an air-purifying respirator is appropriate. P100 filters do not supply oxygen and do not remove every gas or vapor.
Use this safer decision path:
- Known particulates, safe oxygen, no IDLH condition: use the respirator type approved by the respiratory protection program, such as a properly fitted P100 setup when appropriate.
- Gases or vapors present: use cartridges or supplied-air protection selected for those specific contaminants, service life, and exposure levels.
- Oxygen deficiency, unknown atmosphere, or IDLH risk: use a full-facepiece pressure-demand SCBA or a supplied-air respirator with auxiliary self-contained air supply when required by the rescue and entry procedure.
- Tight-fitting respirator: complete medical evaluation and fit testing as required before use, with annual or change-based retesting.
Respiratory protection is the backup after engineering and work-practice controls. Keep ventilation, source capture, and air monitoring in place even when a respirator is worn.
Products Worth Considering

NIOSH approved against certain organic vapors, chlorine, hydrogen chloride, sulfur dioxide, hydrogen sulfide, hydrogen fluoride, and non-oil and oil particulates

Small, lightweight P100 HESPA replaceable filter

FOR WORKPLACE/OCCUPATIONAL USE ONLY
Keep Cylinders and Power Sources Outside
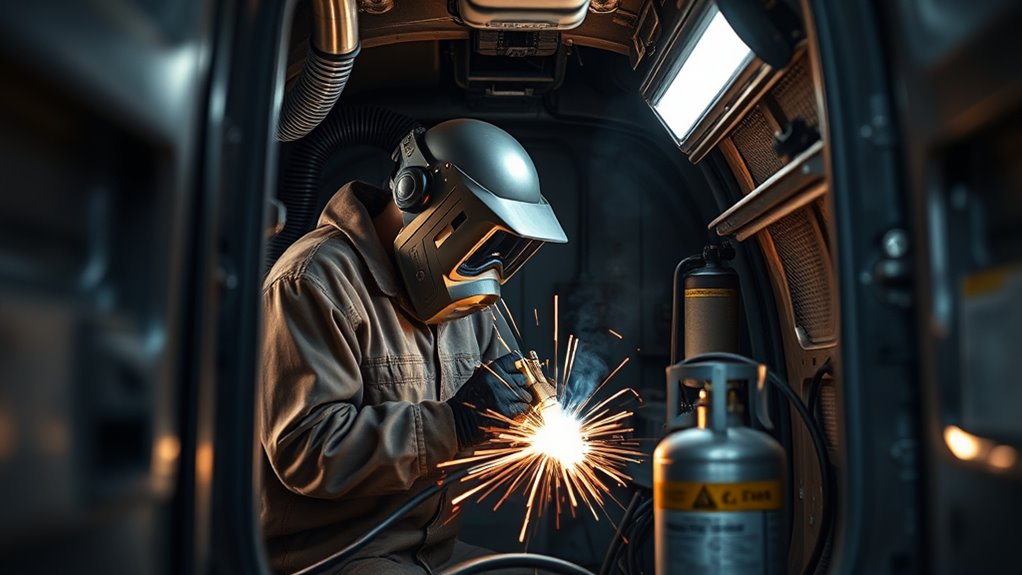
Keep compressed gas cylinders and welding power sources outside the confined space. OSHA’s welding rules require gas cylinders and welding machines to remain outside when welding or cutting is performed in confined spaces.
Place cylinders upright, secure them from tipping, keep them away from ignition sources, and protect valves from impact. Keep shutoff controls accessible from outside the opening so the attendant or supervisor can cut gas or power quickly if conditions change.
Route hoses, leads, and cords through the entry point without blocking exit. Protect them from sharp edges, slag, hot metal, tires, lift arms, and pinch points. If gas welding or cutting stops for a substantial period, close torch valves and shut off the fuel-gas and oxygen supply outside the confined area. Where practical, remove the torch and hose from the space during long pauses.
Keep power sources outside to preserve workspace, reduce shock risk, and keep confined-space hazards from compounding.
Ensuring proper ventilation in confined spaces is also crucial because equipment placement alone does not control fumes or oxygen hazards.
Prevent Fires, Falls, and Electrical Hazards
When you weld in a confined space, control fire, fall, and electrical risks before work starts. Remove combustibles within 35 feet where practical. If you cannot move them, cover or shield them with fire-resistant protection. Check the opposite side of metal panels, walls, floors, or vehicle compartments because heat can ignite hidden insulation, trim, seam sealer, or sound-deadening material.
Keep suitable fire extinguishing equipment ready for instant use. Assign a fire watch when sparks, heat, openings, nearby combustibles, or hidden spaces could allow a fire to develop. Where fire watch is required, maintain it for at least 30 minutes after welding or cutting to catch smoldering material.
- Check the weld area, backside, floor, and lower levels for combustibles.
- Protect openings that could let sparks travel.
- Guard edges, pits, and openings to prevent falls.
- Inspect leads, electrode holders, stingers, clamps, and insulation before use.
- Keep damp floors, wet clothing, and damaged electrical equipment out of the job.
- Assign a trained standby attendant outside the space.
You should also identify dust, grinding residue, coatings, and metal particles before welding. Effective dust control measures help reduce respiratory and fire risk when welding follows grinding or cutting.
Plan Rescue Procedures Before Welding
With fire, fall, and electrical controls in place, you still need a clear rescue plan before welding starts in a confined space. Do not rely on an improvised rescue. A second worker who is not trained, equipped, and assigned for rescue can become another victim.
Keep a trained standby attendant outside the opening at all times. The attendant watches the welder, tracks conditions, maintains communication, and starts the rescue procedure if something goes wrong. The attendant should not enter the space unless the rescue plan allows entry rescue and the attendant is replaced and properly equipped.
Stage harnesses, retrieval lines, a tripod or approved anchorage when needed, and other rescue gear where workers can reach them immediately. Check that the retrieval path is not blocked by leads, hoses, vehicle parts, or tools. Use two-way radios, voice, visual signals, or signal lines so the welder and attendant can communicate without delay.
Regularly inspect safety equipment so it works under pressure. Practice the rescue procedure before the job, especially when the entry opening is small or the welder must work in a tight body position.
Stop-Work Triggers During Confined Space Welding
Stop welding and exit the space immediately when any permit condition fails. A short pause to correct the problem is safer than trying to finish one more bead.
- Oxygen drops below 19.5% or rises above 23.5%.
- The gas monitor alarms or readings trend toward the permit limit.
- Ventilation stops, ducting moves, or airflow no longer reaches the weld area.
- The attendant loses communication with the welder.
- Smoke, heat, sparks, or odor suggest hidden material is burning.
- Fuel, solvent, or coating vapors are detected.
- A lead, hose, torch, regulator, or electrode holder is damaged.
- The rescue path, ladder, hatch, or opening becomes blocked.
- The job changes from the work described on the permit.
Special Vehicle and Coated-Metal Risks
Auto welding adds hazards that general shop welding may not have. Vehicle compartments can contain fuel vapors, seam sealer, adhesives, foam, plastic trim, carpet, sound insulation, undercoating, wiring, airbags, batteries, and brake or cleaning chemical residue. Remove or shield these materials before welding.
Coated metals need extra caution. Galvanized steel can release zinc oxide fumes. Stainless steel can produce chromium and nickel fumes. Old paint, primer, or plating may contain lead, cadmium, or other hazardous metals. Chlorinated brake cleaners and solvent vapors should be kept away from welding because heat and ultraviolet radiation can break some chemicals into highly toxic decomposition products.
Clean the weld area mechanically where possible, verify that cleaning products are fully removed, ventilate the space, and reassess respiratory protection if coatings cannot be completely removed.
Before, During, and After Checklist
Before Welding
- Classify the space and confirm whether a permit-required confined space program applies.
- Complete the confined-space entry permit and hot-work permit.
- Identify coatings, fuel sources, electrical systems, and hidden combustibles.
- Isolate energy sources and remove or shield fire hazards.
- Test oxygen, flammables, and toxic gases with a calibrated monitor.
- Set up clean mechanical ventilation and local exhaust if needed.
- Place cylinders and welding machines outside the space.
- Stage communication, fire watch, extinguisher, rescue gear, and attendant.
During Welding
- Keep ventilation running continuously.
- Monitor the atmosphere as required by the permit.
- Keep hoses, cords, and leads out of the exit path.
- Keep the attendant in contact with the welder.
- Watch the backside and lower areas for heat transfer or smoldering.
- Stop work if readings, airflow, communication, or permit conditions change.
After Welding
- Shut off gas and power from outside the space.
- Remove electrode holders, torches, and hoses when practical.
- Mark or guard hot metal so other workers are not burned.
- Maintain fire watch for at least 30 minutes where required.
- Retest air if anyone must re-enter for cleanup or inspection.
- Close the permit only after the supervisor confirms the job and fire watch are complete.
Frequently Asked Questions
How often should confined space air be tested during welding?
Test before entry, after ventilation starts, during welding as required by the permit, after any pause, and whenever conditions change. Continuous monitoring is best when welding can quickly change oxygen, flammable vapor, or toxic gas levels.
What clothing is safest for welding inside tight vehicle spaces?
Wear snug flame-resistant clothing, welding gloves, safety glasses under the hood, proper welding helmet, and leather boots. Avoid synthetic clothing that can melt. Remove oily clothing and keep pockets, cuffs, and sleeves from catching sparks.
Can an auto tech weld alone in a confined space?
No. Confined-space welding needs an attendant outside the space, reliable communication, rescue planning, fire controls, and atmospheric monitoring. A welder inside a confined space may not be able to self-rescue if oxygen drops, fumes rise, or a fire starts.
How do you communicate with a welder inside a confined space?
Use two-way radios, voice contact, visual signals, or a signal line that the welder and attendant both understand before entry. The attendant should verify responses regularly and stop the job if communication is lost.
What training is required before welding in confined spaces?
Workers need training for confined-space hazards, permit procedures, atmospheric testing, ventilation, hot-work fire prevention, PPE, respirator use when required, communication, rescue coordination, and stop-work conditions. Attendants and entry supervisors need role-specific training.
Can a P100 respirator make confined space welding safe?
No. A P100 filter can help with certain welding particulates, but it does not add oxygen and does not protect against every gas or vapor. Oxygen-deficient, unknown, or IDLH atmospheres require atmosphere-supplying protection and a full entry procedure.
What oxygen level is safe for confined space welding?
For normal entry decisions, keep oxygen between 19.5% and 23.5%. Below 19.5% is oxygen deficient, and above 23.5% is oxygen enriched and increases fire risk. Stop work and exit if readings move outside the approved range.
Conclusion
Before you strike an arc in a confined space, slow down and verify the permit, atmosphere, ventilation, fire controls, PPE, attendant, communication method, and rescue plan. Keep oxygen between 19.5% and 23.5%, never use oxygen for ventilation, and keep cylinders and welding machines outside the space. If the air is not safe, the weld is not safe. Your discipline protects you, your team, and the vehicle.
Sources
- OSHA 1910.146, Permit-required confined spaces — confined-space definitions, oxygen thresholds, entry permits, atmospheric testing, attendants, communication, and rescue planning.
- OSHA 1910.252, Welding, cutting, and brazing general requirements — confined-space welding ventilation, fire watch, combustible control, cylinders outside, and oxygen not used for ventilation.
- OSHA 1910.134, Respiratory protection — respirator selection, IDLH atmospheres, oxygen deficiency, medical evaluation, and fit testing.
- NIOSH Welding Fumes and Manganese — welding fume health risks and increased manganese fume exposure risk in confined-space welding.
- CDC/NIOSH Personal Protective Equipment — NIOSH respirator approval and PPE resources.




