
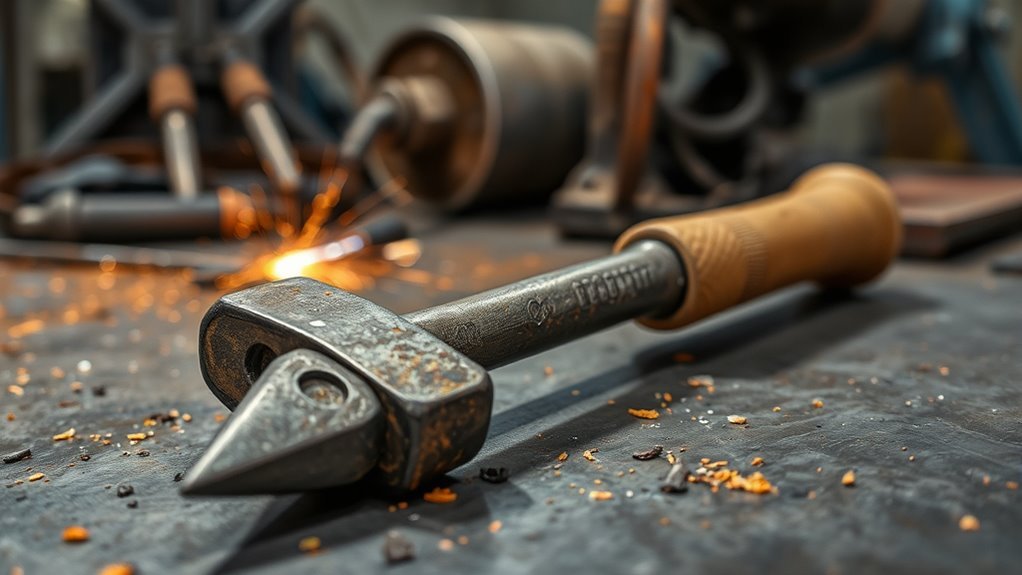
A welding chipping hammer removes slag, stubborn spatter, and loose residue so you can see and clean the weld surface. It is most useful after stick welding and other slag-producing processes. Used with light, controlled strikes, a wire brush, and proper eye protection, it helps prepare a weld for inspection, another pass, grinding, or coating.
Quick Answer
A welding chipping hammer breaks and lifts slag from a finished weld or from each layer of a multi-pass weld. The flat end handles broad deposits, while the pointed end reaches narrow areas. Use controlled taps, then brush the surface clean so visible defects and trapped residue are easier to find.
Key Takeaways
- Chipping hammers are mainly used on slag-producing welds, including stick welds and many flux-cored welds.
- Remove slag between weld passes so it is not trapped beneath the next layer.
- Start at a loose edge and use short, controlled taps instead of driving the tool into the weld face.
- Wear safety glasses or goggles with side protection; add a face shield over them when flying debris is severe.
- A clean surface supports visual inspection, but it does not prove that a critical weld is internally sound.
- Replace a hammer with a loose handle, cracks, severe mushrooming, or other damage that could release fragments.
At a Glance
| Time Required | Usually a few minutes for a short bead; longer for large or multi-pass welds |
| Difficulty | Beginner-friendly, but safe striking control matters |
| Tools Needed | Chipping hammer, suitable wire brush, safety glasses or goggles, gloves, work clothing, and hearing protection when noise exposure requires it |
| Cost | Low for a manual hammer; higher for pneumatic equipment and the required air system |
What Is a Chipping Hammer and Its Role in Welding?
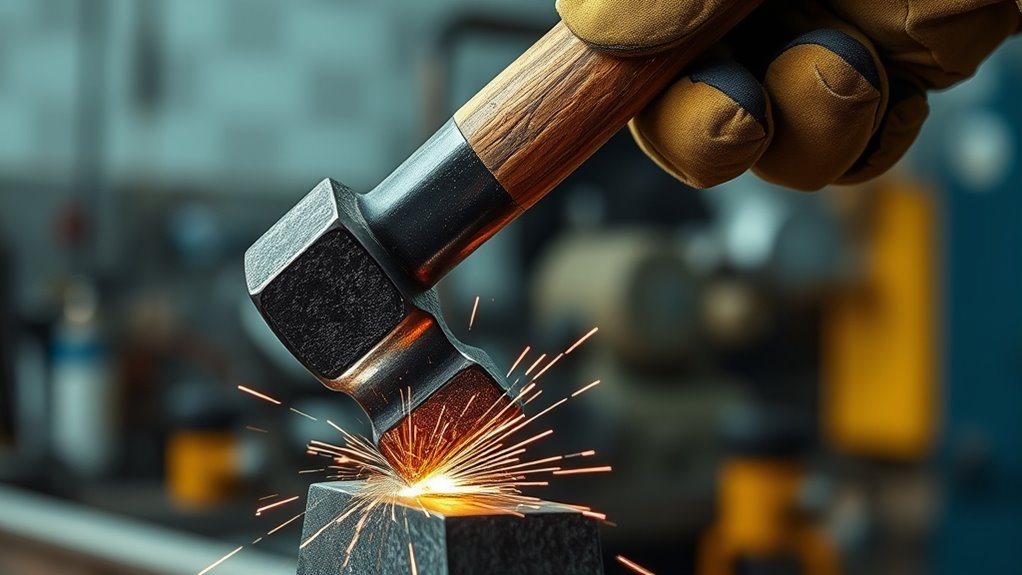
A chipping hammer is an impact hand tool used to break and lift hardened slag from a weld. A common design has a flat chisel on one end and a pointed or cone-shaped tip on the other. The flat end works across wider areas, while the point reaches bead edges, grooves, corners, and other narrow spaces.
The tool is most useful after shielded metal arc welding, commonly called stick or SMAW, and after flux-cored welding wires that leave a slag covering. ESAB explains that stick-welding slag should be chipped and brushed away between passes to avoid trapping it beneath later weld metal. See ESAB’s MMA/stick welding guidance.
Ordinary solid-wire MIG and TIG welding do not create the same removable flux-slag layer. They may still leave spatter, oxidation, soot, or contamination that needs brushing or another suitable cleaning method. This distinction matters because a chipping hammer should not be used automatically on every weld.
Proper slag removal exposes the weld face and toes so you can check the visible bead profile and surface condition. It also prepares the surface for another pass, grinding, painting, or coating. Wearing suitable flame-resistant welding clothing helps protect your skin from sharp or hot particles released during cleanup.
Think of the hammer as a cleaning and preparation tool rather than a way to reshape a bad weld. Heavy blows do not correct poor fusion, undercut, porosity, or an incorrect bead profile.
Warning: Slag can break into sharp, fast-moving pieces. Wear safety glasses or goggles with side protection. When debris is severe, wear a face shield over the primary eye protection—not instead of it. Keep other people out of the chip path.
Slag vs. Spatter, Scale, and Soot
These residues are often grouped together, but they are not the same:
| Residue | What It Is | Typical Cleaning Method |
|---|---|---|
| Slag | A hardened flux residue covering a slag-producing weld | Chipping hammer followed by a suitable wire brush |
| Spatter | Small droplets of metal that solidify around the weld | Light chipping, scraping, brushing, or careful grinding |
| Mill scale or rust scale | Oxide layers on the base metal rather than flux residue | Wire wheel, abrasive tool, blasting, or another approved preparation method |
| Soot or oxide film | Light surface residue from shielding, heat, or contamination | A process-appropriate brush, solvent, or cleaning procedure |
A chipping hammer is best for brittle, raised deposits that can be lifted without driving the tool into the base metal. It is not the best tool for removing a broad coating, heavy mill scale, or embedded contamination.
Using a Chipping Hammer Effectively
Good slag removal begins before the first strike. Let the weld and slag become stable enough to clean under your welding procedure or shop practice, but continue to treat the area as hot. Do not touch the weld to test its temperature. Keep combustible materials, hoses, cords, cylinders, glass, and finished surfaces away from the direction of flying chips.
Before You Start
- Check the work area: Remove tripping hazards and shield nearby workers or equipment from flying debris.
- Inspect the hammer: Do not use it if the handle is loose, cracked, split, or separating from the head. Check the striking ends for cracks, severe mushrooming, or loose fragments.
- Put on PPE: Wear primary eye protection with side protection, gloves, long sleeves, work pants, and sturdy footwear.
- Confirm the surface is safe to approach: Treat the weld, workpiece, and slag as hot even when they are no longer glowing.
- Select the right brush: Avoid contaminating stainless steel or aluminum with a brush previously used on carbon steel.
OSHA requires impact tools such as chisels to be kept free of mushroomed heads and requires wooden tool handles to remain tight and free of cracks. Review OSHA’s hand-tool requirements.
Step-by-Step Slag Removal
- Find a loose edge. Look near the end of the bead or along a side where the slag has started to lift.
- Start with the flat end. Hold it at an angle that encourages the slag to lift away rather than driving the edge into the weld face.
- Use short taps. Let the hammer’s edge do the work. Avoid full-force swings.
- Work along the bead. Move in small sections so you can see where slag remains along the weld toes.
- Use the pointed end only where needed. Reach narrow grooves or stubborn pockets without striking deeply into the weld.
- Brush the surface. Remove loose particles with a suitable wire brush.
- Inspect the visible weld. Check for surface cracks, undercut, overlap, pinholes, trapped residue, poor tie-in, and unusual bead shape.
- Clean again before another pass. Do not deposit the next layer over remaining slag or loose particles.
Good base-metal preparation and flux-core technique can reduce contamination and make post-weld cleanup more predictable.
Proper Grip Technique
Hold the hammer firmly enough that it cannot twist or leave your hand, but do not squeeze so hard that your wrist and forearm tire quickly. Keep a balanced stance and avoid reaching across the workpiece. Your wrist should guide a compact tapping motion rather than a wide swing.
Do not treat one striking angle as correct for every weld. Joint shape, bead position, slag thickness, and hammer design all affect the best approach. The safe goal is to lift slag from an exposed edge while keeping the point or chisel from digging into the weld or base metal.
Work in small sections, then brush the area. This makes remaining slag easier to see and keeps loose chips from hiding along the weld toes.
Effective Striking Methods
Start by identifying the deposit. For a broad slag layer, use the flat chisel end to lift or crack the edge. Use the pointed end for corners, narrow joints, and small stubborn areas. If the slag does not release, change the direction or approach angle before increasing force.
Keep your face and body out of the expected chip path. Never chip toward another person. If repeated hard blows are required, stop and check whether the problem is actually slag, fused spatter, scale, poor weld geometry, or a welding-parameter issue.
| Method | How to Use It | Main Purpose |
|---|---|---|
| Short taps | Use compact, controlled strikes | Limit dents and tool marks |
| Flat chisel end | Approach a raised edge and lift across a wider area | Remove broad or layered slag |
| Pointed end | Use carefully in grooves and narrow spaces | Reach small pockets the flat end cannot access |
| Wire brushing | Brush after the brittle layer has been broken away | Remove dust and reveal the cleaned surface |
Pro Tip: Begin at the edge of the slag and work beneath it. Lifting a brittle layer usually requires less force than striking straight down into its center.
Why Is Slag Removal Crucial for Weld Quality?
Slag removal matters because residue can hide the visible weld surface and can become trapped beneath another pass. A properly cleaned bead gives the next layer a clear surface and lets you inspect the weld face, toes, starts, stops, and tie-in areas.
Impact on Weld Integrity
If slag remains between weld passes, the next bead may trap nonmetallic material in the joint. These slag inclusions can reduce the usable weld area and may cause the weld to fail an applicable acceptance standard. The risk is one reason slag-producing processes require careful interpass cleaning.
Cleaning alone does not make a weld sound. Amperage, arc length, electrode manipulation, travel speed, joint preparation, consumable condition, and base-metal cleanliness still control the weld itself. The chipping hammer only reveals and prepares the surface after deposition.
A clean weld also looks more professional, but appearance is secondary to making the surface available for proper examination and the next production step.
Visual Inspection Readiness
Slag can conceal surface cracks, pinholes, overlap, undercut, arc strikes, and other visible conditions. Removing it lets you examine the accessible surface more clearly.
Visual inspection has limits. It cannot prove that a weld is free of internal lack of fusion, buried inclusions, internal porosity, or subsurface cracking. Structural, pressure, vehicle, lifting, or other safety-critical work should be evaluated under the applicable drawing, welding procedure, code, manufacturer instruction, and inspection requirement.
If a cleaned weld shows a crack or another rejectable condition, do not cover it with another pass. Follow the approved repair procedure or obtain qualified inspection guidance.
Interpass Cleaning
On a multi-pass weld, clean each completed layer before adding the next one. Pay close attention to:
- The toes on both sides of the bead
- Starts, stops, and restarts
- Root-pass grooves and narrow joint areas
- Transitions between adjacent beads
- Any pocket where slag could be trapped by the next pass
Use a wire brush after chipping so loose particles are not left behind. Where a qualified welding procedure specifies a particular cleaning method, that requirement takes priority over general advice.
A chipping hammer does not improve the weld metal that is already there; it exposes the surface so you can clean, inspect, and prepare it correctly.
How Spatter Removal Enhances Weld Quality
Spatter consists of small metal droplets that solidify around a weld. Light spatter may be mainly cosmetic, while heavy or badly placed spatter can interfere with fit-up, threaded parts, sealing surfaces, coatings, inspection, or final assembly.
A pointed chipping-hammer end can remove isolated, brittle deposits. The flat end may help with a wider group of raised particles. Use only enough force to release the spatter without denting the base metal or cutting into the bead.
Some spatter is too firmly fused for safe hammer removal. In that case, use an approved scraper, wire wheel, abrasive method, or finishing process that suits the material and surface requirements. Follow suitable grinding and spark-control precautions when a powered abrasive tool is required.
Post-weld cleanup does not correct process defects. For example, worm tracks in flux-core welding are linked to the welding process and gas escape, not to a failure to chip the finished bead. Correct the cause rather than relying on cleanup to hide it.
What Makes a Chipping Hammer Stand Out?
A chipping hammer is useful because it combines two working ends in a compact tool. The flat chisel covers wider slag deposits, while the point reaches places that a broad scraper or brush cannot easily enter.
Many models use hardened steel and either a solid, rubber-covered, wood, fiberglass, or spring-style handle. A comfortable grip can reduce shock and improve control, but no handle eliminates the need for good technique or rest during repetitive work.
The best chipping hammer is not the one that hits hardest. It is the one you can control while reaching the slag without marking the weld.
Because the tool is small and inexpensive compared with powered cleanup equipment, it is practical for home shops, field repairs, fabrication benches, welding booths, and mobile work. It also operates without electricity or compressed air.
Types of Chipping Hammers and Their Uses
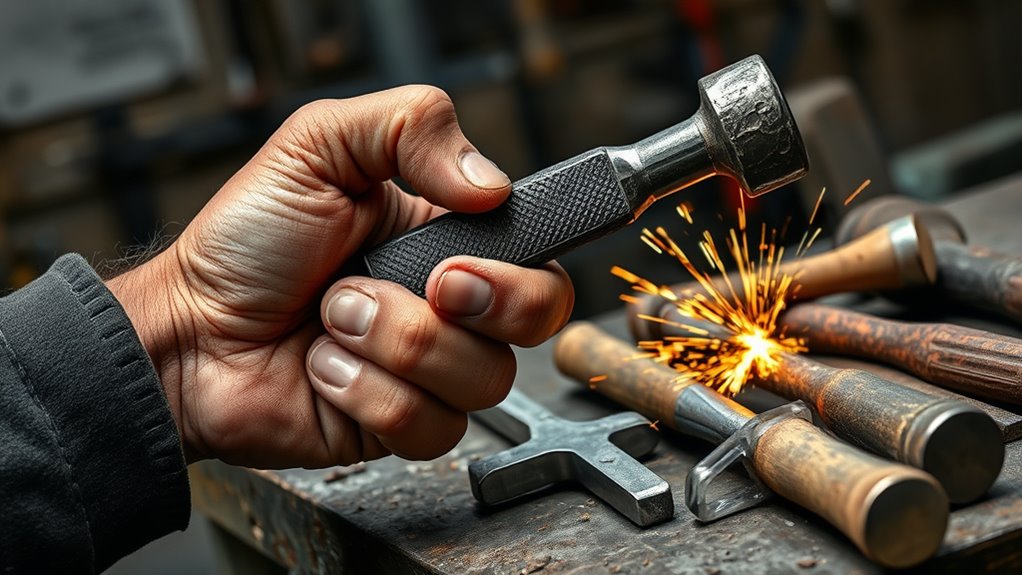
Chipping tools are easier to compare when head design, handle design, and power source are treated as separate features.
| Design | Category | Best Use |
|---|---|---|
| Flat chisel and point | Manual head design | General stick and flux-core cleanup |
| Cross-peen or narrow chisel | Manual head design | Grooves, corners, and narrow bead edges |
| Spring handle | Manual handle design | Frequent use where reduced transmitted shock and an open grip are preferred |
| Solid or cushioned handle | Manual handle design | General work where a traditional handle shape provides good control |
| Pneumatic chipping hammer | Powered tool | Heavy deposits and repetitive industrial cleanup |
| Needle scaler | Powered alternative | Irregular surfaces, scale, and widespread brittle deposits |
A basic dual-ended hand hammer is normally enough for occasional stick welding, farm repairs, and light fabrication. A spring handle may feel more comfortable during repeated use. Powered tools are better reserved for workloads that justify their added noise, vibration, air-line, maintenance, and training requirements.
Alternatives to a Chipping Hammer
No single cleanup tool is best for every deposit:
- Hand wire brush: Removes dust and light loose residue but may not break a thick slag layer.
- Powered wire wheel: Cleans larger areas quickly but can throw wires and sparks and may smear or contaminate some materials.
- Needle scaler: Reaches irregular surfaces and spreads impact across several needles, but adds noise and vibration.
- Pneumatic chisel: Removes heavy deposits quickly but can gouge the weld or base metal if poorly controlled.
- Scraper: Useful for lifted slag and some spatter without repeated hammering.
- Abrasive grinding: Removes fused deposits and reshapes surfaces, but should not be used to hide unacceptable weld conditions.
Choose the least aggressive method that will clean the surface to the required condition. Some welding tests, procedures, materials, and finished surfaces restrict the use of powered wire wheels or grinders, so follow the governing requirements.
Safety Tips for Using a Chipping Hammer
The main hazards are flying fragments, sharp residue, hot metal, impact injuries, noise, dust, and damage from a poorly maintained tool. OSHA identifies slag chips and grinding fragments as eye hazards and recommends appropriate side protection. Read OSHA’s welding eye-protection fact sheet.
Proper Protective Equipment
- Safety glasses or goggles: Use impact-rated primary eye protection with suitable side protection.
- Face shield: Add one over glasses or goggles when chips may strike the face. Do not use it as the only eye protection.
- Gloves: Wear work gloves suitable for sharp and potentially hot particles.
- Clothing: Cover exposed skin with durable work clothing appropriate for the hot-work area.
- Footwear: Wear sturdy, closed footwear that protects against dropped tools and hot debris.
- Hearing protection: Use protection selected for the measured or expected noise exposure, especially with powered chipping equipment or reflective enclosed spaces.
Inspect PPE before use. Scratched lenses, damaged side shields, loose face-shield hardware, and worn gloves reduce protection.
Safe Handling Techniques
- Strike away from your body: Direct chips away from your face, free hand, legs, and torso.
- Control the workpiece: Secure small parts so they cannot move when struck.
- Protect nearby people: Use screens or establish enough distance to keep others out of the chip path.
- Keep the area clear: Do not chip toward glass, electrical cords, hoses, compressed-gas equipment, open containers, or flammable materials.
- Use compact motions: Avoid uncontrolled overhead or side swings.
- Stop when control is lost: Reposition the work instead of reaching, twisting, or striking from an unstable stance.
- Do not use the tool for unintended work: A welding chipping hammer is not a pry bar, alignment tool, or general demolition hammer.
Ventilation and Coated Metal
Chipping may disturb dust, coating residue, corrosion, and material left by the welding process. Welding fumes and gases can also remain in the work area. OSHA requires adequate ventilation where welding fumes and gases may be hazardous. Review OSHA’s welding, cutting, and brazing requirements.
Use extra caution on painted, plated, galvanized, stainless, or contaminated metal. Identify the coating and base material before welding or mechanical cleanup. Do not assume ordinary room airflow is enough. The correct control may include source capture, local exhaust, isolation, respiratory protection under a proper program, or removal of the coating by an approved method. See this guide to removing zinc coating before welding.
NIOSH reports that welding exposures may involve manganese and other metals with neurological and respiratory health effects. Read NIOSH guidance on welding fumes and manganese.
Note: A chipping hammer cannot compensate for incorrect amperage, arc length, travel speed, electrode angle, joint preparation, or contaminated metal. Repeated cleanup problems are often a signal to check the welding process itself.
Maintaining Your Chipping Hammer for Longevity
A clean, tight, undamaged hammer is easier to control. Inspect it before each use and remove it from service when damage could release the head, handle material, or metal fragments.
| Action | When to Do It | What to Check |
|---|---|---|
| Clean | After use | Slag dust, moisture, oil, and metal particles |
| Inspect | Before use | Loose head, cracks, splits, deformation, corrosion, and damaged grip surfaces |
| Dress the working ends | Only when permitted and needed | Follow the manufacturer’s instructions and avoid overheating or creating a fragile needle-sharp edge |
| Store | After cleaning | Dry location away from standing water, corrosive chemicals, and damage from other tools |
Do not continue using a hammer with a loose head, cracked handle, cracked working end, or severe mushrooming. Grinding a damaged striking surface is not always a safe repair because excessive heat or poor shaping can alter the tool. Replace the tool when a safe repair is not specifically supported by its manufacturer or your workplace procedure.
A toolbox, rack, or drawer protects the points from accidental impacts and keeps the tool dry. Good welding-equipment inspection and cleaning habits also make it easier to spot problems before work begins.
When to Upgrade Your Chipping Hammer to Air for Efficiency
A pneumatic chipping hammer may be useful when manual cleanup takes too long on large weldments, castings, heavy scale, or repetitive production work. It delivers rapid impacts and may reduce repeated manual swinging, but it introduces different hazards.
Upgrade to a powered chipping tool because the workload requires it—not because more impact force is automatically better for the weld.
| Factor | Manual Hammer | Pneumatic Tool |
|---|---|---|
| Workload | Occasional or moderate cleanup | Frequent, heavy, or repetitive cleanup |
| Control | Easy to vary one strike at a time | Rapid impacts can remove material quickly but may cause gouging |
| Noise and vibration | Usually lower exposure | Potentially significant exposure requiring assessment and controls |
| Supporting equipment | None | Compressor, regulator, suitable hose, fittings, lubrication where specified, and retainers |
Before using a pneumatic impact tool:
- Follow the tool manufacturer’s operating-pressure and accessory instructions.
- Secure the tool to the hose by a positive means that prevents accidental disconnection.
- Install and maintain the required safety clip or retainer so the attachment cannot be expelled.
- Disconnect and depressurize the tool before changing bits, clearing a jam, inspecting it, or servicing it.
- Keep the hose away from heat, sharp edges, oil, traffic, and the chip path.
- Wear primary eye protection and add face protection as needed.
- Assess noise and use suitable hearing protection.
- Limit vibration exposure through low-vibration tools, maintenance, work rotation, breaks, and other appropriate controls.
OSHA addresses positive hose securement and attachment retainers for pneumatic impact tools. See OSHA’s power-operated hand-tool requirements. NIOSH has also documented hand-arm vibration concerns involving pneumatic chipping hammers and recommends reducing vibration exposure through tool design and work controls. See the NIOSH vibration guidance.
For small home projects and occasional repairs, a hand hammer is usually simpler. Production welding, ship repair, foundry cleanup, and heavy fabrication may justify powered equipment when workers are trained and the required controls are in place.
Products Worth Considering

Powerful 4500 BPM Performance: Delivers up to 4500 blows per minute for efficient cutting, chipping, and scraping in automotive, metal, and construction applications.

EFFORTLESS CONCRETE DRILLING & TILE REMOVAL-Driven by a 9.2A (1100W) motor delivering 3.6J of impact energy at 5,000 BPM, this corded rotary hammer powers through reinforced concrete, solid brick, and stubborn masonry. Ideal for home renovations like removing bathroom tiles or drilling heavy-duty anchor holes, saving hours of manual labor.

Small but great tool for quickly and efficiently removing weld splatter, rust, paint, dirt, weld slag and other debris from mous surfaces.
How to Choose the Right Chipping Hammer for Your Needs
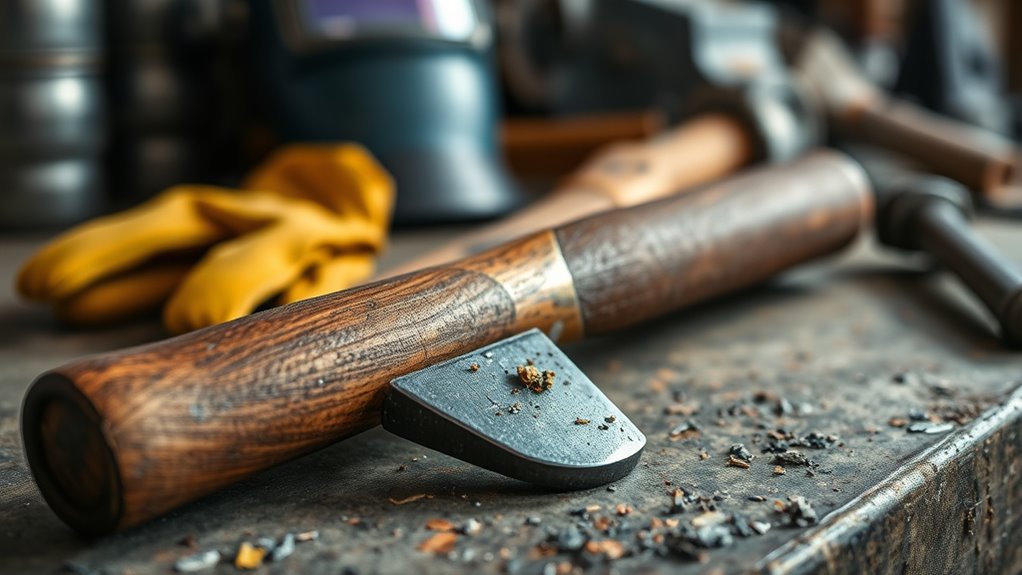
Choose a hammer that matches the slag deposits and joint shapes you clean most often. A broad chisel helps with wider slag, while a narrow point or peen is useful around corners and weld toes.
Check the following features:
- Head material: It should be intended for repeated impact and weld cleanup.
- Head-to-handle connection: The connection should be tight, secure, and free of visible movement.
- Handle comfort: Select a shape and surface you can hold securely while wearing gloves.
- Balance: The tool should feel controlled rather than excessively head-heavy.
- Working-end shape: Choose ends that reach your usual joints without encouraging you to strike the bead directly.
- Replaceable parts: For powered tools, confirm that approved bits, retainers, hoses, and service parts are available.
There is no single ideal weight for every user. A lighter hammer may improve control and reduce fatigue, while a heavier one may release stubborn deposits with fewer taps. Choose the lightest tool that performs the work safely and comfortably.
Products Worth Considering

Dual-Function Chipi Hammer Design: Power through metalwork with precision; engineered head reaches tight spots and removes stubborn material efficiently; delivers clean professional results on every fabrication project for all skill levels

Essential Welding Tool: This welding chipping hammer is designed to help remove slag and spatter from welds, making it a practical tool for welding, fabrication, and metalworking jobs

FORGED IN ONE PIECE – The most durable, longest lasting striking tools available
Troubleshooting Hard-to-Remove Slag
Slag that repeatedly sticks may be a symptom of the welding process rather than a reason to strike harder.
| Problem | Possible Cause | What to Check |
|---|---|---|
| Slag locks along the bead toes | Poor bead profile, excessive weaving, or unsuitable manipulation | Travel technique, electrode angle, bead width, and joint access |
| Slag breaks into small stubborn patches | Irregular bead surface, contamination, or consumable behavior | Base-metal cleaning, electrode storage, settings, and consumable instructions |
| Heavy spatter is mistaken for slag | Unstable arc or unsuitable parameters | Polarity, voltage or amperage, arc length, wire settings, and grounding |
| Repeated hard striking marks the bead | Wrong tool angle, excessive force, or deposit that needs another method | Start from an edge, change tools, and stop before gouging the weld |
Check the consumable manufacturer’s instructions and the approved welding procedure. For stick welding, compare the machine setting and electrode size with a reliable stick-welding amperage reference, then adjust only within the permitted range.
If the bead shows cracking, severe undercut, lack of tie-in, or another unacceptable condition after cleaning, stop and evaluate the weld. Do not add another pass simply to cover the problem.
Common Mistakes to Avoid When Using a Chipping Hammer
- Using excessive force: Heavy blows can dent the base metal, mark the bead, or release larger fragments.
- Skipping primary eye protection: A face shield alone does not provide complete primary eye protection.
- Assuming the metal is cool: Welds and slag can remain hot after visible glow has disappeared.
- Chipping toward other people or equipment: Sharp fragments can travel beyond the immediate work area.
- Using a loose or damaged hammer: The head, handle, or deformed metal may fail during impact.
- Leaving slag between passes: The next pass can trap the remaining residue.
- Driving the point into the weld face: The point is for controlled access, not for reshaping the bead.
- Using a contaminated brush: A carbon-steel brush can contaminate stainless steel or other sensitive materials.
- Trying to hammer off every deposit: Fused spatter, scale, and coatings may need a different cleaning method.
- Hiding a defect with grinding or another pass: Follow the applicable repair and inspection procedure instead.
Control matters more than striking power. Start lightly, check the surface often, and change the method when the deposit does not release safely.
Frequently Asked Questions
Do You Need a Chipping Hammer for Welding?
Not for every welding process. A chipping hammer is most useful when the process leaves a removable slag layer, such as stick welding and many flux-cored applications. Ordinary solid-wire MIG and TIG welds do not normally have that type of flux slag, although they may still need brushing or spatter cleanup.
Why Do Welders Not Live Long?
The question’s premise is too broad. Welding does not mean a person will have a short life. However, uncontrolled exposure to welding fumes, ultraviolet radiation, heat, noise, electric shock, and physical strain can cause serious health problems. Training, ventilation, material identification, PPE, exposure controls, and occupational-health monitoring help reduce those risks.
When Should You Use a Chipping Hammer?
Use it when hardened slag or a suitable brittle deposit covers the weld. Common times include after a stick-welding bead, between passes of a multi-pass weld, before surface inspection, and before brushing, grinding, painting, or coating. Do not use it automatically on welds that do not produce slag.
What Is the Purpose of a Welding Chipping Hammer?
Its purpose is to break and lift slag, stubborn spatter, and loose residue so the weld surface can be brushed, visually examined, and prepared for the next operation. It does not repair weld defects or replace correct welding parameters.
Can a Chipping Hammer Damage a Weld?
Yes. Excessive force, a poor approach angle, or repeated blows directly into the weld face can leave dents, gouges, and tool marks. Begin at a slag edge, use short taps, and stop if the deposit requires enough force to damage the underlying surface.
Is a Wire Brush Enough Instead of a Chipping Hammer?
A hand wire brush is often enough for light dust, soot, or loose residue, but it may not break a thick slag layer. On a slag-producing weld, chip or lift the hardened layer first and then brush the surface. Use a brush that is compatible with the base material and has not been contaminated by another metal.
Do MIG and TIG Welds Need a Chipping Hammer?
Ordinary solid-wire MIG and TIG welds do not normally produce a removable flux-slag covering, so a chipping hammer is usually unnecessary. They may still require brushing, oxide removal, or careful spatter cleanup. Some flux-cored wire processes do produce slag and need interpass cleaning.
How Sharp Should a Chipping Hammer Be?
The ends should be defined enough to reach and lift slag but should not be ground into thin, fragile edges. Do not use a tool with cracks, severe mushrooming, or loose metal. Dress or repair the ends only when the manufacturer or workplace procedure permits it; otherwise, replace the hammer.
Sources
- OSHA: Eye Protection Against Radiant Energy During Welding and Cutting — eye protection and flying slag-chip hazards
- OSHA 29 CFR 1910.252: Welding, Cutting, and Brazing — ventilation and welding safety requirements
- OSHA 29 CFR 1926.301: Hand Tools — cracked handles and damaged impact-tool surfaces
- OSHA 29 CFR 1926.302: Power-Operated Hand Tools — pneumatic hose securement and attachment retainers
- NIOSH: Welding Fumes and Manganese — welding-fume exposure and health risks
- ESAB: MMA/Stick Welding Guide — slag formation and cleaning between passes
Conclusion
A welding chipping hammer is a simple but important cleanup tool for stick welding and other slag-producing processes. Use the flat end for broad deposits, the pointed end for narrow areas, and a suitable wire brush for the remaining particles. Short, controlled taps are safer and more effective than hard swings.
Wear proper eye and body protection, treat the work as hot, inspect the tool before use, and clean every pass before adding the next one. Remember that slag removal exposes the weld surface; it does not correct a poor weld or prove that a critical joint is internally sound. When manual cleanup becomes a production bottleneck, consider powered equipment only with the required hose, attachment, noise, vibration, and training controls.




