Horizontal welding in auto repair is the 2G position, where you join metal along a side-facing seam on a vertical surface, like a frame rail or body panel. You keep the weld puddle under tight control because gravity can pull the bead down and cause sagging or weak fusion. You’ll need steady torch angle, clean joint prep, and the right filler metal to keep the bead uniform and strong, and there’s more to get right than that.
What Is Horizontal Welding in Auto Repair?
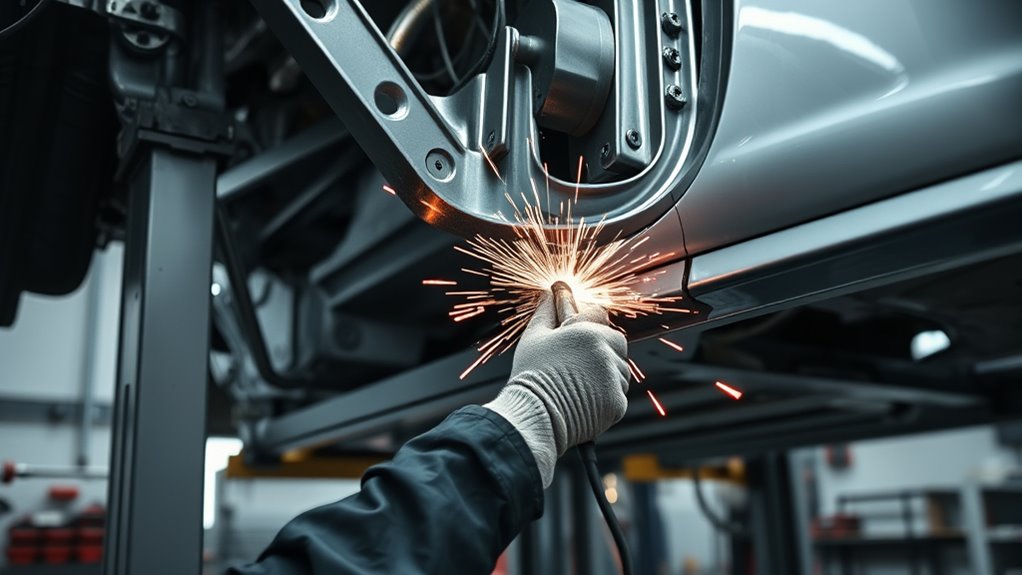
Horizontal welding in auto repair is the process of joining metal along a horizontal joint on a vertical surface, often on frames, body panels, and other structural parts. You use horizontal joint techniques to control the bead as gravity pulls on it.
The main vertical surface challenges are sagging, uneven edges, and heat buildup, so weld puddle management matters. Keep your travel angle steady and your heat input tight to protect weld consistency.
Stringer bead advantages include less puddle spread, cleaner profiles, and easier control than wide weave patterns. Focus on penetration strength factors like wire selection, joint fit-up, and arc stability.
For automotive structural integrity, you want fusion that holds under load and vibration. Welding consistency tips include steady speed, short arc length, and clean base metal. Additionally, proper metal preparation is crucial to ensure a strong bond and prevent defects in the weld.
Flux cored benefits include solid penetration and dependable performance across positions. When you master this process, you help free a repaired vehicle from weak, unsafe joints.
Why 2G Welds Matter on Cars
2G welds matter on cars because so many repairs depend on strong horizontal joints in frames, body panels, and support structures. You rely on this position to protect frame integrity and deliver the weld strength needed for safe driving.
In automotive applications, poor joint durability can let cracks spread, reduce structural support, and undo your work. Gravity works against you, so you need tight bead consistency and solid defect prevention to avoid sagging, porosity, and weak tie-in.
Good heat management keeps panels from warping while still giving full fusion. Your repair techniques must match the part: use controlled travel, steady placement, and enough skill to hold the pool in line. Additionally, understanding the maximum fillet weld size is crucial for ensuring the strength and integrity of your joints.
Good heat control prevents warping while ensuring full fusion, so your repairs stay clean, strong, and aligned.
When you master 2G welding, you improve every reinforcement job, from rails to panels, and you help keep repair outcomes durable, precise, and built for the road.
How 2G Welding Works
When you run a 2G weld, you lay a horizontal joint on a vertical surface, so you have to manage a puddle that wants to sag under gravity. You start with solid joint preparation, then set up your equipment for stable arc control.
Choose filler selection that matches the base metal and use welding techniques that keep the puddle tight. Keep your travel speed steady and your heat management disciplined so you don’t wash out the joint. Use bead patterns like stringer beads to limit sagging and hold distortion control. Aim for enough penetration depth without overheating the panel. Additionally, ensure you follow proper welder settings to optimize your welding process.
- Check fit-up before striking the arc
- Keep a consistent travel speed
- Watch the puddle, not just the arc
- Use short, controlled passes
- Finish with weld cleanup for a clean repair
In auto repair, this approach helps you build strong, durable joints and keep vehicle structure aligned.
Best Torch Angles for Clean 2G Welds
You should hold the torch about 10 to 15 degrees from vertical to keep the arc steady and the puddle under control.
In horizontal 2G welding, you’ll get cleaner results if you favor the top edge of the joint and keep the travel angle consistent.
Maintain a steady, slightly downhill-feeling travel path so the bead stays uniform and the molten metal doesn’t sag.
Products Worth Considering

Powerful Flame Temperature Heat up to 5252°F (2900°C)

Complete Kit: Ideal for HVAC & Light Duty Brazing - Designed specifically for light-duty brazing and welding jobs, this kit is your go-to tool for HVAC repairs, metal crafts, and other precision tasks. Its portable design is perfect for on-the-go professionals

Torch Angle Basics
A steady torch angle is the foundation of a clean horizontal 2G weld, and for most passes you’ll want to hold the torch about 15 to 30 degrees from vertical to control the puddle and maintain solid penetration.
Keep your torch angle consistent; it drives weld puddle behavior, bead shape, and penetration control. A 15-degree setup helps promote controlled metal flow on stringer beads and lowers undercutting risk.
- Steeper angle = more heat input
- Flatter angle = weaker fusion
- Slight oscillation motion evens weld uniformity
- Match travel speed to torch angle
- Slow down for deeper penetration
Travel Angle Control
Once you’ve set the basic torch position, travel angle control fine-tunes the quality of a horizontal 2G weld. Hold the torch about 15 to 30 degrees from vertical, and keep that angle steady so the puddle won’t sag.
These torch angle techniques improve penetration control and keep bead consistency tight across the joint. Use a slight push angle to drive heat into the seam, improve heat distribution, and help fusion along the edges.
For stringer beads, stay near 15 degrees; for weaving, open the angle a bit to cover more area without starving the root.
Make travel angle adjustments with your speed, too. Move fast enough to avoid excess heat, but slow enough for clean fill, solidification, and less warping.
Pick the Right Filler Metal for 2G
For 2G horizontal welds, you should choose a filler wire like E7018, E6013, or a flux-cored E70T-XX that matches the base metal and joint strength you need. Check the positional capability code so the wire’s rated for horizontal work, and favor low-hydrogen options to cut crack risk. Use stringer beads and control heat input to keep the puddle stable and prevent sag. Additionally, consider using flux core welding techniques, as they provide deeper penetration and can handle contaminated metals effectively.
Products Worth Considering

Available in multiple sizes: 1/8", 1/16", 3/32", .045", and 5/32".
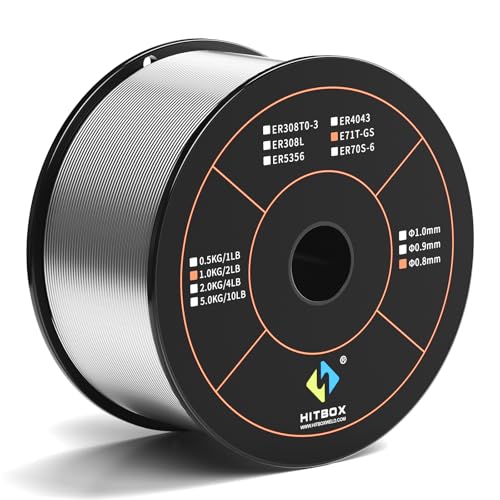
E71T-GS FLUX CORE WIRE: This self-shielding, AWS E71T-GS flux-cored wire excels due to its advanced core design, delivering exceptional arc stabilization and high feedability for effortless welding. The core also incorporates powerful deoxidizing agents, ensuring clean, reliable welds even when welding through light rust or mill scale.
Wire Types for 2G
When you weld in the 2G position, pick a filler metal that gives you steady puddle control and strong penetration, such as E70T-1 for solid wire or E71T-1 for flux-cored wire.
You’ll get better results when you match filler metal characteristics to the joint and keep welding techniques clean.
- Set wire feed adjustments for smooth arc transfer.
- Watch penetration depth to avoid weak fusion.
- Aim for even bead appearance across the seam.
- Keep joint preparation clean and tight.
- Use heat input management and travel speed consistency to prevent sagging.
These choices help you maintain molten metal control and support defect prevention in auto repair.
When you stay disciplined, gravity won’t own your weld.
Positional Capability Codes
In 2G, you need filler metal with positional capability codes that support horizontal welding, because the puddle has to hold shape against gravity without sagging.
Read the code for filler metal characteristics and choose wires rated for horizontal or flat use, like E70T-1, when they match your process. That gives you welding position advantages, better bead shape consistency, and steadier fusion on the sidewall.
Use horizontal penetration techniques with stringer beads, not wide weaves, to keep flow control methods simple.
Check metal type compatibility, joint design considerations, and welding equipment selection before you strike an arc.
Watch heat distribution effects, because the right code helps you manage them.
After the weld, use slag removal techniques that fit the wire so you can finish clean and move free.
Control Heat and Sag
With the right positional wire selected, you still have to control heat input in 2G so the puddle won’t sag under gravity. Use heat management to keep the weld puddle tight, stable, and free from droop.
Pick a filler metal built for horizontal work, like E70T-XX, so the arc supports clean deposition.
- Run stringer beads, not wide weaves
- Hold a slight upward travel angle
- Keep travel speed steady
- Watch the weld puddle edge for sag
- Match filler metal to 2G demand
If you let the puddle wash out, you’ll get uneven reinforcement and weak fusion.
Stay disciplined, read the joint, and let the process work for you. Clear control gives you stronger welds and more freedom to move fast with confidence.
Common 2G Welding Problems
For better weld consistency, keep a steady travel angle and speed, and make small travel adjustments instead of jerking the torch. Use stringer beads for sag prevention, since weaving can let the puddle droop under gravity.
Clean the joint fully to stop joint contamination, which can trigger porosity and other flaws. Choose filler selection that matches the base metal and joint gap, so the bead fills smoothly.
Strong torch stability helps you hold uniform bead profiles and keep the puddle in control. When you balance these basics, you build cleaner, tighter 2G welds with less rework and more reliable repair strength. Additionally, maintaining proper shielding gas flow is crucial to prevent defects like porosity in your welds.
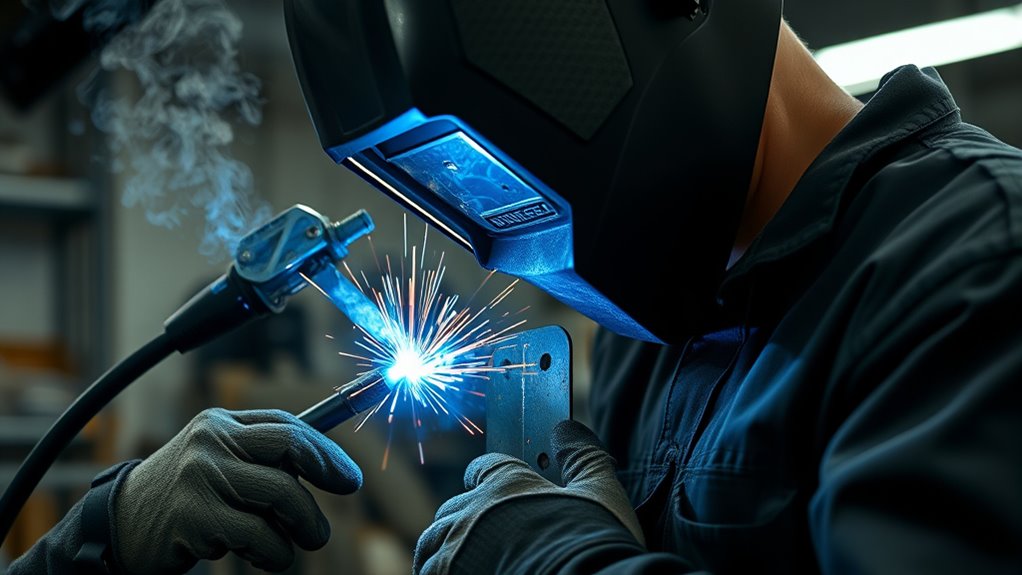
Safety Tips for Horizontal Welding
Once you’ve controlled common 2G welding problems, shift focus to safety so you can keep the job consistent and avoid injuries.
In horizontal welding, you face welding hazards from sparks, UV light, fumes, and spatter, so do a quick hazard assessment before you strike an arc.
Put PPE importance first: wear a correctly shaded helmet, gloves, spark protection, and flame-resistant clothing. Follow ventilation requirements to cut fume exposure, especially around tight automotive panels. Essential Plasma Cutting Safety Gear is crucial to ensuring a safe working environment.
Keep workspace cleanliness tight by clearing flammables, oils, and debris from the bay. Maintain equipment maintenance discipline—check hoses, regulators, and electrodes before each job.
- Set steady travel speed and angle to limit sag.
- Train with safety training so you react fast.
- Inspect cables for damage.
- Position local exhaust near the weld.
- Replace worn parts before they fail.
When you protect yourself and your space, you weld with more freedom and less risk.
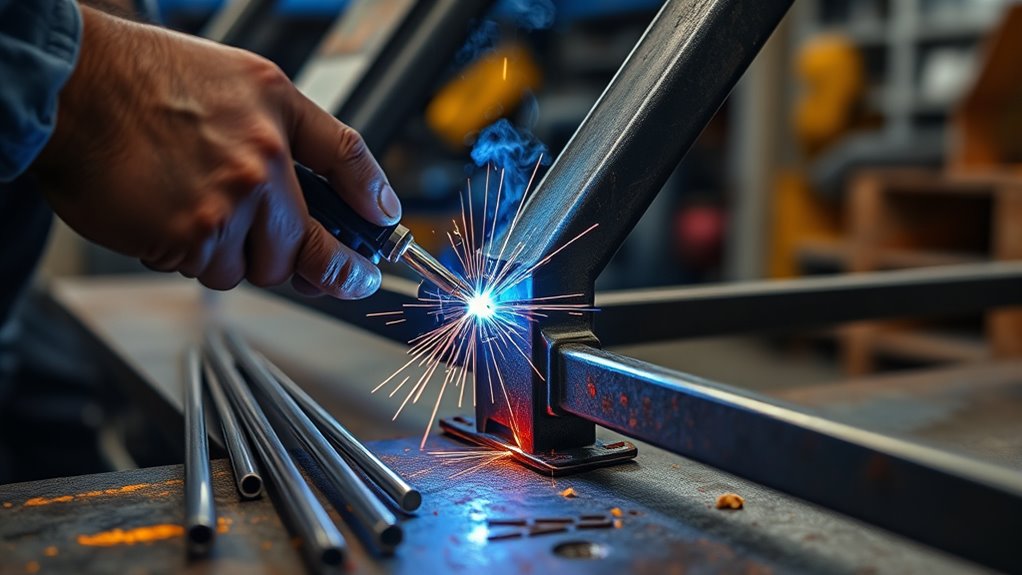
Practice Horizontal Welding on Scrap First
Before you move to an actual vehicle repair, practice horizontal welding on scrap metal so you can see how gravity pulls on the molten puddle and learn how to control sag.
Use scrap utilization to test welding techniques, adjust travel speed, and compare torch angles until you get a smooth bead. This skill development stage lets you judge arc stability and keep your arc length steady, which cuts defects and improves fusion.
Watch heat management closely; too much heat can cause poor penetration and an uneven bead, while too little leaves weak tie-in. Repeated runs on scrap build muscle memory, so your hands learn the motion without hesitation. That repetition also supports confidence building, because you’ll know what settings work before you touch a vehicle panel.
Respect the practice importance here: every test weld gives you cleaner control, better judgment, and more freedom when you step into real horizontal repair work. Additionally, understanding flux core welding techniques will enhance your ability to manage different welding positions effectively.
Frequently Asked Questions
Can You Run 7018 Horizontally?
Yes, you can run 7018 horizontally if you use proper horizontal techniques, hold a steady travel angle, and control heat. For many 7018 applications, stringer beads help you prevent sagging, slag buildup, and cracking.
Is Horizontal Welding Hard?
Yes, horizontal welding can be hard because you fight horizontal challenges and molten metal sag. You’ll need solid welding techniques, steady travel speed, tight puddle control, and practice on scrap to keep your bead clean.
What Are the 4 Types of Welding Positions?
You’ve got four welding positions: flat, horizontal, vertical, and overhead. You’ll choose welding techniques based on joint orientation, and each offers position advantages for access, control, and productivity while you work safely and efficiently.
Conclusion
So, what does a clean horizontal weld mean for your repair? It means the difference between a panel that holds and one that fails when stress hits. When you keep your torch angle steady, choose the right filler, and control the puddle, you’re already ahead. But the real test comes next: your first weld on scrap. If that bead stacks flat and smooth, you’ll know you’re ready for the car.


