Overhead welding can punish small mistakes fast because gravity pulls the puddle straight down. If you run too hot, hold a long arc, or move too slowly, molten metal can sag, drip, or leave weak fusion. This guide explains what overhead welding means, why it feels difficult, and how you can control the puddle with safer, cleaner technique.
What’s in This Article
- What Is Overhead Welding?
- Why Is Overhead Welding Difficult?
- 4G and 4F Overhead Welding Positions
- How to Keep the Puddle Under Control
- Overhead Welding Tips for MIG
- Stick Welding Tips for Overhead Joints
- Overhead TIG Welding Tips
- Safety Gear for Overhead Welding
- Common Overhead Welding Mistakes
- Frequently Asked Questions
- Safer, Cleaner Overhead Welds
Quick Answer
Overhead welding means you weld a joint above your head while gravity pulls the molten puddle downward. Use a short arc, small beads, controlled heat, and steady travel speed to keep the puddle tight. Wear full protective gear because sparks, slag, and hot metal fall toward you.
Key Takeaways
- Keep the arc short so the puddle stays small and controlled.
- Use quick, steady travel speed to reduce sagging and dripping.
- Run smaller beads so gravity has less molten metal to pull down.
- Adjust MIG, stick, and TIG technique to match the process and joint.
- Cover all exposed skin because overhead welding sends sparks and metal downward.
What Is Overhead Welding?
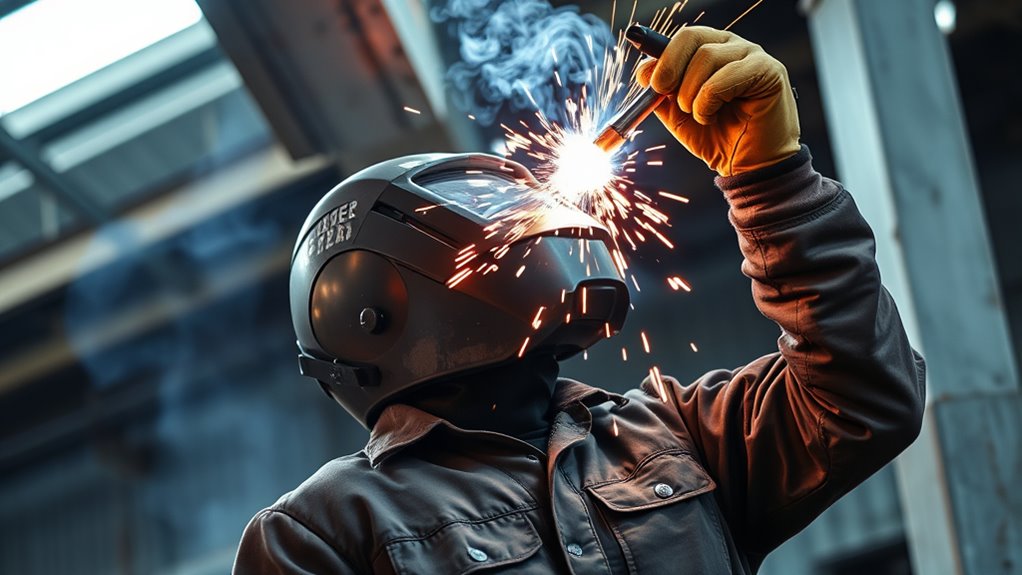
Overhead welding means you weld with the joint above you, so you work under the puddle instead of beside it. You use overhead techniques to place the weld pool with control while gravity pulls the molten metal away from the joint.
In groove welds, welders classify this position as 4G. In fillet welds, welders call it 4F. Both positions demand strict bead control and stable arc maintenance.
To keep the puddle where it belongs, you need disciplined travel speed, torch angle, and heat input. Strong flux core welding habits can also help you build better overhead control.
When you do this well, you can produce clean welds in a position that leaves little room for error. Mastery gives you more control, consistency, and confidence under the joint.
Why Is Overhead Welding Difficult?
Overhead welding feels difficult because gravity works against the weld pool the whole time. In the 4G position, molten metal can drip or sag if you lose control of heat, arc length, or travel speed.
Awkward posture also strains your shoulders, neck, and arms. As fatigue builds, your hand can shake, your speed can change, and your bead shape can suffer.
- Poor puddle control can cause undercut and lack of fusion.
- Too much heat can make the puddle sag or fall.
- Falling sparks, slag, and metal can burn exposed skin.
You need disciplined welding techniques: keep a tight arc, move at a controlled travel speed, and watch the puddle closely. If you linger, heat builds and the joint can lose shape. If you move too fast, fusion can suffer.
Overhead work demands steady hands and sharp focus because mistakes show right away. Understanding the maximum fillet weld size can also help you avoid oversized welds that trap heat and increase defect risk.
4G and 4F Overhead Welding Positions
The two main overhead welding positions are 4G and 4F. Each one puts the joint above you while you work from below.
In 4G, you weld overhead groove joints, often on butt joints in thicker plate. You need tight arc control, steady travel, and disciplined 4G technique to keep molten metal from sagging.
In 4F, you weld overhead fillet joints on lap, T, or corner joints. The main 4F challenges include undercut and lack of fusion because gravity pulls the pool down and away from the joint. Proper flux core MIG welding settings can help you manage heat and puddle size.
| Position | Joint type | Main challenge |
|---|---|---|
| 4G | Groove | Sagging and penetration control |
| 4F | Fillet | Undercut and lack of fusion |
| Both | Overhead | Heat, angle, and puddle control |
You must adjust your angle, speed, and arc length with care. When you master these positions, you gain stronger welds for structural and fabrication work.
Products Worth Considering

E71T-GS FLUX CORE WIRE: This self-shielding, AWS E71T-GS flux-cored wire excels due to its advanced core design, delivering exceptional arc stabilization and high feedability for effortless welding. The core also incorporates powerful deoxidizing agents, ensuring clean, reliable welds even when welding through light rust or mill scale.

E71T-GS FLUX CORE WIRE: This self-shielding, AWS E71T-GS flux-cored wire excels due to its advanced core design, delivering exceptional arc stabilization and high feedability for effortless welding. The core also incorporates powerful deoxidizing agents, ensuring clean, reliable welds even when welding through light rust or mill scale.

Welding Easy and Quick: AWS E71T-GS 030” Flux Core welding wire (The actual Net Weight of Wire is 2LB), no need for shielding gas, install it then you can welding all positions, single and multi pass welding. Great for T-joints, butt welds & lap welds.
How to Keep the Puddle Under Control
You control overhead welds by keeping the puddle small, tight, and easy to read. A short arc, steady speed, and small beads give you the best chance to resist gravity.
Use small movements and avoid wide weaving unless the joint calls for it. Stitch welding techniques can also help you manage heat during short overhead passes.
Warning: Stop and reset if the puddle starts to sag, because more heat usually makes the problem worse.
Products Worth Considering

Manufacturer: FLANGE WIZARD


High quality medium duty cutting torch CA1350 cutting attachment, 100FC torch handle.
Short Arc Control
Keep your arc short in overhead welding to control the molten puddle and reduce drip risk. A tight arc length concentrates heat and helps surface tension hold the weld metal in place.
- Hold the torch angle at 5 to 15 degrees for visibility and control.
- Keep a short, consistent arc to prevent the puddle from spreading.
- Weave only as needed to tie in the edges without losing shape.
When you keep the arc compact, you avoid excess heat and fluid metal. Stay precise, stay calm, and let controlled heat do the work.
Manage Travel Speed
Move at a quick, steady pace to keep the overhead puddle small and controllable. Slow travel can build too much molten metal, which can drip or sag under gravity.
You need speed control to balance penetration with heat input. Too much heat can cause undercut, while too little heat can leave poor fusion.
Hold the torch at a slight angle so you can see the puddle and guide the flow. Keep your hand firm and your travel speed consistent so the pool stays narrow.
Practice short, efficient passes to maintain a clean bead profile. When you stay disciplined, you reduce defects and keep your work precise.
Use Small Beads
Small beads help you control the overhead puddle by limiting the molten metal’s surface area. Less molten metal means less sagging, dripping, and buildup.
- Move fast enough to avoid excess buildup.
- Hold a tight arc to increase arc force.
- Use slight weaving only when you need better tie-in.
Smaller passes help you maintain penetration without overfilling the joint. They also reduce undercut because you can steer the puddle more precisely.
Keep your travel speed steady, watch the edges, and let the arc drive the metal where it belongs. That approach gives you more control with less strain.
Overhead Welding Tips for MIG
For overhead metal inert gas (MIG) welding, use short-circuit transfer when the material and procedure allow it. This transfer mode helps keep heat input lower and makes the puddle easier to control.
Hold the torch at a slight angle and maintain short stickout so you can see the joint and stabilize the arc. Move quickly enough to limit buildup while still getting fusion at the joint edges. Proper welding technique also helps you avoid cracking and weak welds on difficult materials.
Short-Circuit Transfer Control
Short-circuit transfer gives you tight heat control by using brief electrical shorts. That makes it a useful MIG option for many overhead welding jobs.
Run lower voltage and lower heat to reduce sagging and dripping. Choose wire and settings that give you smooth arc starts and stable transfer.
Keep your travel speed quick enough to limit heat buildup, yet steady enough to drive fusion into the base metal. Use shorter stickout to improve control and visibility.
- Use low heat for cleaner transfer.
- Use fast travel for controlled penetration.
- Use short stickout for better puddle control.
Torch Angle and Speed
Hold the MIG torch about 10 to 15 degrees from vertical during overhead welding. This angle helps you drive the puddle where it needs to go without encouraging drips.
Keep your travel speed up. If you linger, molten metal builds, sags, and distorts the bead.
Use tight arc length to control the puddle, improve fusion, and reduce lack of fusion. Support the gun with both hands when you can because torch stability matters more when gravity works against you.
If overhead turbulence weakens shielding, adjust gas flow within the range your procedure allows. Too much flow can also disturb shielding, so make small changes and watch the puddle.
Stick Welding Tips for Overhead Joints
Overhead shielded metal arc welding (SMAW), often called stick welding, calls for tighter control than flat work. Many welders reduce amperage slightly to keep the puddle firmer and reduce dripping.
Focus on electrode selection and puddle manipulation to stay precise and limit spatter. Use fast-freezing rods such as E6010 or E7018 when they match the job and procedure.
Keep a short arc length to narrow the bead and prevent excess heat. Hold a 90-degree work angle for penetration, then add only a 5 to 15 degree drag angle so molten metal trails behind the arc.
Use fast-freezing rods and a short arc, then keep your work angle steady with a slight drag.
- Keep your arc tight and stable.
- Use slight weave only on butt joints.
- Run fillets straight unless the procedure calls for weaving.
You’ll get better control when you move deliberately and avoid overbuilding the puddle. For butt welds, a slight weave can improve tie-in. For fillets, a straight bead often gives you cleaner control.
Maintaining a short arc length can also reduce sticking and help you keep a clean finish.
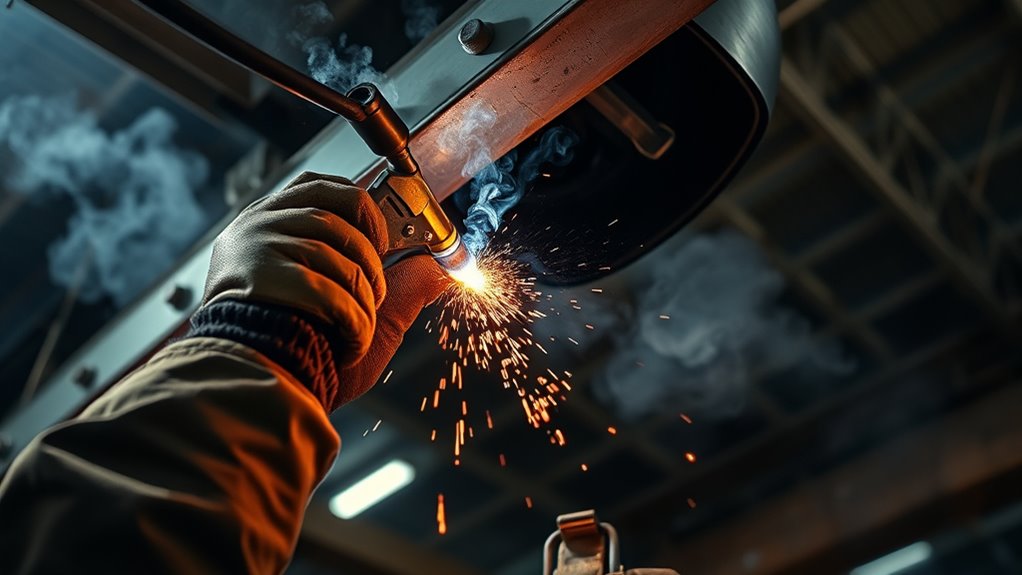
Overhead TIG Welding Tips
With overhead tungsten inert gas (TIG) welding, you may not need major parameter changes from flat work. Still, consistency matters more because the puddle shows every small mistake.
Keep your setup clean, maintain a clear view of the puddle, and watch bead consistency closely. Use a tighter arc length so you can control the molten metal, limit dripping, and hold even fusion.
Support your body with armrests or a stable platform to reduce strain. A steadier position helps you guide the torch with less fatigue and better repeatability.
Pro tip: Dry-run the torch path before you strike an arc so your hand position stays stable through the whole pass.
A TIG finger or similar support can add stability and help protect your hand from heat. Focus on small, deliberate movements and don’t chase the puddle. Pay close attention to heat input management to limit distortion and protect joint quality.
Safety Gear for Overhead Welding
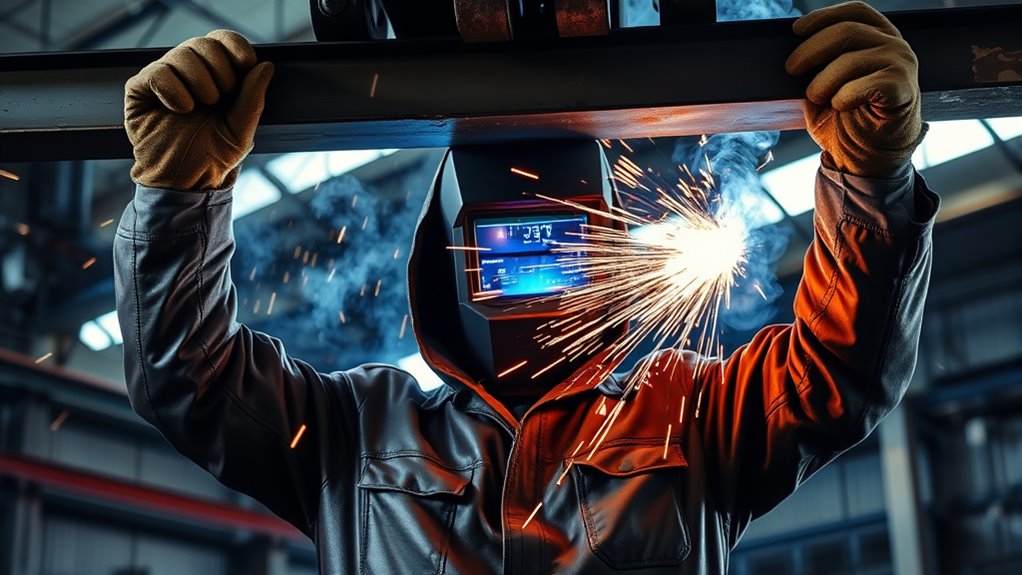
Overhead welding exposes you to falling sparks, slag, and molten metal. You need full-body protective gear that covers your skin and resists heat.
Overhead welding demands full-body flame-resistant protection because sparks and molten metal fall toward you.
A proper welding helmet with the right lens shade protects your eyes and face while helping you see the weld pool. Wear heavy-duty gloves to shield your hands from sparks, heat, and hot metal contact.
Use safety boots with steel toes and slip-resistant soles to protect your feet and keep you steady. Make sure your gear follows the safety rules for your shop, jobsite, or training program. Proper arc welding protective clothing can help you close gaps that sparks can reach.
- Wear a flame-resistant jacket and pants.
- Use an auto-darkening helmet with the correct shade.
- Choose steel-toe, slip-resistant boots.
- Cover your neck, wrists, and ankles.
Don’t leave gaps in your coverage. Overhead work sends debris downward, and exposed skin can burn fast.
Common Overhead Welding Mistakes
Most overhead welding problems come from too much heat, poor body position, or a puddle that grows too large. Fix the simple issues first before you change every setting.
- Long arc length can widen the puddle and increase spatter.
- Slow travel speed can create sagging and excess buildup.
- Wide weaving can overheat the joint and weaken bead shape.
- Poor bracing can make your hand shake during the pass.
- Gaps in protective gear can expose you to falling sparks.
Check the bead after each pass and correct problems early. A small adjustment in arc length, travel speed, or position can prevent a larger repair later.
Frequently Asked Questions
Why is overhead welding so hard?
You fight gravity, limited puddle control, and awkward body position at the same time. You need tight arc control, careful heat management, and steady movement to prevent sagging, spatter, and defects.
Can overhead welding help you earn more?
Overhead welding skill can improve your value because many structural and repair jobs require position welding. Pay depends on your certifications, industry, location, experience, and overtime.
What is the best welding process for overhead work?
No single process works best for every job. MIG can work well with controlled short-circuit transfer, stick can work well with fast-freezing rods, and TIG can produce clean welds when you can brace well.
Should you weave an overhead weld?
Use only a small weave when the joint needs it. Wide weaving can add too much heat and make the puddle sag, so straight beads often give you better control.
How do you know if an overhead weld is too hot?
The weld runs too hot when the puddle grows wide, sags, drips, or undercuts the edges. Reduce heat, shorten the arc, move faster, or make smaller passes based on your process and procedure.
Safety Disclaimer: This article is for general information only and does not replace hands-on training, workplace procedures, or guidance from a qualified welding instructor or safety professional. Follow your equipment manual, jobsite rules, and applicable safety standards before welding overhead.
Safer, Cleaner Overhead Welds
Overhead welding gets easier when you keep the puddle small, the arc short, and the heat under control. Start with clean joint prep, brace your body, and run short passes you can watch closely.
Use the right process settings, choose protective gear that covers every gap, and stop when the puddle starts to sag. With practice, overhead welding becomes less about fighting gravity and more about steady control.


