When you weld salvage-car repairs, start by checking structural damage, frame alignment, and corrosion before you touch the metal. Use MIG for faster body and chassis work, TIG for thin panels, and spot welding for overlaps. Match filler wire to the base metal, clean joints to bare metal, and keep heat low to avoid warping. Inspect every weld for porosity or weak fusion, then verify safety and fit so the next steps make sense.
What Salvage-Car Welding Can Fix
Salvage-car welding can fix much of the structural and cosmetic damage left by a collision, including frames, chassis sections, body panels, and rusted exhaust components.
You use welding to restore load paths, correct alignment, and prevent hidden fatigue from spreading. In automotive welding, you’ll often choose MIG welding for repair on thin steel because it feeds quickly, controls heat well, and handles damaged panels with less distortion. You can also rebuild corroded exhaust sections so flow, noise, and emissions stay within spec. For modern salvage work, you may weld advanced high-strength steel only with proper procedures, since its strength depends on controlled heat input and precise fit-up.
Additionally, always ensure that your welds are sized according to the thinner plate’s thickness to maintain structural integrity and compliance with standards. When you assess a vehicle, focus on areas where the collision weakened metal, then cut back to sound material before welding. That approach gives you safer, more durable results and more freedom to put a repaired car back on the road.
Weldable Parts on Salvage Cars
You’ll usually start with body panels and fenders, since these thin sheet-metal parts respond well to MIG or TIG repair. Next, inspect the frame and chassis for cracks or distortion, because welding there affects the vehicle’s structural integrity and safety. You can also address exhaust and suspension parts when rust, leaks, or broken joints reduce function and strength. Proper welding processes and preparation are crucial for ensuring the longevity and safety of repairs.
Body Panels And Fenders
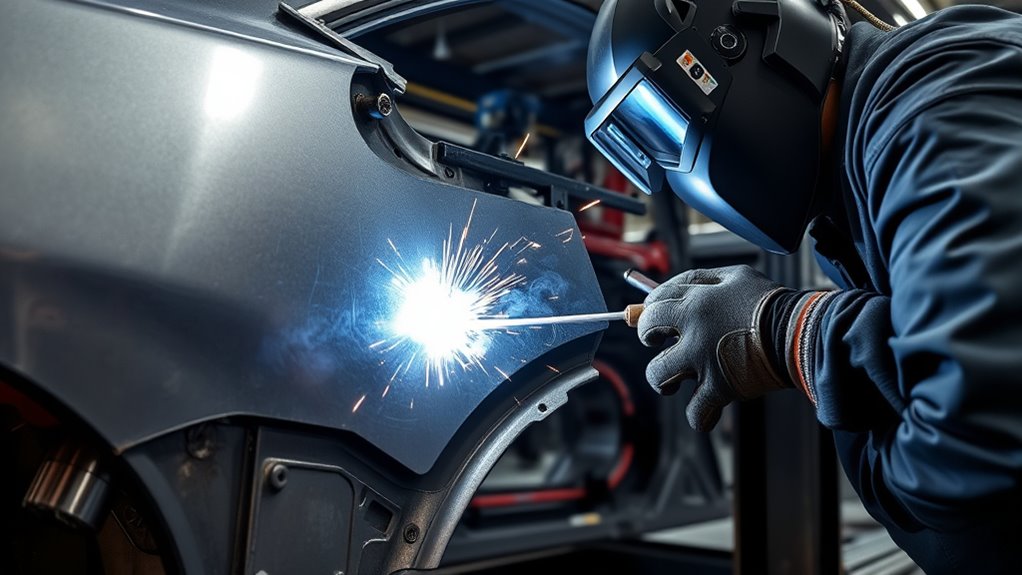
Body panels and fenders are often among the easiest salvage-car components to repair with welding, provided you restore fit, alignment, and material integrity first.
On salvage cars, you can recover both appearance and structural integrity with careful body panels work. Use MIG welding for fast, controlled joins, or TIG welding when you need finer heat control on thin sheet metal. Clean rust, paint, and seam sealer before you strike an arc.
- Test-fit every edge
- Match filler to the panel metal
- Use stitch welding to limit warp
- Check panel gaps often
- Finish with corrosion protection
If you’re repairing aluminum fenders, choose compatible filler and process settings, or the bond won’t hold.
Done right, you reclaim clean lines and real freedom from damage.
Frame And Chassis
Once the outer panels line up, turn your attention to the frame and chassis, where weld quality directly affects safety, handling, and crash performance.
You need to inspect every cracked rail, bracket, and seam before you strike an arc. On salvage cars, high-strength steel and AHSS demand welding techniques matched to the metal, or you’ll weaken structural integrity.
MIG is usually the best choice because it’s fast, consistent, and handles thicker sections well, while stick welding can fit specific repairs.
Fit-up matters: keep the chassis aligned and clamped so you don’t build in distortion.
After welding, do inspections for porosity, lack of penetration, and other defects. If the repair isn’t sound, the car won’t truly be free to protect you.
Exhaust And Suspension
Rusty exhaust sections and damaged suspension parts are common weld repair targets on salvage cars, but they demand careful inspection and the right process before any repair begins.
You can restore exhaust systems with welding repairs, often using MIG welding for fast, clean seams. Check for cracks, corrosion, and leaks first.
- Inspect every joint
- Match metal type
- Control heat input
- Verify structural integrity
- Follow OEM specs
You must treat suspension components with extra caution. Control arms and strut assemblies need precise welds and tight heat control to avoid warping.
Aluminum and high-strength steel may require TIG or specific MIG settings. Inspection importance can’t be ignored: hidden damage can fail under load.
When you weld correctly, you keep the car safer and freer to return to the road.
Pick MIG, TIG, or Spot Welding
When you need practical auto body welding, MIG gives you the speed to move through automotive repairs without sacrificing solid penetration.
TIG is the better of the welding methods when you’re fixing thin panels, tight seams, or delicate brackets, since it gives you tighter heat control and cleaner welds.
Spot Welding works best on overlapping sheet metal and factory-style panel joints, especially when you’re restoring multiple body sections efficiently.
You should match the method to the job: use MIG for general structural and body work, TIG for detailed, critical repairs, and spot welding for fast panel attachment. Additionally, consider the importance of proper surface preparation to ensure strong and durable welds.
Choose the tool that lets you work with precision, control, and independence.
Products Worth Considering

【UPGRADED 3 IN 1 MULTIPROCESS WELDER】The AWT welding machine 110v offers 3 processes: Flux Core/gasless MIG, MMA/Stick and Lift TIG to meet your different requirements. Our MIG welder perfect for DIY projects, home repairs, farm work, automotive applications and and construction sites.

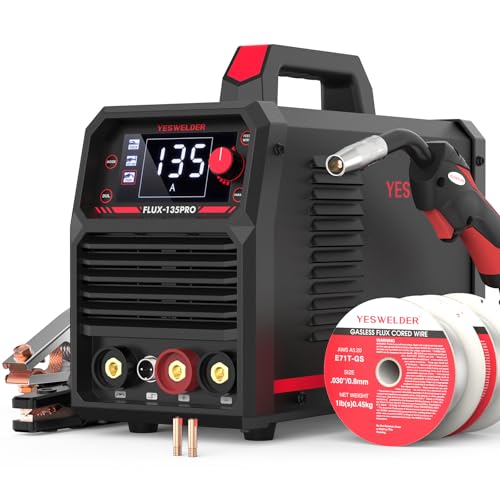
MULTI PROCESS: Experience the convenience of a high-quality, budget-friendly 3-in-1 welding machine that masterfully handles Gasless Flux Core MIG/Stick/Lift TIG(additional 10-25 lift TIG torch required). This unit caters to a wide range of welding applications and meets your various welding needs.
Match Metals and Filler Wire
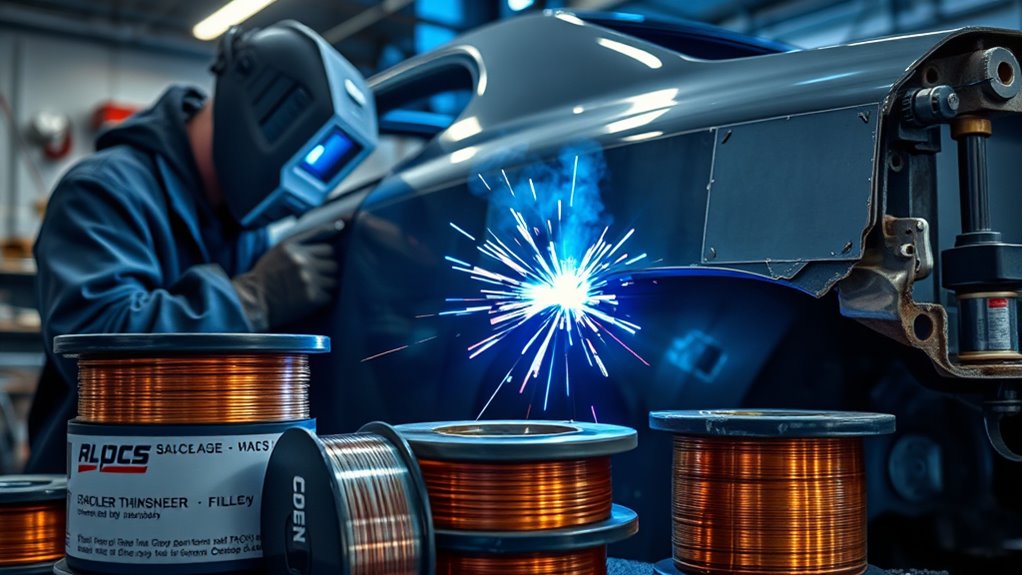
Matching the filler wire to the base metal isn’t optional on salvage car repairs—it’s what keeps the weld strong and the structure safe. When you match metals, you reduce the risk of brittle joints and structural failures. Use the right filler wire for each base metal, not whatever’s on hand.
- High-strength steel needs a filler wire rated for high-strength applications.
- Aluminum panels usually need 4047 or 4045 alloy filler.
- Stainless steel works best with a matching grade, like ER308 for austenitic stainless steel.
- Incompatible filler can weaken the weld and invite corrosion.
- Check manufacturer specs for the base metal and filler wire every time.
You’re not just joining parts—you’re restoring control over the repair. If you ignore composition, you gamble with load paths, crash performance, and long-term durability. Remember that using the right filler rod ensures compatibility with the alloy to maintain weld integrity.
Choose filler that fits the alloy, the job, and the vehicle’s design. When you do, you build a repair that holds.
Products Worth Considering

J-B Weld is The Original Cold-Weld two-part epoxy system that provides strong, lasting repairs to metal and multiple surfaces. Mixed at a ratio of 1:1, it forms a permanent bond and can be shaped, tapped, filed, sanded and drilled after curing. At room temperature, J-B Weld sets in 4-6 hours to a dark grey color. Full cure is reached in 15 hours. J-B Weld has a tensile strength of 5020 PSI and sets to a hard bond overnight. It can withstand temperatures up to 550°F when fully cured

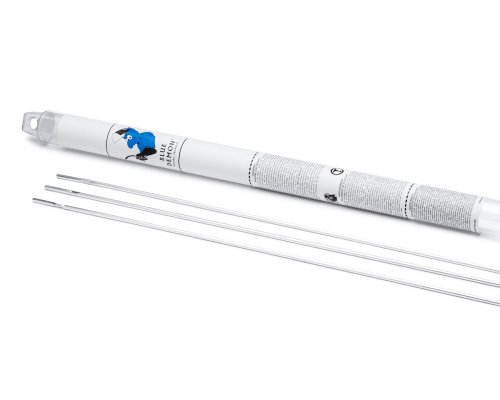
ER70S-6:Copper-coated mild steel TIG welding rod.Can be welded with Ar & CO2 mixed gas or with 100% CO2 as the shielding gas
Great tools at a great price
Prep Panels and Joints for Welding
Before you strike an arc, clean the panels and joints thoroughly so dirt, grease, and rust don’t compromise the weld. When you prep panels, strip coatings to bare metal and inspect every seam for contamination. Mark damaged areas with a scribe, then trim them carefully so your cut lines support a precise butt joint and don’t trap moisture.
Check the fit of the panels before you weld. You want a flush, even joint with no gaps or high spots. Clamp the pieces securely so they stay aligned during the welding process. Once the fit looks right, place small tack weld points at intervals to lock the parts in position. Those tacks give you an initial bond and help you confirm alignment before full welding.
Clean preparation leads to strong welds and a repair that holds under load. When you control the fit of the panels and remove weak material, you give yourself a cleaner, safer path to restoration. Additionally, ensure proper preheat temperature to prevent cracks, especially in cast iron components.
Control Heat and Prevent Warping
You need to manage heat input by using short, controlled welds instead of long continuous passes, especially on thin salvage panels that warp quickly. Stagger your weld passes with stitch or skip techniques so heat doesn’t build up in one area. Let each tack cool before you add the next one, and keep your travel speed and angle consistent to distribute heat evenly. Understanding the cutting speed can also help minimize warping during welding repairs.
Manage Heat Input
Controlling heat input is critical when welding salvage cars because thin sheet metal and damaged panels can warp quickly under excessive temperature. To manage heat input, you keep short welds, use proper clamps, and watch the temperature of the weld area so thin metal stays aligned.
Lower amperage helps limit thermal expansion, especially on aluminum and AHSS. You can also let each tack cool before adding more metal, which keeps control in your hands.
- Set amperage low enough for the joint.
- Use short welds, not long beads.
- Clamp panels firmly to resist movement.
- Check heat with an infrared thermometer.
- Stop when the weld area starts climbing fast.
This method preserves fit, reduces distortion, and lets you repair with confidence and freedom.
Stagger Weld Passes
Staggering weld passes helps you spread heat across the panel instead of concentrating it in one spot, which cuts the risk of warping thin salvage-car sheet metal.
When you use staggering weld passes, place each short, controlled burst away from the last bead and keep your travel speed near 6 to 12 inches per minute. That rhythm gives you tighter heat control and better weld quality without loading one area with stress.
Check alignment as you go, and use a hammer and dolly to correct minor distortion before you close the seam. This method protects structural integrity, keeps the panel responsive, and preserves an even aesthetic finish by reducing visible seam pull.
Done right, you weld with control, not coercion, and the repair stays free to hold shape.
Cool Between Tacks
Even a few seconds of cooling between tack welds can make the difference on thin salvage-car sheet metal, because excess heat builds warping fast.
Pause 5-10 seconds so the panel stabilizes and your alignment stays true. That cooling window cuts heat accumulation and protects structural integrity.
- Watch the joint after each tack weld’s burst.
- Use short, controlled welds instead of long runs.
- Aim a wet cloth or compressed air at the area, but keep moisture out of the joint.
- Keep your travel speed consistent to limit distortion.
- Recheck alignment during each cooling break and correct small shifts now.
You’re not fighting the metal; you’re guiding it with discipline.
When you cool between tacks, you keep thin sheet metal free to hold shape, and you preserve the clean path to a solid repair.
Inspect Weld Quality Before You Continue
Before you move on, inspect the weld quality carefully, because defective welds can compromise the structural integrity and safety of a salvage car.
You should inspect weld quality at every joint before you add more heat or close the panel. Look for porosity, incomplete penetration, and insufficient fusion; these flaws weaken the repair and can fail under load.
Use OEM guidelines to guide weld inspections so your work matches the original design and safety targets.
Start with a bright visual check, then use non-destructive testing methods when the joint is critical or when the surface doesn’t tell the full story. That extra verification can expose hidden cracks or voids.
Record what you find, including location, defect type, and corrective action, because quality assurance depends on clear documentation. Ensuring proper lack of penetration is critical for structural integrity.
When you verify each weld now, you protect the car’s lifespan and keep control of the repair process.
Follow Safety Rules for Welding Repairs
Follow safety rules on every welding repair so you protect yourself and preserve the car’s structure. You need PPE that matches the task: an auto-darkening helmet, safety goggles, gloves, and flame-resistant clothing. Additionally, ensure that your equipment is compliant with OSHA standards to promote a safe working environment.
Keep a clean working environment by stripping dirt, grease, and rust from the joint area; contaminants weaken welds and can create hazards. Inspect welding equipment before you strike an arc. Check for leaks, damaged cables, poor grounding, and correct voltage settings.
Clean the joint area thoroughly, then inspect welding equipment for leaks, damage, grounding, and correct settings before striking an arc.
Use welding curtains to block UV light and heat from nearby workers. Follow the manufacturer’s welding methods and OEM procedures so your repair stays within safe limits and supports vehicle integrity.
- Wear PPE every time
- Verify your auto-darkening helmet
- Clean metal surfaces thoroughly
- Test welding equipment first
- Shield the area with curtains
How to Repair Auto Body Panels
To repair auto body panels on a salvage car, you typically cut out the damaged metal and fit new patch panels that match the original shape and thickness. You free the structure from decay and restore control over the shell. Use MIG welding for fast, clean joints on thin auto body sheet metal.
| Step | Action |
|---|---|
| Fit | Check alignment before tack welding |
| Weld | Use stitch welding to limit distortion |
| Finish | Grind welds flush |
| Protect | Prime and paint to block rust damage |
If the patch panels don’t sit tight, moisture can hide in gaps and invite rust damage later. Clamp everything securely, then tack in short intervals. After welding, dress the seams smooth so you can sand and finish the repair without fighting highs and lows. When you work methodically, you reclaim strength, appearance, and durability from damaged metal.
Frequently Asked Questions
What Is the Golden Rule in Welding?
You keep surfaces clean and properly prepared; contamination weakens welds. In welding safety, match joint preparation, metal types, heat control, equipment maintenance, and repair techniques to get strong, reliable results every time.
How Much Would It Cost for Weld Work on a Car?
You’d usually pay $200-$600 for car weld work, though welding costs vary with repair estimates, labor rates, material prices, damage assessment, and vehicle type; expect $50-$150 hourly, plus extra inspections and modifications.
Which Type of Welding Is Most Commonly Used for Automotive Repairs and Why?
MIG welding’s the workhorse; you’ll use it for fast, low-heat auto repairs on thin automotive welding materials. Its MIG welding advantages beat TIG welding precision for most jobs. Keep welding safety tips, welding equipment essentials handy.
What Are the 7 Common Welding Defects?
You’ll commonly see porosity, incomplete fusion, lack of penetration, underfill, distortion, cracks, and slag inclusion. Use welding techniques, defect identification, repair methods, safety practices, material selection, and inspection standards to catch them early.
Conclusion
When you weld repairs on a salvage car, you don’t just restore metal—you restore trust. Before you move on, inspect every joint, verify alignment, and make sure heat hasn’t distorted the panel. If the repair won’t pass a close look, it won’t pass the road. Choose the right process, match materials carefully, and keep safety first. Do that, and you’ll turn damaged steel into a solid, reliable repair that lasts.


